
“Siege of Bordrin’s Watch” is the sequel to “Rescue at Rivenroar,” continuing the unfolding story of the Scales of War campaign. This adventure features exploration, roleplaying opportunities, and combats in dynamic environments. In this adventure, a new threat looms to the west: A vast horde of orcs and their despicable kin emerge from the barren lands bent on plunder and conquest. While the Elsir Vale and other lands mobilize their meager forces to respond to the danger, a call has gone out to those heroes of the Vale to join forces and help to push back this new evil before it’s too late. Pgs. 4-55

With your past exploits being noticed the acting ruler of Dilad has requested your presence. An envoy of the leader has met with you and asked you to investigate a growing issue. The city of Acre is in a large scale building operation but limestone from the quarry has stopped coming. Delays will be costly and the party has been asked to go to Fecknic and discover what the problem is. You can’t really disappoint the top dog of the nation can you?
a baron recruits the party to find a set of magical swords as well as explore a mine shaft that connects to the under dark
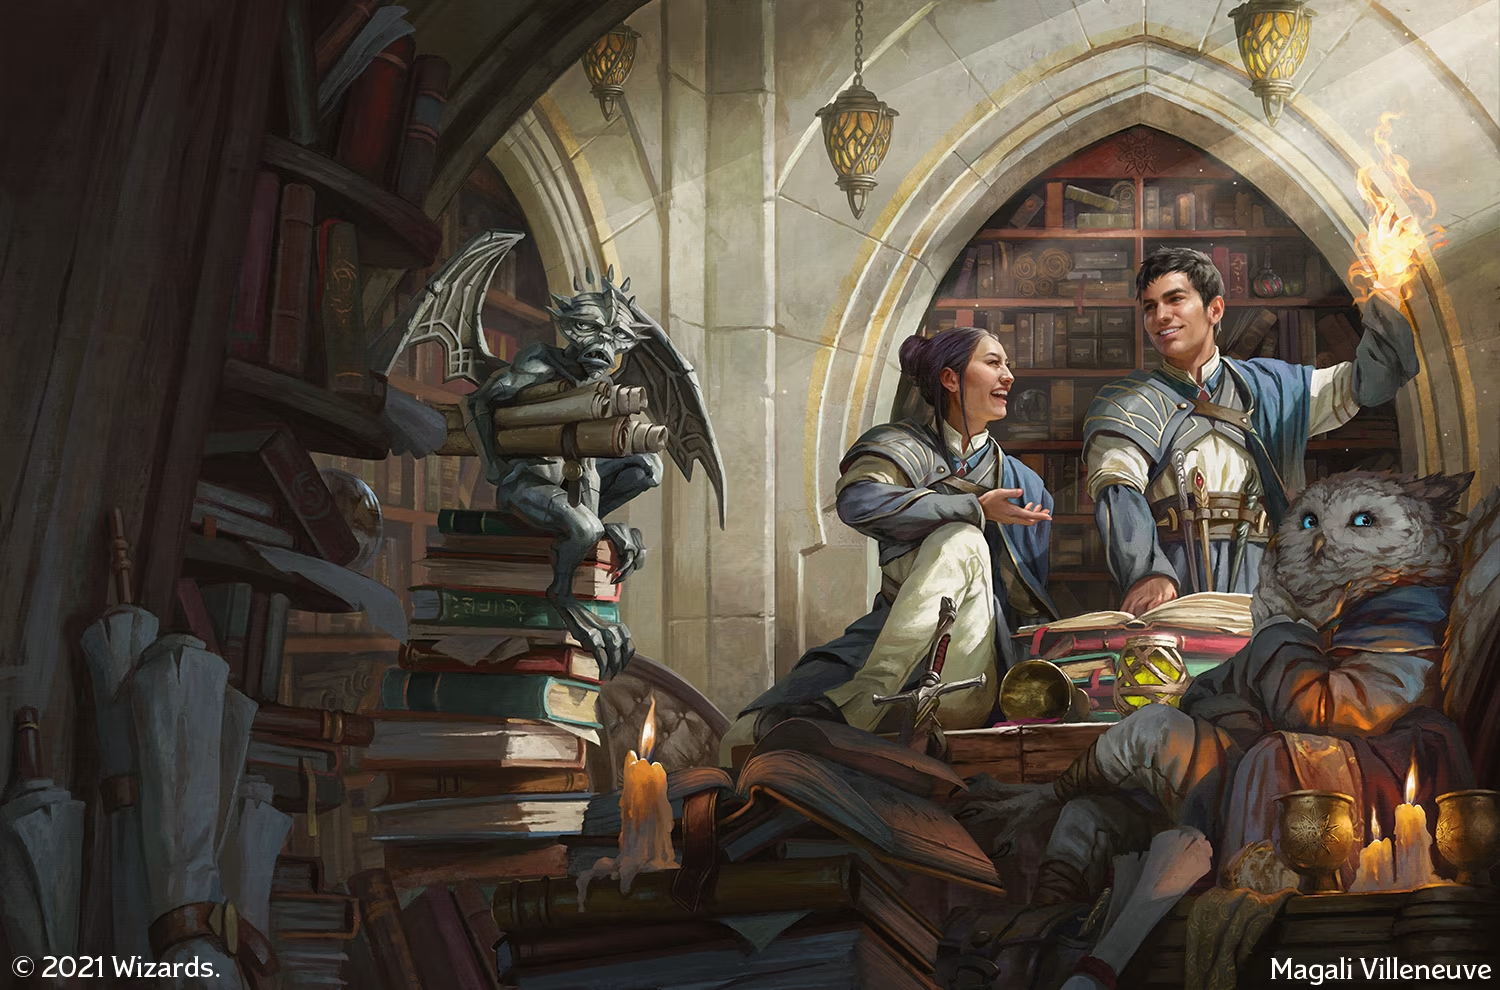
The greatest minds in the multiverse meet at Strixhaven University. Professors convey fantastic secrets to eager students, and life on campus is frenetic. But danger lurks even here. Campus hijinks mix with mishaps and sinister plots, and it’s up to you to save the day. Strixhaven: A Curriculum of Chaos introduces the fantastical setting of Strixhaven University, drawn from the multiverse of Magic: The Gathering, and provides rules for creating characters who are students in one of its five colleges. Characters can explore the setting over the course of four adventures, which can be played together or on their own. Each adventure describes an academic year filled with scholarly pursuits, campus shenanigans, exciting friendships, hidden dangers, and perhaps even romance.

How different things seem now from when you undertook the crushing of a few rebellious hill giants! What seemed a simple adventure has turned into a major expedition. Much time has passed since you discovered the conspiracy that led you to the frost giants, fire giants, and eventually to the long-forgotten Drow. Through your encounter with the dark elves, you have found the true source of the evil -- the demon queen Lolth! This module is the exciting conclusion of a series of seven AD&D modules. It may be played on its own or as the climax of the "Giant" series (G1-G3) and the 'Drow' series (D1-D3). The first of a new series of other-planar adventures, this module includes several new monsters, maps of the Demonweb and lair of Lolth, and notes on eight alternate worlds, suitable for expansion and addition to existing AD&D campaigns. TSR 9035
Centuries ago, a powerful wizard locked himself in his inner sanctum to dedicate his life to the pursuit of knowledge. His discoveries and magic remain sealed inside to this very day. Solve his riddle and unravel the fate of the wizard Maalzinabar and the sinister evil lurking in the depths. A 2-3 hour adventure for 5th-12th level characters

The mountainous lands of the Last Kingdom have long been home to dangerous oni and their foul servitors and kin, but the unification of the Saigoto under the enlightened rulership of the Five Truths has sent them scurrying back into darkness. For years since, they have kept the land shielded from harm. Yet even the great soldiers garrisoned across the Kingdom’s shores and roads cannot stop dissent from boiling up in the shadows. Not everyone embraces the edicts of the land—and while patient teachers, even the Five Truths have their limits. As growing numbers of lastfolk begin to question the traditions of the Last Kingdom, forces far more sinister, preying on the curiosities of mortals, have begun to emerge into the light... Can the PCs discover and end a treacherous plot that threatens to destroy the relative peace of the Last Kingdom?

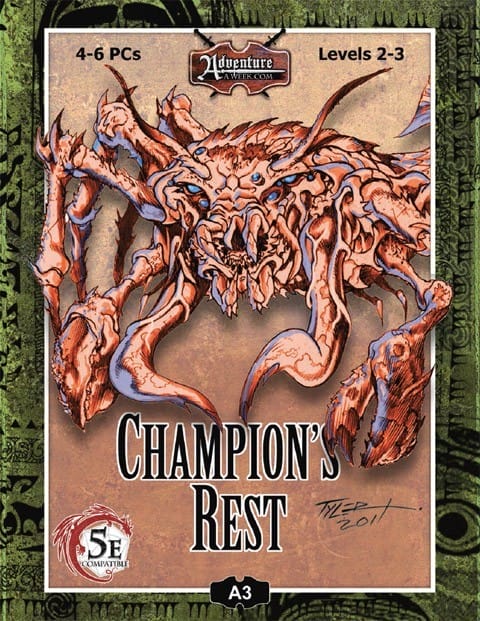
As the story goes, worshipers of Bahamut and worshipers of Gruumsh spent years warring. As the dead piled up, a Bahamut faithful crafted a weapon of devastating power. Most of the inventor’s peers balked at its use, but some felt it was justified. Those few who used the weapon were twisted into mad, dark beings by its corrupting power. The rest of Bahamut’s flock locked them and the weapon away in a dungeon prison. The dungeon and its terrible secret were long forgotten—until a group of rakshasas happened across the ancient tale. Now they seek the weapon for their own designs. Pgs. 132-137
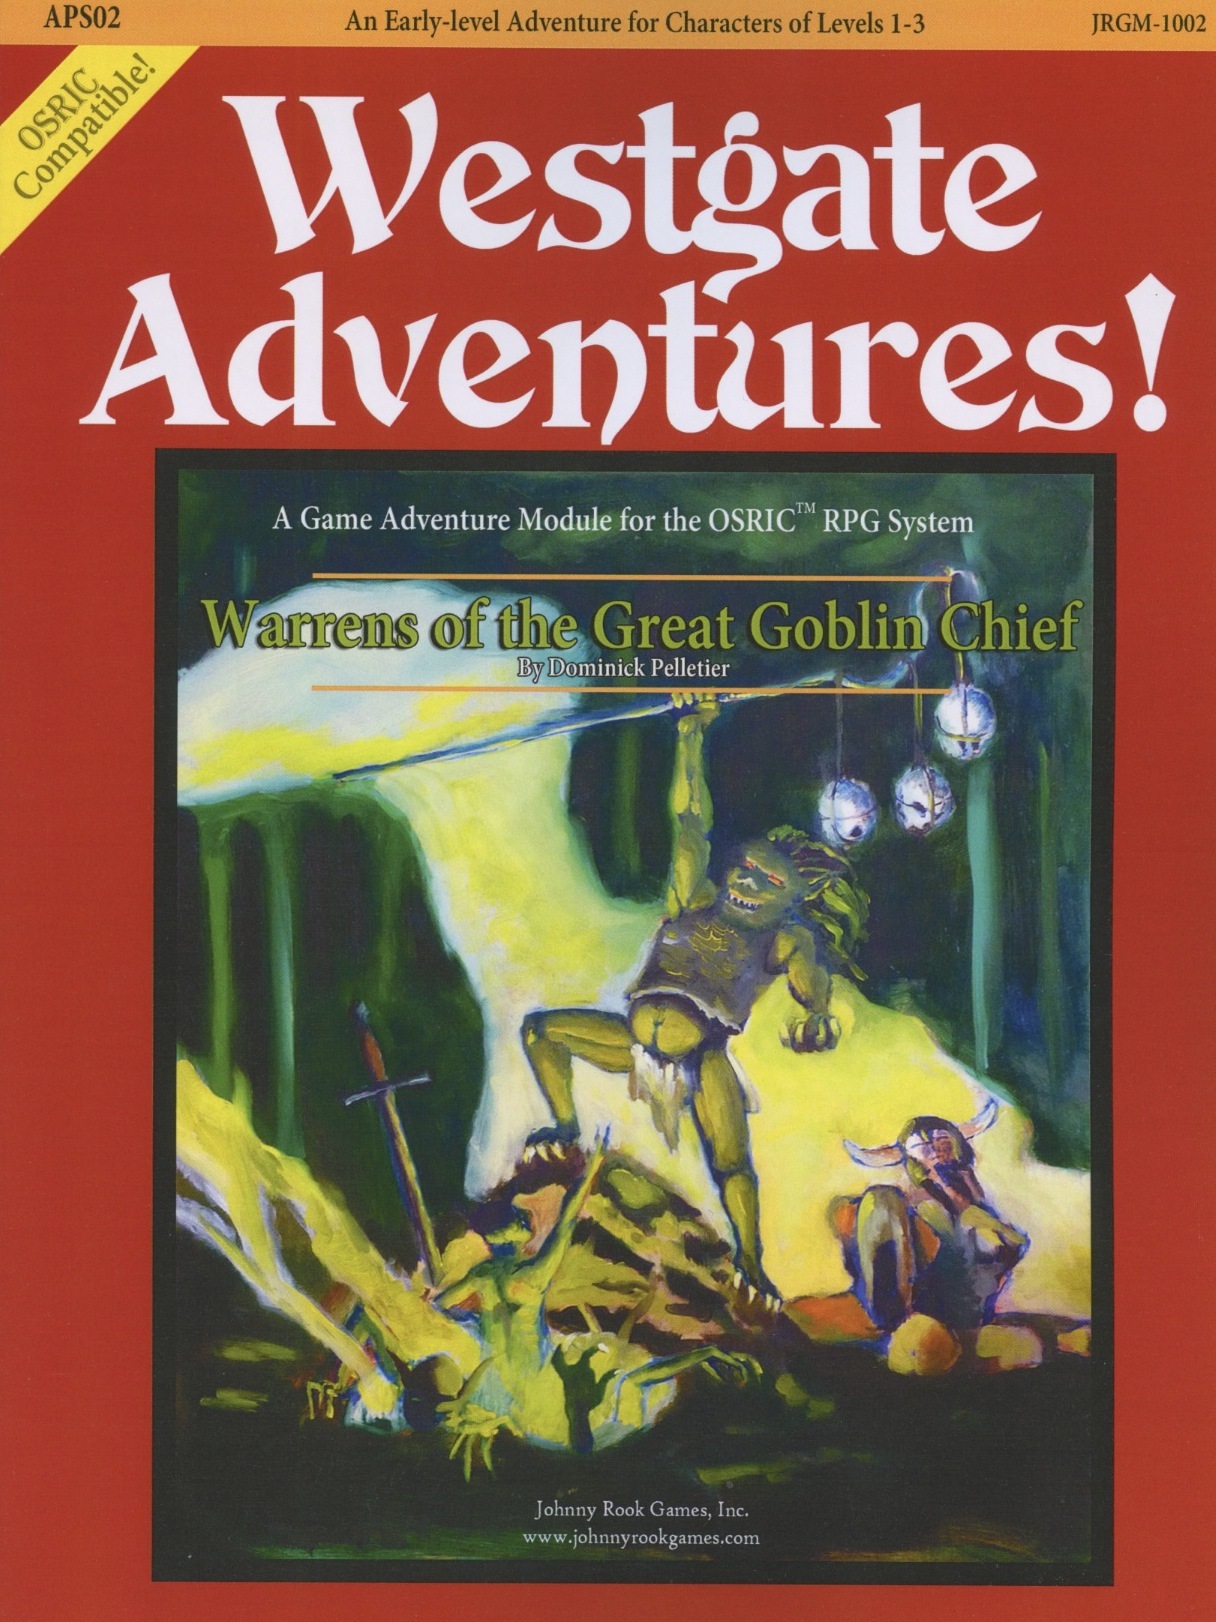
Goblins have returned to the area of Westgate, seeking an ancient magical item constructed for their foul kind. In their search, the goblins attack an imperial convoy secretly disguised as a merchant’s wagon. The knowledge that goblins are near must be kept quiet from the public, thus a small band of adventurers is required to seek out the creatures and the stolen magic item, deep inside the warrens of the great goblin chief! But the adventure does not end there...

The infamous Scorpion Prince ruled his domain centuries ago, but the lands are still desolate, a testament to his poisonous influence. His terrified subjects rejoiced in his death but also feared he would return if not interred properly. To ensure the prince's happiness in the afterlife and his tomb's security, his people erected a great monument and created trap-filled chambers to house and protect his body and his wealth.

This high level adventure returns the PCs to Helvana. A recent adventure has netted the party some Adamant, a rare ore in Filbar that is excellent for constructing weapons of amazing quality. As you arrive in Vorshmorgan to locate a smith you quickly discover there are problems in town. The scenario was designed to give upper level players a challenge and pits them against one of the most feared creatures in the land!
The Temple of Tesh-Yatra is a setting-neutral dungeon delve for a party of 6th level adventurers, inspired by the classic funhouse dungeons of yesteryear. The dungeon takes 6-10 hours to fully explore. It features a high proportion of non-combat encounters: puzzles, exploration, and the occasional deadly centrifuge. The ungodly fusion of a mad scientist’s lab and a planar temple, the dungeon includes an encounter that can launch your players into the Nine Hells – for a price... The Temple of Tesh-Yatra includes two new constructs to use in your game: the sinister Maimers, and the enigmatic Skorverra; as well as a new magic item: the Amulet of Tesh-Yatra, an artisan’s dream! The Temple of Tesh-Yatra also comes with a VTT battlemap (transparent PNG format). The Temple of Tesh-Yatra was originally set in the Outlands, as an extraplanar dungeon. But given its self-contained nature and the Temple's age, it is well-suited to any wildnerness, and would work equally well seeding a hex crawl.

Blood and Gold is an adventure involving crime, drugs and vampires. The quest takes place in an urban area and can be played in any (low) fantasy campaign setting. This scenario features a new captivating and deadly drug. The storyline is hardboiled and probably better fitting for characters of low morality, who won’t take to heart when it comes down to beating people in order to extract information and working for thugs and criminals. Still, the party can be kindhearted and their reasons for meddling with a shady crowd can be for a just cause. But by the end of the day, they themselves will be tempted with the pleasures of sinister life. Adventure Synopsis: Vampire Aris is a self-proclaimed prince of thieves and murderers. He is a ruler of the underground and a demon of night. Aris rose to power through gold and a drug he created from his own blood. Red Sinew is highly addictive, but gives pleasure mortals can’t resist. Aris is a sole vampire who knows how to create this potent toxin, or at least that’s what he thinks. Couple of months ago, his business got stale. There is a new dealer on the street who did not only steal Aris’ local customers but also his exporters. The ancient Vampire is furious as his dominion is shaken. He is set on revenge and blood will be shed, mortal and immortal alike. Published by: Adventurer's Inn

A fiend lurks among the Black Blade goblins. A shapeshifting barghest fashioned by the General of Gehenna to exact revenge on all goblin-kind. It’s aim: to kill as many goblin leaders as possible… A masked goblin approaches the party asking for help. Two tribe leaders are dead. But a rival for chief has control of the crime scene. Will the party discover the barghest among the goblin ranks? Can they stop this imposter before it strikes again? Adventure Overview The adventure’s story is spread over 4 parts and takes approximately 4 hours to play. The adventure begins with a Call to Action scene. Part 1: Goblin Politics. Krill sends his emissaries to implore help from any strong intermediary. The party is asked to investigate the murder of Thrawn in Dringly’s lair. This is Story Objective A. Part 2: The Opposition. Gain entry into Dringly’s lair and investigate the murder of Thrawn. Gather enough evidence to find the killer. This is Story Objective B. Part 3: To The Lair! Now that the players have determined the barghest (Yeep) is to blame, they need to get to Krill’s lair quickly as he is in imminent danger. This is Story Objective C. Part 4: The Barghest.When the players arrive at the lair, they need to get to Krill and expose and defeat the barghest. This is Story Objective D. Adventure Background A barghest named Yeep has begun its onslaught of attacks against the Black Blade goblins. Starting with Chief Gnar, then his second in command Thrawn, the barghest is moving methodically down the line of command. Krill is now chief. But he has some problems: Two leaders of the Black Blades are dead. Who killed them and why? Is he next? Dringly, the next in command, has decided to take his lair for himself, declaring himself Chief of the Black Blades. Who are the Black Blades? The Black Blades are a tribe of goblins in the local area. They are known for dipping their blades in a dark black substance. It is rumored these blades are poisonous. The Black Blades regularly attack passersby on the road to rob them. The Black Blades have two lairs, one run by a chief who leads the whole tribe, and another overseen by a boss lieutenant. The Black Blades have a well-established pecking order which is how Krill stands to become chief. The next in line is Dringly, who has also declared himself chief and wants Krill dead. Krill suspects that there is something suspicious about two leaders being killed within a day of each other, but he has already burned Gnar’s body without any investigation. He needs to investigate the body of Thrawn, but it is in Dringly’s lair. Krill wishes to avoid direct confrontation with Dringly at the present for three reasons: 1) Any violence would only kill his own tribe members and further divide the lairs. 2) He believes there is still hope for negotiation to reunite the Black Blades. 3) He believes that if he were to attempt negotiations himself, Dringly would kill him. This adventure features: Two maps. Ready for your favorite Virtual Tabletop. A full color pdf. A black and white pdf. One custom monster, a reprint of barghest, all others available in the Monster Manual. Four hours of entertainment involving: roll playing a goblin bard, investigating a murder scene, tracking down a barghest before it strikes again. Applicable to any setting.
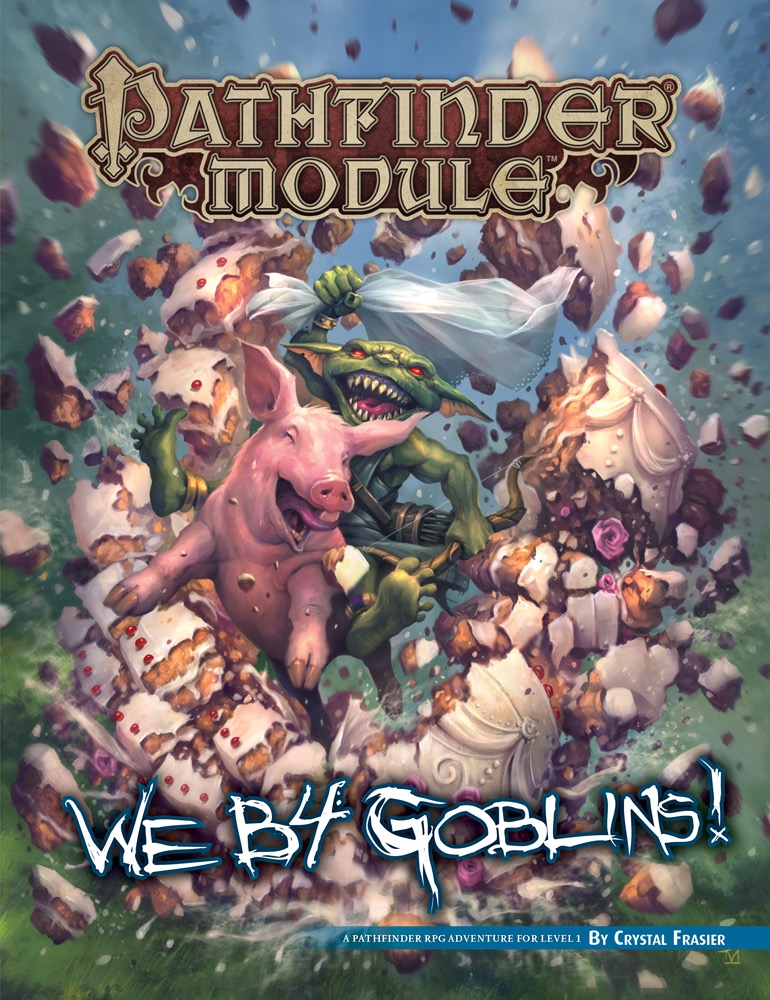
As whelps of the Licktoad tribe just out of their swaddling cages, the goblins Chuffy, Mogmurch, Poog, and Reta must prove themselves by undergoing a series of challenges, from tying a string to a large spider and shouting insults with hot rocks in their mouths to facing off against a goblin bully and his dimwitted minions. As a final test of their mettle, they must make a dangerous (and smelly) trek to claim a toad from the nearby swamp and present it to the terrifying presence that lurks within the Cave of Darkfear, only after which can they truly call themselves goblins! Part 4 of We be Goblins series

In “Rescue at Rivenroar,” the player characters must brave the depths of ancient catacombs in search of prisoners taken from the town of Brindol in a midnight raid. The hobgoblins, bandits that style themselves after an invading horde from long ago, have taken refuge in a dungeon under a ruined mountain fortress, and the PCs must clear them out to find the captive townsfolk and the treasures taken from Brindol. “Rescue at Rivenroar” also marks the first step in a great journey - the Scales of War Adventure Path, which spans 30 levels and put the PCs at the crux of events that shapes the world for centuries to come. While the scope of this adventure isn’t as grand, it represents the seed from which an epic tale will surely grow. Pgs. 4-45

Four doors of mystery appear in the Cage. They lead to four adventures, if a basher has the dark of them. "These aren't doors in the traditional sense, cutter, but they're portals just the same. They appear for a short time every 500 years, popping up in different parts of Sigil. Each hides a mystery that's waiting to be solved, and together they just might hold the key to a secret of the multiverse. All a body's got to do is tumble to the right keys, open the doors, and face down the Unknown." - Estavan, merchant lord Doors to the Unknown is a collection of four Planescape adventures that can be played separately or as a mini-campaign. When four doors appear in the Cage, the barmies crawl out of the shadows, and the heroes get drawn into events that could have consequences for the entire multiverse. Each door leads to a different plane and a different deadly challenge for the player characters. Together they offer a way to stop an ancient menace before it strikes again.
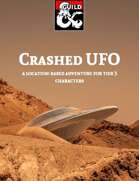
In this adventure, designed to last for a 3-4 hour session, the player characters encounter (or are directed to) a mysterious object in the mountains: A strange, silvery disc around one hundred feet across. If they make it past the deadly laser turrets and the very hungry sole survivor who lurks inside the only viable entry, they can explore the derelict craft. They will find several magic items, including a solar-powered laser pistol, as well as evidence of the ship's dead masters: The brain-eating illithid. But with technology comes other ways to stay alive over long periods of time, and the greatest danger is accessed by pushing the only lit button in the entire ship...
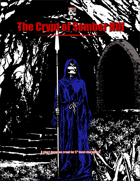
The town of Somber Hill is a quiet settlement in the foothills of a mountain range. A few days travel from the nearest city, the people of Somber Hill are a humble and self-reliant bunch. Unbeknownst to its people, the small town hides a sinister secret, some of the residents of Somber Hill belong to a cult that worships a long dead entity. Known only as The Dark One by their followers, this ancient being once called Old Somber Hill home. Their dark master is entombed in the catacombs beneath the town, and the cult hopes to resurrect their master with a blood sacrifice. The Crypt of Somber Hill is a Setting Neutral adventure and thus can be easily included in any existing story-line with minor alterations and adjustments or outright slotted into any existing campaign setting.
The Loi’Tok burial mound of the Vikmordere was abandoned long ago. The party is hired by the mayor of the local town to locate some soldiers who went missing after entering Loi’Tok. Strangely enough no sign of the soldiers can be found within the burial site aside from a few scattered weapons and pools of blood. Before the party has time to investigate, Vikmordere barbarians show up searching for a group of their own missing kinsmen. Will the two groups blame each other or join forces to solve the mystery surrounding the recent disappearances?