/pic2762974.jpg)
As an aspiring hero of Highfolk and the Flanaess, you are asked to come to a feast of small proportions to celebrate your deeds. A home-cooked meal, a warm cozy fire, a hearty tale from an old gnome, a journey deep in the Vesve again, where n one can hear you scream. This is an RPGA competition scenario. Four hours is allocated for its completion.
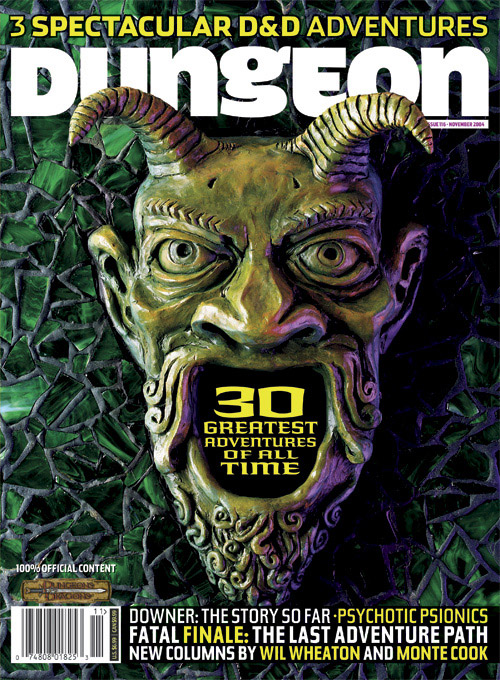
The Cagewrights are defeated. The Tree of Shackled Sould is no more. Lord Vhalantru has been exposed and put down for the menace he truly was. The town of Cauldron has been saved from volcanic apocalypse. The heroes of Cauldron have earned their place in history, and more than deserve a time of rest, yet fate is not so kind. For the true menace behind the curtain still lives. As long as Adimarchus, the demon prince of madness, continues to dream his haunted dreams and writhe away the years in torment in the fiendish asylum of Skullrot, Cauldron can never be truly safe. "Asylum" concludes the Shackled City Adventure Path that began with "Life's Bazaar" (Dungeon #97) and continued with "Flood Season" (Dungeon #98), "Zenith Trajectory" (Dungeon #102), "The Demonskar Legacy" (Dungeon #104), "Test of the Smoking Eye" (Dungeon #107), "Secrets of the Soul Pillar" (Dungeon #109), "Lords of Oblivion" (Dungeon #111), "Foundation of Flame" (Dungeon #113), "Thirteen Cages" (Dungeon #114), and "Strike on Shatterhorn" (Dungeon #115). Pgs. 40-65
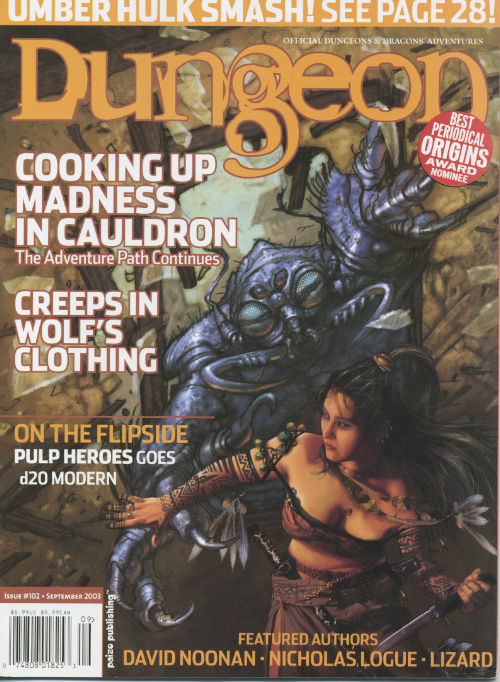
Part 3 of the Shackled City Adventure Path "Wherein a tribe of the Sea Mother's children suffer for sparing the life of a mad prisoner they probably should have eaten." Synopsis: The adventure begins with an Umber Hulk attack in the middle of the city. The fame gained by assisting during the attack allows them to gain the notice of a representative of Davked Splintershield. The group is asked to rescue Zenith Splintershield from a Kuo-Toan temple in the Underdark. But to find it, they have to visit Crazy Jared to locate an entrance to it. Upon journeying to Crazy Jared's, they fight Hookface's offspring. After more travelling, they are able to descend into the Underdark. Once they find the Kuo-Toan temple, they must fight through many hard challenges, only to realize that Zenith is not a prisoner, but instead is a prophet. Zenith does not go willingly, and so must be captured. Pgs. 28-61
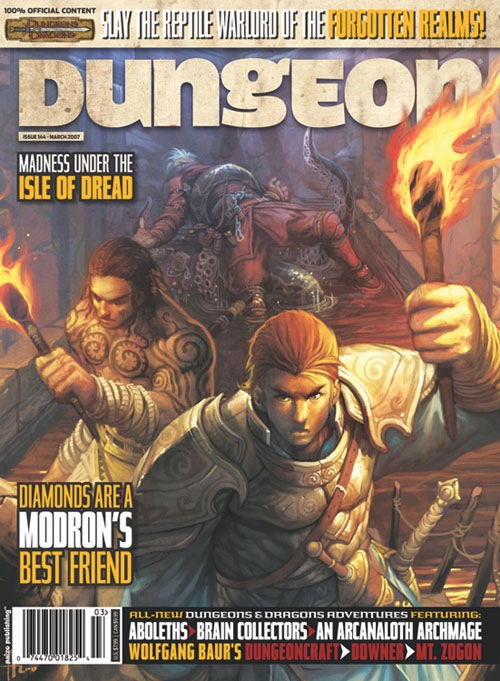
Deep beneath the Isle of Dread, in a place forgotten by the world of light, an ancient, unfathomable evil festers. Within the desiccated ruin known as Golsimorga, the debased kopru servants of Demogorgon work foul rites, steeping immature shadow pearls in pits of liquid insanity. None from the world above have yet fathomed what terrors lurk beneath the Isle of Dread, nor what mad scheme roils to profane life deep within the city's gangrenous corpse. "The Lightless Depths" is the sixth chapter of the Savage Tides Adventure Path, a complete campaign consisting of 12 adventures appearing in Dungeon magazine. For additional aid in running this campaign, check out Dragon magazine's monthly "Savage Tidings" articles, a series that helps players and DMs prepare for and expand upon the campaign. Issue #353 of Dragon features ways to improve the PCs' vessel, the Sea Wyvern, as they take their adventures back to the seas. When the PCs journey deep under the Isle of Dread to find the source of the shadow pearls, they discover horrors beyond imagining in a haunted underground city perched on sanity's razored edge. Pgs. 28-66

"... an Adventure to Challenge the Bold..." Screams echo in the night, the charred remnants of a village are mute by day. From the decaying lands of the Pomarj, slavers have struck again! The adventure that began in the Temple of Elemental Evil now sweeps southward across the Wild Coast and into the desolate lands of the inhuman Pomarj. Slave raiders scour the countryside, leaving death and destruction in their wake. Daring adventurers strike into the heartland of the foe to harry the villains and bring retribution and justice to the land. This product contains the completely revised Aerie of the Slavelords series of adventures. Also included are new challenges and new scenarios detailing the Wild Coast, the city of Highport, the blasted lands of the Pomarj and the Drachensgrab Mountains. TSR 9167

A traditional "funhouse" dungeon, White Plume Mountain begins with the archmage Keraptis stealing three artifacts and leaving cryptic poems with their former owners. The players are hired to recover the items, and find a bizarre dungeon in the side of the eponymous volcano. TSR 9027

Nestled on the coast of the Azure Sea is Saltmarsh, a sleepy fishing village that sits on the precipice of destruction. Smugglers guide their ships to hidden coves, willing to slit the throat of anyone foolhardy enough to cross their path. Cruel sahuagin gather beneath the waves, plotting to sweep away coastal cities. Drowned sailors stir to unnatural life, animated by dark magic and sent forth in search of revenge. The cult of a forbidden god extends its reach outward from a decaying port, hungry for fresh victims and willing recruits. While Saltmarsh slumbers, the evils that seek to plunder it grow stronger. Heroes must arise to keep the waves safe! Ghosts of Saltmarsh combines some of the most popular classic adventures from the first edition of Dungeons & Dragons including the classic ‘U’ series and some of the best nautical adventures from Dungeon magazine: The Sinister Secret of Saltmarsh Danger at Dunwater The Final Enemy Salvage Operation Isle of the Abbey Tammeraut’s Fate The Styes All adventures have been faithfully adapted to the fifth edition rules of Dungeons & Dragons. Furthermore, this book includes details on the port town of Saltmarsh, as well as plenty of hooks to kick-off each adventure. Play through each story in a seafaring campaign leading characters from level 1 through level 12, or pull out sections to place in ongoing campaigns in any setting. The appendices also cover mechanics for ship-to-ship combat, new magic items, monsters, and more! “The Saltmarsh series consistently ranks as one of the most popular classic D&D adventures,” said Mike Mearls, franchise creative director of D&D. “With its ties to ocean-based adventuring, it was an obvious step to augment it with additional sea-based adventures and a robust set of rules for managing a nautical campaign.” Hoist your sails, pull up anchor, and set a course for adventure!
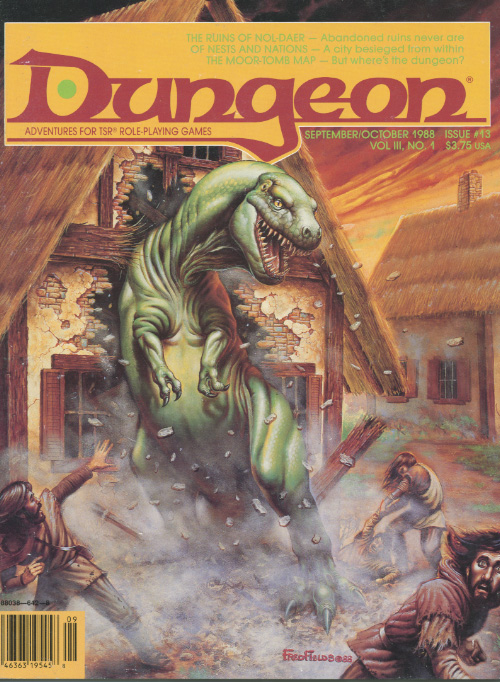
Abandoned and forgotten ruins never are. He left the Abyss to visit his human mother, not realizing he was a century too late. Still, there was a lot he had left to do... An ancient castle, Nol-Daer, has of late become the site of frequent strange occurrences. Gargoyles and Blood Hawks roost in the keep's ruined towers, Dwarves have been disappearing from the nearby area, and a Cambion controls it all from the shadows. Pgs. 3-17 & 64
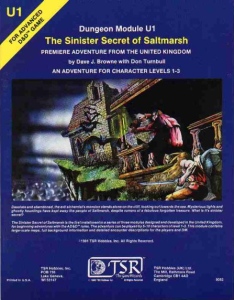
Desolate and abandoned, the evil alchemist's mansion stands alone on the cliff, looking out towards the sea. Mysterious lights and ghostly hauntings have kept away the people of Saltmarsh, despite rumors of a fabulous, forgotten treasure. What is its sinister secret. Made for 5-10 character of levels 1-3, contains maps, handouts and encounter descriptions. The Sinister Secret of Saltmarsh is the first installment in a series of three modules designed and developed in the United Kingdom for beginning adventures with the AD&D rules. TSR 9062

The dreadful jails below the appalling City of Skulls, Iuz's nightmare capital, contain many wretched and desperate captives. Among them is Earl Holmer, Knight Commander of the Shield Lands. A brave spy in Dorakaa has shown the ay to find and free Holmer—is your party up to the job of freeing him? King Belvor IV of Furyondy believes so. In the way stand fearsome priests and mages of the Lord of Pain; ogres, giants, fiends, and worse hinder the struggle to defeat the traps and guardians of Iuz. Plucking Holmer from his grasp will bring great renown, knighthood, and treasure—for those who survive. None has ever escaped Iuz's jails. Who will you be the first to use stealth or storm to breach them? TSR 9405

Somewhere in the heart of the steaming jungle lies the answer to the whispered tales - rumors of a magnificent city and foul, horrid rituals! Here a brave party might find riches and wonders - or death! Is your party brave enough to face the terrors of the unknown and find the Forbidden City! TSR 9046

Barbarian legends tell of five magical blades of measureless power. The more civilized cultures of warmer climes believe these tales to be nothing more than delirious dreams of frost-bitten brains. "Those frozen louts- they're trying to scare respect out of us!" At least that's what they want to believe. Three of the legendary blades of Corusk have been unearthed, and their powers have proven to be all that the tales claimed. You have been given these to use in the quest for the remaining two blades. However, word has spread to the peoples of the neighboring areas, and two groups are working against you to prevent your securing these swords. Beware the Hold of the Stonefist and the Rovers of the Barren! Only so much time remains for you to locate the last two Blades of Corusk ... and your enemies are on the horizon. Find the blades, and reclaim your birthright of honor and respect; fail, and be outcast from your tribes for life. The choice is yours. TSR 9337
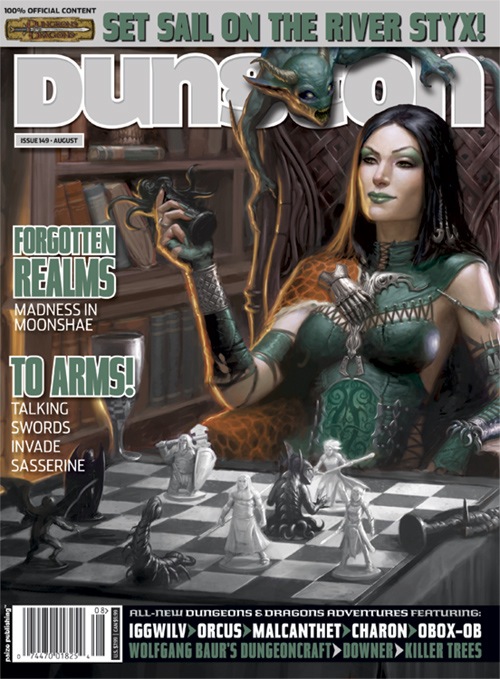
Iggwilv. Orcus. Maleanthet. Obox-Ob. Charon. These names are among the most notorious in the multiverse, appellations belonging to some of the most dangerous and powerful creatures on the lower planes. Heroes from countless worlds have raised their arms against these immortal foes and, in most cases, these heroes have perished to their soul-blasting, life-ending might. Their lairs are notorious as they are: the River Styx, beautiful but deadly Shendilavri, the Gray Wastes of Hades, frozen Thanatos, and mind-numbing Zionyn. Simply entering one of these scions of evil is akin to suicide. Yet now, as the Prince of Demons begins the final rituals to bring the savage tide to the Material Plane, heroes must approach these immortal villains not as enemies, but as allies. "Enemies of My Enemy" is the eleventh chapter in the Savage Tide Adventure Path, a complete campaign consisting of 12 adventures appearing in Dungeon magazine. For additional aid in running this campaign, check out Dragon magazine's monthly "Savage Tidings" articles, a series that helps players and DMs prepare for and expand on the campaign. Issue #358 of Dragon magazine features a map of the River Styx and advice for those who would use this notorious river as a route in exploring the lower planes. The time draws near for the final assault on Gaping Maw, but first the PCs must recruit allies from the depths of the Abyss to the eladrin Court of Stars. yet will this unlikely alliance of demons and eladrins be enough to stop the Prince of Demons? Pgs. 40-85

An expansion on the original Tomb of Horrors with plot and explanation. Contains a facsimile of the original adventure. The Dark Intrusion is causing the dead to rise from their graves. This is linked to a being known as the Devourer. Following the trail of Desatysso, a wizard who followed a similar quest, the players must enter the Tomb, and beyond that, the cursed City that Waits and the Fortress of Conclusion.

The Lost Tombs, Volume 1 Derro swarm in the Abbor-Alz. The Doomgrinder windmill's blades approach their zenith. Strange sightings in Hardby and rumors of a bandit empire in the mountains have commoners and nobles concerned. The Circle of Eight hopes that the key to averting this disaster can be found in the mysteries of a group of five ancient crypts, the Star Cairns. But first someone has to find the fifth cairn.... Five separate adventure sites playable individually or linked together, The Star Cairns can provide a diversion for treasure-hungry adventurers - or can be used as the seeds for an extensive campaign. Although the adventures are designed for four to eight characters of levels 5-8, each section can be adjusted for weaker or stronger groups. TSR 9579
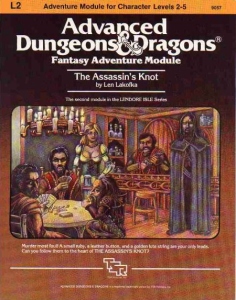
The Assassin's Knot is a sequel to The Secret of Bone Hill, picking up on themes from that module and shifts them to a new locale. The player characters must solve the mystery of who killed the Baron of Restenford, with evidence pointing to somebody from the town of Garrotten. The scenario describes the town and its castle. The Assassin's Knot module is different from most of its contemporaries in that it contained no dungeon or dungeon-like area. The longer the players take to find the murderer, the more unfortunate events occur in the village. The village, Garrotten, is reputed to be the place to go to have someone killed. The entire village shuts down when the Baron of Restenford is found dead, mutilated beyond the possibility of magical restoration. Three small clues are all the player characters have to unravel the mystery. TSR 9057
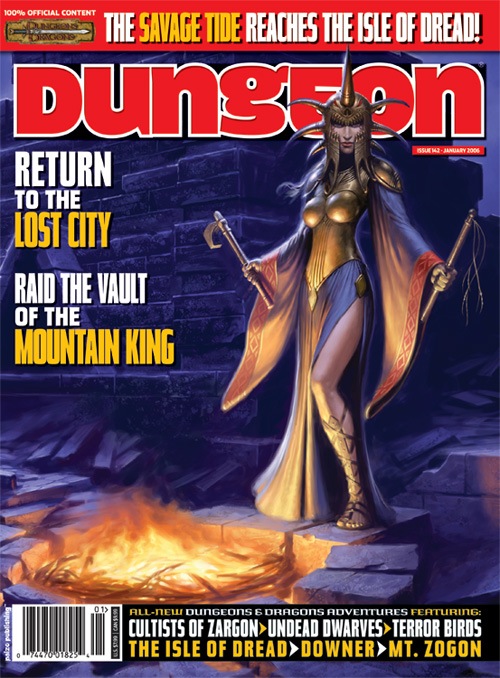
A long, perilous ocean journey behind them, the crew of the Sea Wyvern finds itself shipwrecked on the Isle of Dread. Their destination lies well over 150 miles to the south, miles heavy with the threat of the island's terrible inhabitants. Yet the unknown enemies are far more sinister, for more than just dinosaurs hunt the vast jungles. Before long, a cunning fiend picks up their trail, and its duplicitous master demands their sacrifice. "Here There Be Monsters" is the fourth chapter of the Savage Tide Adventure Path, a complete campaign consisting of 12 adventures appearing in Dungeon. For additional aid in running this campaign, check out Dragon's monthly "Savage Tidings" articles, a series that helps players and DMs prepare for and expand upon the campaign. Issue #352 of Dragon explores the Isle of Dread in detail, providing a complete ecology of the island and the writing of Larissa Vanderboren. This article can be used as a player handout to represent the journals the group recovered from the Vanderboren family vault in the first adventure in the Campaign. Shipwrecked on the Isle of Dread! Faced with a dangerous journey, the PCs must escort a ragged band of castaways through monster-infested wildlands in order to reach the safety promised by the colony of Farshore on the isle’s southern tip. Pgs. 32-60

Just as the trail led from the STEADING OF THE HILL GIANT CHIEF to the frozen wastes where was found the GLACIAL RIFT OF THE FROST GIANT JARL, so the adventure in the latter place has let (or transported) the intrepid party to what they hope will be their last challenge. They are about to venture into the hot and smoking barrens which are in effect Muspelheim, the home of fire giants. This module contains background information, referee's notes, three level maps, and exploration matrix keys. It provides a complete module for play of ADVANCED DUNGEONS & DRAGONS, and it can be used alone or as the last of a three-part expedition adventure which also employs DUNGEON MODULE G1 (STEADING OF THE HILL GIANT CHIEF and DUNGEON MODULE G2 (GLACIAL RIFT OF THE FROST GIANT JARL). TSR 9018

Sinister Forces Terrorize a Town The town of Brindinford is in the midst of its annual street fair. Joy and merriment abound - until calamity disrupts the celebration. Are rival gangs responsible? Is the government sliding into tyranny? Or is a nightmarish plot about to come to fruition? "The Speaker in Dreams" is a stand-alone adventure for the DUNGEONS & DRAGONS® game. Player characters are in for a wild ride in this river town. Leave the dungeon behind: the terrors lurking in Brindinford are more challenging by far! In The Speaker in Dreams, the town of Brindinford is besieged by evil forces under the command of Ghaerleth Axom. A street fair is interrupted by an attack, which serves as a distraction for the villain's forces to attack the keep of the local baron. This provides an entry point for the player characters into the main quest to discover the secret alliances trying to take over the town. The Speaker in Dreams is an event-based, rather than site-based, adventure.
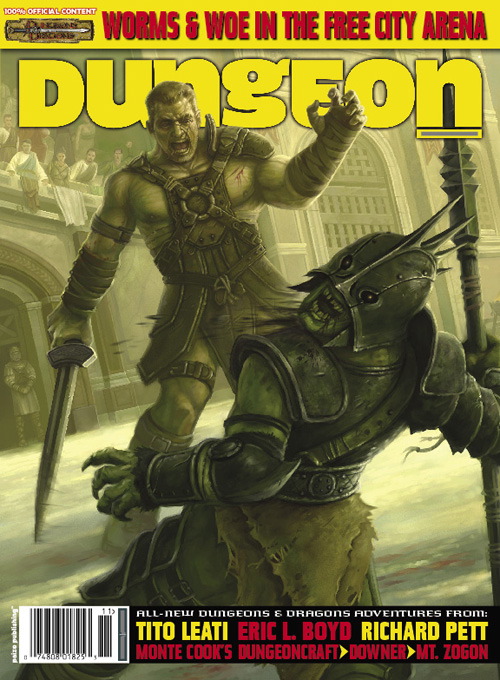
The hidden masters of the Ebon Triad have something special planned for the culmination of the Champion’s Games: a foul ritual designed to transform the arena into a stage of enormous carnage to honor their dark overgod. To stop them, the PCs must explore the dark complex of the arena’s master, and destroy his pet monster before it’s too late. An Age of Worms Adventure Path Adventure for 9th level characters. "The Champion's Belt" is the fifth installment of the Age of Worms Adventure Path, a complete campaign consisting of 12 adventures, several "Backdrop" articles to help Dungeon masters run the series, and a handful of poster maps of key locations. For additional aid in running this campaign, check out Dragon's monthly "Worm Food" articles, a series that provides additional materials to help players survive this campaign. Check out issue #337 of Dragon for guidelines on what they can purchase in the Free City. Pgs. 30-62