
What the living forget, the dead remember forever. For some, duty and revenge are stronger than death. Pgs. 4-7

The earth churns in a city graveyard, revealing not the undead but an ancient war machine. A great iron transport bores its way up from depths below, disrupting funeral rites and sending the citizens into a panic. With an opportunity to investigate and reap the rewards of bravery, the party closes on the graveyard. There they discover that the pilots of the strange vehicle are soulless automatons who have spent an eternity burrowing toward the battlefront of a long-forgotten war. In this action-packed and gritty adventure, the party must battle automatons, breach the iron transport, and put down its mad and malfunctioning commander.

Trapped in the dungeons of the Slave Lords! The hardy adventurers must find a way out, with only their wits and courage to help them. But can they do it before everything is destroyed by the dreaded Earth Dragon? This module contains a challenging scenario for experienced players, the tournament scoring system, and nine fully-equipped playtested characters. Also included are large-scale referee maps, playing aids, notes, and background information. A4 is a complete adventure in itself, but can also be used in conjunction with A1 (SLAVE PITS OF THE UNDERCITY), A2 (SECRET OF THE SLAVERS' STOCKADE), and A3 (ASSAULT ON THE AERIE OF THE SLAVE LORDS). TSR 9042

Corruption grows in what used to be the Dayawlongon archipelago's most sacred island. When a wanted fugitive flees to the blighted holy land, the player characters are asked to chase after and apprehend the renegade. As the adventure unfolds, it soon becomes apparent that the roots of corruption run deep. This can be run as a standalone adventure or as a sequel to the Between Tangled Roots adventure from Journeys Through the Radiant Citadel. What's included? 1 infectious adventure divided into single-page sections for easy running 2 fully-colored maps with unlabeled versions for players (made with assets from 2-minute Tabletop) 3 new creature statblocks with clickable links for quick access 4+ ending variations based on what the player characters do throughout the adventure Content Warnings: Abduction, betrayal, corruption, death, disease, mental manipulation, violence

Set to the west of Crystal Shores this old tomb is said to hold riches of untold value. Some say a magical healing item may be located within the secret rooms of the lost sanctuary!

After enjoying a bit of free time in Cullifield while some members of your party finish their training, you hear word of a quick trip out to sea. Further investigation leads you to understand a certain list needs fulfilled and a drunken sea captain is willing to split the profits. Well, no need to sit around on your hands…let’s hit the waves!

Famed hedonist Horatio Humbert, likewise possessed by an avarice for novelty, has offered a great bounty for any party-goers capable of convincing the moon elves to attend his next birthday. From his pleasure barge to the moon, this 4th level adventure mixes extended social and roleplay opportunities with a high-stakes, low-gravity boss fight your players will never forget! Long ago, in the golden age of the elves, a collection of master mages and elven demigods decided to leave our world to create a utopia of undying revelry, bacchanalia, and hedonism. By the grace of the divines and the strength of their magic, they ascended to the moon. Yet the pleasure-seeking life, even free of time and death, is driven by desperate hungers, novelty chief among them. To combat their eternal ennui, the moon elves have taken to the lowest form of carousing: destination party tourism.
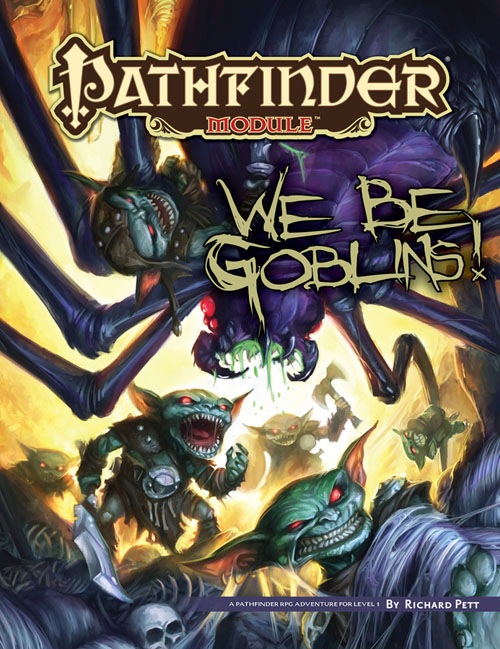
The Licktoad goblins of Brinestump Marsh have stumbled upon a great treasure—fireworks! Yet unfortunately for them, the tribe member responsible for the discovery has already been exiled for the abhorrent crime of writing (which every goblin knows steals words from your head). To remedy this situation, the Licktoads’ leader, His Mighty Girthness Chief Rendwattle Gutwad, has declared that the greatest heroes of the tribe must venture forth to retrieve the rest of the fireworks from a derelict ship stranded in the marsh. The PCs play as a group of freaking goblins! What more do you need to know? Part 1 of the We Be Goblins series.
A vanished tome, a faded legend, and the end of the world. Out of the eons, the deadliest artifact. At least one magic-user is required, and fighters and thieves would be very helpful. Magic-users may have a special interest in this quest due to the nature of the item for which they search. Traps and puzzles are a dominant theme, and problem solving is necessary. Pgs. 41-64

To Hell and Back Again is the perfect adventure for new players and veterans looking to experience Dungeons & Dragons in a new way! It's written as a solo adventure, where choices have gigantic consequences, but it also provides balanced rules to play with a group or a Dungeon Master as well! This 80 page adventure features: - A heart-pounding origins story that fits perfectly as either a prequel to Descent Into Avernus, a stand-alone adventure, or into your ongoing fantasy campaign. - Beloved characters like Lulu the hollyphant, Mad Maggie and her redcap gang, the archdevil Zariel, and many others brand new to this adventure. - Infernal War Machines, and exciting encounters with unique stat blocks. - Innovative Destiny and Traits mechanics that make your choices really matter. - A ton of possible outcomes that will fuel your character's many adventures to come! - Four gorgeous sample characters, with interactive character sheets designed to be new-player friendly so that you can jump right into the story if you'd like. - A community survey when you finish so that you can see how your outcomes and choices compared to other players!

This scenario was originally designed for five PCs of 13th level as a one-shot. A string of successes by the party has resulted in a high demand for their services. This new challenge involves an intrusive Ancient White Dragon extorting funds from the countryside of San Doral. Can your party cross Garnet Gorge and show this nasty Wyrm who’s the boss?

Devastated in a war with a nearby wizards' school, the Fighters' Academy has since been surrounded by a foul and dank swamp - the Gloomfens. Since the climatctic battle between the wizards and fighters, the tower has decayed. The spirit of the head of the academy haunts the building, eternally plotting his revenge on the wizards who killed him. his loyal sutdents remain faithful to him even in death. Other foul undead have made their home in the rotting, spacious academy. From their lair, they make forays into farmsteads near the swamp in search of victims to feed their unspeakable appetites. The Problem of these terrible attacks by the savage undead will not stop until the evil that has found a home at the tower is burned from the face of the land forever. Will your party heed the call and help the town of Melinir? Will they be able to clear the former Academy of its undead? Towers of Evil is the second in a three part adventure, The Haunted Tower. Or, it can be ran as a stand alone adventure. The choice is up to you. Part of TSR 1081 The Haunted Tower
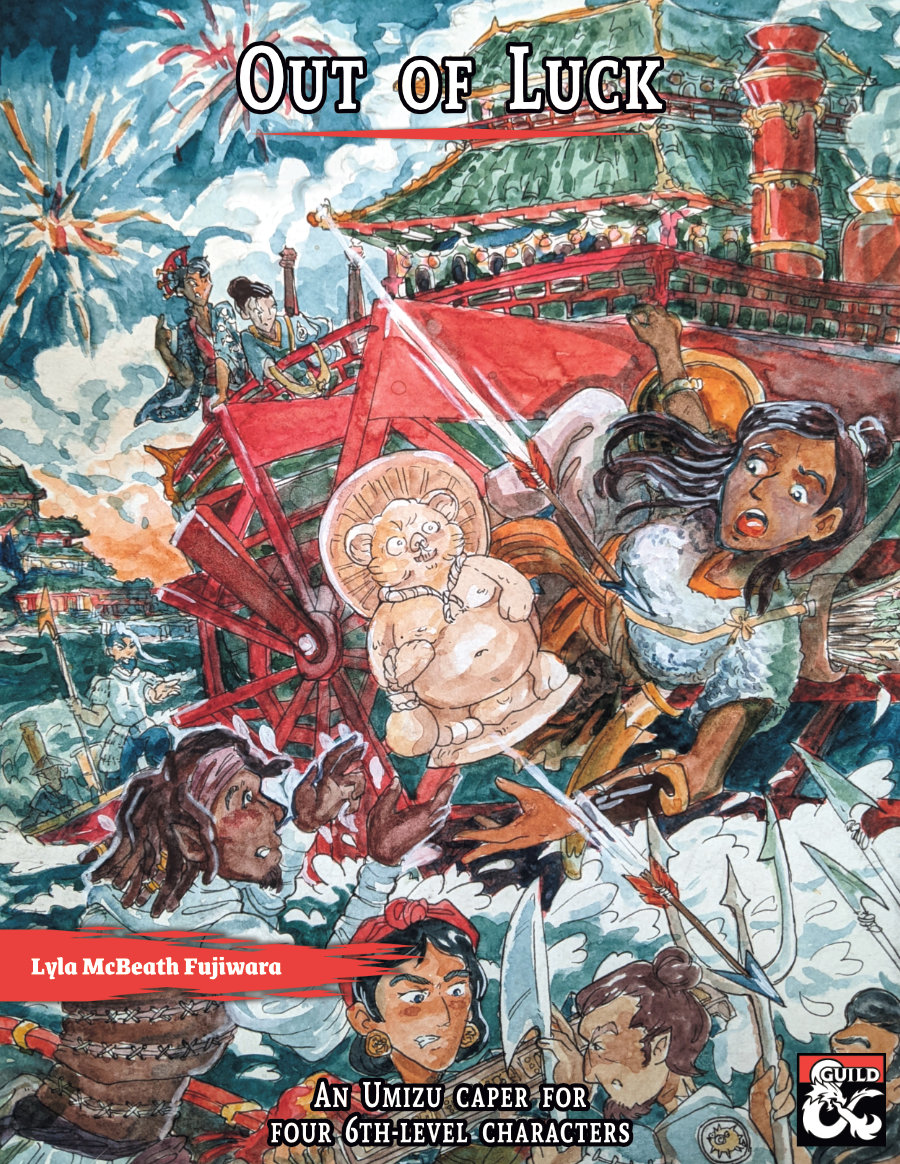
Take down a brutal crime boss in this one-shot heist with hijinx and heart. Explore Umizu, a seedy coastal steampunk city-state inspired by pre-modern Japan. Umizu is a Radiant Citadel locale that never got a full adventure--until now! Out of Luck features a cursed tanuki statue, a baby’s birthday party, and a steamboat fireworks battle! This one-shot includes everything you need to run a memorable caper: - Full-Color VTT-compatible steamboat bathhouse maps (DM and Player versions) - 8 Hand-drawn portraits and tokens for monsters and NPCs - Player handouts, a suspicion tracker, and three new stat blocks - Compatible with the Radiant Citadel or the Golden Vault; run as a one-shot or as part of a campaign - Thoroughly playtested and reviewed; over 30 players and DMs have gone through the adventure - A printer-friendly version Synopsis The Independent Merchants of Bright Moon Pier are sick of the Safe Oceans Society’s protection racket. After negotiations turn violent, the merchants opt for subterfuge. They hire the characters to infiltrate Boss Yashima’s birthday for her infant daughter and trick Yashima into accepting a cursed artifact, the Idol of Misfortune. Will this be a clean caper, or will the characters find themselves out of luck?

A master criminal has been making her way across the Moonsea, stealing priceless treasures at every stop. It's up to you to trace her steps, find her allies, and stop her before she can claim her final prize. A Two to Four-Hour Adventure for Tier 2 Characters. Optimized for APL 8.

The Hag's Hexes is a 66 page guide designed by Dungeon Masters Guild luminaries like JVC Parry and Janek Sielicki alongside rising stars and old stalwarts like Matt Butler, Matthew Gravelyn, and Tim Bannock. It was created with one thing in mind: to make hags more than the sum of their (often meager) Challenge ratings, giving them the mechanics, roleplay potential, and weird magic that can inspire campaigns, lay low kings and warlords, and potentially ensnare unwary Player Characters into campaign-changing curses or long-term bargains that force them into terrible moral quandaries! Split into five chapters, the authors have provided everything a DM needs to terrify their players for years to come. The Bestiary features over a dozen monsters; some are new hags, some are their minions or even their mobile lairs, and one of them -- the Shaitan AKA Desert Hag -- was featured in Monsters of the Guild! Bargains & Curses is a chapter filled with ideas that can kick-start campaigns, threaten valued NPCs, or put Player Characters' very existence and morality at stake. Chapter 3 includes two dozen items of wonderment, weirdness, and dread, ranging from fairy tale-inspired items of whimsy to terribly cursed items of horror. Chapter 4 is titled "Filthy, Vile & Downright Dirty" and provides dozens of roleplaying tips to make hags come alive, new mechanics inspired by and expanding on Volo's Guide to Monsters (coven spell lists, aunties, grandmothers, alternative coven members), and ends with useful combat tactics for each of the hags from the Monster Manual and Volo's Guide, as well as tactics for covens. Finally, Chapter 5 presents five encounter groups (with sub-encounters) to give you quick story seeds and monster lists that you can put together in minutes to create a single encounter or to inspire a full campaign, and ends with three full-length adventures -- each with 3-5 encounters -- that showcase many of the new monsters, rules, magic items, and so on that appeared in earlier chapters. Each of these adventures comes with an encounter map meant to act as inspiration for hag lairs, and they include useful mechanical ideas for terrain effects and descriptive keywords listed directly on the map for added inspiration and easy customization! Designed by Tim Bannock. Written by Matt Butler, JVC Parry, Janek Sielicki, and Tim Bannock. Edited by Matthew Gravelyn and Tim Bannock. Cover Art by Elena Naylor. Cartography by Tim Bannock using Inkwell Ideas' Dungeonographer (Dungeonographer is copyright Inkwell Ideas). Layout & Graphic Elements by Elena Naylor with Tim Bannock. Interior Art by Arcana Games, Bruno Balixa, David Lewis Johnson, Dean Spencer, Earl Geier, Filip Gutowski, Jacob E. Blackmon, Joyce Maureira, Petr Kratochvil, Jayaraj Paul, Brian Brinlee, and Wizards of the Coast.
A short mystery adventure with only two combat encounters: An archfey has placed a curse on a small hamlet, putting all the adults to sleep. The PCs must talk to the children to learn what's going on. When they get too close to figuring it out, boggles attack. Eventually the PCs realise they have to compose a short verse of poetry to wake the adults. When they do, an avatar of the archfey attacks in one last attempt to stop the PCs.
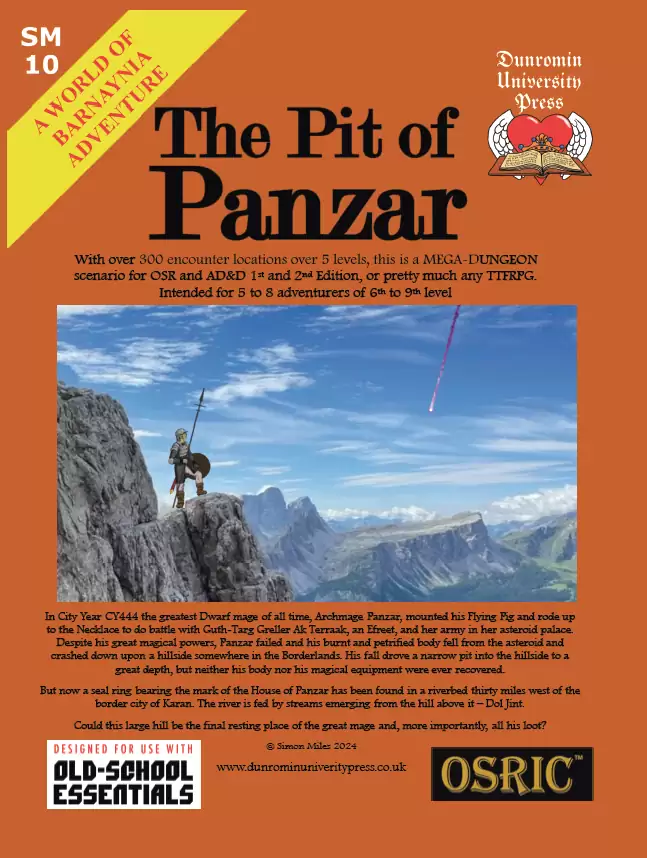
In City Year CY444 the greatest Dwarf mage of all time, Archmage Panzar, mounted his Flying Pig and rode up to the Necklace to do battle with Guth-Targ Greller Ak Terraak, an Efreet, and her army in her asteroid palace. Despite his great magical powers, Panzar failed and his burnt and petrified body fell from the asteroid and crashed down upon a hillside somewhere in the Borderlands. His fall drove a narrow pit into the hillside to a great depth, although neither his body nor his legendary magical equipment were ever recovered. But now a seal ring bearing the mark of the House of Panzar has been found in a riverbed thirty miles west of the border city of Karan. The river is fed by streams emerging from the hill above it – Dol Jint. Could this large hill be the final resting place of the great mage and, more importantly, all his loot? The Pit of Panzar has over 300 encounter locations over 5 levels, this is a MEGA-DUNGEON scenario that follows the Dunromin University Press paradigm of Great Quality at the best possible value for money. The Pit of Panzar is designed for OSR and AD&D 1st and 2nd Edition, or pretty much any TTFRPG, intended for 5 to 8 adventurers of 6th to 9th level

There are some things that mere mortals were never meant to know. . . . In the domain of Lamordia, Doctor Victor Mordenheim created Adam?cobbling the creature together from parts of human corpses. Now, years later, Adam wants revenge. Adam wants Elise, Victor's wife. Adam wants Victor dead. The player characters' ship founders on the coast of the domain of Lamordia. A vicious storm leaves them washed ashore, cold and hungry on the ice-bound Isle of Agony. . . . Then the terror begins. The adventurers embark on a journey of fear that leads from certain doom on the frozen island to a strange new life a Schloss Mordenheim. To return home they must challenge Adam himself and discover a portal?a gate that might lead homeward. TSR 9439 Adam's Wrath is intended for a party of four to eight characters of 5th to 7th level. Carefully designed to allow a Dungeon Master to launch from any campaign world or Ravenloft domain, Adam's Wrath is an adventure your characters will never forget?if they survive!
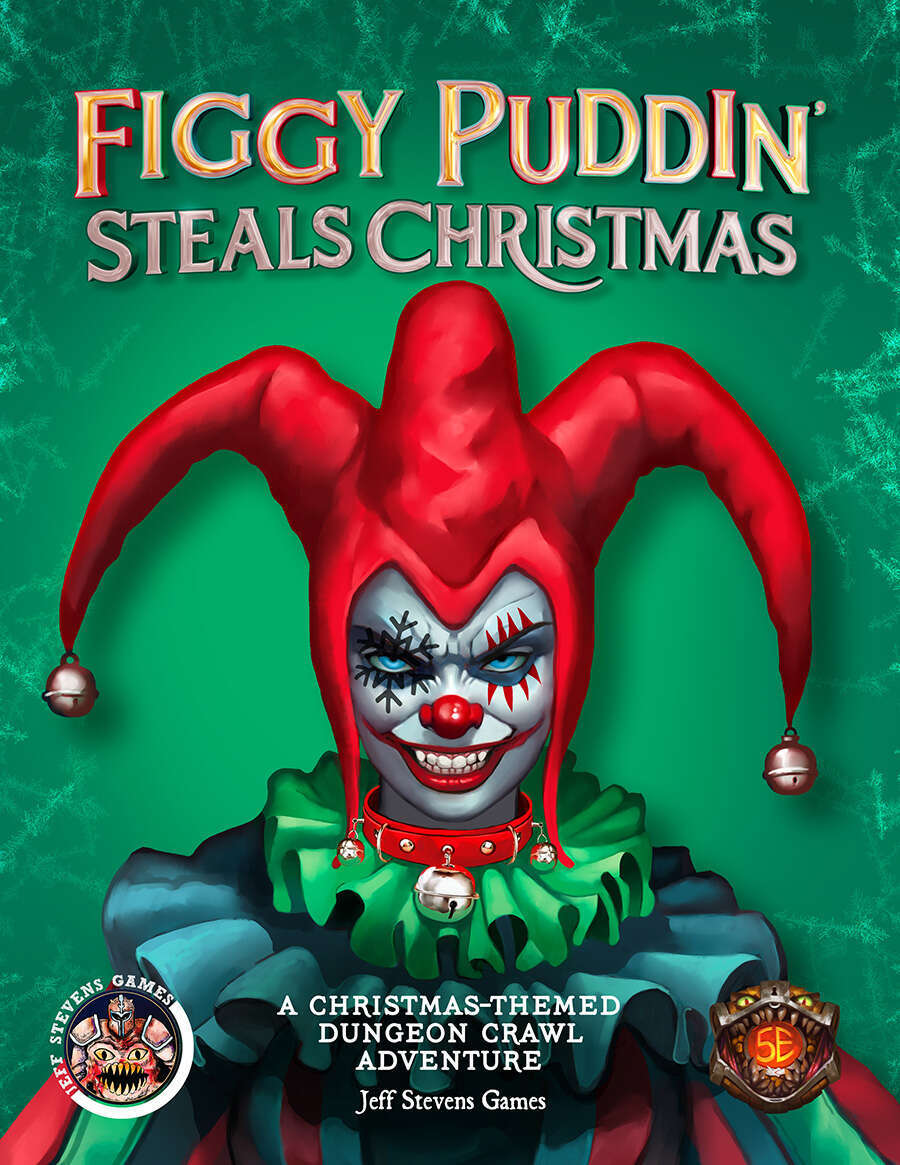
Figgy Puddin' Steals Christmas is a short adventure for three to six characters, and optimized for 2nd level characters. We also include Scaling Suggestions, allowing you to run this adventure for lower- or higher-level characters. We anticipate a run-time of 2- to 4-hours. There's a bit of roleplay in this adventure, which may extend the playtime. Adventure Background A traveling jester known as Figgy Puddin’ and her Coal Smudge Gang have stolen Christmas presents and now hold them for ransom. While safe and secure in her lair, she awaits either a payment of an outrageous ransom, or a crew of heroes to claim the presents after they navigate her not-so-festive lair. What's the Adventure? After you introduce the hook, the adventure occurs in Figgy Puddin's lair - a refurbished kobold bunker consisting of eight rooms. As the characters explore the linear dungeon, they encounter new creatures, complete challenges, and are tested about their Christmas knowledge. However, the final confrontation with the naughty Figgy Puddin' could make for a very Unhappy and Unmerry Christmas for our heroes, the children of Thistleton, and their parents. Who Is Figgy Puddin’? Figgy Puddin’ was once a happy jester who loved Christmas. For years she traveled the realm, bringing fun and festive cheer to villages and children while preparing the way for Santa. However, times have become tough, and entertainment doesn’t always pay as well as one would like. As Figgy prepares for retirement, she’s learned she doesn’t have enough gold to last. During this time, she’s also decided that Santa doesn’t know who she is, let alone appreciate the work she puts in every year. Using her savings, extortion, blackmail, and other nefarious means, she’s convinced several mechanical geniuses and arcane specialists to help her refurbish her underground bunker with wondrous effects, creatures, and tests. To fund her retirement, she’s taken extreme measures to make some quick gold — holding Christmas presents for ransom.

With your last adventure complete you head to town to sell off loot, replenish supplies and to find a bard to tell your tale to so that your fame can increase. As the group goes their separate ways you are wandering through the muddy streets when a shriek is heard. You see a man stab a merchant and attempt to escape. With no time to gather your associates you call for your mount (or borrow one) and give pursuit! This scenario is a true solo meaning you don’t need a DM to officiate. It is suggested that a 4th level be used for “meatier” characters or 5th for those of less daunting stats.