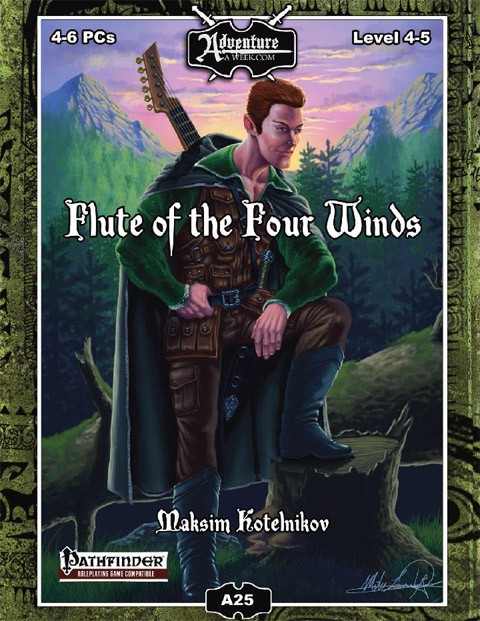
The majestic tree of the Four Winds grew in the forest west of the village of Rybalka, revered by the Vikmordere druids of the Snoqua tribe for its power to control the weather and hold balance with nature. When the Klavek Kingdom invaded the area, a powerful druid named Manahzo transferred the essence of the tree into a magical flute to keep its power safe from the threat of the militaristic Empire. Entrusted with the flute by the Snoqua, he and his wife sought to hide the flute from the reach of the invaders. As they fought the Klavek military they found themselves forced into an old cave system in the mountains of the Vikmordere Valley where they faced not only the Klavek soldiers, but ancient primal horrors. While Manahzo kept the flute out of the invaders hands, he lost his wife in the battle. Manahzo now seeks revenge on the Klavek Kingdom and its citizens located in the village of Rybalka. The PCs find themselves in the midst of an attack on Rybalka by Manahzo and a group of rogue Snoqua warriors. They must fight beside the citizens of Rybalka to repel the attack, and then seek out the Snoqua to find a means to deal with Manahzo and his rogue companions. In the forests outside Rybalka they will face a demonic wolf ally of Manahzo’s before finally engaging him in a direct battle as he executes a final attack on Rybalka. Even if the PCs succeed in defeating Manahzo, the threat does not end as his thirst for vengeance continues even after his passing in the form of haunt on the village. Directed by the Snoqua on how to end the haunt, the PCs must venture to the caves where Manahzo’s wife died to confront the ancient horrors that were responsible for her demise and recover her body in order to give her a proper burial to calm Manahzo’s vengeful spirit once and for all and bring peace to the village of Rybalka. Also included in “Flute of the Four Winds”: Roleplaying opportunities to interact with various NPCs in Rybalka, the heart of the Aventyr campaign setting Two new monsters – The hive-minded Tunnel Horrors and their carnivorous primal kin, the Anglers High resolution encounter maps in a new location, the coal mines north of Rybalka
The temple of dawn was once a place of miracles and wonders, the jewel of its valley. Now it’s nothing more than a folk tale hidden in lullabies and tall tales of boastful hunters. But not everyone has lost faith in the Goddess of Dawn. In this brief adventure, for 3-4 adventurers of level 3-5, Kendrick Rosenbud asks the players to retrive a gem belonging to his family from the temple of Aurora. After some days of travelling the party reaches the temple. from here on out its the players job to discovere the hidden room with the gem and take it back to Kendrick.
In Sharn Files: Secret of the stolen Beef Boranel you can cast a suspicion on the teammate while defenestrating the enemies. This one-shot mixes social deduction games a la Mafia or Blood on the Clocktower with fun combat encounters inspired by Tactical Breach Wizards! A perfect little distraction after you have traumatized your players during the main campaign and everyone needs a breather. This 3-5 hour one-shot for level 7 characters adds the character-driven tension to a simple but exciting dungeon crawl. Sharn Files tells the stories of Blackened Book, a special unit within Sharn Watch that takes on magical crimes. However, this mission is special, since our heroes need to not only raid an underground drug laboratory, but also find a traitor among themselves! Someone stole the Captain’s lunch and all of you are suspects. Find the traitor before the end of the mission, or risk to patrol the streets with the regular guards for a while. Features: - Over 25 lavishly-illustrated pages - 3-5 hours of gameplay - 2 custom-made encounter maps – a multi-level warehouse and a hazardous laboratory - 6 pre-generated characters, each one cuter than the other - 6 unique monsters perfect for throwing out of the windows - 4 new Magic Items approved for use by Sharn authorities - Additional subclass: Warlock who’s patron is the City itself 100% human made - no AI was harmed (or used) in the process.

A band of evil fey, led by a corrupt bralani, has raided an eladrin city and kidnapped several respected elders. The fomorian king claims the rogues don’t act on his behalf, but the eladrin city threatens the fomorians all the same. To prevent war, the PCs travel through the Underdark of the Feywild—a wondrous place filled with the beautiful and the horrifying—in search of the evil fey and their captives. Pgs. 96-101
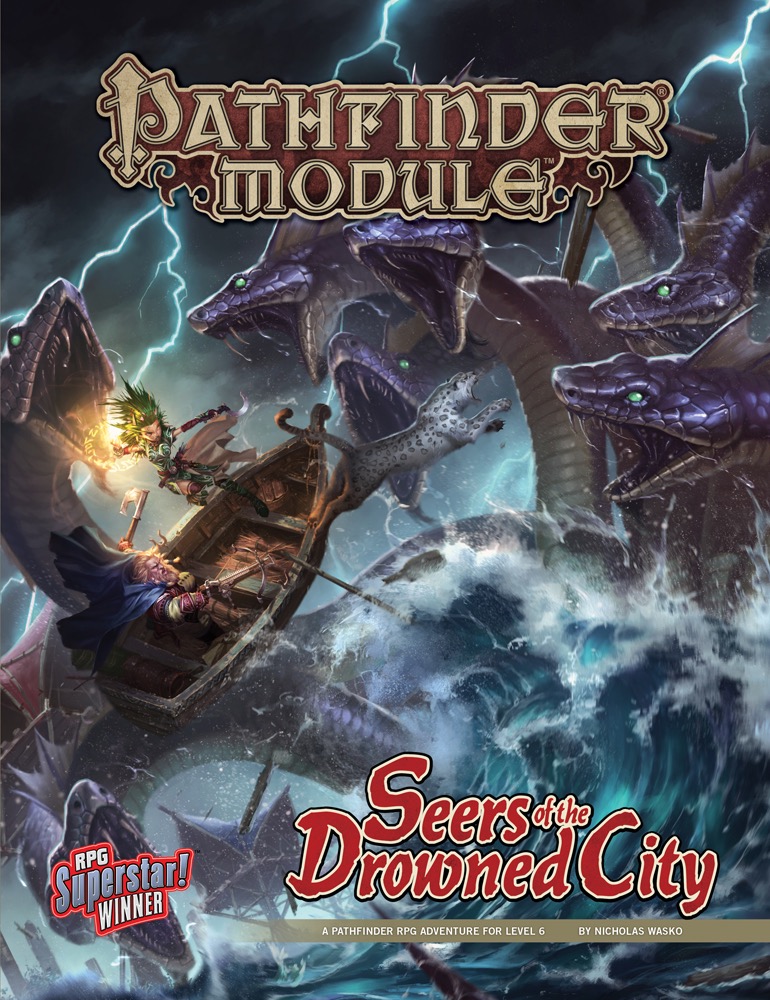
With the dawning of the Age of Lost Omens, a supernatural hurricane known as the Eye of Abendego brought ruin to the nation of Lirgen. Today, what was once a powerful nation exists as a flooded swampland, its fallen cities immersed under the endless flood of a perpetual storm. In Hyrantam, the ruined capital of Lirgen, a few stubborn survivors have managed to eke out a living for themselves, but now, strange new patterns in the storm that constantly looms on the horizon have swept local predators into violent frenzies. Worse, a new sect of strange seers known as the Stormreaders has come to the area, and its demands on the people of Hyrantam have grown increasingly dire. What link might the Stormreaders have to these new squalls, and what vile plots might they be hatching from their new seat of power deep in the drowned city’s ruins? Seers of the Drowned City is an adventure for 6th-level characters and features a poster map of the ruins of Hyrantam. The author of this adventure, Nicholas Wasko, was the Season 9 winner of the RPG Superstar contest, in which hundreds of unpublished authors compete for the chance to write a Pathfinder Module. In addition, this book contains a host of new monsters and magic items designed by the contest’s talented runners-up. Seers of the Drowned City is designed for four characters and uses the medium XP track. The characters will reach 8th level by the end of the adventure.
Create your own Critical Role campaigns with this sourcebook for the world's greatest roleplaying game! Explorer’s Guide to Wildemount provides everything you need to play Dungeons & Dragons on the continent of Wildemount (set within the world of Exandria)—a land of war, betrayal, and swashbuckling adventure. Comprised of four regions, Wildemount provides endless potential for adventure in a land of brewing conflict and incredible magic. Rising tensions boil over into all-out war between the politically dubious Dwendalian Empire and the light-worshiping wastefolk of Xhorhas, supplying a vibrant backdrop for any D&D campaign to explore. Uncover a trove of new options usable in any D&D game, featuring subclasses, spells, magic items, monsters, and more, rooted in the adventures of Critical Role—such as Vestiges of Divergence and the possibility manipulating magic of dunamancy. Start a campaign in any of Wildemount’s regions using a variety of introductory adventures, dozens of regional plot seeds, and the heroic chronicle system—a way to create character backstories rooted in Wildemount. Explore every corner of Wildemount and discover mysteries revealed for the first time by Critical Role Dungeon Master, Matthew Mercer. Includes: Frozen Sick: https://www.adventurelookup.com/adventures/frozen-sick Unwelcome Spirits: https://www.adventurelookup.com/adventures/unwelcome-spirits Tide of Retribution: https://www.adventurelookup.com/adventures/tide-of-retribution Dangerous Designs: https://www.adventurelookup.com/adventures/dangerous-designs

Figgy Puddin' Steals Christmas is a short adventure Designed for use with Shadowdark RPG. The adventure is designed for three to six characters of low to mid experience. The anticipated run-time is 2- to 4-hours. There's a bit of roleplay in this adventure, which may extend the playtime. Adventure Background A traveling jester known as Figgy Puddin’ and her Coal Smudge Gang have stolen Christmas presents and now hold them for ransom. While safe and secure in her lair, she awaits either a payment of an outrageous ransom, or a crew of heroes to claim the presents after they navigate her not-so-festive lair. What's the Adventure? After you introduce the hook, the adventure occurs in Figgy Puddin's lair - a refurbished kobold bunker consisting of eight rooms. As the characters explore the linear dungeon, they encounter new creatures, complete challenges, and are tested about their Christmas knowledge. However, the final confrontation with the naughty Figgy Puddin' could make for a very Unhappy and Unmerry Christmas for our heroes, the children of Thistleton, and their parents. Who Is Figgy Puddin’? Figgy Puddin’ was once a happy jester who loved Christmas. For years she traveled the realm, bringing fun and festive cheer to villages and children while preparing the way for Santa. However, times have become tough, and entertainment doesn’t always pay as well as one would like. As Figgy prepares for retirement, she’s learned she doesn’t have enough gold to last. During this time, she’s also decided that Santa doesn’t know who she is, let alone appreciate the work she puts in every year. Using her savings, extortion, blackmail, and other nefarious means, she’s convinced several mechanical geniuses and arcane specialists to help her refurbish her underground bunker with wondrous effects, creatures, and tests.

The Blackstaff has discovered an oddity in the Weave that surrounds Waterdeep. The enigma may have been there all along or it might be new and the Blackstaff intends to figure it out using an ancient artifact from the reign of Emperor Shoon III. Part One of the Folded Time Trilogy. A Two-Hour Adventure for Tier 1 Characters (Bonus objectives are provided to stretch to 4 hours). Optimized for APL 3.

The Sea of Fallen Stars connects the eastern and western sides of Faerûn. Many nations that border shorelines along its vast expanse also maintain major navies and trade fleets. A plethora of creatures and humanoid races typically found in the ocean depths live there, including sahuagin, sea elves, merfolk, and locathah. This is a story about what happens when a normally peaceful species is pushed to the point of open conflict. As elemental forces threaten the safety of the nearby locathah communities, heroes rise from among their number to strike back and defend their homes and families. Locathah Rising is a DUNGEONS & DRAGONS adventure designed for 9th-level characters.
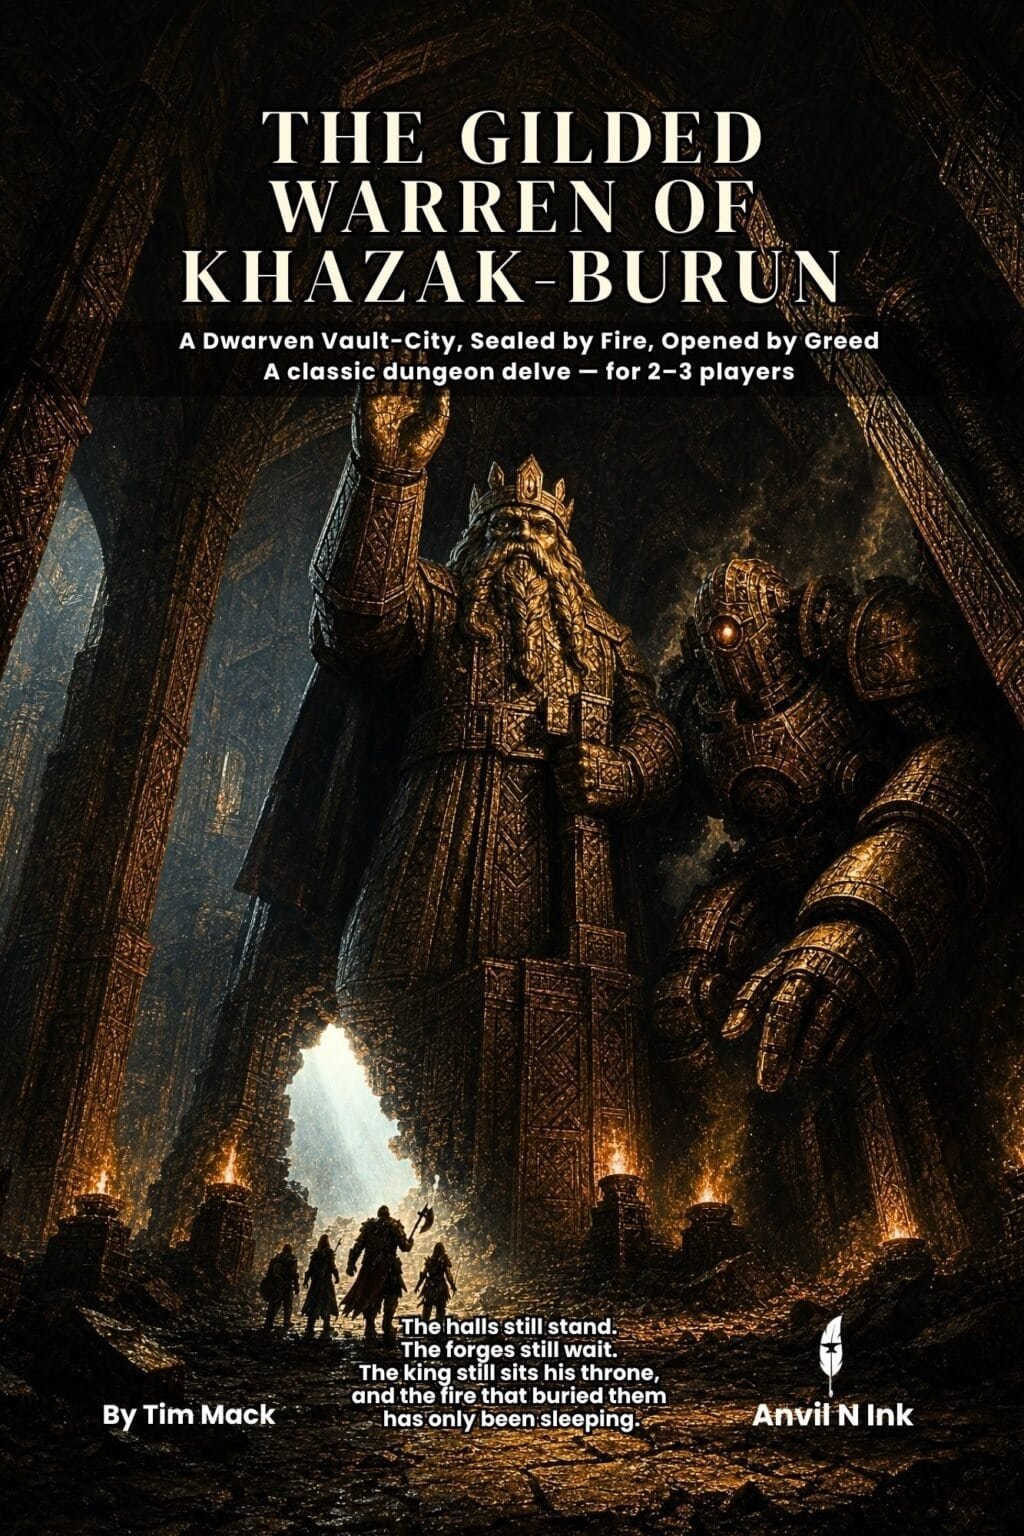
A zero-prep dwarven dungeon crawl for 2-3 players at levels 2-3, playable in a single 2-3 hour session. A prospectors' guild hires the party to delve Khazak-Burun, a dwarven vault-city sealed under a volcano for three centuries, and recover the last Vault-King's signet ring. But the ash was a seal, not a tomb: the forges still hold heat, the traps are still wound, and the clockwork sentinels still walk their routes. At the city's geothermal heart the party chooses whether to wake the machines or descend in the dark, before a vertical foundry, a bridge over a magma lake, and a three-phase confrontation at the vault-throne with the fire bound beneath the mountain. Four acts across seventeen keyed scenes, four pregenerated characters, five original stat blocks, six battle maps, a genuine branching choice, scaling for 2-4 players, and a final moral decision.

A fiend lurks among the Black Blade goblins. A shapeshifting barghest fashioned by the General of Gehenna to exact revenge on all goblin-kind. It’s aim: to kill as many goblin leaders as possible… A masked goblin approaches the party asking for help. Two tribe leaders are dead. But a rival for chief has control of the crime scene. Will the party discover the barghest among the goblin ranks? Can they stop this imposter before it strikes again? Adventure Overview The adventure’s story is spread over 4 parts and takes approximately 4 hours to play. The adventure begins with a Call to Action scene. Part 1: Goblin Politics. Krill sends his emissaries to implore help from any strong intermediary. The party is asked to investigate the murder of Thrawn in Dringly’s lair. This is Story Objective A. Part 2: The Opposition. Gain entry into Dringly’s lair and investigate the murder of Thrawn. Gather enough evidence to find the killer. This is Story Objective B. Part 3: To The Lair! Now that the players have determined the barghest (Yeep) is to blame, they need to get to Krill’s lair quickly as he is in imminent danger. This is Story Objective C. Part 4: The Barghest.When the players arrive at the lair, they need to get to Krill and expose and defeat the barghest. This is Story Objective D. Adventure Background A barghest named Yeep has begun its onslaught of attacks against the Black Blade goblins. Starting with Chief Gnar, then his second in command Thrawn, the barghest is moving methodically down the line of command. Krill is now chief. But he has some problems: Two leaders of the Black Blades are dead. Who killed them and why? Is he next? Dringly, the next in command, has decided to take his lair for himself, declaring himself Chief of the Black Blades. Who are the Black Blades? The Black Blades are a tribe of goblins in the local area. They are known for dipping their blades in a dark black substance. It is rumored these blades are poisonous. The Black Blades regularly attack passersby on the road to rob them. The Black Blades have two lairs, one run by a chief who leads the whole tribe, and another overseen by a boss lieutenant. The Black Blades have a well-established pecking order which is how Krill stands to become chief. The next in line is Dringly, who has also declared himself chief and wants Krill dead. Krill suspects that there is something suspicious about two leaders being killed within a day of each other, but he has already burned Gnar’s body without any investigation. He needs to investigate the body of Thrawn, but it is in Dringly’s lair. Krill wishes to avoid direct confrontation with Dringly at the present for three reasons: 1) Any violence would only kill his own tribe members and further divide the lairs. 2) He believes there is still hope for negotiation to reunite the Black Blades. 3) He believes that if he were to attempt negotiations himself, Dringly would kill him. This adventure features: Two maps. Ready for your favorite Virtual Tabletop. A full color pdf. A black and white pdf. One custom monster, a reprint of barghest, all others available in the Monster Manual. Four hours of entertainment involving: roll playing a goblin bard, investigating a murder scene, tracking down a barghest before it strikes again. Applicable to any setting.
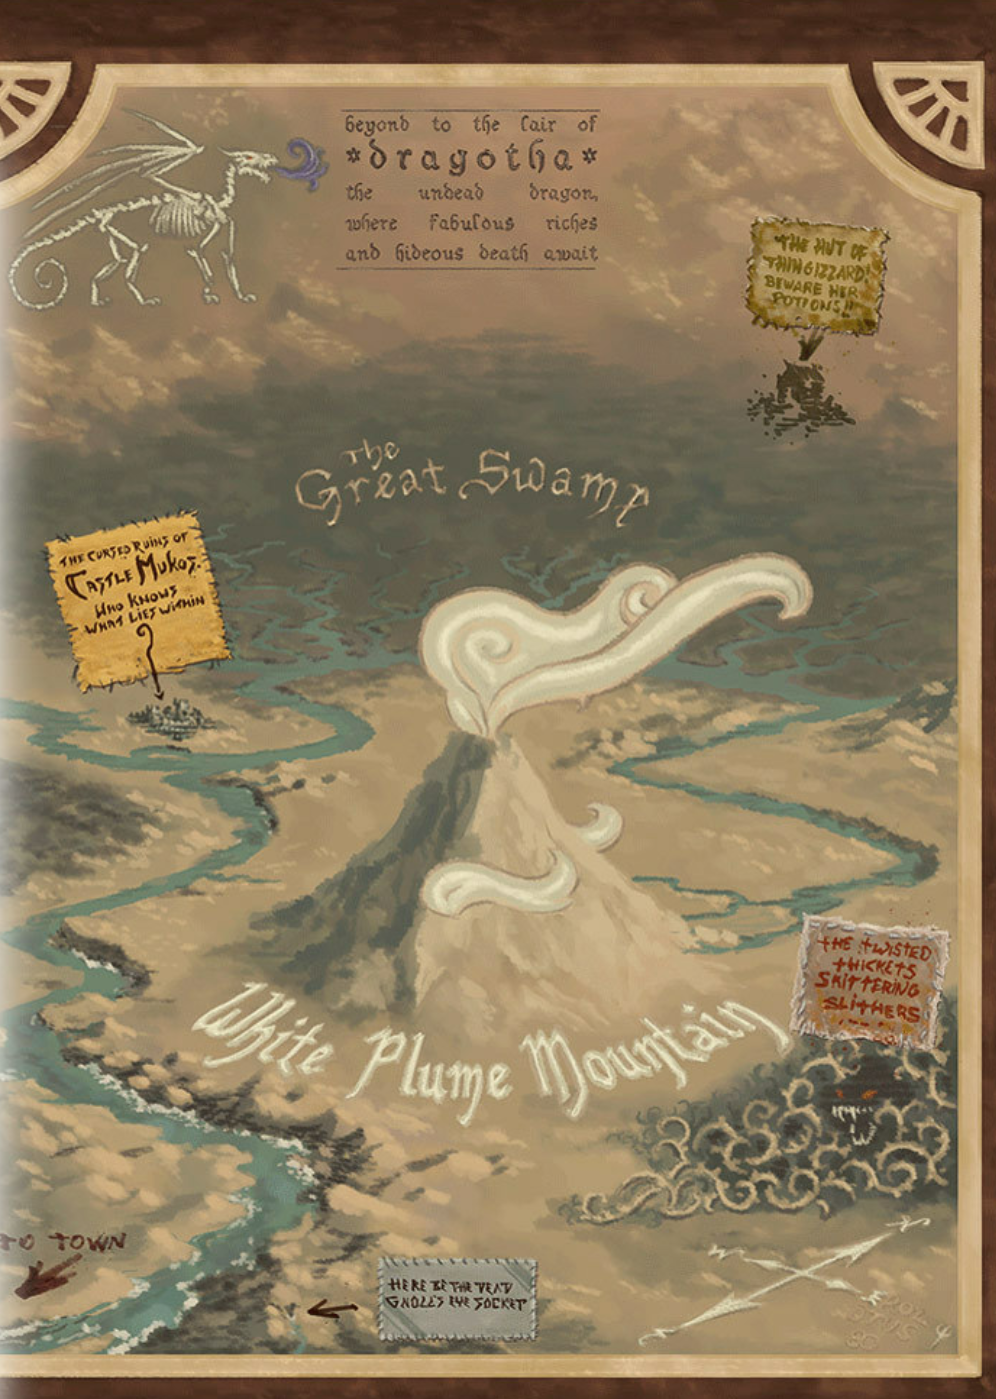
Three artifact weapons have gone missing and you adventurers have been sent after them. Going only by the riddle left on the thief's note, part ransom part guide, You stand before White Plume Mountain, stronghold of the supposedly long dead Wizard Keraptis.
![Cover of D&D Encounters Season 03 - Keep on the Borderlands: A Season of Serpents [Chapter 1-5]](https://www.drivethrurpg.com/images/44/121468.jpg)
At Restwell Keep, you've heard that fortune and glory await those bold enough to brave the dangers of the Chaos Scar, a valley carved ages ago by a fallen star. The same tales warn that this Chaos Scar draws wickedness to it. Perhaps you can help stem this tide... and gain treasure along the way. While the location is a different keep, this adventure is an homage to B2 Keep on the Borderlands(https://adventurelookup.com/adventures/b2-keep-on-the-borderlands)
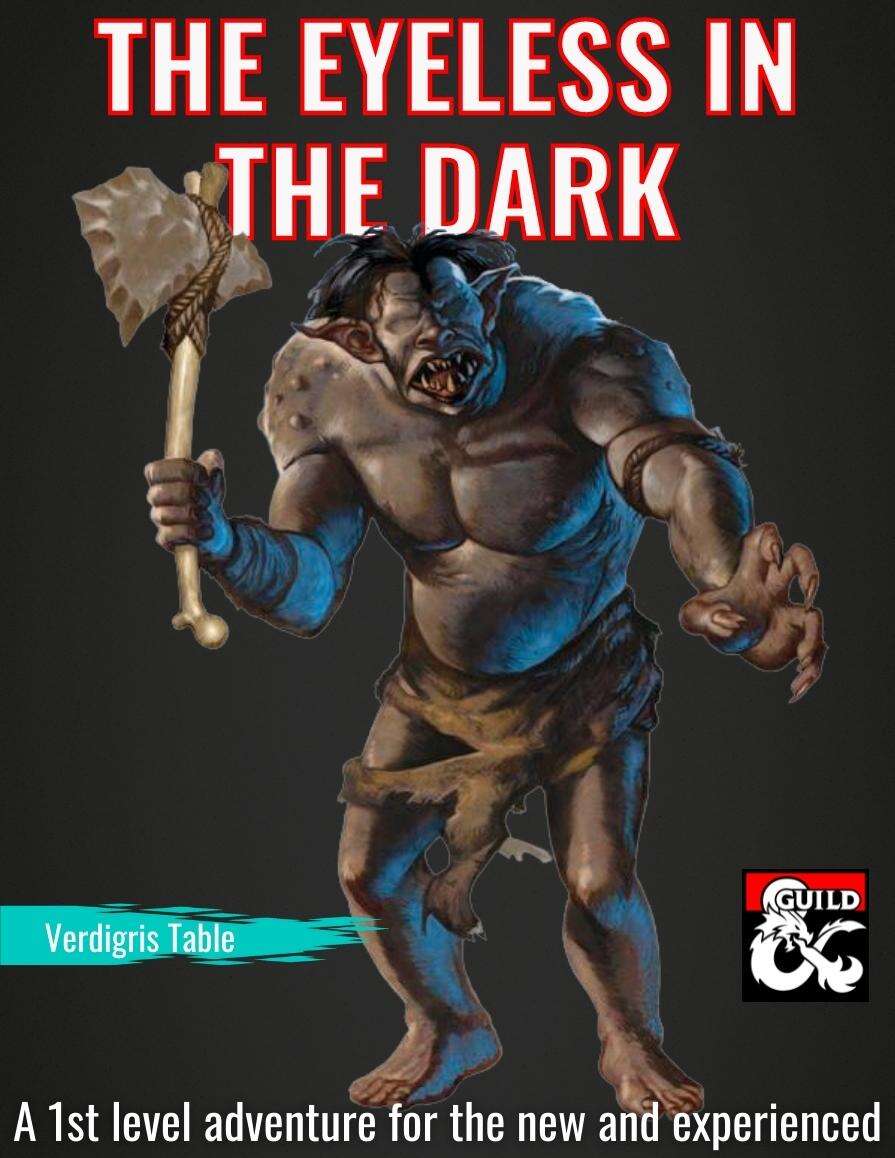
A cave-in at the dwarven mine exposed a passage into the eerie, alien world that lies deep below the surface. Monsters poured out of the darkness and killed many before the surviving miners made it back into the light. Now they seek brave adventurers to face the dangers down in the dark depths. As a one shot or the first adventure of a new campaign, The Eyeless in the Dark carries new and experienced players away from the light of the ordinary surface world and down into the fantastical dark depths where here there be monsters. Chock full of adventure, as well as design notes for Dungeon Masters that will help novice and veteran DMs provide their players with an exciting and memorable game night, and leave them eager for the next session. Use this adventure in combination with the Integrated Hill Encounters and/or the Forest and Grasslands to create an open world sandbox of adventures that can fill many sessions of a campaign.

First the bandits attacked then the Roc carried away the guide. Since then you have blindly followed the camels hoping that their instincts would lead you to water or help of some kind. You and your friends are lost in a sea of sand. Plodding along in the shadow of the camels and doing your best to stay alert. Ahead the heat shimmers take shape. This time it is a castle. Blinking away the dryness in your eyes you realize that the tower is not a mirage but it is broken.

A young black dragon and two hatchling dragons live in an excavated sandstone burrow in the swamp west of Knacker Knob. Connected to the dragon lair is a complex of sandstone tunnels and chambers inhabited by lizard men. Some sandstone tunnels and chambers are partially flooded, and others are filled with nasty things such as slimes, oozes and gelatinous cubes. The lizard men revere the dragons as magical spirit guardians. In small groups the lizard men are easily defeated, but if allowed to prepare a common defense, the lizard men tribe with its spellcasters may present serious threat to the player characters (PCs). Wild Dragon Den is the first dragon's lair to conquer. Part of TSR 1073 The Dragon's Den

Your people once dominated everything south of the mountains; you had the greatest, most advanced underground stronghold ever known to orc-kind. Then the cataclysm happened. Centuries have passed, and only a few tribes have survived and assembled under the banner of one cause. Reclaim what was once yours! This adventure is designed for four to six orc characters
The Raiders’ Hideout is a series of underground chambers (or perhaps the interior of a pyramid) that serves as a base of operations for a band of gnoll desert raiders. The PCs have come to exact a measure of justice for recent brutal caravan raids. They’ve tracked the gnolls to their lair, where they intend to end the threat to desert trade once and for all. Pgs. 30-35
There was no greater scholar, explorer, or collector of antiquities in the area than Hallomak Stromm. The enigmatic Stromm recently passed away, and the PCs have received personal invitations to appear at the public reading of his will. Pgs. 72-77

*THIS IS A D&D NEXT/5E PLAYTEST ADVENTURE* Imani, a Turmishan wizard and former adventurer, seeks the aid of heroes to infiltrate Dretchroyaster’s lair and recover the Diamond Staff of Chomylla—the key to powerful magic and wisdom locked away for thousands of years. In addition to his own sagely interest in the lore of lost Uvaeren, Imani recognizes the dangers of such powerful magic falling into evil hands. The dracolich has secured the staff in his lair’s cen- tral chamber, using ancient wards of protection that can be bypassed only by four artifact-idols once belong- ing to a cult of Bhaal. Each group of adventurers enters the dungeon through a different section of the dun- geon—a forgotten temple of Bhaal, a vast underground lake, a troglodyte village, or Dretchroyaster’s vaults. Dretchroyaster’s lair is no simple set of caverns and ancient ruins. It sits atop a source of great power and energy, which the dracolich and his Cult of the Dragon allies hope to use to unlock the secrets of the staff. Only by undertaking a unified assault against Dretchroyas- ter’s lair can the adventurers hope to recover the Diamond Staff and survive the dracolich’s fury. The adventurers must make their way through the lair and recover the Bhaalite idols that will help unlock the Diamond Staff, all the while dealing with the lair’s creatures and avoiding the dracolich as he pur- sues intruders. Entering the Chamber of the Diamond Staff, the heroes must overcome its magical wards and claim the staff before being slain by the dracolich and his servants.