An embattled outpost at the edge of the wilderness has finally been overthrown. Strange creatures patrol the land. A local hamlet is in ruins. But just who-or what-has taken over this once mighty fortress?
In the city of Waterdeep rests a tavern called the Yawning Portal, named after the gaping pit in its common room. At the bottom of this crumbling shaft is a labyrinthine dungeon shunned by all but the most daring adventurers. Known as Undermountain, this dungeon is the domain of the mad wizard Halaster Blackcloak. Long has the Mad Mage dwelt in these forlorn depths, seeding his lair with monsters, traps, and mysteries—to what end is a constant source of speculation and concern. This adventure picks up where Waterdeep: Dragon Heist leaves off, taking characters of 5th level or higher all the way to 20th level should they explore the entirety of Halaster’s home. Twenty-three levels of Undermountain are detailed herein, along with the subterranean refuge of Skullport. Treasures and secrets abound, but tread with care!

This deluxe adventure takes heroes into the ruins of Gardmore Abbey, a monastery that was once the base of a militant order of paladins devoted to Bahamut. According to legend, the paladins brought a dark artifact back from a far crusade and stored it in their abbey for safekeeping, and evil forces gathered to assault the abbey and take it back. What the legends don’t tell is that this artifact was actually the Deck of Many Things, a force of pure Chaos. This adventure brings characters into the extensive dungeons beneath the ruins - dungeons that are warped and twisted with the raw forces of Chaos surrounding the cards of the deck.

A haunted house, a missing person, and a hint of wild fey magic. In the kingdom of Norland in the Moonshae Isles, King Keethan rules by the will of Torm the True, though in Glen Dourn folk still hold true to the old ways—a dense and layered folklore of monsters and tales to frighten children. It is to this remote valley that Keethan bids you make haste to seek out signs of his beloved cousin, Lady Sorcha Hannigard. Sorcha vanished on her wedding day three years ago, sending her groom and neighbours alike into mourning. But where can she have gone? The only remaining clues to this mystery lie in her abandoned mansion home, where powers less wholesome have now taken up residence. The Dread Coven will not give up what they know so easily, although they will strike a bargain if you’re willing to pay the price in pain.

Three artifact weapons have gone missing and you adventurers have been sent after them. Going only by the riddle left on the thief's note, part ransom part guide, You stand before White Plume Mountain, stronghold of the supposedly long dead Wizard Keraptis.

A Vistani fortuneteller has called you out by name during the Burgomaster’s private reading. She raved of an army of the dead, a delicate powderbox, and a beautiful yet dangerous woman. Now the Burgomaster wants to know why you’re more important than he is... Part Four of Misty Fortunes and Absent Hearts.
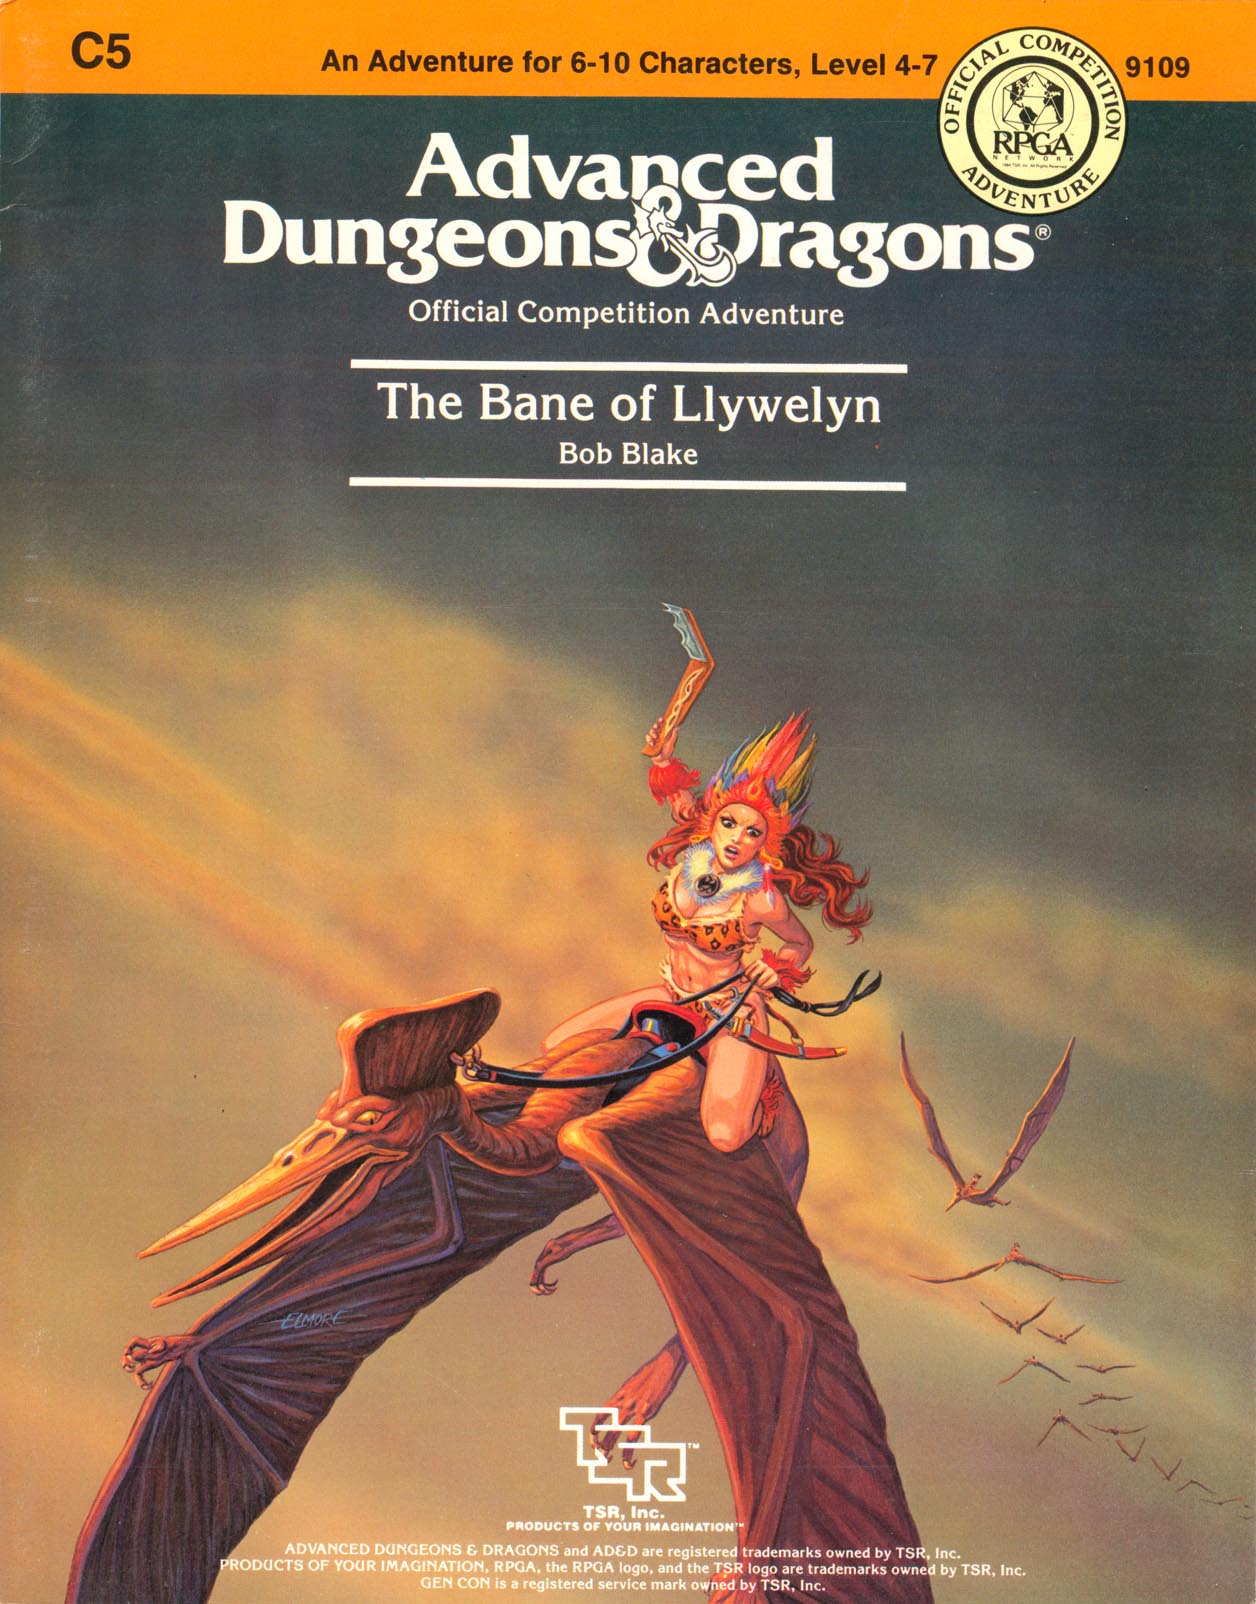
Excitement and unrest grip the land of Pellham. Two hundred years ago, the royal line of kings was deposed and replaced by a High Council. The current council is well-meaning but hopelessly incompetent. Everyone agrees that a drastic change is needed for the kingdom to survive. The ancient Prophecy of Brie foretells that in Pellham's darkest hour, a king from the past will return to restore the kingdom. The time of the prophecy is now. All is in readiness: the symbols of the ancient kings have been recovered, the keys to the royal tomb are in hand, powerful magics to revive the long-dead king have been secured at great cost. Only one problem remains... no one knows where the king is buried! The Bane of Llywelyn concludes the epic adventure of the Prophecy of Brie -- can YOU insure that the quest will be a success? The adventure can be played as a separate adventure or as the second part of the Prophecy of Brie series. TSR 9109

A traditional "funhouse" dungeon, White Plume Mountain begins with the archmage Keraptis stealing three artifacts and leaving cryptic poems with their former owners. The players are hired to recover the items, and find a bizarre dungeon in the side of the eponymous volcano. TSR 9027

A supernaturally powerful storm, mudslides, and agitated dinosaurs are the least of the worries in the tropical village of Mora. The village's spiritual leader, the Zombie Master, has gone missing, and now undead rise from sodden graves and the village matriarch lies dead, murdered by her own son. What dire menace awaits in the flooded catacombs below? Set on the infamous Isle of Dread.

It all begins with a simple request (doesn’t it always?) from an old farmer. The request – protect his cattle herd from vicious wolves. Simple enough for the brave adventurers, right? But it doesn’t stay that way. Not at all. Soon, the adventuring party will find themselves in the thick of it as they solve puzzles, avoid traps, fight for their lives, and endure witty taunting. And in the end, they discover an artifact that may, or may not, be useful to them. This adventure includes a cursed shield, a new undead creature, and a new artifact. Total party experience earned is approximately 14,500.

Exploring Baba Yaga's Dancing Hut. This adventure design to test high level PCs can be used in a variety of scenarios as the DM sees fit.

A trap that perhaps works too well. No matter how much loot you take, you never took anything at all. Confused? Wait until you try this dungeon. The players are hired to investigate and clear a tomb of a time wizard. This tomb is heavily guarded both by creatures and traps, and some sages are concerned that the defenses are lasting longer than they were supposed to. Unknown to the sages, the wizard, Sur-in Am, bound a time elemental to guard the treasures of the tomb. This guardian's duty is to frustrate robbers by returning stolen items to their original place and also reset traps in the tomb. Pgs. 26-36
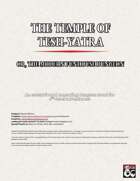
The Temple of Tesh-Yatra is a setting-neutral dungeon delve for a party of 6th level adventurers, inspired by the classic funhouse dungeons of yesteryear. The dungeon takes 6-10 hours to fully explore. It features a high proportion of non-combat encounters: puzzles, exploration, and the occasional deadly centrifuge. The ungodly fusion of a mad scientist’s lab and a planar temple, the dungeon includes an encounter that can launch your players into the Nine Hells – for a price... The Temple of Tesh-Yatra includes two new constructs to use in your game: the sinister Maimers, and the enigmatic Skorverra; as well as a new magic item: the Amulet of Tesh-Yatra, an artisan’s dream! The Temple of Tesh-Yatra also comes with a VTT battlemap (transparent PNG format). The Temple of Tesh-Yatra was originally set in the Outlands, as an extraplanar dungeon. But given its self-contained nature and the Temple's age, it is well-suited to any wildnerness, and would work equally well seeding a hex crawl.

Experience this totally wicked two-hour adventure for 3-6 characters levels 5-10 from the fantabulous minds of Anthony Joyce and Oliver Clegg! Whoa! You’ve just killed Strahd but his body remains?! How can this be?! Lead your party on a retro journey through Castle Ravenloft to collect five pieces of a powerful artifact known as the Pentaforce to summon a powerful entity that can put an end to Strahd’s reign once and for all! Experience the rad music of the 1980’s as it guides you from room to room, confronting horrors like the Brunch Club, Ghost Hunters, thrilling zombies, Ricky Roll, the Loonies, Prom (Barovian Winter Fantasy ‘86), a flash-dance off with hags, aerobics with undead, Jeremy Krawfjord, Kris Purkens, and much more! This 1980’s inspired PDF is professionally designed and illustrated by Gordon McAlpin (Creator of Death by Goblins!). Inside you’ll find hyperlinks to each creature and their stat blocks on D&D Beyond accessible for free! This PDF also includes hyperlinks to a curated “Weekend at Strahd’s” playlist on Spotify so you can wow your players and relive the epic music of the 1980’s as you put an end to the reign of Strahd von Zarovich! This adventure does not require players to have played Curse of Strahd, nor does it spoil anything in Curse of Strahd. This adventure is designed to play casually as a one shot in a tubular party atmosphere, it’s soooo bodacious. P.S. One player plays as Strahd’s corpse...yes, you read that correctly...one lucky player gets to play the entire time as the corpse of Strahd! Oh, and the player that dies the most wins a crayon drawing of Frankenstein Ronald Reagan. Enjoy!

The Haunt Unlock the secrets and drive back the evil from Montarthas Manor In ages past, an ancient town was lost and destroyed to a seige of orcs. Only one building survived and to this day, the manor is the only still standing building to be seen for miles around. Some say it is haunted, a few whisper of great treasures within, whilst others whisper that it is the manor itself that lives! No one knows for sure, only that a great evil haunts its halls. Do you dare enter Montarthas Manor? Published by P.B. Publishing
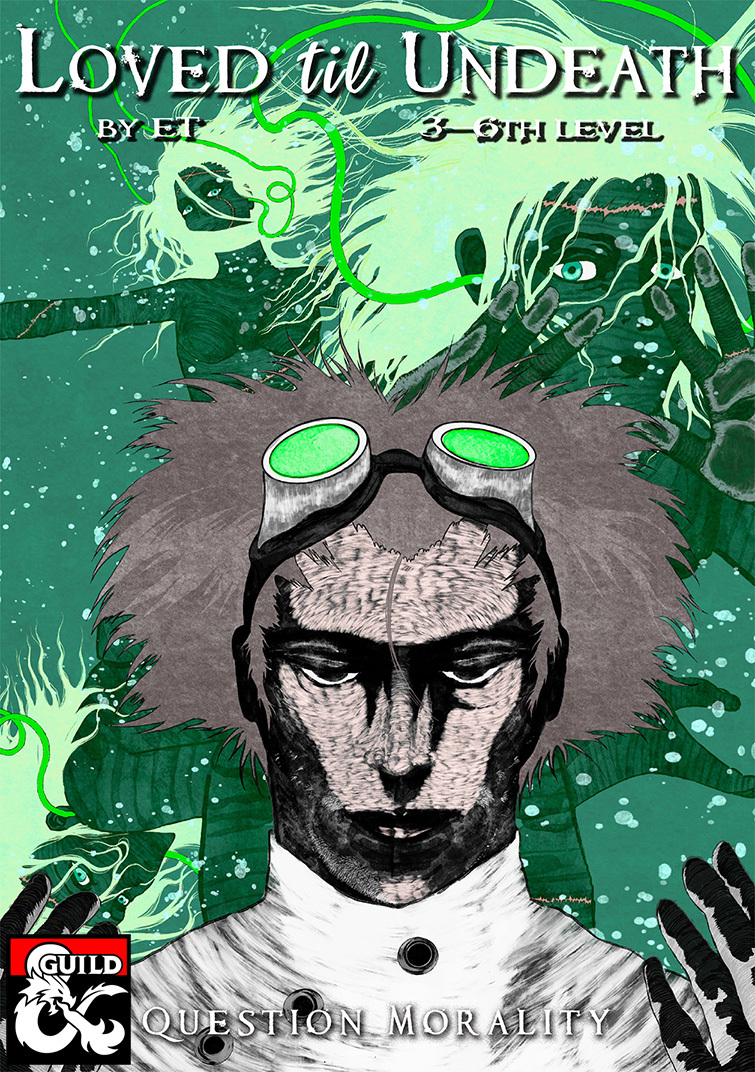
Clouds smother the sky, smoke fills your nostrils, and a shrill scream falls on deaf ears. The bonfire swells as the crowd surrounds. “Undead filth!” they shout, as she burns alive. What do you do? This Frankenstein inspired one-shot will have body horror, a murder mystery, undead constructs questioning the purpose of life and will make your characters question their morality. Designed for 3-6th level to be run in a single night of gameplay. All of ET’s adventures have been playtested at least three times, professionally edited and contains zero ai generated content. Click below for the video walkthrough. This adventure includes: 1 player handout, 5 maps including 2 battlemaps, 2 random tables, 6 secrets and clues, dramatis personae for the 5 main NPCs.

Designed for a party of five characters of at least 9th level, this adventure will challenge players seeking a powerful magic item of the GM’s choosing. A sphere of annihilation has been provided and is woven into several elements of the adventure, but any appropriately powerful item can be substituted if something else suits your campaign better. Though the adventure is designed to test every type of character class, a rogue who can deal with traps is essential, as is a wizard or sorcerer of at least 9th level. Larger groups will have an easier time; parties of four or fewer characters will be in for a very bad time unless you mitigate some of the tower’s more lethal traps and encounters. This adventure culminates in an encounter with devils and a sphere of annihilation. The sphere of annihilation is hidden deep within the tower-and-dungeon complex of Crane the Sorcerer. Originally set atop a high mountain in a secluded and wild part of the world, the tower and dungeon can be relocated to meet the situation in your campign. Crane, an introvert, stayed as far away from civilization as possible, as is detailed below. The tower above the dungeon doesn’t present many difficulties for a group of powerful characters or alert players. It might lull PCs into a false sense of security before they enter the areas where they’ll really be put to the test.
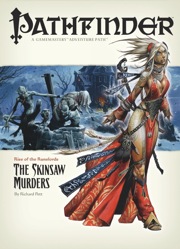
The Rise of the Runelords Adventure Path continues! A sudden string of brutal killings terrorizes the town of Sandpoint, and the killer's mark bears a familiar shape. Investigation leads to the Lost Coast's most notorious haunted mansion, a dilapidated ruin that has become the lair of a monstrous murderer. Yet this killer is but one of many, a member of a group of fanatic cutthroats calling themselves the Skinsaw Men. To defeat the cult, the PCs must travel to the bustling city of Magnimar to unravel the sinister source of these murders before they become the Skinsaw Men's next victims!

*THIS IS A D&D NEXT/5E PLAYTEST ADVENTURE* Imani, a Turmishan wizard and former adventurer, seeks the aid of heroes to infiltrate Dretchroyaster’s lair and recover the Diamond Staff of Chomylla—the key to powerful magic and wisdom locked away for thousands of years. In addition to his own sagely interest in the lore of lost Uvaeren, Imani recognizes the dangers of such powerful magic falling into evil hands. The dracolich has secured the staff in his lair’s cen- tral chamber, using ancient wards of protection that can be bypassed only by four artifact-idols once belong- ing to a cult of Bhaal. Each group of adventurers enters the dungeon through a different section of the dun- geon—a forgotten temple of Bhaal, a vast underground lake, a troglodyte village, or Dretchroyaster’s vaults. Dretchroyaster’s lair is no simple set of caverns and ancient ruins. It sits atop a source of great power and energy, which the dracolich and his Cult of the Dragon allies hope to use to unlock the secrets of the staff. Only by undertaking a unified assault against Dretchroyas- ter’s lair can the adventurers hope to recover the Diamond Staff and survive the dracolich’s fury. The adventurers must make their way through the lair and recover the Bhaalite idols that will help unlock the Diamond Staff, all the while dealing with the lair’s creatures and avoiding the dracolich as he pur- sues intruders. Entering the Chamber of the Diamond Staff, the heroes must overcome its magical wards and claim the staff before being slain by the dracolich and his servants.

On a busy day in the marketplace, something hurtles down out of a clear sky. When the dust clears, you c can see that it's a ship's anchor, attached to a rope that stretches up as far as you can see. What do you do? Pull you AD&D game players up the rope and into the astounding universe of fantasy space! Send their spacegoing galleon, the Skyrunner, across the vast reaches of Wildspace. Drop them in the Hive, the largest dungeon ever created. Then pit them against the Ravager, a monster that threatens the characters' entire homeworld! TSR 9273