
The Cult & the Tribe Lizards and Goblins and Demons, Oh My! DUNGEON MODULE T1: THE CULT & THE TRIBE Goblins weilding magical blue fire are attacking the peaceful lizardfolk in the swamps near Timbertown. They've come to the humans for help, and Baron Ferrand needs heroes to head into the swamp and find out what's happening. As if that wasn't enough, demons are roaming the countryside, summoned by cultists of the Fraternity of Tharos, one of whom is secretly an important person in the town. Can you help the lizardfolk and keep the town safe?

A sudden riot in the city reveals a clandestine drug operation hidden within an underground pit fighting ring. The players must follow the trail of evidence, fight their way through the arena’s champions, and locate the source of the substance to purge it from the streets once and for all.

*THIS IS A D&D NEXT/5E PLAYTEST ADVENTURE* Imani, a Turmishan wizard and former adventurer, seeks the aid of heroes to infiltrate Dretchroyaster’s lair and recover the Diamond Staff of Chomylla—the key to powerful magic and wisdom locked away for thousands of years. In addition to his own sagely interest in the lore of lost Uvaeren, Imani recognizes the dangers of such powerful magic falling into evil hands. The dracolich has secured the staff in his lair’s cen- tral chamber, using ancient wards of protection that can be bypassed only by four artifact-idols once belong- ing to a cult of Bhaal. Each group of adventurers enters the dungeon through a different section of the dun- geon—a forgotten temple of Bhaal, a vast underground lake, a troglodyte village, or Dretchroyaster’s vaults. Dretchroyaster’s lair is no simple set of caverns and ancient ruins. It sits atop a source of great power and energy, which the dracolich and his Cult of the Dragon allies hope to use to unlock the secrets of the staff. Only by undertaking a unified assault against Dretchroyas- ter’s lair can the adventurers hope to recover the Diamond Staff and survive the dracolich’s fury. The adventurers must make their way through the lair and recover the Bhaalite idols that will help unlock the Diamond Staff, all the while dealing with the lair’s creatures and avoiding the dracolich as he pur- sues intruders. Entering the Chamber of the Diamond Staff, the heroes must overcome its magical wards and claim the staff before being slain by the dracolich and his servants.

This adventure is about fighting monsters and being heroic. It’s also about discovering hidden and forgotten secrets, and then using those secrets later to the heroes’ advantage. The heroes will fight lizardfolk and hawklords, undead and basilisks, and some strange and malevolent creatures from a plane beyond Orden. The heroes will have the opportunity for a handful of negotiations which can be hugely influenced by piecing together secret information uncovered earlier in the adventure. Combat encounters in the adventure are built to generally take at least 3 rounds, sometimes more - they can be complex! The heroes will be expected to spin multiple plates at the same time! The adventure reward an average of 12, but as many as 20 Victories. Depending on your experience running and your table’s experience playing Draw Steel, how many side objectives the heroes follow, as well as a bunch of other factors, it could run around 20 to 32 hours of playtime. In the Tullow Vale of Vasloria, a centuries old town is built around a weathered statue said to seal away an ancient evil. Ajax's Hawklords bombard and lay waste to the town, stealing the statue, and in the chaos, the pitiless Deatheye Yslansh and her lizardfolk minions abduct the citizens! Can you save the people of Ivywatch before they are put to the Deatheye's fell purpose? And what or who exactly have the Hawklords unsealed? This adventure is about fighting monsters and being heroic. It’s also about discovering hidden and forgotten secrets, and then using those secrets later to the heroes’ advantage. The heroes will fight lizardfolk and hawklords, ogres and basilisks, and some strange and malevolent creatures from a plane beyond Orden. The heroes will have the opportunity for a handful of negotiations which can be hugely influenced by piecing together secret information uncovered earlier in the adventure. Combat encounters in the adventure are built to generally take at least 3 rounds, sometimes more - they can be complex! The heroes will be expected to spin multiple plates at the same time! The adventure will reward an average of 8 to 18 Victories. Depending on your experience running and your table’s experience playing Draw Steel, how many side objectives the heroes follow, as well as a bunch of other factors, it could run around 20 to 32 hours of playtime. The adventure contains: - 12+ combat scenes, including a boss battle. Most combats have objectives beyond just “kill everything” - 2-3 montage tests - 1 small, safe location to take respites in, full of NPCs with opinions - 1 big, complex, puzzle-y negotiation - 10 new custom treasures and titles, and other player rewards - A brief setting primer to Tullow Vale

Nestled on the coast of the Azure Sea is Saltmarsh, a sleepy fishing village that sits on the precipice of destruction. Smugglers guide their ships to hidden coves, willing to slit the throat of anyone foolhardy enough to cross their path. Cruel sahuagin gather beneath the waves, plotting to sweep away coastal cities. Drowned sailors stir to unnatural life, animated by dark magic and sent forth in search of revenge. The cult of a forbidden god extends its reach outward from a decaying port, hungry for fresh victims and willing recruits. While Saltmarsh slumbers, the evils that seek to plunder it grow stronger. Heroes must arise to keep the waves safe! Ghosts of Saltmarsh combines some of the most popular classic adventures from the first edition of Dungeons & Dragons including the classic ‘U’ series and some of the best nautical adventures from Dungeon magazine: The Sinister Secret of Saltmarsh Danger at Dunwater The Final Enemy Salvage Operation Isle of the Abbey Tammeraut’s Fate The Styes All adventures have been faithfully adapted to the fifth edition rules of Dungeons & Dragons. Furthermore, this book includes details on the port town of Saltmarsh, as well as plenty of hooks to kick-off each adventure. Play through each story in a seafaring campaign leading characters from level 1 through level 12, or pull out sections to place in ongoing campaigns in any setting. The appendices also cover mechanics for ship-to-ship combat, new magic items, monsters, and more! “The Saltmarsh series consistently ranks as one of the most popular classic D&D adventures,” said Mike Mearls, franchise creative director of D&D. “With its ties to ocean-based adventuring, it was an obvious step to augment it with additional sea-based adventures and a robust set of rules for managing a nautical campaign.” Hoist your sails, pull up anchor, and set a course for adventure!
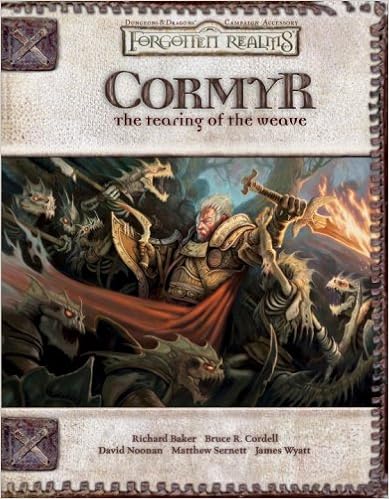
In Wheloon, a city known for its vibrant green slate roofs, a new temple to Mystra is in the final stages of construction. But something rings false among the heavenly spheres- or at least among those who mouth the pieties of Mystra while plotting magical mayhem behind closed temple doors.
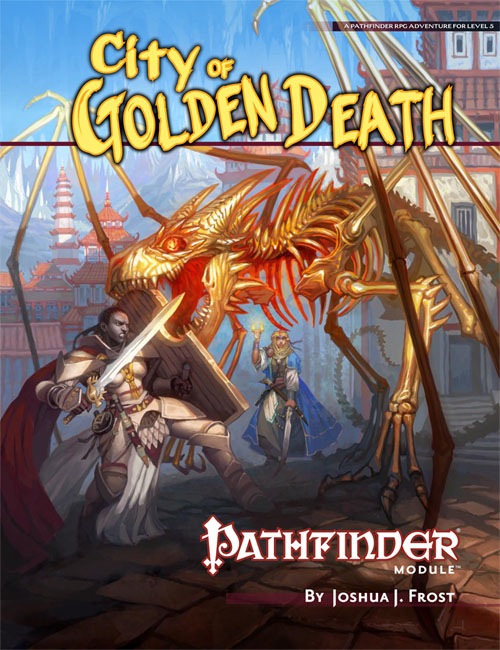
In the center of Lake Encarthan looms the dreaded Isle of Terror, accursed land of mystery and treachery. Hidden within the island's negative energy storms, the secret treasure city of the wizard-king Tar-Baphon has lain sealed for centuries. Now masked cultists have opened the golden city of Xin-Grafar to claim the wealth of the legendary city for the Living God Razmir. Can the PCs track the cultists through the poisoned swamps and blasted wastelands of the Isle of Terror to the City of Golden Death itself? And what forgotten dangers will oppose them as they struggle to prevent a dark faith from spreading across the world? Part 3 of the Price of Immortality trilogy.

The village of Orașnou is panicked when a group of Bloodhand orcs appear at the edge of the woods. They bring news and an unusual request that reveals a new foe. Part Eleven of Misty Fortunes and Absent Hearts.
![Cover of D&D Encounters Season 03 - Keep on the Borderlands: A Season of Serpents [Chapter 1-5]](https://www.drivethrurpg.com/images/44/121468.jpg)
At Restwell Keep, you've heard that fortune and glory await those bold enough to brave the dangers of the Chaos Scar, a valley carved ages ago by a fallen star. The same tales warn that this Chaos Scar draws wickedness to it. Perhaps you can help stem this tide... and gain treasure along the way. While the location is a different keep, this adventure is an homage to B2 Keep on the Borderlands(https://adventurelookup.com/adventures/b2-keep-on-the-borderlands)
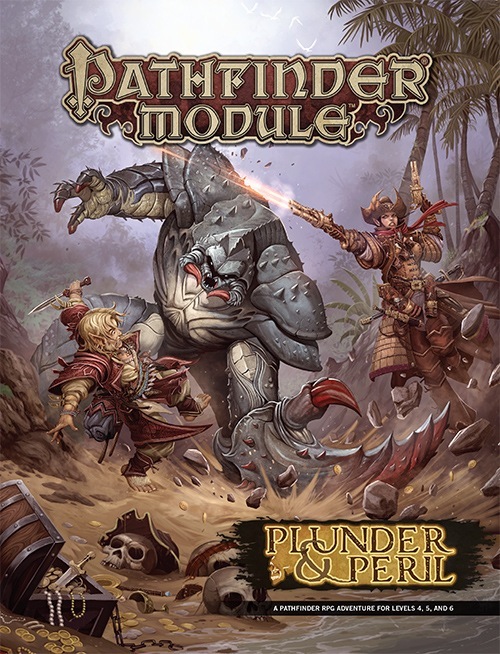
Tall tales of hidden riches are common in the pirate-infested taverns of the Shackles, but when Captain Varossa Lanteri claims to know the location of the secret treasure hoard of legendary Captain Jemma Redclaw, it seems she may be telling the truth. Captain Lanteri hires the PCs on as crew to help her assemble the magic key that will open the door to Redclaw’s treasure... and the ancient cyclops stronghold in which it’s hidden! Can the PCs survive long enough to claim their share of the lost loot, or will their enemies—or their allies—send them to a watery grave?

Scholars Square is a relatively quiet corner of Phlan, but a series of odd thefts have the headmasters of verious schools in the area concerned. The headmasters' pleas for help have gone unanswered by the Black Fist, and the Lord Sage of Phlan decided to reach out to you and your kind to bring those responsible to justice.

Lord Blackmoor's son has been kidnapped, and is being held in the crypts beneath an ancient fortress. Can our heroes rescue the boy before he is sacrificed in a diabolical ceremony? The party responds to a plea for assistance from Lord Blackmoor, whose son Willet has been kidnapped. Blackmoor desperately needs someone to mount a rescue mission. The party journeys along the old East Trail, facing bandits and dangerous obstacles before delving beneath the ruins of Firestone Keep, encountering fearsome enemies and ancient magic. Finally, the party must fight for their lives as the truth about Willet’s abduction is revealed.

For the past several nights, drums have been heard on the wind, coming from the Twilight Marsh. Each morning, more turn up missing from the nearby farms, leaving only muddy, clawed foot prints heading towards the marsh. Can you help find the lost and bring justice to the abductors?

The lizard men are just pining for the fjords. A plague of locusts is bad enough, but when the locusts are each a yard long, the farmers need professional help! A swarm of giant locusts has been eating all the grapes and leaves from the vineyards of Vineyard Vale! In addition, lizard folk have attacked and destroyed several steads in the vale. The farmers are desperate, but what they don't know is that these events are linked! A mage known as Rhungold the Trickster has been orchestrating the attacks and locusts to try to scare the farmers off the land so he can claim it as his own. The players slowly piece the story together by investigating a fairly linear story through a cave, a marsh, and finally to a compound owned by the wizard Rhungold. Pgs. 6-16

The Soldiery has grown weary of dealing with a particularly nettlesome band of miscreants who have holed up in the Flooded Forest to the south. And so, you have been called upon to quell their activities so that trade along the North Road can resume unmolested. However, in so doing, the truth behind their activities reveal that much more than simple banditry is at hand. Will you be able to stop it?

A black dragon’s treasure hoard has been located in the Twilight Marsh, and within it are secrets that hold interest to the factions. With the dragon marauding over the countryside, the horde is left unguarded. Now is the time to plunder its lair!

Was it destiny or something worse that destroyed the Order of the Opal Fist? A dungeon crawl designed for four 3rd level characters. The original article has a sidebar for scaling the adventure up or down. Pgs. 106-124

Though small, Seawell is a prosperous trading town with a good location on the coast. Next to it is a long peninsula that features mostly swamplike terrain. The inhabitants of this peninsula include tribes of lizardfolk, plus several kinds of reptiles and amphibians. Most of these creatures don't bother the town, and Seawell's militia is experienced at repulsing raids by the more aggressive lizardfolk. A large reef extends the entire length of the peninsula on the side away from Seawell. This great wall of coral is a favorite site for fishermen, but it has always presented a serious hazard to ships approaching from that direction. Thus, about 45 years ago, the people of Seawell built a lighthouse on a small promontory near the reef, about 200 yards from the shoreline. Operated by a family that lived inside it, this lighthouse ensured that ships could easily steer clear of the reef. A few weeks ago, ships stopped arriving from that direction. Three ships are now overdue, and the people of Seawell have begun to suspect foul play. Thus far, however, they have not been able to investigate because of increased raiding by the lizardfolk. Something has stirred them up, and the town militia has been too busy repulsing raids to mount an expedition to the reef. Wreck Ashore is a short D&D adventure for four 1st level player characters (PCs). The scenario takes place on and around a swampy peninsula that juts out from a longer stretch of coastline. Along one side of this peninsula stretches a dangerous reef. Just offshore on the reef side stands a lighthouse built to warn ships of the danger. At the base of the peninsula on the side away from the reef is a small port town called Seawell.

Within the pages of this book, you will find three mini-dungeons, all with a common theme. They are all set in dangerous and exciting cave systems. Not only will you be able to drag and drop these mini-dungeons as you need, but this book will also provide a suggested campaign structure and tie-ins to each of them for those witty Dungeon Masters who wish to run them all together. 1. Lizard Folk Tunnels - APL2 to APL5 A daring rescue mission to save two young children from the grasps of a tribe of lizardfolk who's evil intentions are to sacrifice their captives to their evil god. 2. The Cavern of One-Eye - APL4 to APL7 A cave system riddled with orcs as described in Volo's Guide to Monsters. Players will need to think on their feet in this one. 3. The Lair of Frostingbite - APL5 to APL8 Snow-oxen are being stolen from the farmers of Sleet-Town, tracks lead into the ancient and abandoned mine shaft within a nearby mountain. Killer Kobolds, Quaggoth slaves and a ferocious White Dragon await. Published by P.B. Publishing

The yuan-ti anathema, Hessatali, calls out to his yuan-ti faithful from his prison in the Abyss. His network of vipers has uncovered the ruins of ancient Ss’tatha’lass and the Fane of Hessatali, a fountain of pure venom that will return the demi-god to life. Above the buried ruins of Ss’tatha’lass, yuan-ti agents have moved to control the politics of Scornubel. The characters fall into a complex yuan-ti plot that spans the breadth of the realm, pits the heroes against the forces of the Abyss, and explores the culture of the yuan-ti.