The Ice Tyrant is a Dragonlance Firth Age adventure set in Southern Ergoth, the domain of Gellidus the white dragon. This scenario takes the heroes from a coldswept refuge of the Silvanesti elves to the citadel of Anghanor, left untouched since the Knights of Takhisis' withdrawal in 383 A.C. (just before the Second Catalcysm). The once-familiar locales of Ergoth have changed since the War of the Lance. Now, in the Age of Mortals, most of Southern Ergoth is covered by a great glacier, and the capital city of Daltigoth has fallen to ogres loyal to the brutal dragon overlord Gellidus (known to humans as Frost). The adventure begins when the heroes join a band of Silvanesti renegades who have successfully evaded Gellidus' clutches. The elves plan to strike back at the cruel Ice Tyrant by uncovering his "secret" in Anghanor. --from the adventure. NOTE: this module uses the Fifth Age rules based on the Saga card system. It is supplemented by AD&D rule text boxes. As such, there is no recommended level although Tier 2 play seems appropriate. Includes an overland map and a map of the tower and keep. Pgs. 26-49

Storms frequently blow from the Cloudscape Mountains, but never one like this: For weeks it has hung over the peaks, casting its dark shadow across the land. Its huge black clouds billow and writhe in an effort to smother the sun. Once so picturesque and enchanting, the Cloudscape Mountains have taken on a sinister appearance. Fear now stalks the land. A malignant entity is growing and festering high in the mountain peaks. With dark tendrils, it reaches out towards the lowlands. No one is safe. Caravans are not arriving at the village of Lurneslye. It is only a matter of time before the villagers fall prey to the dark clouds and the evil they conceal. TSR 9151

“The Shadow Rift of Umbraforge” is a sequel to “Siege of Bordrin’s Watch” and the third part of the Scales of War Adventure Path. In “Siege of Bordrin’s Watch,” the PCs discovered that dark creepers had sold arms and tactical intelligence to the orc war chief Tusk, aiding him in his attack against the folk of the Stonehome Mountains. In this adventure, the PCs investigate the link between the orcs and the dark ones, stumbling into an armsrunning operation that takes them to the Shadowfell in order to finally confront the charismatic figure behind it. Pgs. 4-53

The set-up is interesting in a way – the PCs are plain folks of the Vale, everyday people, and the module begins promising, with the Thor-ordained sporty trek around the vale that inevitably results in trouble. The module, obviously, tries to chronicle the step from everyday-Joe/Jane to hero and the tidbits on culture provided are intriguing. But this, as much as I’m loathe to say it, is one of the worst modules FGG has ever released. If I didn’t know any better, I wouldn’t expect Mr. Ward’s pen at work here. Let me elaborate: The premise, is unique and hasn’t been done much recently, but it suffers from this being an adventure – to properly invest the players in the setting a closer gazetteer, nomenclature, suggested roles and origins for casting talent – all of that should have been covered. They’re not. Worse, everything here is a) clichéd and b) a non-threat in the great whole of things.

Restore an Abandoned Temple Enter the catacombs near the desecrated Temple of Muir, Goddess of Paladins, and search for the lost tomb of Abysthor. Will your party be able to cleanse the evil that now inhabits these once-sacred halls, and recover the Stone of Tircople? Can your characters survive the traps of an undead sorcerer? Will your players discover the chamber of Living Rock and the secret power it holds? Adventure awaits! Gold and Glory! A fantasy adventure published for the D20 system, The Tomb of Abysthor is the first module in Necromancer Games Dungeon series and can be played as a stand-alone story or in conjunction with The Crucible of Freya and the forthcoming city supplement Bards Gate. What secrets lie hidden in the tomb of Abysthor?

The end of the road. A lonely fort stands on the banks of a mighty river. It is here the hardy bands of adventurers gather to plan their conquests of The Hill, the hulking mass that looms over this tiny settlement. The Hill is filled with monsters, they say, and an evil witch makes her home there. Still, no visitor to The Hill has ever returned to prove the rumors are true or false. The thrill of discovery is too great to pass up, and only the river stands in the way. The adventurer's boat is waiting! This module is designed for use with the D&D Basic Rules. A trip through the wilderness begins a unique challenge for the novice player and Dungeon Master. TSR 9078
A little friendly competition can be fun now and then - unless, of course, the competition isn't friendly at all. Included in I13 Adventure Pack I - https://www.adventurelookup.com/adventures/i13-adventure-pack-i TSR 9202

The party is enlisted to assist the Righteous Host, an army formed as a last resort to defend the world against the monsters of Elemental Evil. The host is greatly outnumbered. Its leaders send the party on a series of missions, each of which will give the Righteous Host an edge in the great battle to come. This epic adventure ends with the final push against the forces of Elemental Evil in the Meadows, and the outcome is informed by how effective the party is in their missions... and whether they are willing to risk putting themselves in the front lines. If the Righteous Host loses, players may decide to travel to Hommlet or other nearby towns to defend them. Whether the host is successful or not, players can decide to follow many different plot threads: exploring the Temple of Elemental Evil, finding the lich Kell the Eldest's lair and destroying his phylactory, or following the will of Bitbaern's Shield and discovering historical sites that were previously lost. Pgs. 44-69

Indomitable it stood for centuries, a symbol of order in a world of chaos. Bastion of the pass through the Kamph Mountains, the very stones of the Keep of Adlerweg were the stuff of legends. What evil power had strength enough to take it? How were its defenses swept aside? Fell creatures now attend the battlements that overlook the only pass between Berghof and the sea. This is not a pretty problem to be solved by the militia of the local villages. These and more may be needed to withstand the mayhem stirred up by the fall of the keep. Indeed, if the Keep is not retaken, and retaken soon, the Hold of the Sea Princes itself may not be secure. Now is the time for heroic action. Aided by the Sentinel, former protector of the legendary Guardians of Adlerweg, have you the courage and the determination to rid the keep of its sinister occupants? UK3: "The Gauntlet" (1984), by Graeme Morris, is the third UK-series adventure and the second half of the two-part Adlerweg series. It was run as the final round of the GamesFair 1983 AD&D Open (and won by a RuneQuest fan!). It was then published in 1984. TSR 9111

The characters have escaped the maze only to find themselves in strange dimensions of fire, stone and ice, and a strange idyllic hunting ground where all is not as it appears.

Surviving the shipwreck is easy; living through the wizardly bet afterward is not. Their game could mean your lives. A storm caused the PCs' vessel to sink and is now forcing them to seek shelter in the keep on the remote isle. Their goal is to locate a boat or some other means of transportation to return to the mainland after the storm has passed. But first, they must survive the tests and traps the island's inhabitants have set for them. Pgs. 45-64

The Sea Witch is a short adventure for four 10th-level characters. The difficulty of the adventure can be adjusted by changing the level of main antagonist (Black Molly, the sea hag pirate) or by altering the number of her ogre servants. To tailor the encounter to groups of different levels, refer to table 4-1 in Chapter 4 of the DUNGEON MASTER’S GUIDE. The adventure is set off a lightly populated coastline known as Misty Bay, but adapts easily to any coastal region in existing campaigns. The sea hag known as Black Molly is a notorious pirate who has plagued the coastal cities for the better part of a decade. A successful Knowledge (local) check (DC 15) will reveal that Molly and her ogre crew have a filthy reputation as merciless killers who delight not only in plundering vessels for their riches, but also in destroying the ships themselves and sending all hands to the bottom of the sea. Now the villain and her followers have seized control of the Old Lighthouse of Misty Bay located off a lightly populated coastline. For generations the lighthouse beacon has protected the fishermen of this region, warning them of the dangerous rocks that lurk just below the level of the high tides. Recently, the hag has put out the beacon, darkening the lighthouse; misery and destruction are sure to follow as ships start to blunder into the rocks. Blackmail is apparently Black Molly’s aim in this venture: She conveyed a message to the nearest shore community, the fishing village of Poisson, demanding the princely sum of 50,000 gp. Until she receives this ransom, she intends to hold the lighthouse and its beacon hostage. The fate of the human keepers who tend the lighthouse is unknown to the seaside communities at this time, but they fear the worst. The Sea Witch is ostensibly a rescue mission: The PCs are pitted against the evil of Black Molly and the brawn of her savage ogre crew. It is the heroes’ task to retake the lighthouse and, if possible, free its captives from the clutches of their jailer. What neither the PCs nor the shore communities yet realize is that while she 1would be pleased to have the gold, Black Molly is in fact after bigger treasure. Molly has no intention of giving up the lighthouse — at least, not until she finds what her master sent her here for. Lying on the sea floor practically at the base of the rock on which the lighthouse sits is the wreck of the war galley Flying Cloud, which according to popular legend was captained by a cleric who wore around his neck an amulet of the planes. Black Molly wants this prize, but so far she hasn’t been able to find it. She’s scoured the wreck without finding any sign of the magic item. Now she’s trying to determine where to search next, for the item might well be somewhere near the wreck. If she can’t find it, she’ll start torturing her captives to find out if they have any useful knowledge about the amulet.

Content in English / Contenido en Español Mini Hex is Hex Crawl that can be played in one session, its ideal to show your players what a hex crawl is about. It may serve simple purposes as finding some rare flowers in the forest, the location of a ritual in the city or the cave with the treasure in the hills. This module contains: 3 scenarios. 18 combat encounters for levels 4, 7 and 11 characters. 30 obstacles encounter of varying difficulty. More than 100 traps variations. Aids for easy setup. Area and battle maps. A couple of interesting mechanics to make your game feel fresh. Mini Hex es Hex Crawl que se puede jugar en una sesión, es ideal para mostrar a tus jugadores de qué se trata un rastreo hexadecimal. Puede tener propósitos simples como encontrar algunas flores raras en el bosque, la ubicación de un ritual en la ciudad o la cueva con el tesoro en las colinas. Este módulo contiene: 3 escenarios. 18 encuentros de combate para personajes de nivel 4, 7 y 11. 30 obstáculos ambientales de diversa dificultad. Más de 100 variaciones de trampas. Ayudas para prepara rápido y fácil una partida. Área y mapas de batalla. Un par de mecánicas interesantes para que tu juego se sienta fresco.

Strange tales of a mad queen and a hoard of legendary treasure have driven adventurers into the jungles of the great trade road between Tiefon and Nextyaria for a generation, but now new information has come to light. A travelling bard has uncovered certain keys to the location of the lost queen's mysterious volcanic home, and the secret that may thwart her seeing immortality and invulnerability. Once again, the Barrens takes center stage as characters must via for a chance to grow rich and expand their legend among the heroes of the Nameless Realms! The Infamous Black Label series continues with this second part to the Barrens trilogy as characters must dodge the marauding forces of bandit lords, discover a wayward bard, and then journey to the caldera fortress of the Hall of the Spider Queen. What secrets does that dark sanctuary hold? Only time, dice, and the comradery of the gaming table will tell. This adventure is formatted to both 1E & 5E gaming rules.
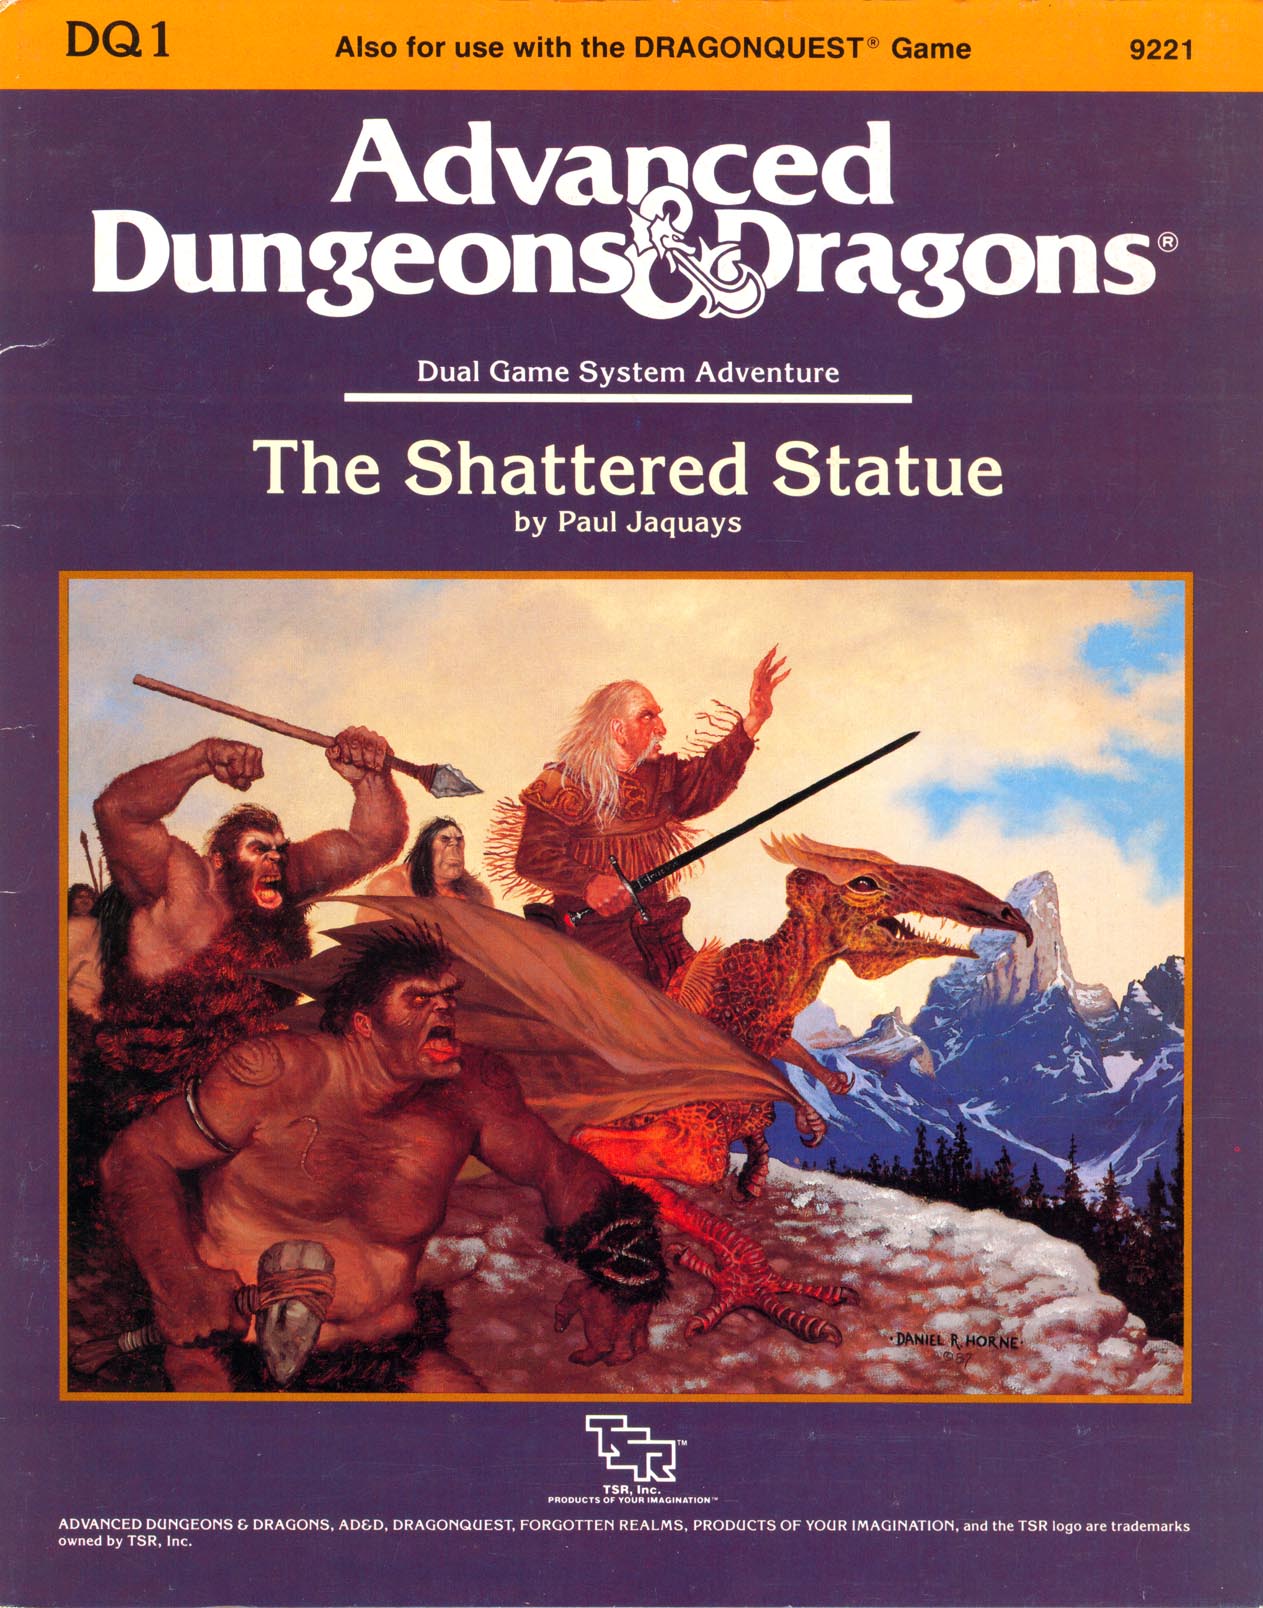
"A mutual friend has praised your skills highly. If you seek rich reward and the opportunity to delve into mysteries ancient and lost, bring this bottle forthwith to my demesne in the village of Volkumburgh. Together we may seek to bring mankind the lost wonder of the awtawmatawn." A mysterious note, a disappearing 5-foot-long religious relic, and the ruins of two magical schools. What do these things have in common? How deeply are your party members involved in all this? "The Shattered Statue" is the first dual-game-system module of its kind. Players of both the AD&D game system and DRAGONQUEST game system can use this adventure. It is suitable for use with FORGOTTEN REALMS campaign setting. TSR 9221
Important: The adventure is 1e but it has monster conversion notes for D&D 4th edition The town of Highport, once a human community overlooking Wooly Bay from its perch on the northern coast of the Pomarj, fell prey to hordes of humanoids swarming out of the jungle-covered hills surrounding the settlement. Though the orcs, goblins, kobolds, ogres, and gnolls razed much of the place in their ferocious rampages, the smoldering ruins they left behind soon became a new kind of community, a place of trade between the humanoid “locals” and the unsavory human traders who have no compunction about doing business with them. Slaves are a commodity in ready supply in Highport’s market, since many pirates raid up and down the coast of the bay, putting fishing villages to the torch and filling their holds with captured refugees. Slavery has become a thriving business in the town, and rumors abound of a cartel of Slave Lords who run things from behind the scenes, filling their coffers in secret from the buying and selling of human chattel. The trade has become so prolific that the good folk to the north have grown tired of these depredations and decided to fight back. Forces of righteousness and honor have recently descended upon Highport, some openly and others in secret, in various attempts to destroy the machinations of the Slave Lords and abolish the abominable enterprise that has taken far too many loved ones from home and hearth. One such doughty servant of goodness is Mikaro Valasteen, a cleric of Trithereon. Mikaro slipped unnoticed past the crumbling walls of Highport with a single mission: to rescue and transport as many slaves to their freedom as possible. Mikaro and a handful of faithful assistants located a number of escaped slaves—as well as rescued a few more not sufficiently restrained and guarded—and shepherded them through the gates and beyond the reach of their humanoid tormentors, returning them to their lands and homes. This covert freedom brigade enjoyed remarkable success early on, since the servants of the Slave Lords were often lax in their vigilance and sloppy in their efforts to prevent loss of the “merchandise.” After one too many shipments never made its destination, the humanoids stepped up their security and the normal channels of escape from Highport closed to Mikaro and his team. He cannot risk exposure by smuggling the freed slaves through the gates as merchandise any longer, since shipments of goods are now regularly stopped and checked. No longer able to free the slaves in that manner, Mikaro began hiding his charges in an abandoned villa in a particularly rundown part of the town. Although they are safe for the moment, their numbers have grown unmanageable, and the priest fears it is only a matter of time before someone slips up and brings slavers to their doorstep. Ever more desperate to find a new means of escape from Highport, Mikaro has started work on a plan that is both daring and dangerous. He intends to use a series of old sewers coupled with natural caverns running beneath the town as an escape route to the sea beyond the walls. But he needs someone to clear out the creatures and pitfalls he knows lie within. Pgs. 2-27

The heroes arrive at the eponymous Keep on the Borderlands, a fortress on the edge of civilization built to stave off the chaos and evil of the wilderness. Using it as a home base, a party can make forays into the surrounding wilderness, encountering monster and marauder alike. The centerpiece of the adventure is certainly the CAVES OF CHAOS, a network of tunnels and caverns found in the walls of a nearby but isolated ravine. It is here that hordes of evil humanoids have made their home. Through combat and negotiation, the players can try to explore and map out these caves, perhaps with the aim of accumulating valuable treasure or even cleansing the land of evil creatures. However, even the Caves are not all they seem. Beyond the goblins and kobolds lurk dark horrors: cults dedicated to fiendish chaos and a Minotaur's enchanted labyrinth await the unprepared adventurer. But for the hero who is brave, clever, and fortunate in equal and sufficient measure, great treasures and glory await in the Caves of Chaos that lie beyond the Keep on the Borderlands! TSR 9034

Bad Fruul and his minions have been threatening to overtake the town of Parnast for some time, and intelligence provided by Seer (via Hsing) confirms that an attack is imminent. Despite this, the town is at risk from within as internal politics threaten to tear it apart. It is up to the adventurers to resolve the infighting in Parnast and prepare the town for the hill giant's onslaught.
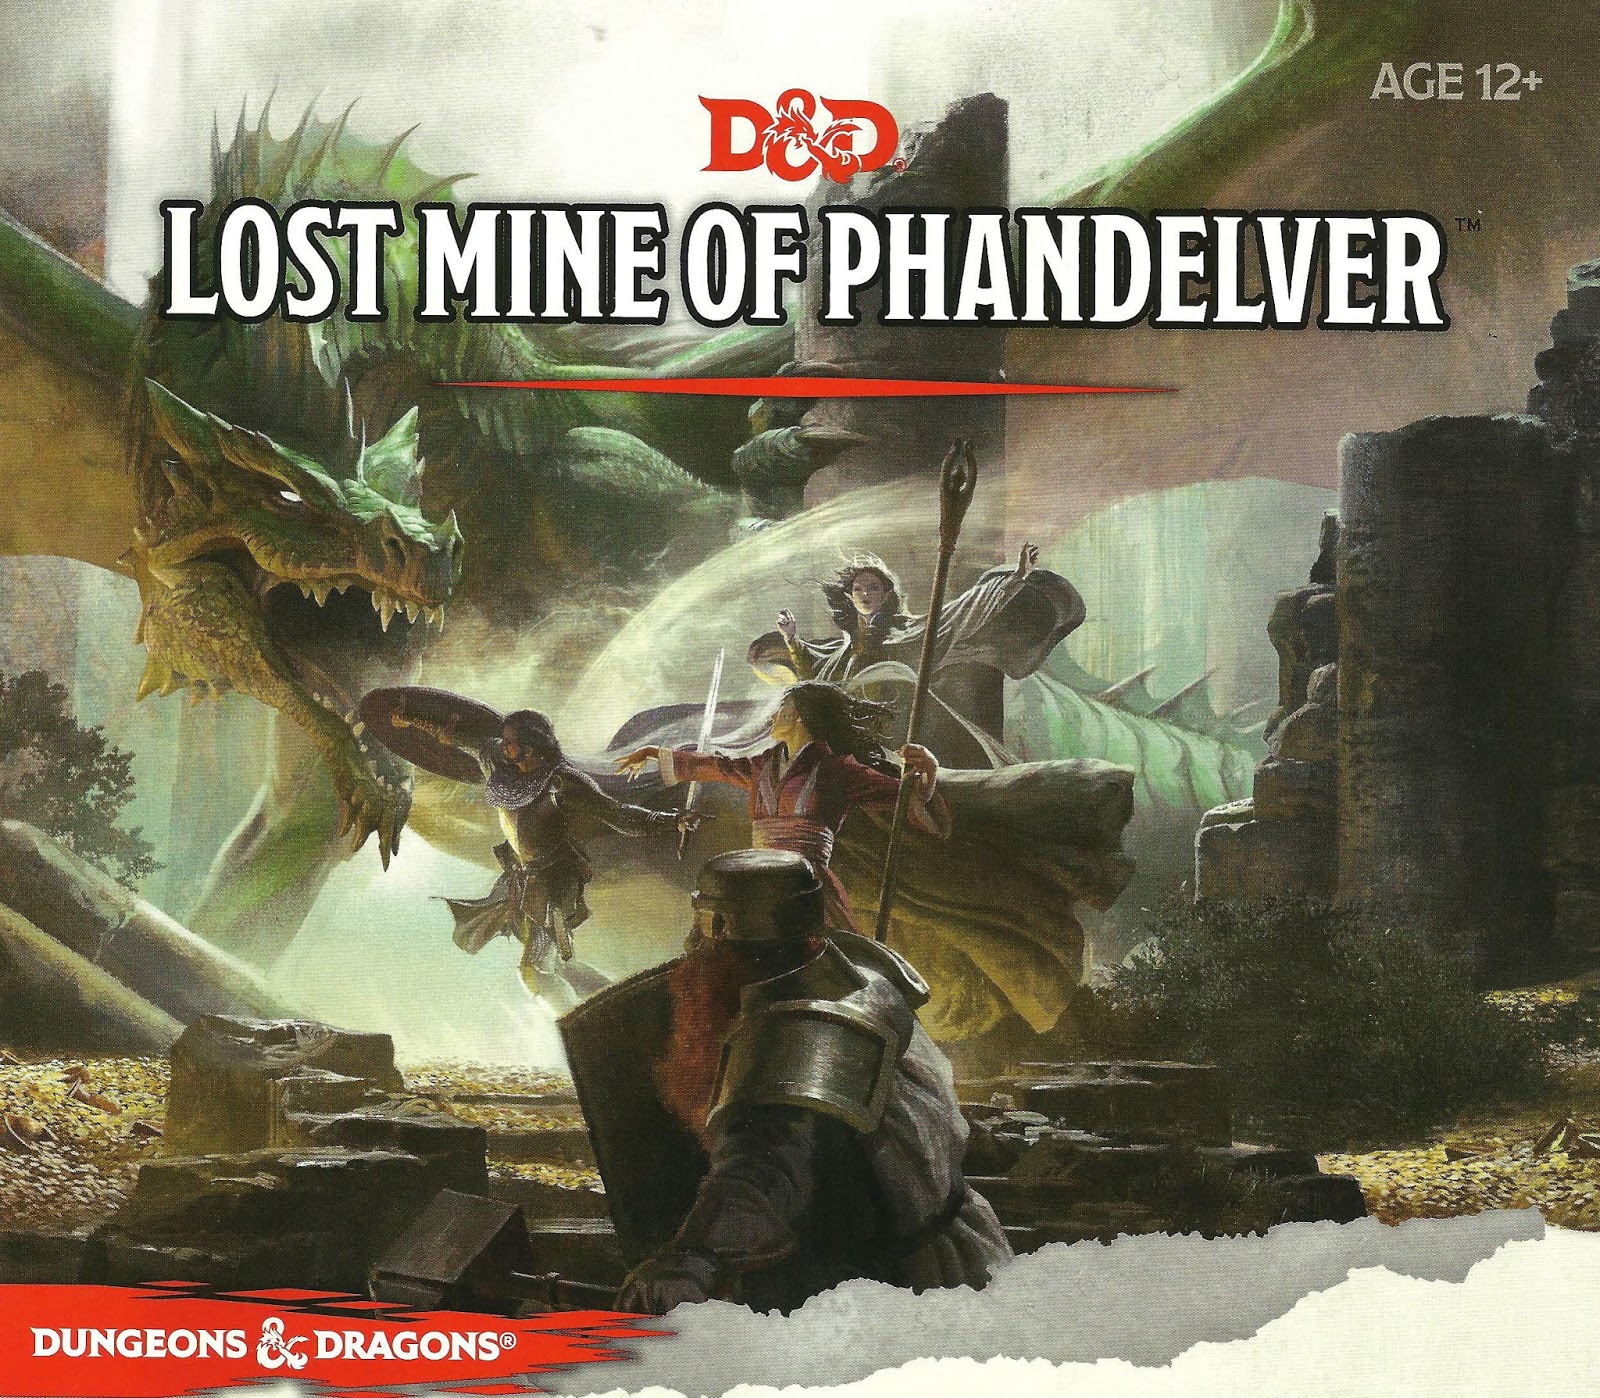
"More than five hundred years ago, clans of dwarves and gnomes made an agreement known as the Phandelver’s Pact, by which they would share a rich mine in a wondrous cavern known as Wave Echo Cave. In addition to its mineral wealth, the mine contained great magical power. Human spellcasters allied themselves with the dwarves and gnomes to channel and bind that energy into a great forge (called the Forge of Spells), where magic items could be crafted. Times were good, and the nearby human town of Phandalin (pronounced fan-duh-lin) prospered as well. But then disaster struck when orcs swept through the North and laid waste to all in their path. A powerful force of orcs reinforced by evil mercenary wizards attacked wave echo cave to seize its riches and magic treasures. Human wizards fought alongside their dwarf and gnome allies to defend the Forge of Spells, and the ensuing spell battle destroyed much of the cavern. Few survived the cave-ins and tremors, and the location of Wave Echo Cave was lost. For centuries, rumours of buried riches have attracted treasure seekers and opportunists to the area around Phandalin, but no one has ever succeeded in locating the lost mine. In recent years, people have resettled the area. Phandalin is now a rough-and-tumble frontier town. More important, the Rockseeker brothers - a trio of dwarves - have discovered the entrance to Wave Echo Cave, and they intend to reopen the mines. Unfortunately for the Rockseekers, they are not the only ones interested in Wave Echo Cave. A mysterious villain known as the Black Spider controls a network of bandit gangs and goblin tribes in the area, and his agents have followed the Rockseekers to their prize. Now the Black Spider wants Wave Echo Cave for himself, and he is taking steps to make sure no one else knows where it is." Extra Info from AL.com users: by @marcellarius. "There are a variety of locations in this adventure: the town of Phandalin, a gang hideout, a ruined keep in the forest, a destroyed village, and Wave Echo Cave (a dungeon crawl). The adventure is written in a sandbox style and relies on the players to choose their path. Phandalin offers several side-quests which could serve as hooks for continuing adventures. The premade characters have ties in their backgrounds to NPCs and locations. If you're not using these you'll need to consider other ways to introduce key NPCs."

Faced with an unusual alliance of giants raiding the countryside, the party must venture into the steading of hill giant chief Nosnra and uncover maps to the locations of the other giant strongholds. “Steading of the Hill Giant Chief ” can be run as a stand-alone adventure, or you can play it as the first part of a four-part series that continues with “Warrens of the Stone Giant Thane” (Dungeon 198), “Glacial Rift of the Frost Giant Jarl” (Dungeon 199), and “Hall of the Fire Giant King” (Dungeon 200). The adventure is part of the Against the Giants series originally by Gary Gygax, hence the writing credit.