
The dreadful jails below the appalling City of Skulls, Iuz's nightmare capital, contain many wretched and desperate captives. Among them is Earl Holmer, Knight Commander of the Shield Lands. A brave spy in Dorakaa has shown the ay to find and free Holmer—is your party up to the job of freeing him? King Belvor IV of Furyondy believes so. In the way stand fearsome priests and mages of the Lord of Pain; ogres, giants, fiends, and worse hinder the struggle to defeat the traps and guardians of Iuz. Plucking Holmer from his grasp will bring great renown, knighthood, and treasure—for those who survive. None has ever escaped Iuz's jails. Who will you be the first to use stealth or storm to breach them? TSR 9405

The heroes arrive at the eponymous Keep on the Borderlands, a fortress on the edge of civilization built to stave off the chaos and evil of the wilderness. Using it as a home base, a party can make forays into the surrounding wilderness, encountering monster and marauder alike. The centerpiece of the adventure is certainly the CAVES OF CHAOS, a network of tunnels and caverns found in the walls of a nearby but isolated ravine. It is here that hordes of evil humanoids have made their home. Through combat and negotiation, the players can try to explore and map out these caves, perhaps with the aim of accumulating valuable treasure or even cleansing the land of evil creatures. However, even the Caves are not all they seem. Beyond the goblins and kobolds lurk dark horrors: cults dedicated to fiendish chaos and a Minotaur's enchanted labyrinth await the unprepared adventurer. But for the hero who is brave, clever, and fortunate in equal and sufficient measure, great treasures and glory await in the Caves of Chaos that lie beyond the Keep on the Borderlands! TSR 9034
This adventure can be used as stand-alone or continuing the arc started by Death in Freeport. Terror in Freeport leads the PCs deeper into the intrigue they began to glimpse in Death in Freeport. The investigation takes them from the corridors of power to the bowels of the underworld, with terrifying insights into who really controls the city. They discover that the Brotherhood of the Yellow Sign has its claws in the town's power elite, but thanks to some clever camouflage by Sea Lord Drac. they may not find out just whom the serpents control until it's too late. As the adventure begins, the PCs are contacted once more by a very nervous Brother Egil. He tells them that while staying with Lucius one evening, he awoke to find a burglar in the roomstealing a scroll. Egil is certain that the Brotherhood have penetrated further into Freeport than anyone imagines. He wants the PCs to investigate Milos's other ties to the city and find out what's being done about the temple of the Unspeakable One. The PCs search the cultist's lodgings and discover it has been carefully gone over, and several possibly incriminating books are missing. But the burglars overlooked one thing: a Tome with a diagram of the Lighthouse of Drac sketched onto the back page, marked with the letter V. Upon leaving Milos's lodgings, the PCs come upon a gang of orcs beating up a hapless messenger. They lend a hand, only to discover they've been tricked - the messenger makes off with Milos's book! A chase through the back streets leads them to the boarded-up building the y discovered in Death What they find isn't encouraging. There is a guard posted out front, courtesy of "V"- -Verlaine. head of the Captains' Council. Meanwhile, down below, the cultists continue to have the run of the caverns-— in fact, they have been shipping their unholy relics to Verlaine's own home!

Bad Fruul and his minions have been threatening to overtake the town of Parnast for some time, and intelligence provided by Seer (via Hsing) confirms that an attack is imminent. Despite this, the town is at risk from within as internal politics threaten to tear it apart. It is up to the adventurers to resolve the infighting in Parnast and prepare the town for the hill giant's onslaught.

Bring your chilling campaign to life with this companion supplement for Icewind Dale: Rime of the Frostmaiden! Tales from the Frozen North presents 10 handcrafted encounters between 15 to 90 minutes in length for your adventures across the frozen wasteland. They are specifically written around the themes of paranoia, isolation and secrecy, with a particular focus on exploration.
The orcs remember Tarran Kratys. Today he wishes they had not.

The Legend of the Black Monastery Two centuries have passed since the terrible events associated with the hideous cult known as the Black Brotherhood. Only scholars and story-tellers remember now how the kingdom was nearly laid to waste and the Black Monastery rose to grandeur and fell into haunted ruins. The Brothers first appeared as an order of benevolent priests and humble monks in black robes who followed a creed of kindness to the poor and service to the kingdom. Their rules called for humility and self denial. Other religious orders had no quarrel with their theology or their behavior. Their ranks grew as many commoners and nobles were drawn to the order by its good reputation. The first headquarters for the order was a campsite, located in a forest near the edge of the realm. The Brothers said that their poverty and dedication to service allowed them no resources for more grand accommodations. Members of the Black Brotherhood built chapels in caves or constructed small temples on common land near villages. They said that these rustic shrines allowed them to be near the people they served. Services held by the Brothers at these locations attracted large numbers of common people, who supported the Black Brotherhood with alms. Within 50 years of their first appearance, the Black Brotherhood had a number of larger temples and abbeys around the kingdom. Wealthy patrons endowed them with lands and buildings in order to buy favor and further the work of the Brothers. The lands they gained were slowly expanded as the order’s influence grew. Many merchants willed part of their fortunes to the Black Brotherhood, allowing the order to expand their work even further. The Brothers became bankers, loaning money and becoming partners in trade throughout the kingdom. Within 200 years of their founding, the order was wealthy and influential, with chapters throughout the kingdom and spreading into nearby realms. With their order well-established, the Black Brotherhood received royal permission to build a grand monastery in the hill country north of the kingdom’s center. Their abbot, a cousin of the king, asked for the royal grant of a specific hilltop called the Hill of Mornay. This hill was already crowned by ancient ruins that the monks proposed to clear away. Because it was land not wanted for agriculture, the king was happy to grant the request. He even donated money to build the monastery and encouraged others to contribute. With funds from around the realm, the Brothers completed their new monastery within a decade. It was a grand, sprawling edifice built of black stone and called the Black Monastery. From the very beginning, there were some who said that the Black Brotherhood was not what it seemed. There were always hints of corruption and moral lapses among the Brothers, but no more than any other religious order. There were some who told stories of greed, gluttony and depravity among the monks, but these tales did not weaken the order’s reputation during their early years. All of that changed with the construction of the Black Monastery. Within two decades of the Black Monastery’s completion, locals began to speak of troubling events there. Sometimes, Brothers made strange demands. They began to cheat farmers of their crops. They loaned money at ruinous rates, taking the property of anyone who could not pay. They pressured or even threatened wealthy patrons, extorting money in larger and larger amounts. Everywhere, the Black Brotherhood grew stronger, prouder and more aggressive. And there was more… People began to disappear. The farmers who worked the monastery lands reported that some people who went out at night, or who went off by themselves, did not return. It started with individuals…people without influential families…but soon the terror and loss spread to even to noble households. Some said that the people who disappeared had been taken into the Black Monastery, and the place slowly gained an evil reputation. Tenant farmers began moving away from the region, seeking safety at the loss of their fields. Slowly, even the king began to sense that the night was full of new terrors. Across the kingdom, reports began to come in telling of hauntings and the depredations of monsters. Flocks of dead birds fell from clear skies, onto villages and city streets. Fish died by thousands in their streams. Citizens reported stillborn babies and monstrous births. Crops failed. Fields were full of stunted plants. Crimes of all types grew common as incidents of madness spread everywhere. Word spread that the center of these dark portents was the Black Monastery, where many said the brothers practiced necromancy and human sacrifice. It was feared that the Black Brotherhood no longer worshipped gods of light and had turned to the service of the Dark God. These terrors came to a head when the Black Brotherhood dared to threaten the king himself. Realizing his peril, the king moved to dispossess and disband the Black Brother hood. He ordered their shrines, abbeys and lands seized. He had Brothers arrested for real and imagined crimes. He also ordered investigations into the Black Monastery and the order’s highest ranking members. The Black Brotherhood did not go quietly. Conflict between the order and the crown broke into violence when the Brothers incited their followers to riot across the kingdom. There were disturbances everywhere, including several attempts to assassinate the king by blades and by dark sorcery. It became clear to everyone that the Black Brotherhood was far more than just another religious order. Once knives were drawn, the conflict grew into open war between the crown and the Brothers. The Black Brotherhood had exceeded their grasp. Their followers were crushed in the streets by mounted knights. Brothers were rounded up and arrested. Many of them were executed. Armed supporters of the Black Brotherhood, backed by arcane and divine magic, were defeated and slaughtered. The Brothers were driven back to their final hilltop fortress – the Black Monastery. They were besieged by the king’s army, trapped and waiting for the king’s forces to break in and end the war. The final assault on the Black Monastery ended in victory and disaster. The king’s army took the hilltop, driving the last of the black-robed monks into the monastery itself. The soldiers were met by more than just men. There were monsters and fiends defending the monastery. There was a terrible slaughter on both sides. In many places the dead rose up to fight again. The battle continued from afternoon into night, lit by flames and magical energy. The Black Monastery was never actually taken. The king’s forces drove the last of their foul enemies back inside the monastery gates. Battering rams and war machines were hauled up the hill to crush their way inside. But before the king’s men could take the final stronghold, the Black Brotherhood immolated themselves in magical fire. Green flames roared up from the monastery, engulfing many of the king’s men as well. As survivors watched, the Black Monastery burned away, stones, gates, towers and all. There was a lurid green flare that lit the countryside. There was a scream of torment from a thousand human voices. There was a roar of falling masonry and splitting wood. Smoke and dust obscured the hilltop. The Black Monastery collapsed in upon itself and disappeared. Only ashes drifted down where the great structure had stood. All that was left of the Black Monastery was its foundations and debris-choked dungeons cut into the stones beneath. The war was over. The Black Brotherhood was destroyed. But the Black Monastery was not gone forever. Over nearly two centuries since its destruction, the Black Monastery has returned from time to time to haunt the Hill of Mornay. Impossible as it seems, there have been at least five incidents in which witnesses have reported finding the Hill of Mornay once again crowned with black walls and slate-roofed towers. In every case, the manifestation of this revenant of the Black Monastery has been accompanied by widespread reports of madness, crime and social unrest in the kingdom. Sometimes, the monastery has appeared only for a night. The last two times, the monastery reappeared atop the hill for as long as three months…each appearance longer than the first. There are tales of adventurers daring to enter the Black Monastery. Some went to look for treasure. Others went to battle whatever evil still lived inside. There are stories of lucky and brave explorers who have survived the horrors, returning with riches from the fabled hordes of the Black Brotherhood. It is enough to drive men mad with greed – enough to lure more each time to dare to enter the Black Monastery.
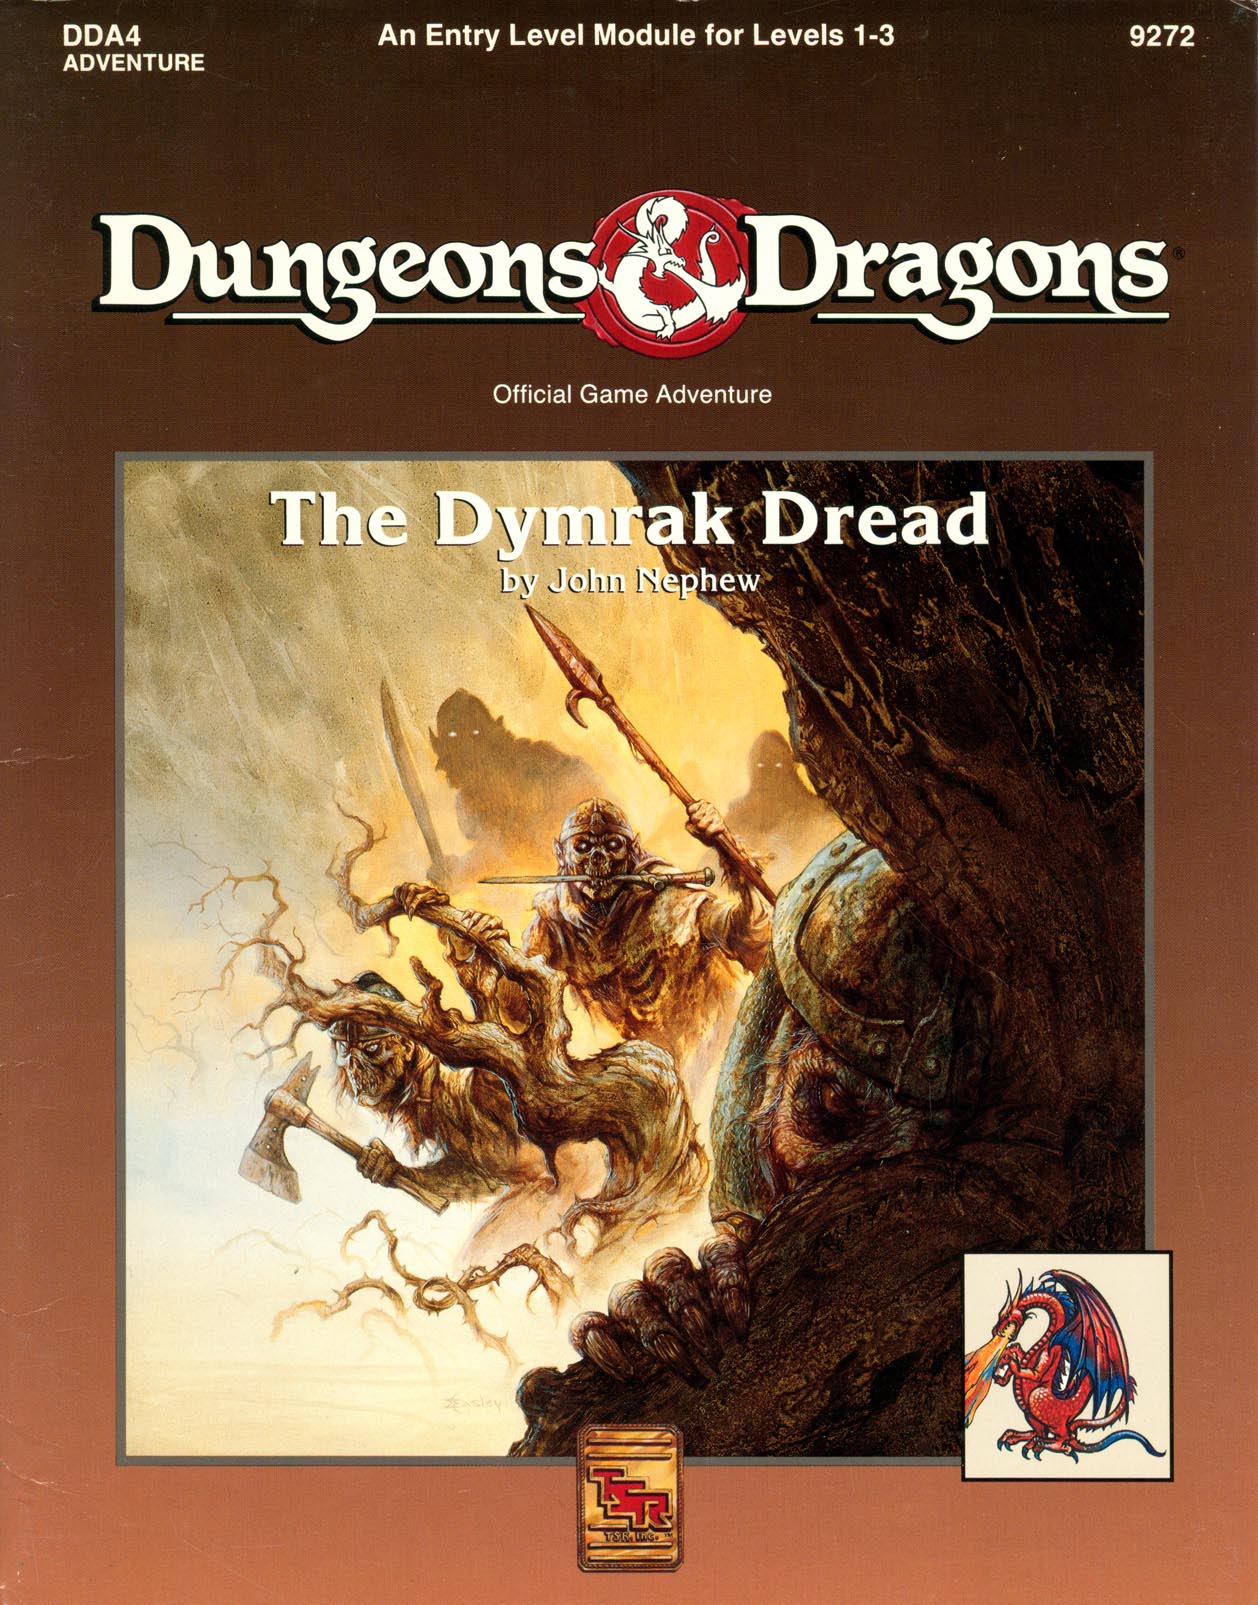
Adventure Lies Ahead, Deep in the Heart of the Dymrak Forest Are you ready to meet the Lord Forester's challenge: to put an end to needless death and destruction by doing away with the goblin war chieftain, Kosivikh, and his evil band of raiders? Eager to prove yourselves as new adventurers and to collect a sizable bounty, you travel to the goblins' dungeon in the Dymrak Forest - a place that has captivated your interest for years, a place where few have dared to venture. Only you and your fellow adventurers can put an end to the rampant bloodshed and return peace to the territory. This module is recommended especially for beginner Dungeon Masters and players who are interested in dungeon exploration. Can be used as a follow-up to the DDA3, Eye of Traldar module or it can stand alone Features easy-to-follow rules on dungeon adventuring in the heart of the Dymrak Forest. TSR 9272

A slaver gang known as the Bloodreavers are terrorizing the countryside from their base deep in the labyrinth under Thunderspire Mountain. But these slavers are only the symptom of a larger threat in the bowels of Thunderspire.

In the ruins of Kiris Dahn, a human town, lies a 'Slaying Stone'. The stone is said to have the power to kill any foe, though the stone is consumed in the process. The party will venture into the ruins which are the home to an assortment of goblins, hobgoblins, and kobolds. However, a mercenary band of orcs have been hired (by a benefactor who is not met in the module) to search the ruins for the Stone, and the party must find it first. The party must use caution and stealth to move through the town without alerting the denizens or the mercenaries while searching strategic points around the abandoned town to find the Stone. Eventually, the party should find the stone under the protection of an indifferent Brass Dragon.
Shadows in the forest deepen as an Oracle among the Yuirwood's half-elf inhabitants fire tells the reemergence of the Duskwalker, an ancient and corrupt star elf wizard. Missing travelers and lost goods all point to a circle of standing stones within the forest. Perhaps, like it's counterparts elsewhere in the Yuirwood, this stone henge allows for travel to travel to another place - but where? And what growing darkness awaits those bold enough to find out?

Shall you claim the glory of heroes, or accept your doom? You have raised the ire of the goblin warlord, and now you flee his kingdom with war parties hot on your trail. You must reach the borderland town of Felsentheim, for if you do not, no alarm will sound to hearken the coming of the Dogs of War and your bodies will lie in the forest grass, forgotten by all but the worms! Shall you claim the glory of heroes and warn the people or accept your doom and suffer death in the Treklant? Enter again the World of Inzae, where all things slip into the Maelstrom, and from hence true heroes are born.

An evil cult with a trick up its sleeve. A missing tome, a trail of clues and an unusual cult. Lawful-good characters, especially paladins are recommended for this adventure. Clerics of Aphrodite, Hanali Celanil, Hera, and lshtar have a special interest in despoiling the cult of Shami-Amourae. [Note: Adventure contains statistics for the Demigod Succubus, Shami-Amourae] Pgs. 19-27

The mining town of Glister has had a prosperous year, and people have been coming in search of work and wealth. A call has gone out for help in some local matters, but getting there is no easy task. Catch the caravan and travel through treacherous Thar! A 2-Hour Adventure for 1st-4th Level Characters Part 1 of Kossuth’s Kiss
No introductions are necessary for I know well who you are, my intrepid adventurer. A weary traveler indeed. Have a seat, my friend, before you enter the Graffenvold and traverse its byways. Have you come here to rest, to leave the muddy tracks and sharp edges of the world behind? Is that, it my fine fellow? Or have you come to beat down the Lords of this Land and submit them to your will? Which is it fellow, the easy or the hard road you are after? I fear you have gone beyond yourself, and here in Inzae your mistake may be your doom. For beyond yonder door is a fearful world clinging desperately to life. Its denizens struggle against a vast array of malignant forces that seek to drag them deeper into the pits of the Maelstrom. And even here, in this backwater called the Reintier, you will find no respite from this meaningless and overwhelming struggle. So take heed traveler, take heed as you enter the Graffenvold, it will do you well to remember that this is a deadly world and lest you take care, you will be engulfed in its dying spasms. Traveling south in the goblin kingdoms is always frought with danger. So many will go only so far as the Baron's outpost, The Vakhund, The Watchdog Tower, and reside there in safety while merchants and others fare their way down the road. But what happens when the Vakhund is attacked by goblins, orcs and bandits? A princess is kidnapped, and only a dangerous trip into the dark, infested goblin kingdoms will reveal the answer. A Castles & Crusades adventure intended for 4-8 characters of levels 1-2, Vakhund: Into the Unknown marks Part 1 in the thrilling Death on the Treklant Trilogy and introduces the grimly realistic World of Inzae. Those brave enough to enter her Maelstrom and become heroes shall linger long in the halls of valor and memory.
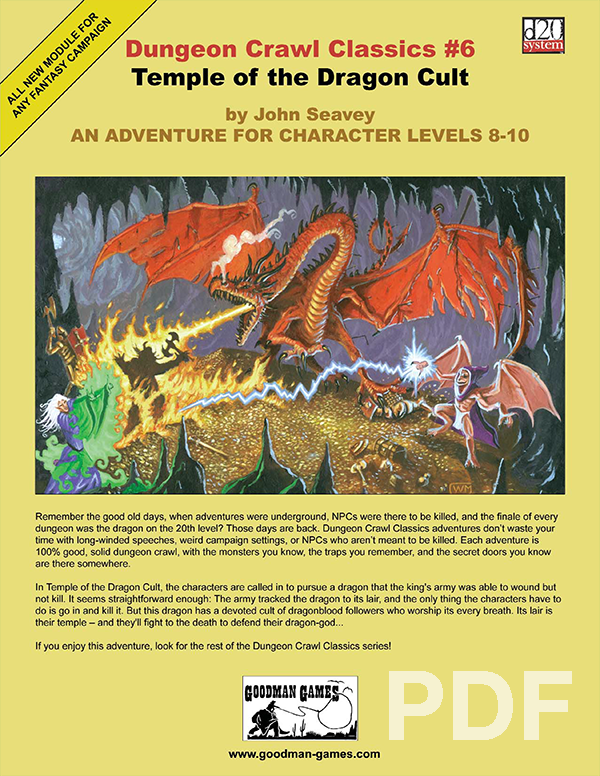
In Temple of the Dragon Cult, the characters are called in to pursue a dragon that the king’s army was able to wound but not kill. It seems straightforward enough: the army tracked the dragon to its lair, and all the characters have to do is go in and kill it. But this dragon has a devoted cult of dragonblood followers who worship its every breath. Its lair is their temple — and they’ll fight to the death to defend their dragon-god…
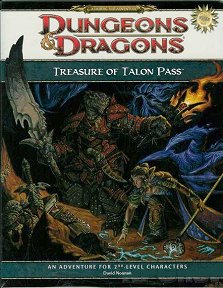
In Treasure of Talon Pass, the player characters explore an ancient mountain garrison in search of a jade chalice reputed to be worth a small fortune. But the path to the jade chalice isn’t easy. A dragon and its kobold minions have taken up residence in the garrison, and some undead soldiers from long ago still haunt its halls as well. Nor are the PCs the only ones seeking the jade chalice. A band of orc mercenaries known as the Nightfists are after the chalice . . . and they arrived at the dungeon only minutes before the PCs
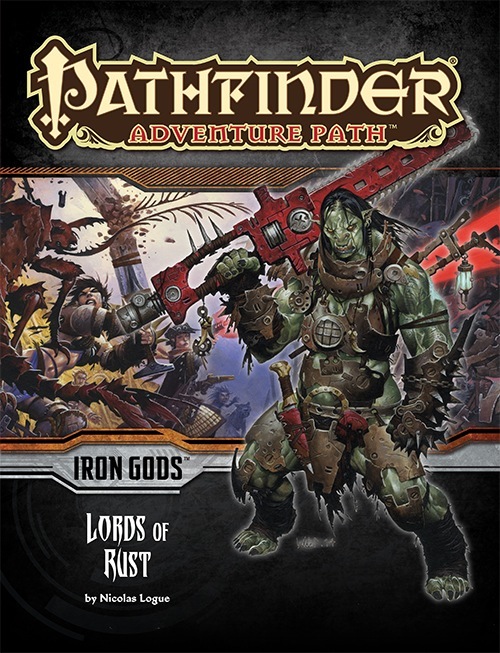
The heroes of the town of Torch follow a trail of clues to the sprawling junkyard known as Scrapwall, where bands of desperate and violent brigands vie for control of the technological remnants found within. The Lords of Rust dominate Scrapwall, and their swiftly rising power threatens more than just the town of Torch, for this gang has the support of one of the terrifying Gods of Numeria. What slumbers fitfully beneath the wreckage of Scrapwall could catapult the Lords of Rust into a new level of power if they're not stopped!

A plug in adventure that can be used as part of a larger campaign or run as a one shot for 3-4 Tier I characters (scalable for tier II characters) set in the Forgotten Realms. This adventure can be placed in other settings as well. The characters have learned of a new and young threat in the Mere of Dead Men. Sent to identify and solve the issue for the nearby people of the region there are multiple setups and information for continuing adventure within the Mere. The adventure comes with the following: 10 page PDF adventure file. 1 Regional Map of the Mere of Dead Men 3 Parchment style DM and Player maps ready for VTT use 3 Printer friendly DM and Player maps ready for VTT well as printer friendly DM and Player maps that are VTT ready 1” diameter tokens ready to be cut out for use in person as well as files for use in a VTT

The End of the World Is at Hand! A hideous death cult has seized control of an ancient artifact-monument known as Tovag Baragu. The power behind the cult is the Old One himself, Iuz the Evil, demonic master of an empire. He's on an all-or-nothing quest for supremacy over the world—and the heavens beyond. To stop him, heroes must face horrors never dreamed of, journeying to a shadowed city where Death rules and the living cower. Here, Iuz will achieve his mad dream by destroying the imprisoned master of that alien citadel: Vecna, the mightiest lich, an immortal demigod. Two items exist with the power to stop Iuz—the Eye and the Hand of Vecna—but using them carries fantastic risks. Not even the gods know what will be unleashed when these items are fully activated. Die Vecna Die! takes the heroes from the Greyhawk campaign to the demiplane of Ravenloft and then to the Planescape city of Sigil. However, none of the material from those settings is required for play. TSR 11662