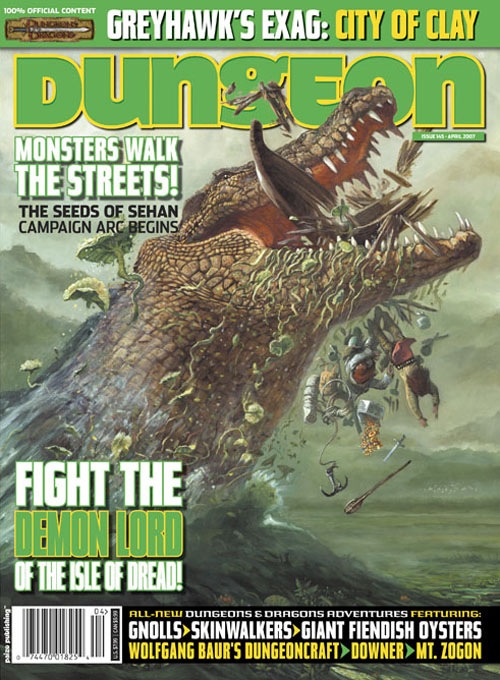
A horrific drug has seized the population of the strange city of Exag, yet confronting its source only reveals the true extent of a dire new threat. Part one of the Seeds of Sehan campaign arc, this is a D&D adventure for 8th-level characters.

Gang War! is a companion adventure made to go along with the events unfolding in Folio #9 (DF2 The Lost Apprentice). It contains the information needed to run a side advenute during the events of The Hidden Valoria Campaign. Yep, you've stepped in it now! Cross blades with several of the gangs of the Patina to help avoid an all-out war that is likely to set the neighborhood ablaze! Once again the players are pressed into service to help keep the peace in the Patina when a rumor of a murder and deciet will pit on gang against another, their tenuous alliances threatening to pull other gnags into the mess as well. This adventure is formatted to both 1E & 5E gaming rules.
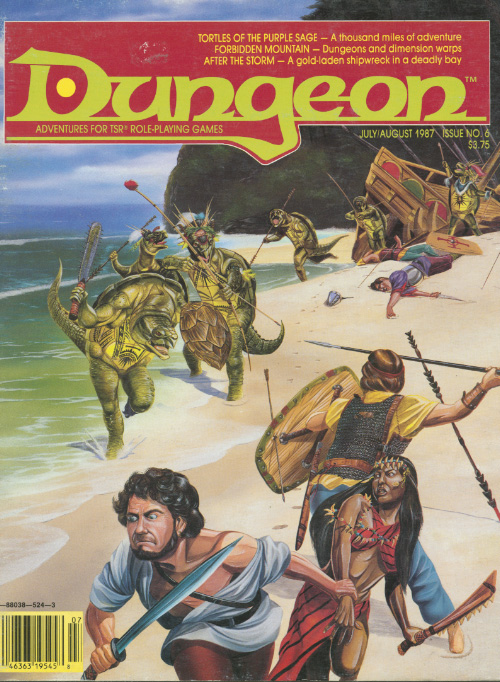
Part 1 of an Expert-level quest into a hostile wilderness. This adventure takes place in the Known World of the D&D game, as outlined throughout the D&D game rule books and modules. The DM may find it useful to consult the Companion and Masters Sets, as well as most of the X-series of Expert Set modules. D&D Expert Set module X9, The Savage Coast, would be especially helpful, as Tortles of the Purple Sage could easily serve and continue that module's direction and plot like, adding a previously undescribed area (the Great Northway) to the Known World. The DM may also place the areas and events of this adventure within an existing campaign setting, as long as the geographical areas of the campaign match those set forth here. Pgs. 40-62
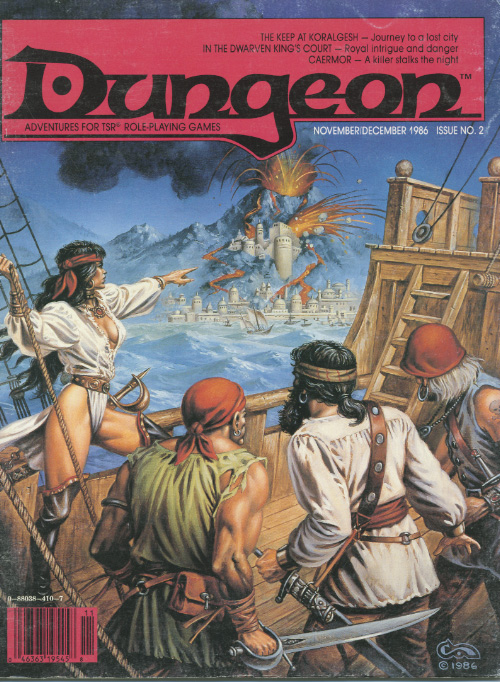
The game is afoot in the royal palace. A thief prowls the dwarven palace, but even more goes on than meets the eye. Set in in a dwarven kingdom, a peace treaty with an aggressive rival kingdom is to be signed with ceremonial gifts exchanged to mark the occasion. However the treaty is put in jeopardy when the ceremonial sword that was gifted to the kingdom is stolen before the signing. The adventure begins when the characters receive a vision that directs them to help the kingdom. They must investigate the mystery of the missing sword, navigating a diverse cast of palace dwarves in order to preserve peace in the kingdom. A tale of intrigue, can the heroes find the sword before it is too late? Pgs. 16-32

You possess a map to the tomb of the cursed archmage Bigby. Legend has it that the dungeon itself changes, altered by a powerful artifact and changed each time the tomb is entered. Some tales say that Bigby is trapped in magical stasis seeking something to prolong his life. All agree that great treasure and magic lie within if you are brave enough to face the hazards.

The Eye of the Storm is a tower storming adventure for parties of 3 to 7 adventurers from 8th to 12th level. It takes around 6 hours to play and is designed to fit into any campaign that needs a wizard in tower. In this adventure the party are tasked with stopping the storm obsessed wizard, Atonitus, from completing his ritual to become a living storm. Atonitus' ritual is causing dangerous elemental storms in the area surrounding his tower, causing death and destruction in nearby settlements. A pair of Cyclopes, Pameen and Mezrah, have been tricked into doing his bidding too. The siblings have been raiding passing caravans, local settlements, and travellers for all the metal they can carry. Featuring a maze of interconnected rooms, puzzles, a rather annoyed Yugoloth, and the new Ice Para-Elemental monster, this adventure is perfect if you want a dungeon crawl or something a little more social.
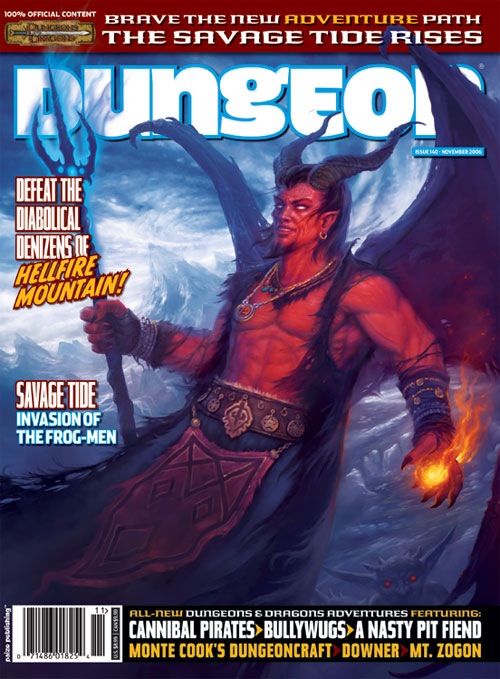
When an attempt to arrange an early inheritance backfires, a man of lesser ambition than Vanthus Vanderboren would no doubt withdraw into his sister's manse to hide under her skirts and pray that the truth of his patricide remain hidden. Fortunately for Vanthus, lack of ambition has never been a problem. Now the Vanderobrens' prodigal son slinks east along the coast of Blood Bay, lured by rumors of an incredible prize kept in a smuggler's hideout called Kraken's Cove. Yet what he is destined to find there is far more than a lucrative bit of banditry. What awaits him is the savage tide. "The Bullywug Gambit" is the second chapter of the Savage Tides Adventure Path, a complete campaign consisting of 12 adventures appearing in Dungeon magazine. For additional aid in running this campaign, check out Dragon magazine's "Savage Tidings" articles, a series that helps players and DMs prepare for and expand upon the campaign. Issue #349 of Dragon magazine looks into the region surrounding Sasserine, and provides useful information if your PCs wish to explore this area more thoroughly than they do in the course of this adventure. The hidden caves of Kraken's Cove have long served the pirates of the Crimson Fleet as a place to stage their smuggling operations. When their latest cargo backfires, the PCs find themselves faced with something far worse than murderous pirates. Pgs. 12-48

The rubble-strewn passageway twists and turns, winding ever deeper into the mountain, lower and lower into the bowels of the ancient, forbidding halls of long-dead dwarves. The torchlight flickers, threatening to succumb to the oppressive darkness. Creeping along one striated granite wall, Arikus the warrior moves cautiously toward the great cavern ahead, its sides and walls disappearing into the gloomy distance. Cocking his head to one side to listen, he holds his hand up for a moment, demanding unconditional quiet from from his companions. Then , his arm relaxing in relief, he waves everyone forward and moves into the open. Before him, scattered to the far walls of the enormous cavern, are piles upon piles of glittering treasure - coins from countless kingdoms, sparkling gems, exquisite jewelry, and items of wondrous power - enough for twenty kings' ransoms. Arikus laughs gleefully, thrusting both hands into the nearest cache of coins to let them runs through his fingers. At that moment, a monstrous shadow looms threateningly over him. Looking up, Arikus blanches and stumbles back in horror before the terrible visage of a Great Red Wyrm. The fearsome dragon opens its razor-filled maw and spews forth a gout of white-hot flame, engulfing the hapless warrior.... The ultimate Dungeon Master Fantasy! This is the most deluxe dungeon. Designed to appeal to discriminating and demanding role-players. Adventurers, beware. This is more than just a dragon hunt. Within the lair of the beast lie cruel and deadly traps, befuddling conundrums and puzzles, and cunning minions that will be the end of overconfident or careless adventurers. Comprised of three 64-page books, for two adventures that link to one super-campaign 12 full-color reference cards 16 special player handouts Eight Monstrous Compendium sheets A Sheet of cardstock standups with 24 plastic bases. Six full-color poster maps, two of which link together to make a giant tactical playing surface for use with miniatures or the included cardstock figures. TSR 1089

The wizard Abracadamus hid the Forever Stone in the darkest depths of a failing mine, coerced monsters into serving as guardians, and rigged the dungeon with traps galore. Then he died, as all good wizards do. Many heroes have fallen prey to the Forever Stone’s lure of immortality. To date, only one stalwart band has plunged into the Mines of Madness and lived to tell the tale. You think you’re better than them? You think you got what it takes to grab life by the stones and conquer the dungeon that won the 2012 Gygaxian Award* for Bonecrushing Awesomeness? We seriously doubt it, but go ahead . . . prove us wrong! Mines of Madness is a Very Special D&D® Next Adventure written for PAX East 2013 and designed for four 3rd-level characters.

A nearly forgotten dwarven kingdom once ruled these mountains. Its rulers were wealthy beyond compare. Time and greed wore the kingdom to dust and now all that remains are ruins and wonders. Recently coins of that ancient kingdom have appeared in the streams of the foothills to the south of the mountains. Rumors have passed with tankards of ale that a vault laden with gold is waiting to be found. You and your friends, on a fortnight's furlough from guard duty, have set off in search of this lost horde.

The party is caught between warring goblin and kobold gangs, occupying an abandoned dwarven mine. Will the heroes ally with one of the sides in this quarrel, try to make peace between old enemies, attempt to eliminate both sides, or achieve their goal stealthily and unnoticed? The choice is completely theirs! Small Party Adventure: Though the party size of 3–5 characters is considered optimal in D&D, there are times when you can only gather one or two players at most. This adventure is designed exactly for such occasions.

The wizard Kavorquian is dead. But certain items belonging to his adopted son were in the wizard's keeping at the time of his demise. Now someone must venture into the silent vaults of Kavorquian's stronghold and recover the missing property. Queen's Harvest picks up its story where B11, King's Festival, left off. It can be played as a sequel to that adventure or as a complete adventure in itself. It is tailored for beginning Dungeon Masters and players and contains helpful hints on adventuring and the land of Karameikos. The story develops simply, but ultimately leads the player characters into the nether reaches of Penhaligon's politics to confront Ilyana Penhaligon, mad pretender to the throne! TSR 9261
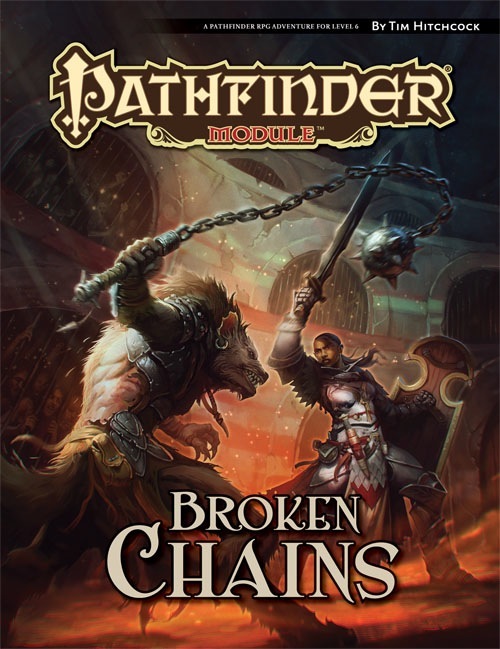
The slave markets of Katapesh may be an unsavory sort of business, but the trade metropolis’s enigmatic law enforcers have few qualms with the legal act of selling and buying flesh. Other factions, including the abolitionist Eagle Knights of Andoran, have their own opinions on the matter, however, and frequently send undercover agents into dangerous territory to break up slave rings. When one such Eagle Knight goes missing while investigating an underground slave operation beneath the dilapidated Twilight Gate district, it’s up to the PCs to delve an abandoned (but hardly uninhabited) qanat beneath Katapesh and discover her dire fate. Yet not everything is as it seems in the dank slave caverns under Twilight Gate, and clues hint that the slavers may have even more loathsome connections than initially suspected.
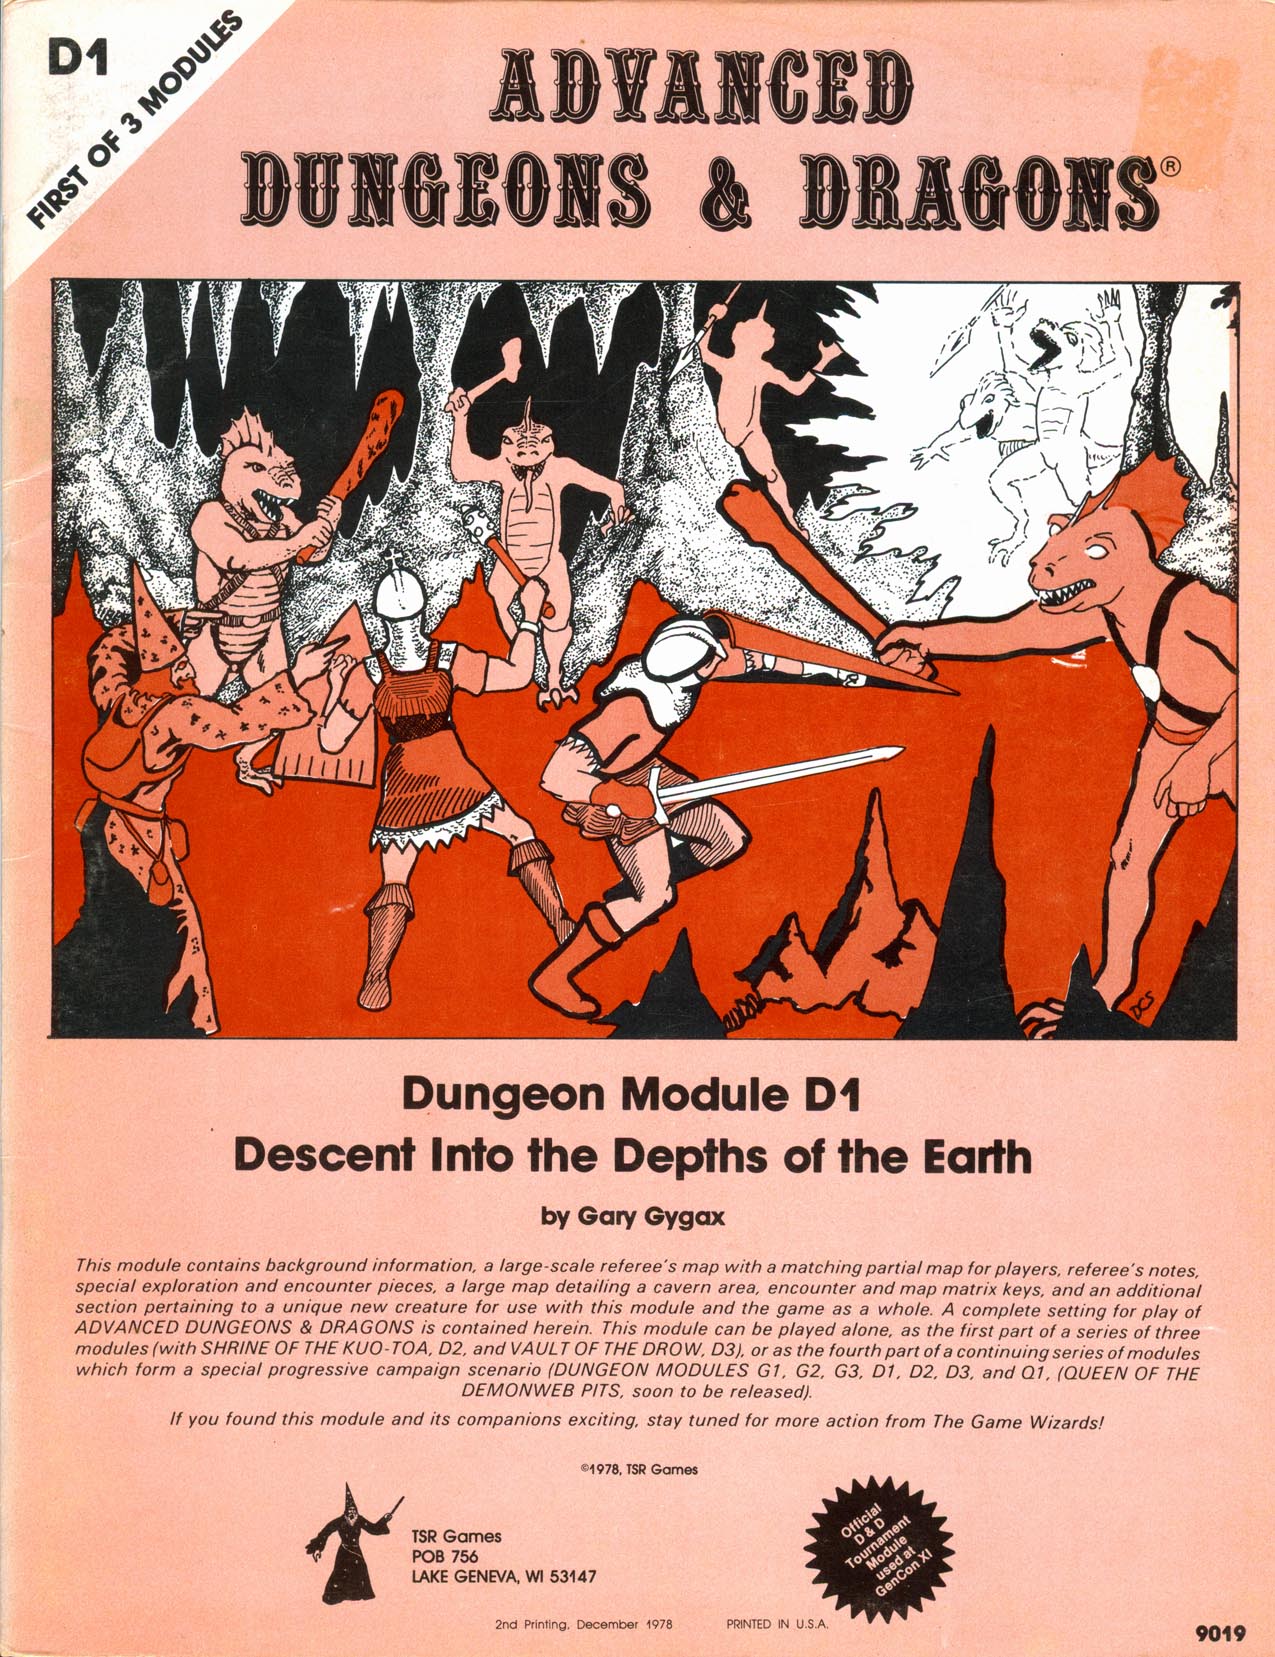
The final confrontation with the giant, King Snurre, and the entry of mighty adventurers into the caverns under his stronghold (DUNGEON MODULE G3, HALL OF THE FIRE GIANT KING) discovered the Dark Elves, the Drow, had instigated the giant alliance and its warfare upon mankind and its allied races. This module contains background information, a large-scale referee's map with a matching partial map for players, referee's notes, special exploration and encounter pieces, a large map detailing a cavern area, encounter and map matrix keys, and an additional section pertaining to a unique new creature for use with this module and the game as a whole. A complete setting for play of ADVANCED DUNGEONS & DRAGONS is contained herein. This module can be played alone, as the first part of a series of three modules (with SHRINE OF THE KUO-TOA, D2, and VAULT OF THE DROW, D3), or as the fourth part of a continuing series of modules which form a special progressive campaign scenario (DUNGEON MODULES G1, G2, G3, D1, D2, D3, and Q1, (QUEEN OF THE DEMONWEB PITS). TSR 9019
The Lost City is a low-level adventure, in which the only hope of the PCs' survival can be found in a ruined city slowly rising out of the sands. The adventure is set inside a huge step pyramid, with the lower pyramid only sketched out and the city itself described with a list of the major areas and a map. The adventure’s main villain is Zargon, a giant one-eyed monster and his minions. The entire double pyramid, not including the city, contains over 100 rooms. The module is designed to give novice Dungeon Masters experience fleshing out adventures and is only partially complete. Later TSR material hints that this adventure possibly takes place in Mystara, but the material is largely setting-neutral. TSR #9049
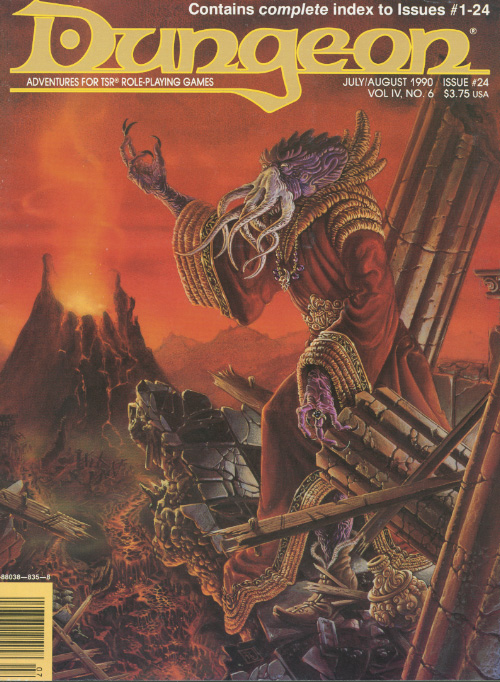
A trap that perhaps works too well. No matter how much loot you take, you never took anything at all. Confused? Wait until you try this dungeon. The players are hired to investigate and clear a tomb of a time wizard. This tomb is heavily guarded both by creatures and traps, and some sages are concerned that the defenses are lasting longer than they were supposed to. Unknown to the sages, the wizard, Sur-in Am, bound a time elemental to guard the treasures of the tomb. This guardian's duty is to frustrate robbers by returning stolen items to their original place and also reset traps in the tomb. Pgs. 26-36

“Gorgoldand’s Gauntlet” takes place in a cave network in the side of a cliff overlooking a lake and can be inserted easily into any campaign. Gorgoldand’s Gauntlet is a site-based adventure with a pre-dominance of puzzles and traps. The PCs discover a map leading to the Gauntlet and explore it looking for treasure. They test their strength and wits against various traps and puzzles created by a gold dragon who converted a cave network into a proving ground to surreptitiously test the abilities of local adventuring bands. If they make it all the way to the end of the Gauntlet, they’ll have the chance to fight a dragon construct made of the dungeon's treasure hoard and have the chance to gain access to a magic item that can have a significant impact on their adventuring careers. Pgs. 39-51

Having put down a rising of giants, it was discovered that the motivating force behind their depredations was that of long-forgotten evil - the Dark Elves. Determined to seek out these creatures, a body of doughty adventurers mounted an expedition to learn the strength of the Drow and bring retribution to them (DUNGEON MODULE D1, DESCENT INTO THE DEPTHS OF THE EARTH). This module contains background information, a large-scale referee's map with a matching partial map for players, referee's notes, special exploration and encounter pieces, a large map detailing a temple complex area, encounter and map matrix keys, and an additional section pertaining to a pair of unique new creatures for use with this module and the game as a whole. A complete setting for play of ADVANCED DUNGEONS & DRAGONS is contained herein. This module can be played alone, as the second part of a series of three modules (with DESCENT INTO THE DEPTHS OF THE EARTH, D1, and VAULT OF THE DROW, D3), or as the fourth part of a continuing scenario (DUNGEON MODULES G1, G2, G3, D1, D2, D3, and Q1, QUEEN OF THE DEMONWEB PITS). TSR 9020, From 1978
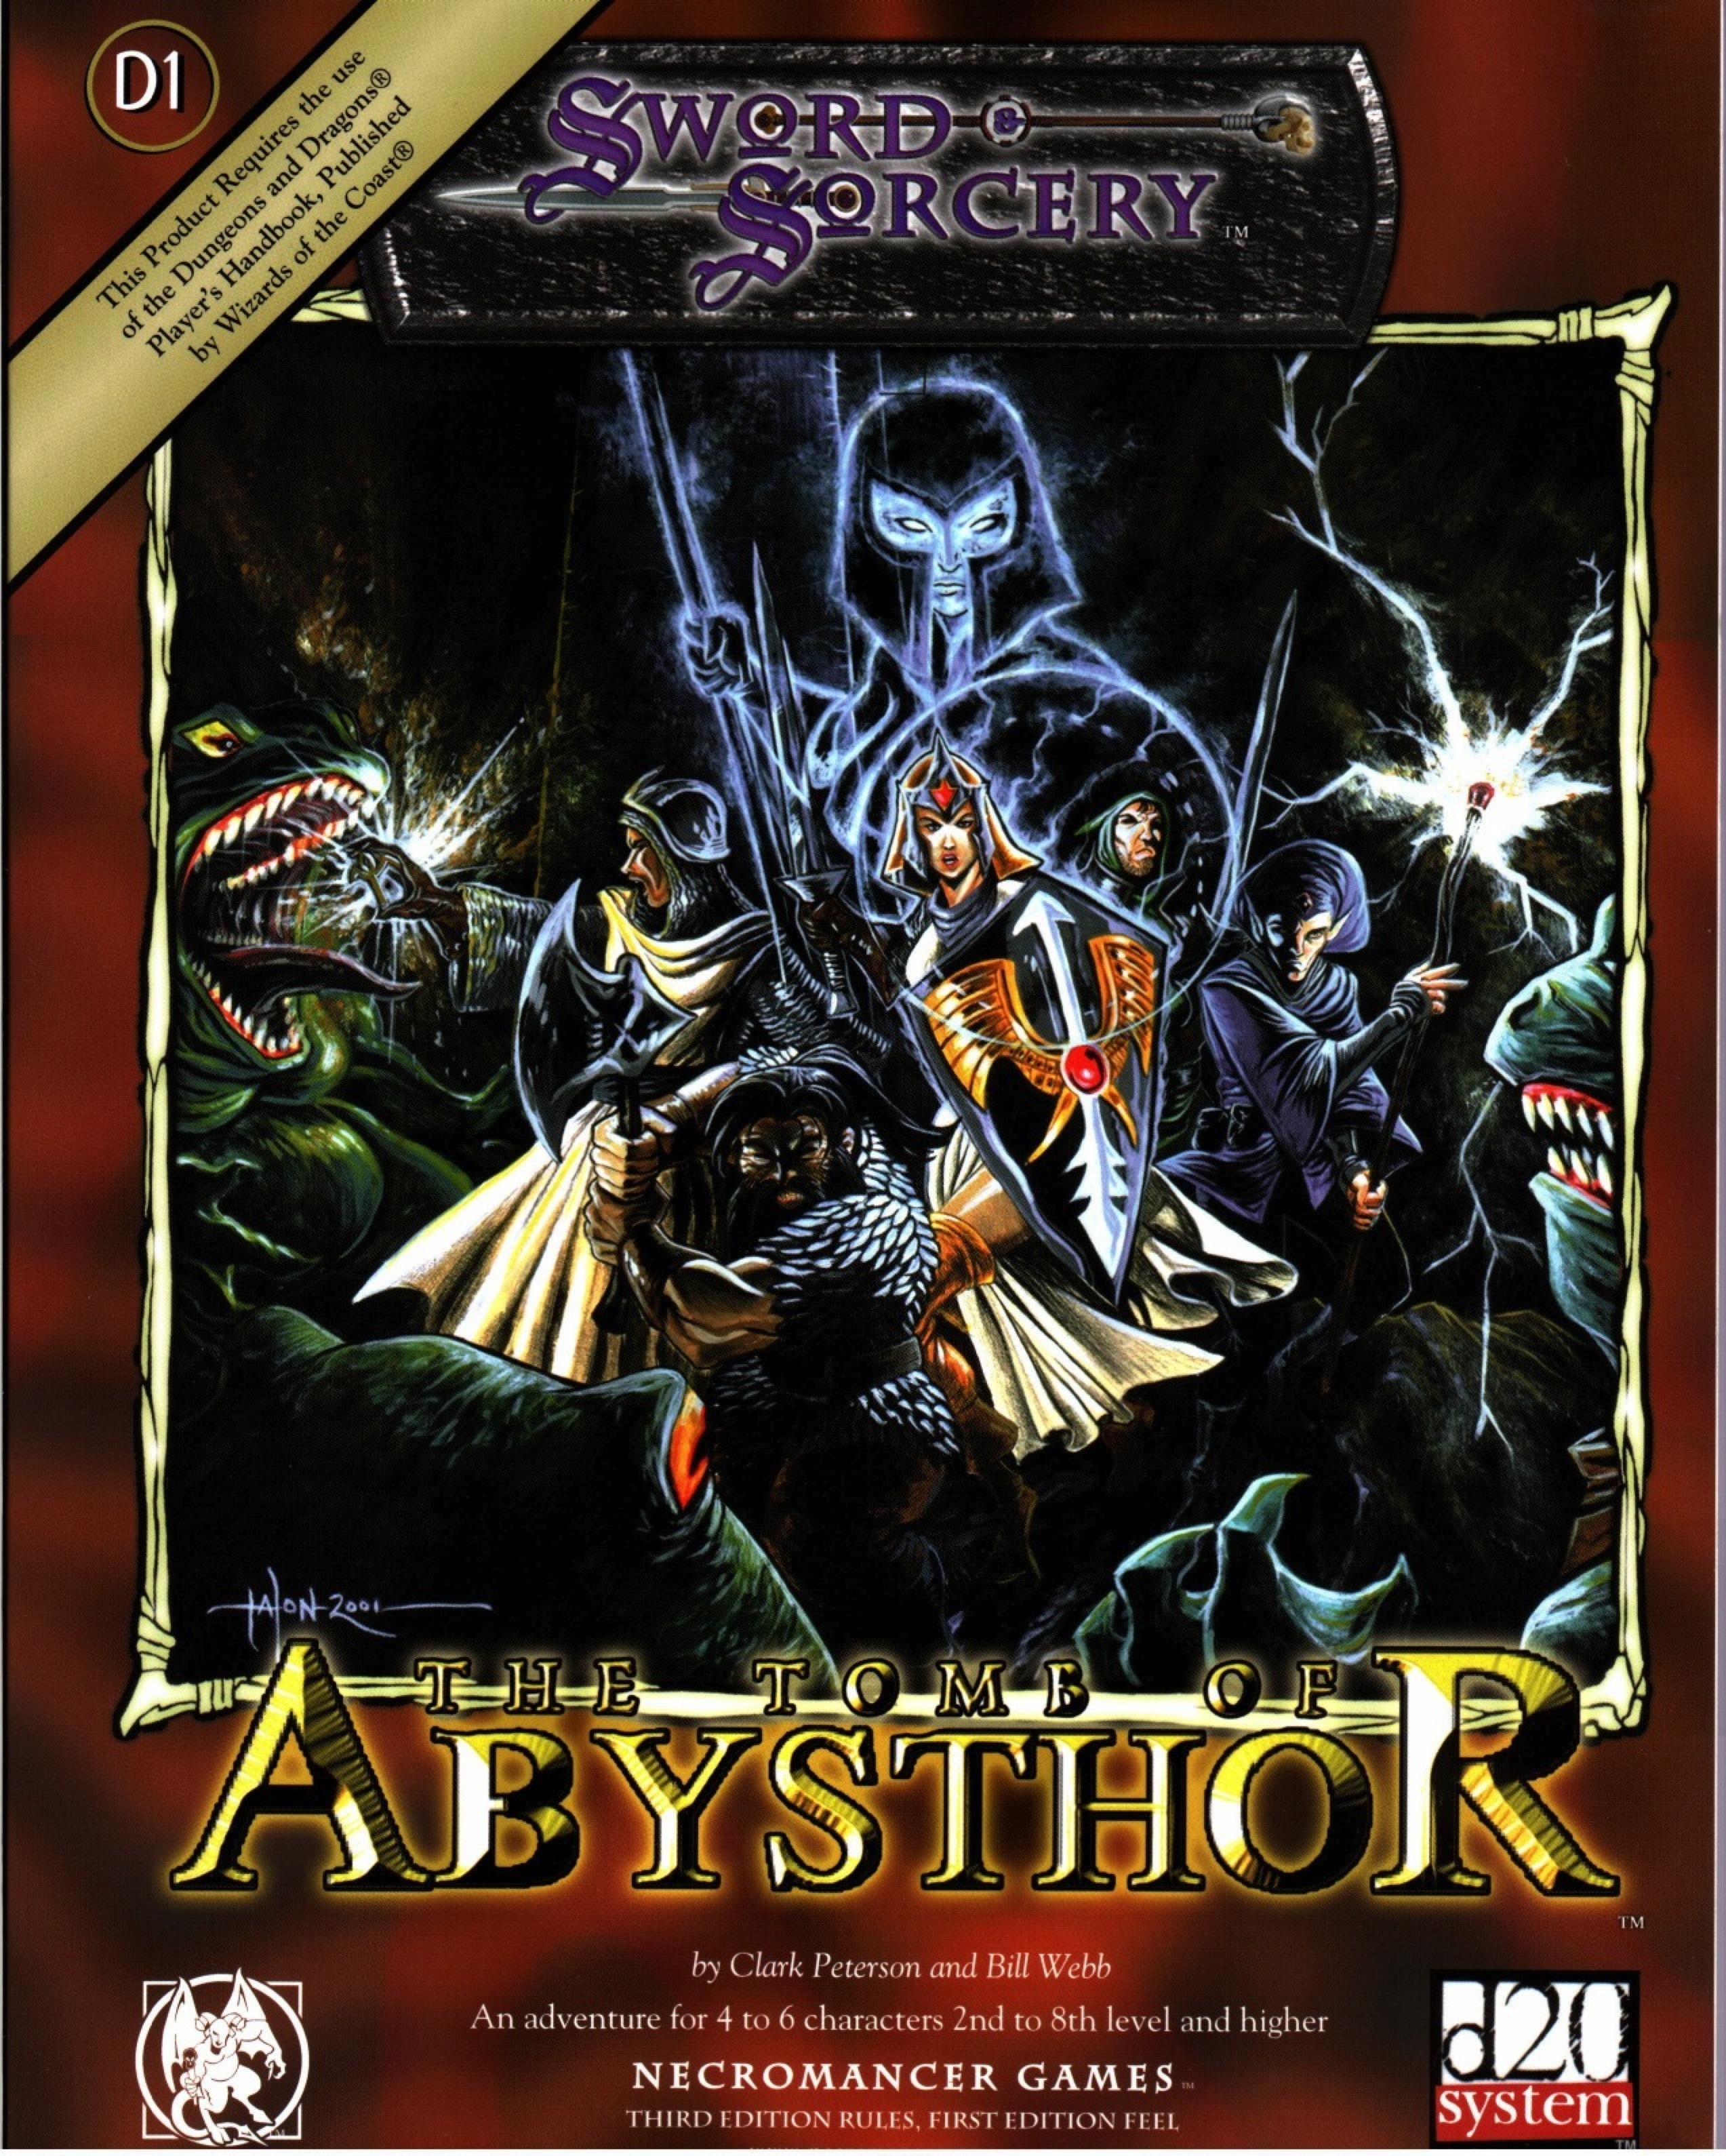
Restore an Abandoned Temple Enter the catacombs near the desecrated Temple of Muir, Goddess of Paladins, and search for the lost tomb of Abysthor. Will your party be able to cleanse the evil that now inhabits these once-sacred halls, and recover the Stone of Tircople? Can your characters survive the traps of an undead sorcerer? Will your players discover the chamber of Living Rock and the secret power it holds? Adventure awaits! Gold and Glory! A fantasy adventure published for the D20 system, The Tomb of Abysthor is the first module in Necromancer Games Dungeon series and can be played as a stand-alone story or in conjunction with The Crucible of Freya and the forthcoming city supplement Bards Gate. What secrets lie hidden in the tomb of Abysthor?

Exploring Baba Yaga's Dancing Hut. This adventure design to test high level PCs can be used in a variety of scenarios as the DM sees fit.