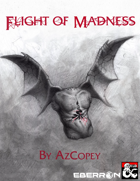
"You enter some sort of corridor, but it is a far departure from the airship hallway you expected. The walls and ceiling are rusty chain-link fences and the floor is a corroded mesh of iron slats. Beyond the fence is a void of black, unmoving emptiness which carries the faint scent of ozone and rotten meat..." Inspired by horror franchises such as Silent Hill and Saw, Flight of Madness is a one-shot horror adventure in which the players must venture though an airship which has been warped by the plane of Xoriat--also known as the Realm of Madness! During the adventure the players will attempt to save the crew from unspeakable horrors, uncover the nature of the madness that has afflicted the ship, and face off against the one who appears to be responsible for all of this. But is everything as it seems? The adventure is for four level 5 players and is expected to take around 5 hours to complete. It is a great introduction to the darker side of Eberron for DMs and players alike. • An exciting mystery to unravel, with multiple interpretations and endings • An alternative to the madness mechanics provided in the Dungeon Masters Guide, which is integral to the final encounter of the adventure • Two terrifying new monsters: the winged torso and corrupted captain • Detailed battle maps as well as a map of the ship • Newspaper hand outs for the end of the adventure • Terrifying monster art WARNING: This is a horror adventure aimed at mature audiences and as such includes extreme violence and disturbing scenes. Before running this adventure it is recommended that you confirm that your players are comfortable with the adventure’s contents.

In response to a new but as-of-yet-unnamed threat, the factions have called upon adventurers to venture into the jungle in search of a location for a new base of operations. As such, you have been charged with scouting several locations to assess their viability. Surely something so trivial as a scouting mission couldn’t go wrong?

Characters explore a dangerous, but sparsely populated temple in search of the Staff of the Dragon. They will encounter traps, environmental hazards, and a nest of lizardfolk. The characters are rewarded for a 'look but don't touch' approach to the temple's features. The real highlight, though, is the closing encounter. Once the staff of the dragon is retrieved, it can transform the characters into dragons for a set period of time. As they exit the temple, they are beset by an ancient dragon and the stage is set for an epic brawl as the characters take to the sky in dragon form. Can be completed as a one-shot.

Dromar is a figure of power all over the realm. He is known as a legendary fighter from centuries ago. He was buried in a tomb along with an artifact of great power. Those who built his tomb were afraid of grave robbers, and so his tomb was created in the frigid, ice-coated lands at the base of a a mountain. The secret of this tomb's location has been passed among a select few people as the years have gone on. Most of the general public do not even believe it exists, but now the ancient relic buried alongside Dromar is needed once again.

Summoned by the ruler of the Moonshae Isles, the adventurers are asked to seek out the five lost Temples of the Earthmother. A 12 hour adventure for 5 players of 1st-3rd level characters.
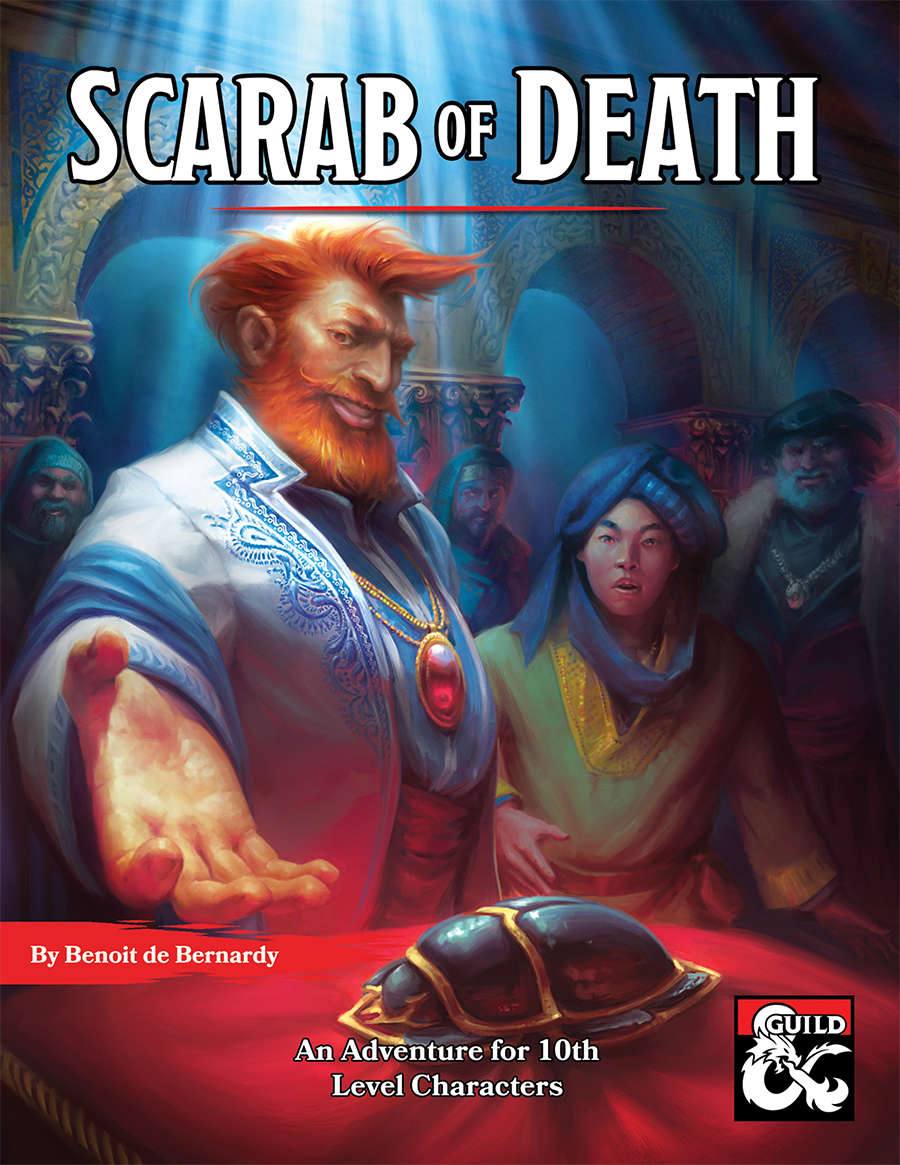
A young noble is found dead a block away from Nabulee’s Bazaar of the Extraordinary. Everything suggests that Nabulee was neglectful and left his scarab of death unattended, which ultimately led to the death of the noble. But how did the cursed brooch find its way out of Nabulee’s impenetrable vault in the first place? And why doesn’t Nabulee remember taking it out? Will the characters solve this mystery before the noble’s vengeful father has Nabulee beheaded?

This 4 hour module takes the characters from a hidden cove near the Moonsea to hidden tunnels leading under the Glacier of the White Worm. What starts as a recovery mission leads to the uncovering of a much more sinister plot. Optimized for a group of level 7's (APL 7), this adventure can be adjusted for any Tier 2 party. Inside you'll find: * Three battlemaps * Introducing the ice encrusted skeleteon, a hardier version of the standard skeleton for colder climates.

In ancient times, the area now known as the Dyrgalas Fens was home to a flourishing civilization of nature worshippers who wrested a living from the forest around them, built open-air temples, and generally did well. Over the centuries, a series of natural disasters (some say a series of foolish magical experiments) led to a rising water table and turned the forest into a vast swamp. As the water rose, most of the people left. Today, a few stalwart humans remain in the fens, living off the land through hunting, fishing, trapping, and even some agriculture. In addition to these honest folk, the Dyrgalas has some less savory residents, including both black and green dragons, trolls, hags, escaped criminals, and a host of lycanthropes. Most of these creatures prey on travelers foolish or unlucky enough to enter the fen, and sometimes raid both inside and outside the fen. This adventure, intended for characters of levels 6 to 8, deals with one group of raiders who make their lair in the Dyrgalas. A weretiger called Gavriil has formed a group of assorted lycanthropes into a band of cunning brigands. The lycanthropes favorite caper involves infiltrating a merchant caravan while posing as travelers, merchants, or swords for hire, then attacking it from within. Gavriil and his servants also take on kidnappings, murder for hire, and any other unsavory tasks that come their way.

Gifts for Him is a short, challenging, open-ended, gothic-horror, 5E-compatible Christmas adventure for tier 1 characters to be run in about three sessions, but it can be easily adapted as a one-shot. It contains over 25 pages with original artwork, three original battle maps, three unique monsters, stat blocks for five NPCs, three magic items, and a partridge in a pear tree. ----- The village of Bargrave has a secret. Every year, on Christmas Eve, the villagers cower in their homes while a savage beast prowls the streets, wreaking bloody doom on whomever has not left it a suitable gift on their doorstep. But Elias Buhl has had enough. This year, the old farmer won’t be buying the beast a gift, hoping instead to bait it into attacking him at his homestead, where he will trap and kill it once and for all. But he can’t do it alone. Buhl has hired a band of adventures to help him fortify his home, set traps, and slay the creature. They have three days to prepare, gather allies and equipment, and plan their defense. Or… They can dig a little deeper and uncover what Bargrave has been hiding all these years. Will they slay the beast, as agreed? Might they capture it to use it for their own ends? Can it be redeemed? Or will they die — their blood melting the snow — just the latest victims of the creature’s reign of terror? --- Gifts for Him is a complete, playtested, illustrated adventure that is currently pay what you want.

As the Red War rages and Mulmaster burns, the Cult of Glaugrax sunders the arcane bindings on their alien master, unleashing an ancient evil that threatens to sink the Factions' evacuation efforts. Can you thwart them before the City of Danger is swept away in the wake of Fenaria's revenge? Part 3 of The Neverdusk Trilogy. A Four-to-Six Hour Adventure for Tier 3 Characters. Optimized for APL 13. The long-awaited Conclusion to the tale that started with Ooze There?, an ENnie Awards 2019 nominee in the Best Organized Play category! This adventure is Part 3 of "The Neverdusk Trilogy", and it brings the tale of Fenaria Neverdusk, Sovad Klim, and the mysterious Cult of Glaugrax to a close! Fenaria's Gambit (a.k.a. Ooze Left?) debuted at Doujin Market Online/RPG Day Singapore 2020, a digital convention held by the D&D AL Singapore Community. This v1.01 package includes: - Full color cover art by digital painter Koh Jia Wei (Firons), with art inserts for key scenes in his unique style. - A high quality digital map pack for key encounter locations, in both Black & White and Full Color by digital artist Ryan Tan Chen Wayne (Ryzwayne). - An image by Ryzwayne demonstrating Sovad's ingenuity with the wall of stone spell in his Bonus Objective (Yes, we know he has fans). - A three (3) page cheat sheet with Jason's personal tips for running Fenaria's Gambit.

An Introductory Adventure for Storm King's Thunder. As evening approaches, you spot a wooden signpost next to a trail that heads north into the hills. Nailed to the post are three arrow-shaped signs. The two marked “Waterdeep” and “Daggerford” follow the High Road but point in opposite directions. The third, marked “Nightstone,” beckons you to follow the trail. If memory serves, Nightstone is roughly ten miles up the trail. This is Chapter 1 of the greater story available for free on the Dungeon Master's Guild.

When the adventurers are tasked with destroying a symbol of Demogorgon, they end up falling foul of the great mage Mordenkainen himself – or at least a simulacrum of him. Will they agree to help maintain the great Balance of the Blood War, even if means sacrificing innocent lives in the process?

This oneshot adventure is to help teach new players AND new dungeons masters how a game works. You’ll find easy guides and simple stream game. This adventure will guide the player to level up to a level 2. This adventure is for 4-5 people, though you can adapt it to fewer, if needed. It is a very short adventure for those with little time who would like a taste of D&D in its simplest of form. You will adventure to Bruxhelm, in the Sword Coast, where the players have a dilemma to solve. Nature is running wild! Well.. more than usual.
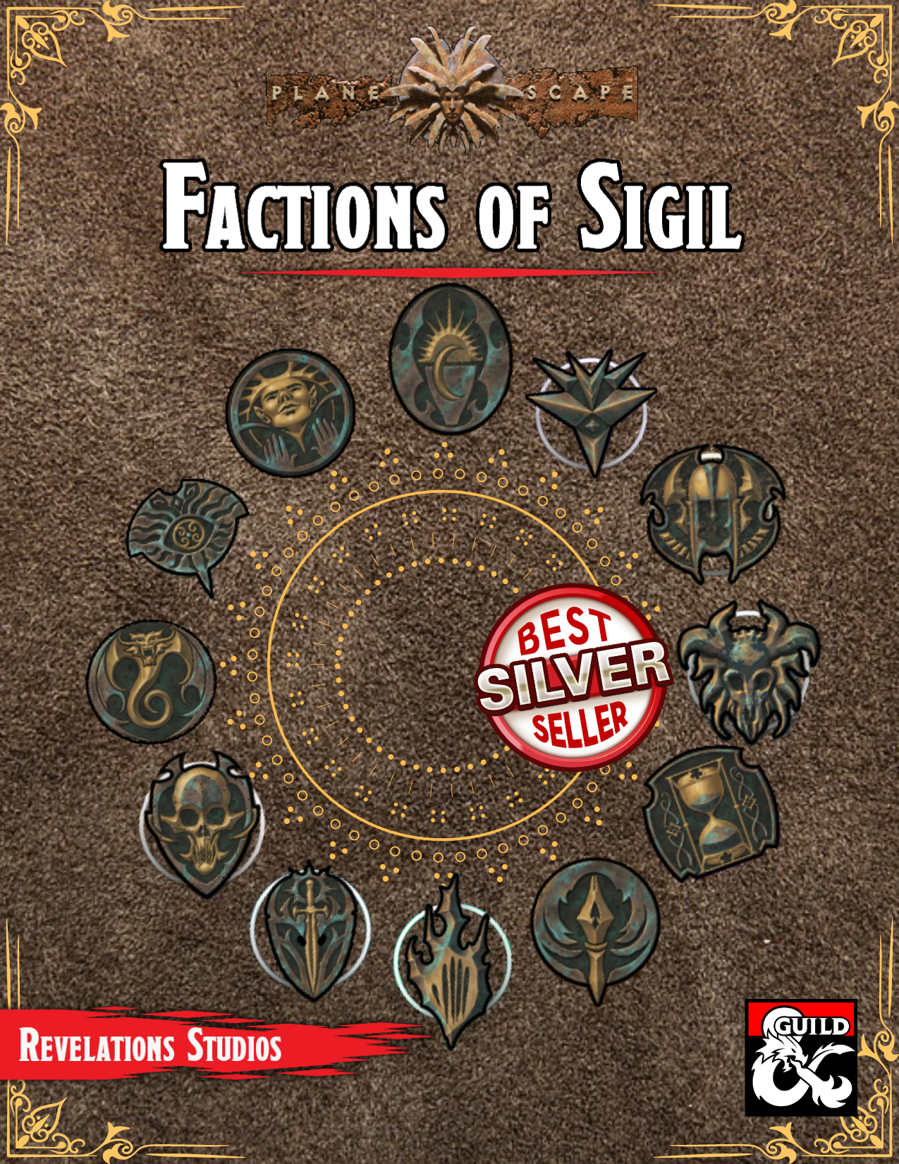
We get it. Factions are an integral part of D&D, but it's not always clear how to use them in your campaigns. Luckily, Factions of Sigil has you covered for each of the twelve main factions found across Sigil and the Outlands! This supplement goes over the various rules and lore around the primary factions found in Sigil and the Outlands, making it easy for any new or veteran DMs to integrate the factions more into the core stories being told, and making them feel more useful for the players that choose to join. In this adventure, the Mind's Eye of Sigil requests the characters travel to a secretive dome created by former member Skaldon, and follow his path to enlightenment.
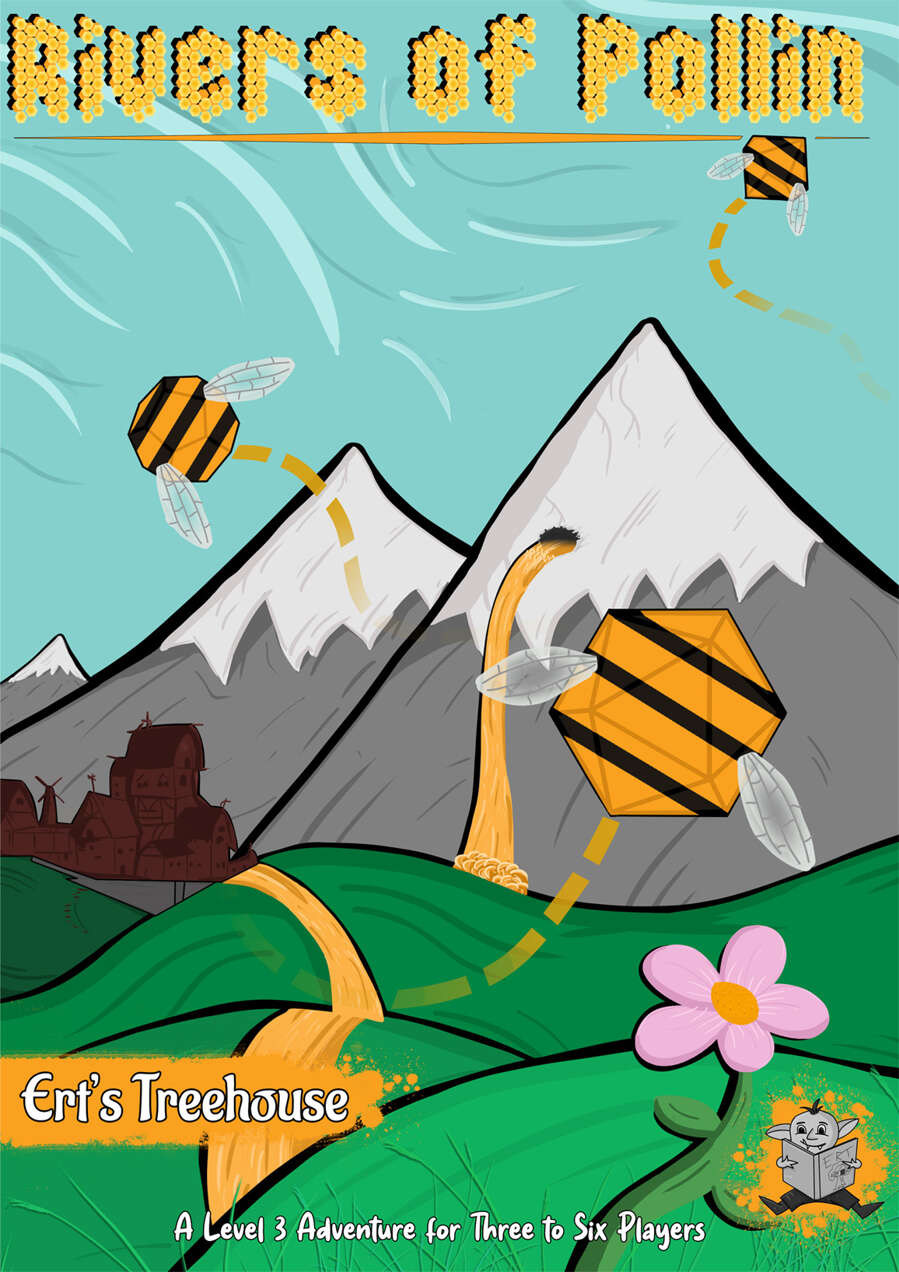
The characters have been summoned to Pollin, a dwarven industrial city which prides itself on innovation and invention. When the Honey River which is source of all the power in the city runs dry they call for the aid of adventurers. The characters are brought before the Industrial Minister as he needs their help to solve the issue and fix the problem.

Within the jungles of Chult is a vast expanse of ash. While a red dragon is known to reside deep within the Land of Ash and Smoke, it is far from the deadliest of its denizens. Deeper still is a pit filled to the brim with pure evil. None who have sought out its secrets have survived to tell its tale. Will you be more successful than they?
Ambushed on the road by goblinoids and then follow them to their lair in an old, abandoned hunting lodge in a forest. This is a short adventure that can be played in a session. The Goblins’ Gambit is perfect for situations where the party suddenly decides to go completely off the rails and the gamemaster does not have anything prepared for the destination. It is designed to be simple and the gamemaster is empowered to read and run it quickly. A 3rd level party is ideal for this adventure, but it can be easily tuned up to 5th level or down to 1st level by adding or removing a few simple enemies. This adventure can be used in three different ways - The starting adventure - This is a great adventure to start a new campaign with. A good option to use for a brand new group of players A random encounter - This is perfect for use for a random encounter along the road A retrieval mission - This adventure can also be used as a low level mission from a patron What is included? The adventure pdf DM's map of two different locations Two high resolution (8192x6144) maps for an abandoned hunting lodge and a roadside encounter (grid and gridless), which can be printed out as a tabletop map to play on.

This third installment of the Aumvor saga includes: ● 19 encounters ● Stats for Living Zombies (converted from 3.5e) ● and an introduction to the tower The adventure continues as your PCs make their way to the upper reaches of the tower and learn of the danger involved in moving deeper into Aumvor's dark realm. For centuries Aumvor the Undying has fed upon the life force of innocent folk who stumbled upon his portal traps. For centuries he has planned for and prepared for the eventual return of Netheril as a power in the world. That hope has now faded, and he has returned to his vault to regain strength and begin anew. Even now, he is deep in his tower vault plotting. 𝐁𝐞 𝐬𝐮𝐫𝐞 𝐭𝐨 𝐜𝐡𝐞𝐜𝐤 𝐨𝐮𝐭 𝐓𝐡𝐞 𝐓𝐨𝐰𝐞𝐫 𝐨𝐟 𝐁𝐨𝐧𝐝𝐚𝐠𝐞 𝐩𝐚𝐫𝐭 𝟏 “𝐀𝐮𝐦𝐯𝐨𝐫𝐬’ 𝐖𝐞𝐥𝐜𝐨𝐦𝐞” 𝐚𝐧𝐝 𝐩𝐚𝐫𝐭 𝟐 “𝐅𝐚𝐧𝐞 𝐨𝐟 𝐭𝐡𝐞 𝐉𝐚𝐢𝐥𝐞𝐫𝐬”.

The party has received word from the citizens (or in NQ2) of a troublesome cult hidden in Meglos Peaks. Apparently a stronghold exists near the mouth of the Tora River. Putting an end to this group of religious fanatics would certainly put another feather in your fledgling career caps!

When the players get teleported to the plane of the Beastlands, they meet with an intelligent petitioner in the form of a Dog named Reith. Eventually Reith will lead the players to a human; an eagle winged boy by the name of Addler. Addler already knows a way out of the Beastlands, but doesn’t want the players to know because the key is his body and if the petitioners knew he could leave, they wouldn’t like him anymore. Not being the best at planning, he’ll be coerced into giving the players a map to the petitioner that helped him find the portal (A snake named Siy). After passing through some small adventures in the beastlands, the players will meet with Siy and learn about Addlers portal. From here, the players will travel back to Addler and confront him.