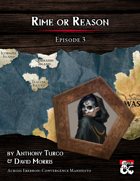
Provost Nigel Faurious’s research has revealed the location of an icy spire near the eastern side of Icewhite Island. The Provost needs the Hoarfrost Flower, an artifact found inside this spire, to make his Convergence Manifesto a reality. Eager to complete his work as quickly as possible, the Provost previously paid for an expedition from the Deathsgate Guild to explore the icy spire at the same time the Clifftop Guild surveyed the Shining Valley in the last adventure. The Deathsgate expedition’s ship, the Nightwood Cask, was destroyed by the cold of the Risia manifest zone. They made it to the island on lifeboats and headed to the spire, hoping to use it as shelter until someone from the Deathsgate Guild comes to rescue them. The spire’s builders are long gone and forgotten, but their traps and magic remain. Mror archeologists once found this place while in search of their ancestors that many believe hailed from the Frostfell. Only their camp remains in the foyer of the spire, where the party from Deathsgate waits. While the Deathsgaters’ supplies dwindle, they argue among themselves on their next steps. Should they try and make it to shore and hope their ship somehow survived, continue to wait, or delve deeper into the spire to complete the task they were hired for?

Barrow of the Culder is the initial adventure in the dangerous land of Provincia. Carrying on from this month’s free adventure, this scenario brings the adventuring party together in the small community of Merrydale. Two PCs will be meeting on the hill outside of town and then move forward to find additional members of the group as well as their first challenge. One PC will have received a job to find a missing minor artifact and have orders to gather any assistance…hence the party forms and has a common goal! After gathering their equipment they will follow a hidden trail to the final resting place of the feared warlord named the Culder.
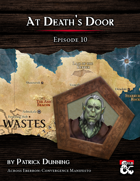
At Death’s Door is a dungeon crawl that takes place almost entirely in the upper chambers of the Lair of the Keeper. This lair belongs to an ancient dracolich that perhaps styles themselves after the legends of the Keeper, or perhaps even inspired them. Stormhome. The player characters are called to the home city of House Lyrandar to meet with Guild Handler Lhara regarding their quest for an artifact tethered to Dolurrh, the Realm of the Dead. The Descent. Traveling by airship over the horrors of the Demon Wastes, the party descends into a vast canyon to find the Lair of the Keeper. After agreeing on a pickup point, the party skydives into the hellish landscape and hides to avoid the notice of a would-be god, then explores the surrounding area. The Lair of the Keeper. The bulk of the adventure takes place in the upper chambers of a dracolich’s lair in a manifest zone tied to Dolurrh, the Realm of the Dead. Surviving the horrors of this place is the main challenge of the adventure. The Ghaash’kala. There is one last challenge standing between the players and their escape to the airship. The orc tribes called the Ghaash’kala consider it their holy duty to protect the rest of the world from the horrors of the Demon Wastes. They will attempt to stop anything from escaping the Wastes, unfortunately including our heroes.

The Claret Wellspring is an adventure for four 4th-5th level PCs. "The first spell cast has not yet finished its work." Strange lights in the desert lead the PCs to a long-forgotten oasis. Travelling towards the lights, the PCs are threatened by magic so old, it defies categorization. Arriving at the withered shore of a blood-colored pool, the PCs discover an ancient dial and three tooth-like columns rising from the ground. Turning the dial results in the water being magically siphoned into the column's hollow cavities. If the pool is emptied, a small door is revealed in the crimson-stained much. They must defeat a blood-infused water elemental before proceeding. Once inside, the PCs share a room with a dark ritual running since the origin of the world. The keeper of the place, an immortal fey inside a powerful suit of armor, offers little explanation as to the nature of the ritual, and he seeks to ensure they tell no one of the Claret Wellspring.

The Known Gnomes are a Gnomish adventuring party who must use their size to save Lady Kaja Foss from a horrible fate. This module is a level 5 primed adventure that requires an entirely Gnomish player character party. Come Gnome it up! This module was inspired by the porter Known Gnome by Off Color brewery located in Chicago, Illinois. 'The Known Gnomes' is meant to be fun and zany module for those looking to crack skulls and be silly. Included in a separate link (https://www.dmsguild.com/product/256719/The-Known-Gnomes-Maps--Extras) are: Maps Keeper Maps (Color & Low-Ink BW) Player Maps (Color & Low-Ink BW) Trap Prop
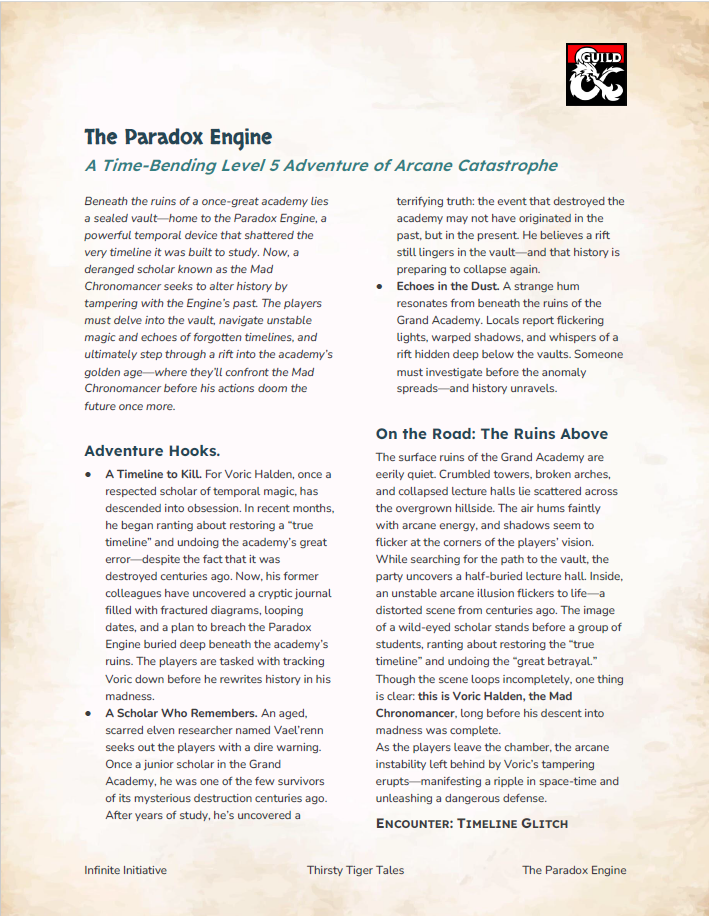
A Level 5 Adventure of Time-Bending Catastrophe Part of the Thirsty Tiger Tales series Beneath the crumbling ruins of a legendary arcane academy lies the Paradox Engine—a dangerous temporal device that shattered the very timeline it was built to study. Now, a deranged scholar known as the Mad Chronomancer seeks to rewrite history itself. In this time-twisting dungeon crawl, players must brave unstable magic, flickering echoes of the past, and a rift into the academy’s golden age—where they’ll confront the Mad Chronomancer before his actions doom the future forever. Two-timeline dungeon: Navigate the same vault in both past and present Puzzle rooms with lasting consequences Unstable combat environments and unique timeline hazards A solo boss fight that bends time against the players Includes the Temporal Warp Cloak, a rare magic item that glitches your image through time This one-shot is perfect for groups looking for a high-concept, low-prep adventure with puzzle-solving, combat variety, and an arcane twist.

A tale of dreadful draconic sibling rivalry, this adventure is designed with ease of Dungeon Mastering in mind. Inspired by products such as The Lost Mines of Phandelver and 1991 Easy to Master Introductory Black Box it aims to provide a compelling story which will engage players while making that story easy to tell. It has prompts and advice on how to run each encounter making it ideal for beginning Dungeon Masters or Dungeon Master's ready to move on to the next tier of play.

Something sinister is brewing in the Emerald forest! It starts off simple, as they do. A group of fresh-faced adventurers is tasked with clearing out rats in the tavern cellar. What they find down there is something more than they bargained for. Now, they have to make a perilous journey across an uncharted forest to face off against an unknown threat (it’s a swarm of BrainiumOGL Rats). The fate of the entire world might be at stake! (or that of a small hamlet, at any rate!) Ratcatchers is a 4-6 hour setting neutral one-shot adventure for four to five characters of level 1-2. It has been designed keeping in mind players new to the game. Features A 25 page full-color and fully illustrated PDF, a printer friendly B&W version, and a tested for screen readers accessible version. A beginner friendly adventure that hangs a lampshade on RPG tropes, then sets said lampshade on fire. A template to convert any beast into were-rat hybrids. Rat-bunny and rat-pigeon, a.k.a. Trash Gryphons included. Several colorful battle maps for VTT use. Terrible rat based puns. Content Warning: The intended tone of this adventure is a mix of horror and comedy. Where it exactly lies on the spectrum of horror to comedy is up to you, the DM, and your players. There is depiction of body transformation and body horror, parental neglect and tight spaces. Also, there are rats. Lots and lots of rats. Published by undeadR

Accused of impersonation and kidnapping, a pair of old sisters have found refuge in Abermoor. In their wake, they have left a trail of blood, and are pursued by a bounty hunter. Hired for their expertise, the adventurers have joined the pursuit. A Two-Hour Adventure for 1st-4th Level Characters Wretches is a stand-alone adventure that premiered at Kumoricon in Portland, Oregon in October of 2017
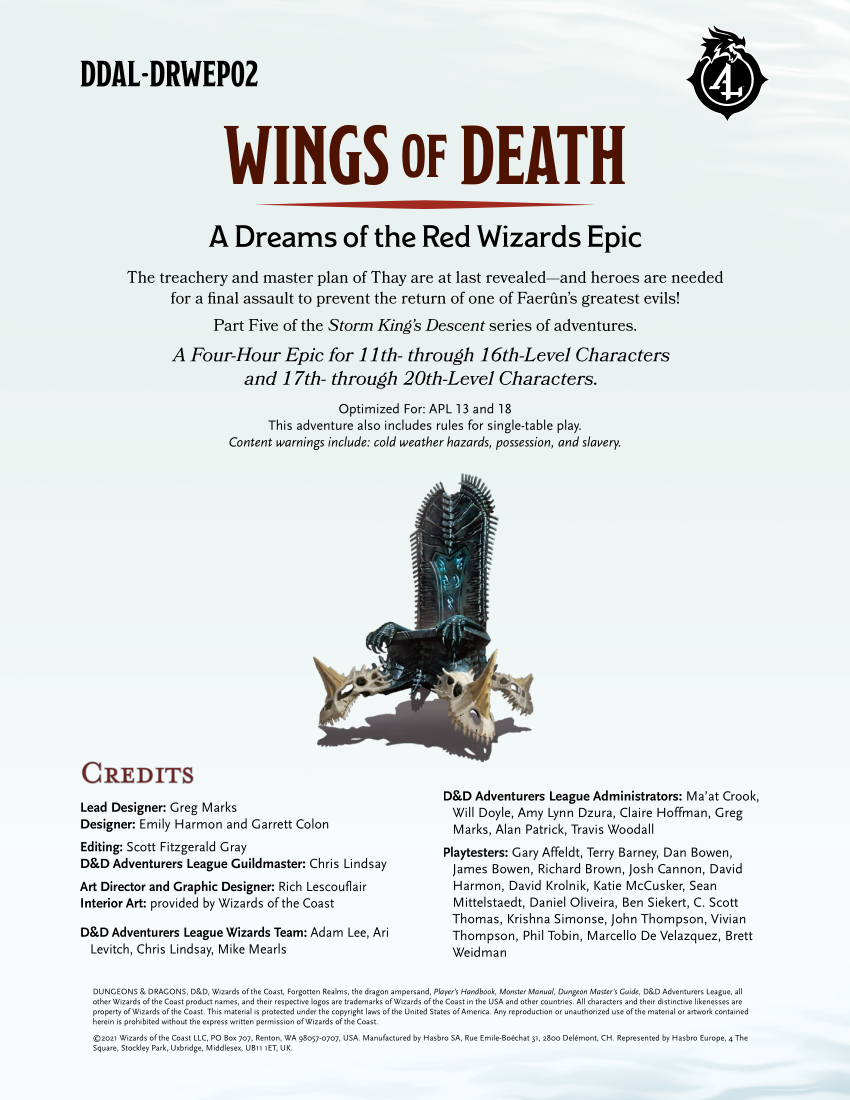
A Dreams of the Red Wizards Epic The treachery and master plan of Thay are at last revealed—and heroes are needed for a final assault to prevent the return of one of Faerûn’s greatest evils! Part Five of the Storm King’s Descent series of adventures. A Four-Hour Epic for 11th- through 16th-Level Characters and 17th- through 20th-Level Characters. Optimized For: APL 13 and 18 This adventure also includes rules for single-table play. Content warnings include: cold weather hazards, possession, and slavery

The Wizard's Assistant is a Tier 1 adventure for Dungeons & Dragons 5e. This adventure is designed to be accessible to both new and experienced Dungeon Masters, as well as players of all ages. Characters start at level 1 and end at level 5 - with plenty of possibilities for continuing the story after! The Wizard's Assistant starts simply, in the lonely village of Newfall. The wizard Iolanthe lives in Newfall with her assistant and romantic partner Diana, but Diana's hidden past is closing in. Adventurers come together over a seemingly simple task, only to find themselves embroiled in the machinations of a sinister gang. Can they locate Diana before her secrets tear her and Iolanthe apart? This game includes details of several locations, but can easily be adapted to nearly any setting.

Blinsky's Toyshop is our take on what happens to Blinsky and Piccolo during, or after the Curse of Strahd campaign. Blinsky, the toymaker in Vallaki with the cute monkey wearing a pink tutu, received a large inheritance from a long-time client. The client, Obtavius Swat, a retired adventurer and avid collector of toys, left his entire estate to Blinsky. The estate included coin, precious gems, art, and his collection of toys, some made by Blinsky and others he acquired during his travels. Blinsky used the fortune to pay a wizard to create a small island in the middle of Lake Zarovich, located just outside of Vallaki. He then paid masons and workers to build a fantastic new toyshop, which he designed to be an experience for both the young and old alike. Though the number of children in Barovia was increasing, mostly imparted to the devil Strahd’s downfall, Blinsky wanted to touch the inner child of the adults in the city. He wanted happiness. He wanted smiles. He named the castle Blinsky’s Toyshop of Marvels. One of the toys, a small silver tiara kept in a black satin-lined ivory jewelry box, was such a lovely piece. Blinsky couldn’t stand the thought of leaving it in the box. He already had enough gold and losing the small tiara wouldn’t be a large loss, so he decided to give it to his monkey – Piccolo (see Creatures of the Toyshop). He smiled at the thought of her running around in her pretty, shiny tiara. Sadly, as Barovian luck would have it, trapped inside the tiara is the sole of an evil gnome wizard named Aribetha Strangge. In his old age, Obtavious Swat forgot that he and his fellow adventurers used the tiara to imprison the gnome’s soul. Yesterday, when Blinsky placed the tiara on Piccolo’s head, silver tendrils cascaded from the tiara and into poor Piccolo’s skull, allowing Aribetha to control the monkey. Now, Aribetha has incapacitated Blinsky in the toyshop’s tower, brought many of the toys to life, and imprisoned or killed many of the workers and customers. The adventure includes costumes (which the character may wear), Strahd Hand Puppets, and a possessed Piccolo.

The company discovers the Easterly Inn, a piece of the Shire in the land of the Beornings. But the Wild is still the Wild, and it takes more than Hobbit cooking to keep adventures at bay; in no time, the companions find themselves involved in the search for a missing trade caravan. Their quest will put them on the road to the High Pass, and see them go over hills and under hills. Published by Cubicle7

Bring a party of adventurers to a bustling city, where mysteries and dangers lurk around every turn. Just when you think you have the answers, a whole set of new questions arise. No matter which leads you follow, you will find yourselves... "At the Heart of Corruption" - one-shot murder mystery and fantasy horror adventure.

A world unseen lies beyond a twisted, metal gate in a remote field of the Dhalpurna Mountains. Will the characters brave the alien monstrosities, technologies, and magic inside to learn the secrets that have been brooding in this strange place for millennia? Gate of the Lens Wizard is a science-fantasy exploration adventure and includes: -A gate that leads to the tunnels beneath a distant jungle moon -Intelligent spiders at war with glass-skulled astronomy wizards -An unfathomable artifact that can rewrite time itself -Combat cards for each monster, PC, and special treasure -High-quality digital maps for use with virtual table tops

"Can you solve the Labyrinth within 13 hours and get back what was stolen from you?" A 4-Hour Adventure for Tier 1 characters optimized for APL 3 taking place in the Feywild Domain of Delight, Labyrinth, where everything seems possible and nothing is what it seems. This adventure takes place when the characters have been abruptly teleported into the Feywild Domain of Delight, Labyrinth. The Kobold King has given the characters thirteen hours to solve the labyrinth, or they will lose what he stole from them forever. "It's only forever, not long at all..." Pillars of Play: Skill challenges and exploration. Minimal/optional combat. Content warning: Non-consensual theft Adventure Inspiration: Jim Henson's Labyrinth (1986)

When a Thayan research expedition returns from the Glacier of the White Wyrm with only two survivors that are reduced to whispering about an ancient pyramid under the ice, perhaps it is time to discover just what scares the life out of a nation of necromancers. The events of DDEP2 Mulmaster Undone resulted in terrible geographic upheaval all around the southeastern region of the Moonsea. Massive landslides, earthquakes, tidal waves, and gnashing tornados devastated the land and the city of Mulmaster was nearly scrubbed from the face of Faerun. Fortunately, these events also revealed previously hidden artifacts—trinkets, mostly—from the ancient Netherese all around the city. The Thayans have long held an interest in the port city and wasted no time in assisting in the rebuilding efforts. They simply asked that a blind eye be turned to their archaeological interests, and in return they would continue to spend their own resources (at no expense to the Mulmasterites or even the High Blade) to rebuild the city, bigger and better than before. It wasn’t long before their interests paid off with the discovery of a research laboratory beneath the Glacier of the White Worm, far to the east of Mulmaster and nestled in the mountains. The Thayans sent a sizable expeditionary force but only two acolytes returned. The visiting Zulkir has found this particularly troublesome, and with the assistance of Rastol Shan, the head of the Cloaks, has arranged for a mercenary force to perform a more pointed investigation of the area. In return the Thayan noble has promised significant compensation. Upon arrival at the dig site, the characters are quick to discover that the laboratory hides ancient and palpable evil. The purpose of the facility can be discerned with careful investigation, and the effect of the still-active fragment of the Dark Obelisk has empowered (some may say attracted) servants of the Worm that Walks. Danger and death await, certainly, though the characters always have the option of running away and living to fight another day…

"A glitzy Wildspace gala on a glamorous pleasure cruise, a dozen priceless relics, and one chance to steal it all. Are you in, or out?" An Audacious Four-Hour Heist for Tier 2 Characters. Optimized for APL 8. Content Warning: Alcohol, Fantasy Violence, Gambling, Tobacco Use Get your disguise kits and thieves’ tools ready, as ENNIE Award winning author Jason Koh and ENNIE nominee Darryl Ho reunite to mastermind a space caper so good it’s criminal! The Huangfu hold the final key to the Monad’s millennium-old mystery, and YOU have ONE chance to steal it. Can you pull it off? Episode 9 of Ad Astra. This lovingly crafted homage to Hong Kong action cinema and Chinese fantasy fiction is designed to be played using Theater of the Mind, and supplemented by tasteful handouts in art deco style. Depending on the characters and their decisions, multiple endings are possible. Ad Astra is a series of loosely connected Spelljammer adventures for D&D Adventurers League. Traverse the stars in an ancient, arcane locomotive, and experience fresh takes on the spacefaring genre written and produced by bestselling Dungeon Masters Guild authors and international talents from the Dungeon Designers Discord community. Uncover the secrets of the Monad, explore unique and unconventional worlds, and unravel a mystery that spans a millennium! This product includes: - a 106-page adventure with multiple endings and ways to play - custom handouts to help get your players prepped for the perfect heist - appendices full of helpful tips and advice to get the most out of this adventure - custom images for selected NPCs - standard and printer-friendly PDFs
The temple bells rang out, their crystal hollow-overtones calling gently to the dispersed worshipers dwelling within the underground sun temple. The Temple of the Sun was itself an enigma, a place dedicated to the sun but hidden far underground, shielded from the mighty rays of the light of life, forced to do so for both secrecy and protection. Internal holy radiance was the heart of the temple, bathing Flaesuros' children with the light of the holy orb of light, emanations from a Sliver of the Sun, an actual piece of the massive orb of life above; this was the logic behind the temple's secrecy, her many levels of protection and traps, the reason why priests who fervently revered light now clung to the shadows. This adventure includes: Puzzles to keep your players engaged and inspired New monsters including the Skeletal Ash Beast Ancient runes which can be used to solve puzzles and advance in the crypt A new magic item which may be donned by a single PC to great effect An artifact which has the potential to either change the world or destroy it

This introductory level scenario brings a new group of players into an area formerly controlled by the Tunnmaa Dynasty. This group of rulers was rich in gold and gems before collapsing. It is well known that their kings, known as Ga Mantse, were buried in underground barrows that are well hidden and protected by traps. A few days ago a group much like your own found one of these hidden tombs and attempted to investigate. Sadly for them they were not up to the task. Can your party succeed where they failed?