
Beneath an ancient castle on the borderlands, reclaimed from the ruins of a lost civilization, there is a dark and deadly tournament being held. Seven stalwart adventuring companies, each representing a wealthy noble house, delve into the depths of the Dungeon of the Black Fey Mithelvarn. Each races to be the first to claim the power of the infernal machine that drives it, and find the Elixir of Immortality it contains. Can your party take up one of the relic banners and face the challenge of the dungeon, as well as the lethal competition from other companies seeking the prize? This adventure is formatted to both 1E & 5E gaming rules. Also available in PDF.

The followers of the many gods of Kara-Tur have always fought, to prove the superiority of their martial discipline and the greater wisdom of their deities. The strict hierarchy of the gods is now threatened by the sudden prominence of the followers of the Dragon Claw, a new and deadly school of martial arts that threatens to destroy all other schools. The players, recruited by a mysterious old monk with a bizarre fighting style, must find out what's behind the emergence of the Dragon Claw and put a stop to it. Mad Money vs. The Dragon Claw will take players across the entire country of T'u Lung, from the mouth of the great river Fenghsintzu to its headquarters, where they must deal with the legendary Cult of the Black Leopard - all in the name of the Mad Monkey. Mad Monkey vs. The Dragon Claw is a scenario for the ORIENTAL ADVENTURES supplement to the AD&D game. It is set in KARA-TUR, the oriental world in the Forgotten Realms. Mad Monkey vs. The Dragon Claw is designed for five to eight characters of Levels 6-9. TSR 9242

As you begin your travels to fame and glory you have discovered the road is actually paved mostly with dirt and boredom. You have heard of the caravan attacks at Feastelburg and have begun to make your way to fame and fortune. As light begins to fade from the sky you have come upon a sign welcoming you to the small lake community of Crystal Shores. What appears to be a smoldering funeral pyre is near the lake’s edge and a small group of children play near the road. Your journey to the caravan raiders is halfway there. A few more days and you will begin your life as adventurers!
Lord Falcon’s nest holds a new brood of evil. Falcon’s Peak is an AD&D® game adventure for 5-8 characters of 1st-3rd level. The party should include a thief and at least one experienced cleric; a ranger would also be of help. The use of stealth and silvered or magical weapons is advised.

Into the Drachensgrab Mountains! Hot on the trail of the marauding slavers, you and your fellow adventurers plunge deep into hostile hills. Spurred on by your past success, you now seek the heart of the slaver conspiracy. But hurry! Your must move quickly before the slavers recover from your previous forays and attack! This module was originally used for the official Advanced Dungeons & Dragons Tournament at Gen Con XIII and is the third of four in a series of related tournament modules. This module contains a challenging scenario, the tournament scoring system, plus nine pre-rolled, playtested tournament characters. Also included are large scale referee's maps, notes, and background information. A3 is a complete adventure in itself, but it is also a companion to A1 (Slave Pits of the Undercity), A2 (Secret of the Slavers' Stockade), and A4 (In the Dungeons of the Slave Lords). TSR 9041

What's waiting for you at the bottom? Adventurers are more than welcome - they're nourishment! Pgs. 4-15

A little village with a turtle-shelled problem. An unusual visitor who likes villagers - medium rare. The Kappa ofPachee Bridge is an AD&D® game Oriental Adventures module. Whether a group of religious pilgrims or a samurai with, bushi attendants, any strangers passing through Pachee are stopped by the frantic rice farmers, pleading for aid. This encounter is designed to fit into any Oriental campaign and draws upon Japanese folk legends about the nature of lake kappa, considered here to be a subspecies of common kappa (Oriental Adventures, page 124). The village of Pachee is a remote and usually quiet spot where travelers rarely pause, a collection of 35 rice farmers and their extended families, with fishermen, hunters, and herdsmen, a smith, two carpenters, and a potter. It is named for Pachee-ko, a deep, stream-fed lake west of the village. The waters of Pachee-ko irrigate all the rice paddies and yield the fish that feed the townspeople. Pgs. 28-32
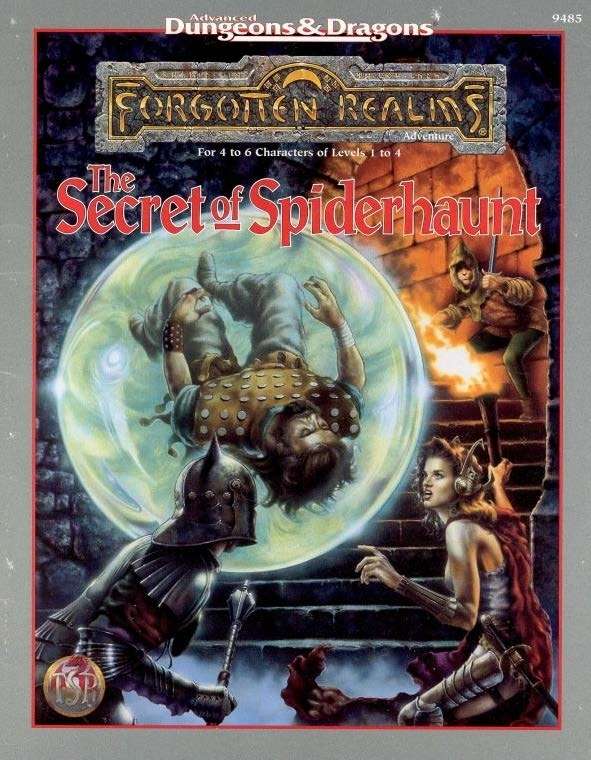
The infamous Sword of the Dales has always held a certain fascination in the eyes and hearts of the citizens of the Dalelands. Thus, it was no surprise when Randal Morn, rebel leader of Daggerdale, led an expedition into the crypt of a long-dead wizard to recover the weapon. Shaevyn the weapons-mage had created the Sword long ago, and it stood to reason that the blade would be waiting within his tomb. Perhaps the Sword of the Dales woulld allow Randal Morn to rule Daggerdale once again. But Randal Morn never returned from that fated party. Only tales of terror told by a lone survivor held any clues as to Randal's fate. A brave hand of heroes accomplished what Randal Morn's group failed to do in part one of this adventure trilogy, "The Sword of the Dales." Battling through the tomb's undead inhabitants, those heroes reached the burial crypt of Shraevyn. There, resting in the center of the coffin, was the Sword of the Dales, its azure glow filling the chamber. However, there was no sign of Randal Morn. Only a note signed by his hand held any clue as to his fate. "Seek me in Spiderhaunt," it proclaimed. "The fate of Daggerdale is in your hands." This is the second part of a trilogy of modules that began with "The Sword of the Dales." The saga concludes with "The Return of Randal Morn." TSR 9485

Tillius Morganstein aka the Mad Mage has selected your group to investigate an ancient temple hidden below the peaceful waters of Lake Springwood. The wizard is too old to investigate the area himself and has enlisted your help. While he has studied the ancient texts dedicated to "Bulu" he cannot define what dangers may lurk or what treasures may await those brave enough to delve into the submerged halls but surely the rewards will be great!
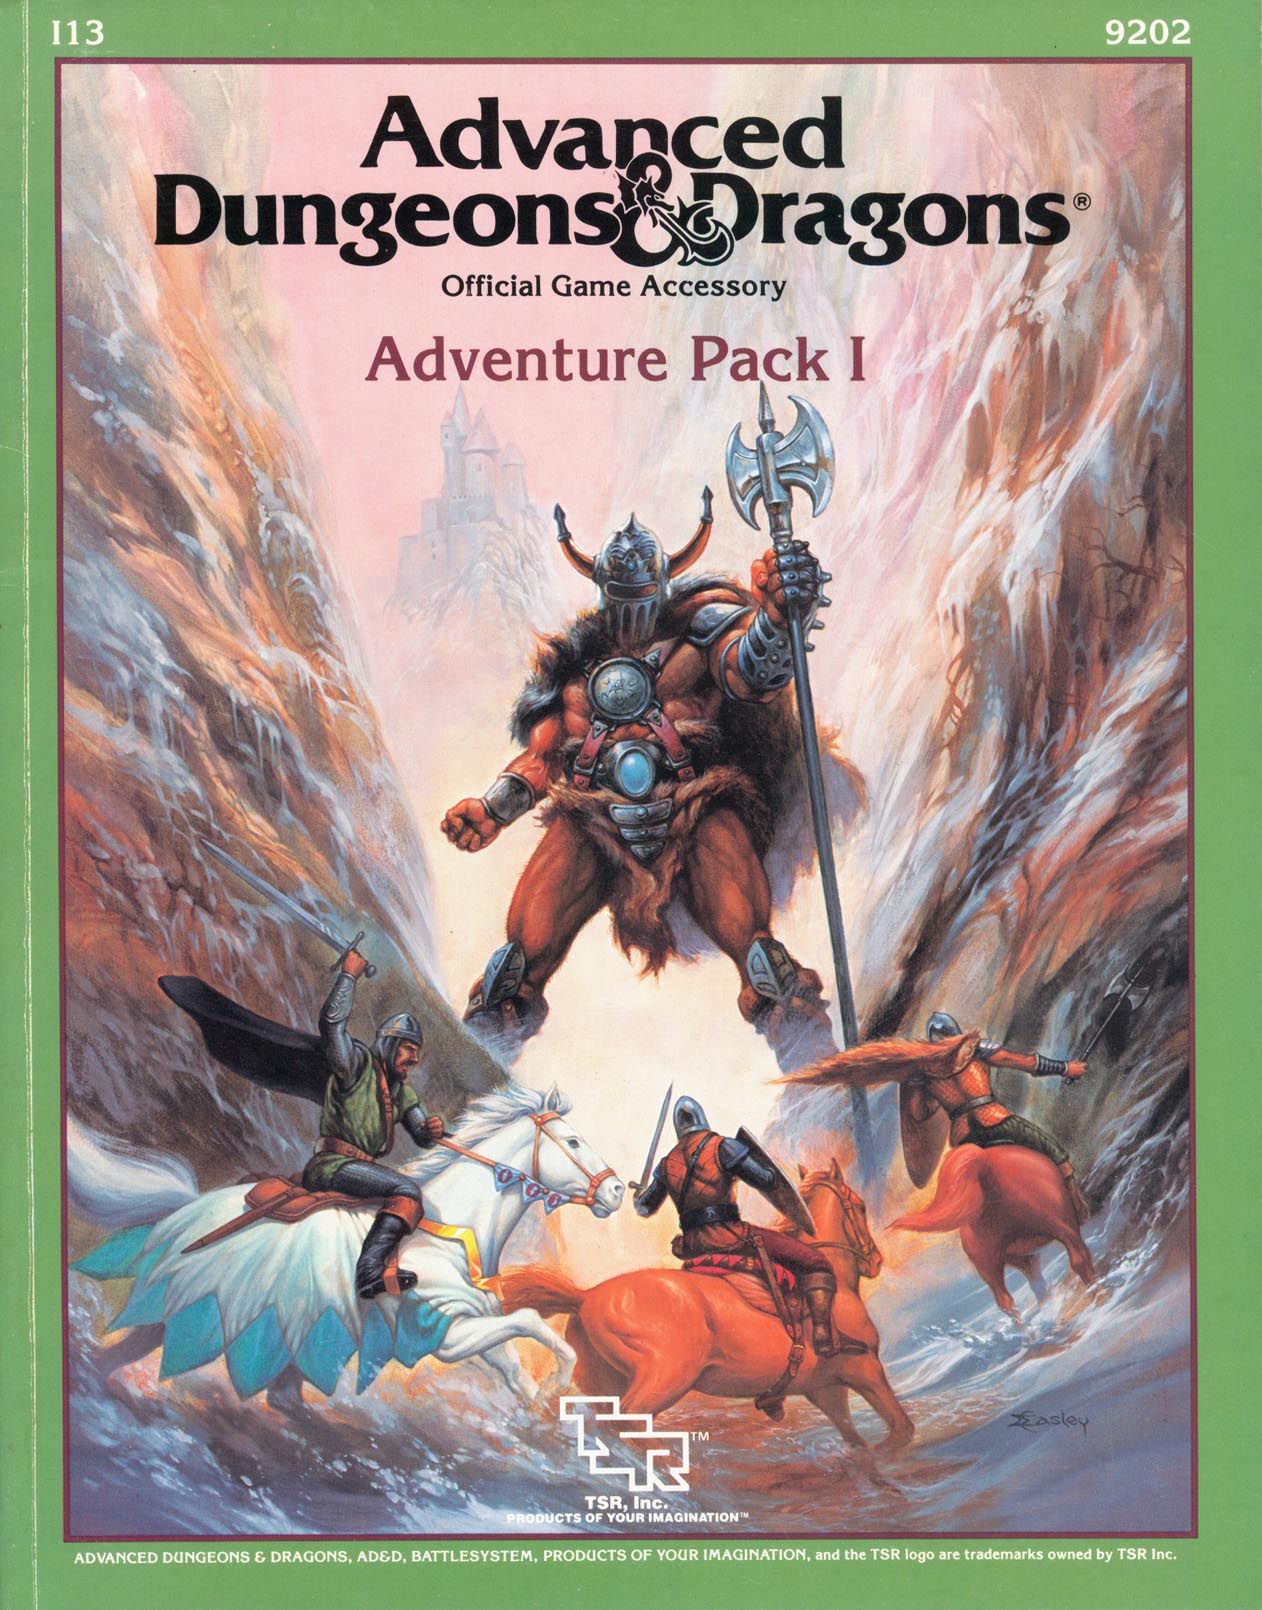
A walk in the woods, a trip to the zoo, a day at the circus - harmless enough, right? Wrong, as players will discover when things are not as they appear to be. Included in I13 Adventure Pack I - https://www.adventurelookup.com/adventures/i13-adventure-pack-i TSR 9202

This beginning level adventure pits your PC party against humanoid thugs who have found a nice niche in a narrow pass headed to HAVENDALE. Adorning the pass is a rock formation that appears to be a large skull thereby giving its name to the pass. These humanoids are led by a large Ogre named Roark. The mayor of Feastelburg has placed a bounty on the head of Roark and his evil minions. Is your party strong enough to rid the area of this menace?

Clover Island is home to one of the wildest towns in the world of Filbar. While the town of Corsair Bay is recognized as the home of the Pirate Kingdom it is a fully functional town. This location sits at the midway point for those crossing the Newmack Sea and is a resupply stop for most commercial traffic pirate and otherwise. The ruler of Corsair Bay is the legendary, and somewhat retired, pirate named Hannibal the Black. This fearsome pirate now enjoys ruling the community and most of the explored areas on the island but his ship still waits in port for him should he decide to set sail again

Auction fever can empty anyone's pouch of coins. An Arch-Mage is retiring and selling his possessions - and you're at the auction! Pgs. 19-23

Dragonspear Castle. All who live within several hundred miles have heard the name and know its import. Once home to the proud and the brave, it stands now a ruin, cloaked behind a history of murder and diabolic plots. Few go there, for the only reward to be found is death. Rumors abound that Dragonspear holds a portal to the sinister planes, but until now those have been unfounded. Following a great battle against orcs and trolls from the High Moor who had taken possession of the castle, a temple to ward against further evil was established. However, by the Time of Troubles, that temple and its clergy had disappeared. Now, a horde of fiends and monsters has amassed at Dragonspear Castle, and it terrorizing the surrounding countryside. The portal is active, that is for certain. The army of Daggerford needs reinforcements! Is you party made of the stuff of heroes? Hordes of Dragonspear can be played using either the Battlesystem miniatures rules, or the quick combat resolution system found in DMGR2, The Castle Guide. Alternatively, a few simple changes render the entire module playable without any special rules. TSR 9369
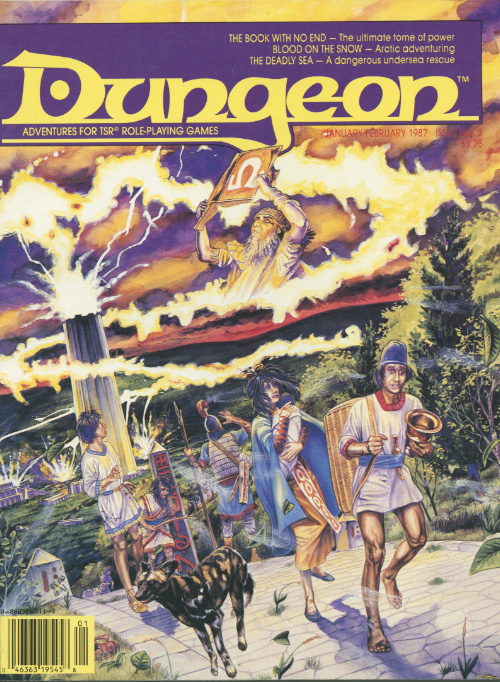
From the magazine: "'That's right," said the druid. "You must steal the giant's cauldron - without harming him in the slightest.'" The adventurers are sent on a mission to reclaim the legendary Cauldron of Plenty for a celtic inspired kingdom. This magic item is kept by an intelligent Verbeeg called the Bolg Mor. A secondary goal is to discover the command words for the cauldron in the cave system. There is a curse on the cauldron, stating that violence breeds violence; he who slays the owner of the cauldron and steals the device will also fall prey to acts of violence. Players are encouraged to attempt to roleplay and negotiate with the villain to gain the cauldron.
You found the treasure you were seeking. Now you have to escape from it. Sheltering from a storm in a wayhouse, the PCs fall foul of a powerful magical relic. They must navigate their way through an unfamiliar environment populated with changed creatures in order to free themselves from its influence.

Troubles simply mushroom in the Underdark. The alchemist would like some fungus and spores, but no one wants to get them. Perhaps you could help. The adventure begins with the party finding a caravan. In addition to being able to trade with these NPCs, the party also can be hired by an alchemist to bring bag some red fungus and some Myconid spores from underground. Underground, the party will have a chance to interact with friendly Myconids and venture through a large labyrinth of passages (this labyrinth isn't mapped and is dealt with through storytelling, random encounters, and roleplay). The adventure culminates in a battle between the Myconids and Flinds, and the players can participate. Pgs. 4-12

The PCs are looking to gain entry to the Glantri School of Magic, after the initial admission tests they are drawn into a commotion where one of the other students is being attacked by an evil sorceress. He tries to flee but but is killed, and the PCs are framed for the murder. The authorities are called and bribed to just kill the PCs, they flee and are chased and taunted by the evil sorceress. Eventually, during one of her attacks, she opens a weak spot in the ground and the heroes are dropped into the warrens under the school. They must navigate the warrens, which are shrouded in magical darkness, defend against further attacks, and find escape where they can prove their innocence.

To travel further into the Underdark the party must cross a bridge spanning a deep chasm. But to cross, they must pay the toll, or risk another route.

With the Heart of Light secured, the adventurers now pursue the Ebon Stone, hidden in a remote keep. Part 2 of 2. Part 1 titled The Heart of Light. Pgs. 43-52