
The fourth installment of the Filbar Dual (FD) series is The Hunt for Charon and picks up where the FD3 - Crisis at Marstan left off. Your pair of intrepid adventurers is off to find out who orchestrated the attack at Marstan. When the previous adventure concluded they discovered a note mentioning a “Charon” as behind the attack and the humanoid raiders. This adventure will see if the pair can find and defeat this person/humanoid and protect the area once and for all.

With survival being the hardest thing at low levels it’s important that PCs are careful and find help where they can. Xavier’s Wand offers a fledgling adventurer the opportunity to shine on their own and find a little help on the road as well. This adventure pits your new “hero” up against a bully and other challenges that will bolster a young adventurers experience and pockets! A thorp, humanoids, and potential henchman are some of the encounters in this adventure.

Sleepyhead. The only man who can stop the amphibian horde needs a wake-up call. The party must find a missing druid an bring his captures to justice. Pgs. 8-21

Deep in a secluded vale is a place known to the locals as Yasmine's Tower. It is said that she is an evil witch who uses magic to bend lost travellers to her will. Can your party put an end to this evil?
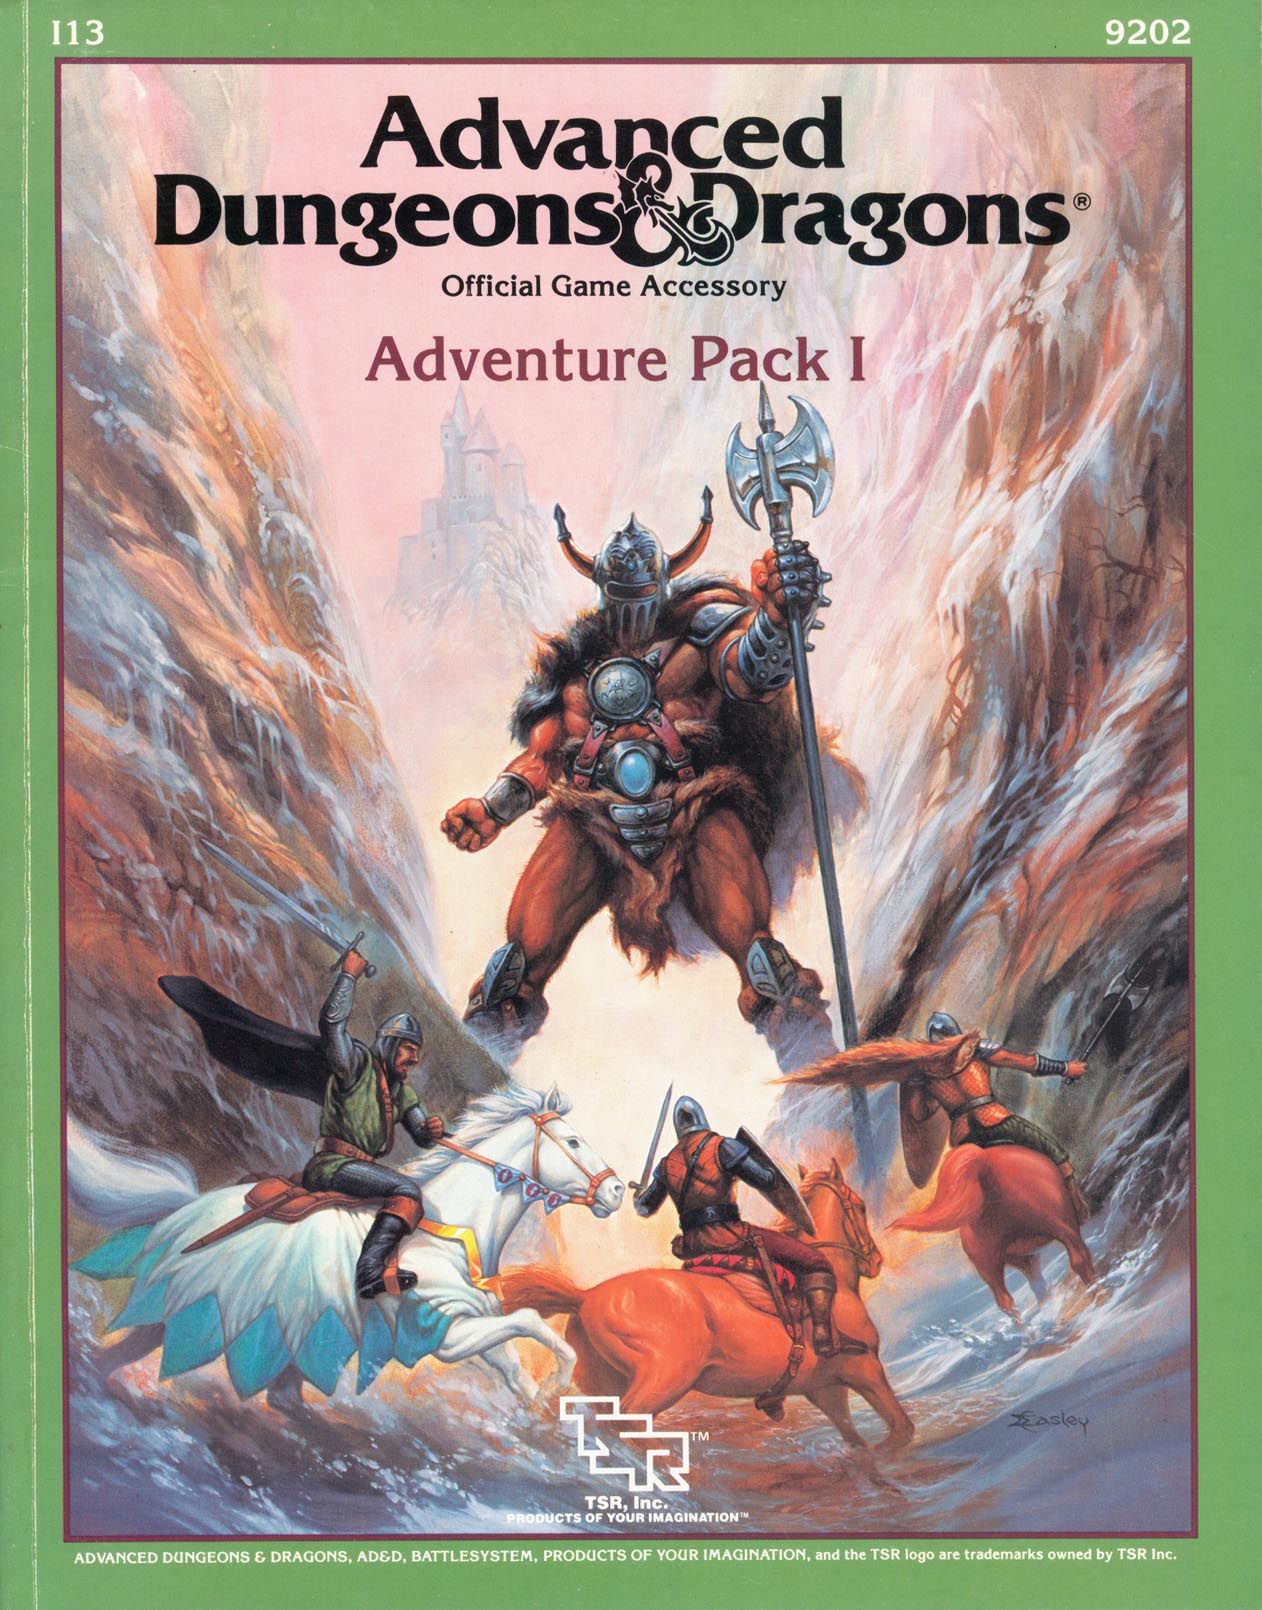
A walk in the woods, a trip to the zoo, a day at the circus - harmless enough, right? Wrong, as players will discover when things are not as they appear to be. Included in I13 Adventure Pack I - https://www.adventurelookup.com/adventures/i13-adventure-pack-i TSR 9202

The battle against the slavers continues! You end your fellow adventurers have defeated the slavers of Highport, but you have learned of the existence of another slaver stronghold, and you have decided to continue the attack. But beware! Only the most fearless of adventurers could challenge the slavers on their own ground, and live to tell of It! Second part of Scourge of the Slavelords (A1-4) TSR 9040

The three of you are a group of adventurous wanderers. You have journeyed to a far-off land in search of the fabled ROCK OF AGES, a mighty artifact which is rumored to confer everlasting youth, strength and health to its possessor. You have determined that it is somewhere in this vast land, but the legends place it in at least a dozen different places. The Second Official AD&D Masters Tournament. Pregenerated characters are referenced, but not provided. There are several original monster in here with bare-bones statics (AC, hp, Attacks, and Damage)
Giants and ghost trees and foul undead beasties... What happens when elves, giants, and a mysterious witch all decide only you can settle their troubles. Strange new tree species! A hobgoblin fort! Unexplained noises during the day and different noises at night! Investigate and explore the Bretonwood to get to the bottom of its problems. The adventure provides an overland open-world style map of the Bretonwood which the players are encouraged to explore. Many set and random encounters are provided. There are opportunities for combat in this area, but players should be ready to handle some problems out of combat to get the most satisfying experience. Pgs. 22-43

Red for love, white for purity, black for death. He was thoughtful, obedient, and trustworthy - the epitome of a traitor. All he needed were some heroes. A powerful undead knight, Agrovale, wants to be released from a necromancer named Talakara. He sets in motion an elaborate plan to get the players involved in overthrowing Talakara in her bid to become a goddess. He frames the necromancer for a kidnapping and murder and leaves a trail of clues to lead the players to her stronghold. The party travels through an extensive stronghold filled with many different monsters, finishing with a fight with the demigod Talakara and subsequently the freedom-seeking Agrovale. Pgs. 38-63

They sure don't make lawful allies like they used to. A question of morality versus ethics - made lethal. Pgs. 17-34

"The adventure begins with the PCs lost in the streets of Sigil's Lower Ward." --from the module. The PCs are approached by a tiefling telling them about a job. The tiefling's employer wants the heroes to search for a child who is rumored to be some sort of chosen one from an ancient prophecy. Includes a map of Durkayle's Stronghold, a map of the Black Sail Tavern, a map of the Screaming Tower, and an isometric map of Zactar Cathedral.

Wherein the Heroes learn that the Coils of Love wrap 'round Fiends and Friends alike, and may undertake to aid in a secret Correspondence. Chapter III of the "Well of Worlds" adventure anthology. Pgs. 34-45 TSR 2604

'I walk between two worlds, the way of the gun and the way of the sorcerer, but now amid the falling starts of civilization and the swirling currents of time I make a stand. There are those who believe you live but one life, but I know that is not the case. In the multiverse there are infinite lifetimes to be had amid the swells of ware, peace, and the whims of fate...' Within the pages of this tome you will find eight incredible adventures that cover time periods from the 'powder and magic' Gun Kingdoms to the more traditional dungeons of standard fantasy. Three adventures follow the exploits of a post magical apocalypse crew as they look for lost magic and gold amid the ruins, while five other adventures staying within the confines of true fantasy. Delve into a frozen dungeon, sail on magical currents between planetary spheres, and fight against the undead and dark Templars of a dread temple. These are just a few of the adventures awaiting your characters in Artifacts of Adventure, a compiled work of six Folio: Digital Quarterly adventures and the True Level Adventures trilogy by Art of the Genre. Includes: DQ1: The Adventure Begins for levels 1-3 DQ2: The Druid Child for levels 3-5 DQ3: UN1 Frost Lords of the Frozen Hall for levels 3-5 DQ4: UN2 The Delve into the Stellar Mine for levels 3-5 DQ5: UN3 Dungeons and GK3 Descendants for levels 3-5 True Level Adventure 1 Stone and Silver for level 1 True Level Adventure 2 Gate of Web and War for level 2 Ture Level Adventure 3 Monastery of the Lost for level 3 New monsters, maps and backgrounds These adventure is formatted to both 1E & 5E gaming rules.

The kingdom of Dunador is in trouble. Since the king, Halfred of Dunthrane, was killed in a hunting accident, the land has hovered on the brink of civil war. Crown Prince Edmund, at 18 only half-trained and quite unprepared to assume the throne, has yet to be crowned. Currently he is on a pilgrimage to the holy shrine of Nevron in the province of Andevar. While the uncrowned king is far from home, anarchy reigns in Dunador. Throughout the realm, plots are brewing and evil hands are eagerly clutching at the sword of treason. Inevitably the focus of these intrigues is in the troubled province of Andevar to the north. For it is here that the young Prince has journeyed and here that he must be crowned. In this dark hour Dunador has but one faithful servant: Hollend, chief advisor to the old king. Painfully aware of all that is at stake, Hollend has sought the aid of a brave party of adventurers in a desperate bid to tip the scales in favor of truth and justice. But, even as the party secretly enters Andevar, the forces of evil strike with blinding speed and ruthless determination. TSR 9163

A friendly little cottage and a dreadful secret. As the adventure begins, the PCs are on a journey through temperate, wilderness hills -- perhaps toward a destination of importance in the ongoing campaign, or they might merely be wandering in search of heroic opportunities. Pgs. 20-25

Numb Island sits in the north seas and is home to Miles Away a struggling settlement with a variety of problems. This adventure setting has a variety of different side adventures that can be used in a continuing campaign or as individual scenarios. Each of the scenario has a level recommendation so that you, the DM, can pick and choose what the party may be ready for and what adventures are better to pass over. In the Filbar campaign the adventurers found themselves on Numb Island several times during their adventuring career and were not strangers in Miles Away!
With the Heart of Light secured, the adventurers now pursue the Ebon Stone, hidden in a remote keep. Part 2 of 2. Part 1 titled The Heart of Light. Pgs. 43-52

After hiring a group of brave adventurers to help him "acquire" a beholder specimen, the mage Velinax disappears! Rumors blame an insidious thieves' guild called the Unblinking Eye for this turn of events. Why would the Unblinking Eye wish to "take care" of the mage? Why does the guild want to speak to anyone involved with Velinax? Finally, what dark goal does the guild truly intend to accomplish? Finding out the answers to these questions will lead doughty adventurers straight through the shadows of a crafty thieves' guild and onto the threshold of an even deeper and more dangerous darkness. "Eye of Doom" is the second of three adventures featuring the nightmarish beholder. It can be played as an individual mission or as part of the series that began with "Eye of Pain" and concludes in "Eye to Eye." TSR 9530

What angers the spirits? You don't have long to find out. An angry spirit can even steal the rain. The characters must appease a spirit that has brought drought to the area. Before they can summon him, however, they'll need to collect magical water from three shrines. Pgs. 35-43
A plague has struck Waen Fawr, leaving hundreds dead, the city lawless and in crisis. The plague seems to drive those affected to violent, manic behaviour and the city militia have their hands full. Smoke shrouds the city as buildings burn, bandits and looters roam the streets amid the chaos. This adventure comes with tiles to create a city map as the players explore. Tables of rumours and random encounters are provided, as well as detailed location-based encounters. Pgs. 28-48