
This material was originally published as three separate adventures: G1 (STEADING OF THE HILL GIANT CHIEF), G2 (THE GLACIAL RIFT OF THE FROST GIANT JARL), and G3 (HALL OF THE FIRE GIANT KING). Contained herein are referee notes, background information, maps, and exploration keys for three complete adventures using the ADVANCED DUNGEONS & DRAGONS rules. This module can be used alone or as the first in a series of adventures that includes Dungeon Modules D1-2 (DESCENT INTO THE DEPTHS OF THE EARTH), D3 (VAULT OF THE DROW), and Q1 (QUEEN OF THE DEMONWEB PITS). TSR 9058

The rumors are true! The secret cave of the mystics holds a hoard of treasure vast enough to buy the kingdom seven times over. Gold coins piled as high as snow banks! Gleaming swords and jewel-encrusted wands crackling with arcane energy! Precious gems as large as your fist! The only thing standing between your present circumstances and a life of fabulous wealth is a pesky, slumbering elder god with a penchant for consuming entire worlds, an endless army of vat-grown hybrid monstrosities, a veritable tidal wave of disembodied eyes with awesome powers, giant acid worms, and a curse with the power to rip the still-living eyes from your skull. Do you have the mettle to stare down a god or will your eyes forever adorn the vault of The One Who Watches From Below? The winner of the Mystery Map Adventure Design Competition! In June 2012, Goodman Games sponsored a special adventure design competition. Our Free RPG Day 2012 adventure module included an incomplete adventure map. Readers could complete the map, send in their associated adventure proposal, and compete for a $1,000 contract to write that adventure. A panel of distinguished judges read the flood of proposals, and finally whittled the field down to a handful of contenders. After lengthy debate, a winner was chosen. This adventure is the winner of the Mystery Map Adventure Design Competition. There were many great submissions to the competition, but Jobe Bittman’s stood out above them all. This adventure has a strong Appendix N theme, unique encounters that your players will remember for a long time, many highly visual scenes that will stand out in your players’ minds, and some terrific twists and turns. It also features one of the most creative player handouts you have ever seen. Prepare for a very fun time. We think you’ll enjoy this adventure as much as we did.

A hideous hag threatens to corrupt everything it can, including a young bronze dragon who protects this stretch of coastline. The heroes must stop Dread Shelan at all costs, lest the entire area come to ruin. Can the brave adventurers defeat Dread Shelan and her pet sahuagin? This package (adventure, maps, etc. within) forms a complete module for use with Dungeons & Dragons ® 5th Edition rules. It is especially designed for Dungeon Masters to initiate play with a minimum of preparation, and to invoke that OSR look and feel you remember from the original Saltmarsh back in the 80s. In addition to descriptive and situational material, this module also includes special informational sections giving background history and legends, listings of possible monsters and treasures and how to place them, a list of adventuring characters, tips on various aspects of play for the Dungeon Master, and helpful advice for starting players. Old School Look and Feel! Instructions given for scaling the encounters for levels 5 to 10.

So you want to be a Mage of High Sorcery? To join the esteemed organization, you must travel to the Tower of Wayreth and undertake the most important event in your life—the harrowing Test of High Sorcery! If you can survive where so many aspiring mages have failed, you will forever bind your soul to the Gods of Magic and gain access to untold arcane secrets. The Test of High Sorcery is the perfect adventure for new and veteran players looking to experience Dungeons & Dragons in a new way! It is a solo adventure, where your choices have meaningful consequences, but it also provides balanced rules to play with a group or a Dungeon Master. This 154-page tome features: - A sprawling adventure that fits perfectly as an expansion to any Dragonlance campaign, Dragonlance: Shadow of the Dragon Queen, or as a stand-alone replayable experience - A tale full of sorcerous intrigue, featuring many new characters alongside iconic favorites like Fistandantilus, Takhisis, Fizban the Fabulous, and the Gods of Magic - Innovative Destiny and Trait mechanics make your choices really matter—and ensure every mage’s Test of High Sorcery is a unique experience - Over 60 possible outcomes to determine which Order of High Sorcery you join and provide compelling new plot hooks for your character during future adventures - Dozens of unique locations with rich stories and sorcerous challenges that Dungeon Masters can use to create their own version of the Test of High Sorcery - New magic items and stat blocks, with mechanics that support clever use of enemies’ weaknesses and the environment against them - Four gorgeous sample characters, with interactive character sheets designed to be new-player friendly so that you can jump right into the story - A detailed primer on the history of Krynn and how it relates to the Mages of High Sorcery - A community survey when you finish to let you see how you compare to other mages taking their Tests of High Sorcery

Missing relics and a mysterious well. These are the things that have drawn your party to this idyllic region of the land. Why would someone take sacred objects, what do they have to do with each other…and why does the trail lead to a well in the middle of a lake?

Chasing pirates can be a dicey business especially with an ocean storm bearing down upon you. As you give chase to Captain Longstockings and her crippled ship, she wanders into a cove...TRAPPED! This criminal cleanup is almost complete...
A search for the ghostly dragon of the Deadwaters. The sage's deal is simple: The more you learn about the dragon, the richer you get. In this adventure, the bard Rondelle offers players rewards for learning all they can about a mysterious dragon that has been sighted in the area. Pgs. 22-38

After enjoying a bit of free time in Cullifield while some members of your party finish their training, you hear word of a quick trip out to sea. Further investigation leads you to understand a certain list needs fulfilled and a drunken sea captain is willing to split the profits. Well, no need to sit around on your hands…let’s hit the waves!

A job has come up for your party straight from the leader of Phoenix! A trade deal is desired with the leader of an island chain known for Ioun Stones. The Zephyr has requested that your party go and use your skills to negotiate the deal. Upon arrival, your talents serve you well but King Homa requires that your talents serve him...
Troubles simply mushroom in the Underdark. The alchemist would like some fungus and spores, but no one wants to get them. Perhaps you could help. The adventure begins with the party finding a caravan. In addition to being able to trade with these NPCs, the party also can be hired by an alchemist to bring bag some red fungus and some Myconid spores from underground. Underground, the party will have a chance to interact with friendly Myconids and venture through a large labyrinth of passages (this labyrinth isn't mapped and is dealt with through storytelling, random encounters, and roleplay). The adventure culminates in a battle between the Myconids and Flinds, and the players can participate. Pgs. 4-12

As the party relishes in the accolades of their achievements word of a Dragon nearby reaches their ears! Apparently a similar adventuring party stumbled upon the Wyrm by accident and was nearly wiped out. With the townspeople in fear, it is time again for the PCs to step up and perform heroic deeds! I wonder if there will be any pages from the mysterious Codex of Gamber Dauch will be around. With only one more adventure in the quest series the PCs must be getting close!
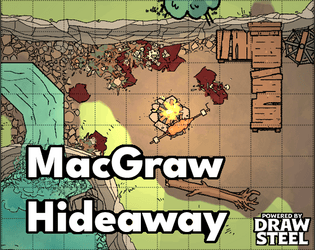
In the Tullow Vale of Vasloria, the MacGraw tribe of goblins terrorize the Baron's Road as it passes through the forest north of Ivywatch, plundering caravans and kidnapping merchants and travelers. The heroes arrive upon an ambushed caravan just as the tribe scurries away with their screaming haul into the forest. Can you save the good folk of Tullow Vale before they meet their end at the hands of the goblins and their cruel leader? In This Quest MacGraw Hideaway is a short, not-full-level-length adventure, or in other words, a quest! This quest is about fighting monsters and being heroic. Combat encounters are built to be complex! The heroes will be expected to spin multiple plates at the same time! The quest will reward up to 6 Victories. Depending on your experience running and your table’s experience playing Draw Steel, it could run around 4 to 6 hours of playtime. 2 combat encounters 1 optional negotiation
"The Keepers of the Celestian Order, valiant defenders dedicated to destroying horrors from the Far Realm, have trapped a beholder in its lair. However, the evil aberration has proven far more dangerous than expected, and the Keepers need the help of adventurers to end the threat of Omaranthax once and for all. This Dungeons & Dragons Roleplaying Game adventure, created for Free RPG Day 2012, pits player characters against a mutated beholder and its vile underlings. Although set in the Forgotten Realms campaign setting, the adventure can be easily adapted to any* D&D world." *: The adventure mentions that it is suitable for any setting touched by the Spellplague.
Bandits have been preying on the caravan trade of late, and the number of burglaries and kidnappings is on the rise. Such events might not seem all that unusual, except for the bandits' calling card -- webbing! Can the PCs penetrate the bandit lair and slay the leader before any more locals vanish?
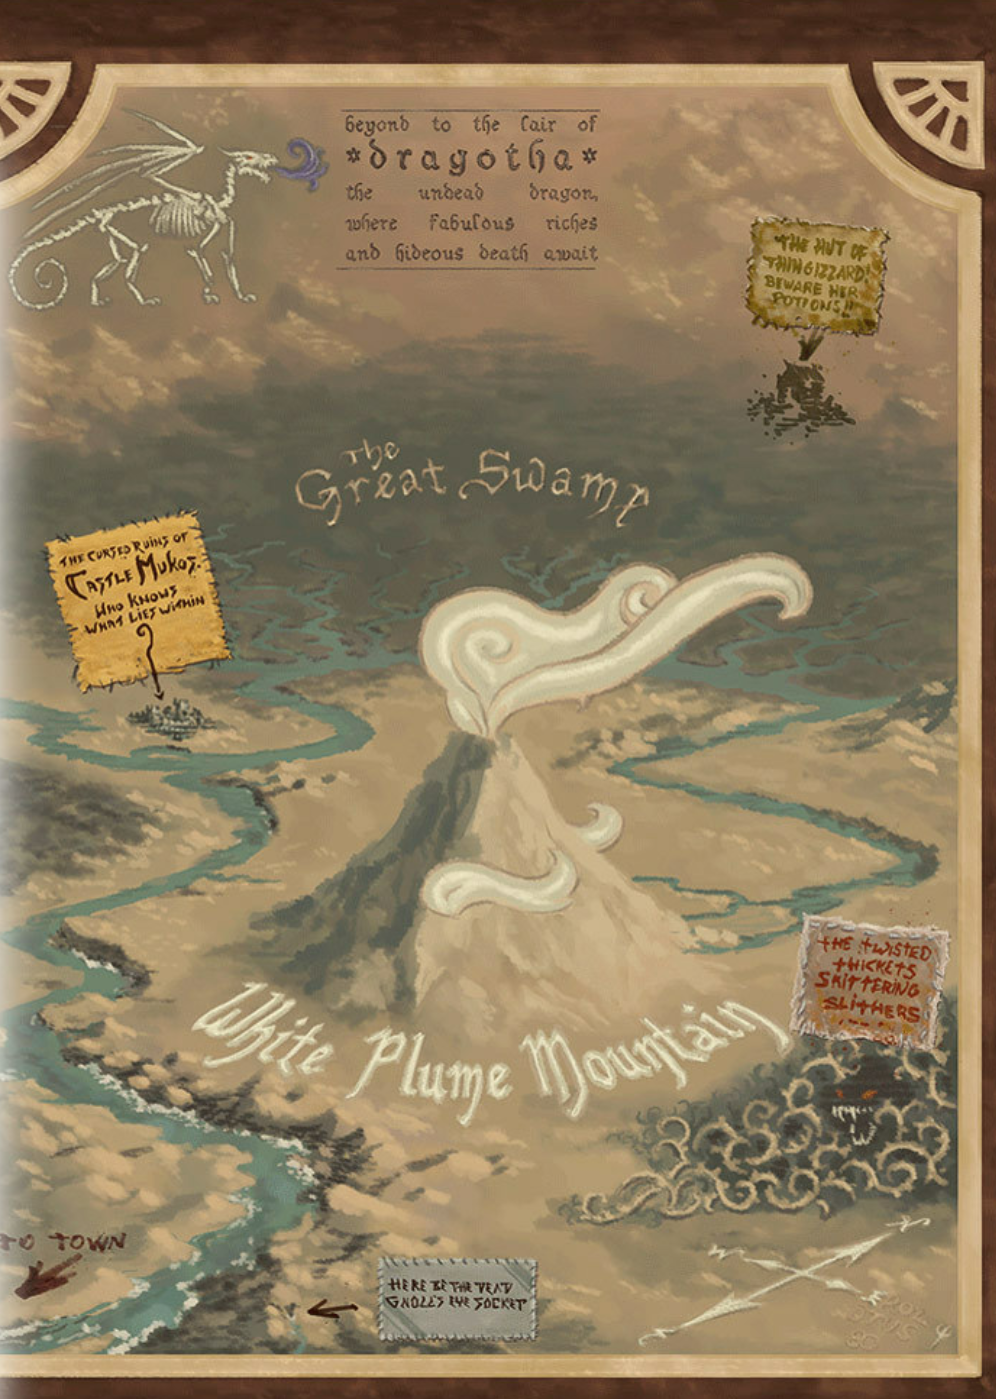
Three artifact weapons have gone missing and you adventurers have been sent after them. Going only by the riddle left on the thief's note, part ransom part guide, You stand before White Plume Mountain, stronghold of the supposedly long dead Wizard Keraptis.
The colony of Farshore has survived on its own for years, a secluded and struggling hamlet perched on the western shore of the tiny island of Temute. An island dwarfed by the savage landscape across the narrow channel to the north, a landscape of rugged mountains, tangled jungles, and trackless swamps. This is the Isle of Dread, and its resources and hidden treasures are matched only by its peril. Yet for all these dangers, what may bring doom to Farshore is not an invasion of inhuman monsters from the mainland, but an invasion of all-too-human monsters from across the sea. "Tides of Dread" is the fifth chapter of the Savage Tides Adventure Path, a complete campaign consisting of 12 adventures appearing in Dungeon magazine. For additional aid in running this campaign, check out Dragon magazine's monthly "Savage Tidings" articles, a series that helps players and DMs prepare for and expand upon the campaign. Issue #352 of Dragon magazine features rumors of Farshore, a helpful list of improvements the PCs can make to the colony, and other features to help get PCs oriented in their new home on the Isle of Dread. The destruction of a pirate ship signals the beginning of a Crimson Fleet invasion. The PCs must race against time to prepare for the onslaught before an old enemy can release another savage tide. Pgs. 28-59 Also see Pgs. 60-71 Backdrop: Farshore City of Hope.

This quest is for a party looking to acquire diamonds to use as components for higher-level resurrection spells. To gather what they need, the characters embark on a brief expedition to the Elemental Plane of Earth where diamonds are fairly abundant. However, the party only has an hour to gather as many diamonds as they can before the portal—and the entire cave area—collapses. Includes a quest-related NPC that a player can control if they're waiting for their character to be resurrected.

The bustling metropolis of Saydown City is the largest settlement in the Denali land and home to the current ruler King Pellet. As your party reaches the watery entrance a huge iron statue guards the docks. Upon closer inspection you notice that the item is actually a golem. After continued investigation you discover that the ‘heart’ of the creature has been stolen and you accept the job to uncover the loss!

"Gnolls have captured the heroes! After stripping the characters of all equipment except their armor and clothing, the gnolls drag them to an expansive briar maze known as the Twisted Thickets and set them loose. Then, armed to the teeth, the gnolls hunt down their prey. The characters must survive the hunt and outwit their pursuers. Stripped of your armor and weapons, you are cast into the Twisted Thicket and hunted like rabbits. If you want revenge, you must first survive Yeenoghu's evil Hunters. After dealing with the gnoll hunters, the heroes can try to reclaim their lost equipment and exact revenge on the tribe, which lairs in the caves beneath Dead Gnoll’s Eye Socket." Pgs. 2-14

Beneath our feet is the mythological hollow world – a realm of dense jungles, putrid swamps and rugged mountains. Here a brave party will struggle for survival as they seek to fathom the unseen expanse and to prevent a once defeated god to rise again. ‘Journey to the Inside Out’ can be played as a stand-alone scenario or be used as the first installment in a trilogy of connected adventure modules each taking place in a different era. The scenario can be used with Swords & Wizardry or any other early variant of game rules. Inside you will find: • A 40+ page old-school module with a layout optimized for fast and easy interfacing. • A challenging lost world setting with the possibility to toggle the complexity. • Alternative suggestions for entry to the hollow inside. • Downloadable maps for both players and the Referee. • Story-points for a guided scenario and tables for sandbox and hexcrawl-style play. • Advice for an ongoing campaign. • Locations allowing the PCs to travel to another era within the setting. • Unique new creatures. Published by CTM Publishing.