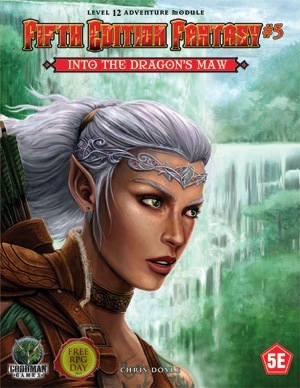
Your stalwart band treks through the trackless jungle seeking the Dragon's Maw Waterfall. At the base of the falls, behind a massive curtain of water, is rumored to be the cavern lair of a great wyrm. The local Xulmec tribesmen say the great dragon has not been seen in nearly 100 years, so perhaps its hoard lies unguarded and ready for plunder. But what role do the heroes play in a blind shaman's prophecy foretold a century ago?

The Terror of Screeching Hill is an adventure designed for a party of four level 1-3 characters. Introduce your friends to Dungeons & Dragons or take a break from your current campaign and save the town of Stonehollow in this early level one-shot! To the villagers of Stonehollow, the flight of bats warns of an impending disaster. Earthquakes, which riddle the small mining town, often follow this omen causing cave-ins and trapping miners underground. Thankfully, the ground hasn't shaken in weeks. However, every night at sunset, a colony of bats fly over the town as a haunting cry echoes over Screeching Hill, a mound on the southern outskirts of the village. Villagers have begun to go missing, including the town's doctors Simon and Kirk Bartok, and some have suffered terrible wounds after being attacked by a relentless creature out of the darkness. With no doctors to treat the wounded and the expectation of more attacks, the villagers of Stonehollow turn to you for help. Will you investigate the terror of Screeching Hill and save the town from its reoccurring nightmare? Included: - A 16 page one-shot designed for level 1-3 characters - Unique maps - Two player handouts - A simplified document compatible with screenreaders

The village of Haven-Fara has a problem - it's been overrun with spiders that have been forced out of their nearby lair. Yet could this spider problem be merely a symptom of something worse to come? When the backwater town of Haven-Fara wakens under a thick blanket of webs to find half its populace missing, its up to the PCs to descend into a silk-chambered nest of the arachnid abductors. In a vertical maze of web-lined tunnels, they discover a dying queen, a legendary treasure, and a secret that could change Haven-Fara forever. Pgs. 14-20 & 22-28 & 30, 32 and 34

God of Ore is a 3rd-level adventure that takes the characters from the quiet, mountainside town of Miners’ Refuge into the heart of the Stoneheart Mountains in pursuit of a failed pilgrimage to discover a phony religious relic deep inside legendary Mithral Mountain. The dark, twisting tunnels that bore into the fabled mountain soon reveal that some mysteries are not what they first appear to be.

The Bleeding Hollow was written as a tribute to the golden era of adventures. Danger lurks around every turn, and a great over-arching storyline ties everything together. There is much to discover and learn, and solving the woes of the adventure is entirely up to the players. They will choose how to deal with the myriad challenges put forth, and will probably run down a red herring or two. They might choose a very dangerous path unknowingly and pay the consequences fortheir actions. That is intended. Let the story lead your party, and your players lead the game. You won’t regret it. Published by Total Party Kill Games

This Christmas, Santa Claus must die! Adopt the role of one of history’s iconic Christmas villains and raid Santa’s North Pole base in order to destroy Santa’s corrupted form. Due to Grinch’s machinations, Santa’s jovial form has been corrupted and he’s called off his annual gift-giving journey. Now, the Spirit of Christmas gives Grinch an ultimatum: he must assemble a team of other famous villains, infiltrate the North Pole base and destroy the corrupted Santa Claus so he can be reborn and deliver presents. The team will have to navigate environmental hazards, deal with four factions of Santa’s elves and finally battle the Man in Red himself. However, each team member has their own secret agenda to complete … and time is running out!
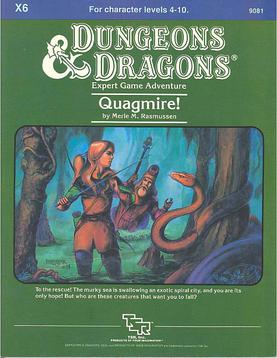
Swamp creatures! They surround you now as you move slowly through the gurgling muck. How will you reach Quagmire now? Each day, the hungry sea swallows more of the ancient port city. A fierce fever ravages its people, and now - these foul monsters! Their beady eyes glimmer from deep within the tangled vines. Are these the creatures that have blockaded the city, turning away the ships that are the city's lifeline? Are these the scum that are starving the people of Quagmire, threatening an entire race with extinction? These creeps? Let's clean this jungle out! Quagmire includes a large-scale map that expands the D&D world and introduces new areas to explore. The adventure also includes new magic items and a special, expanded monsters section. Hurry! Hoist your colors, saddle your horse - go, before the city by the sea becomes the city beneath the sea! TSR 9081

In the aftermath of AD&D Second Edition's "Return to the Tomb of Horrors," the demilich Acererak was thought destroyed. In truth, his spirit lingered and now after eons he schemes once more to achieve divinity. The characters must travel to three extraplanar dungeons, in addition to the remains of the original Tomb, in order to stop this from coming to pass.

Welcome to Assault on Gumdrop Mountain. This is designed to be a fairly tough adventure for 5th and 6th level Dungeons and Dragons characters using the 5th edition of rules. In it, the characters wade into such nasty circumstances that only the assistance of a hallucinogenic elixir makes it possible for them to act at full capability. While under the effects of the drug, the characters perceive the world as a candy-infused landscape and monsters as sugary assailants. The adventure is broken into 9 fairly small chapters containing one significant event or a connected series of small events.
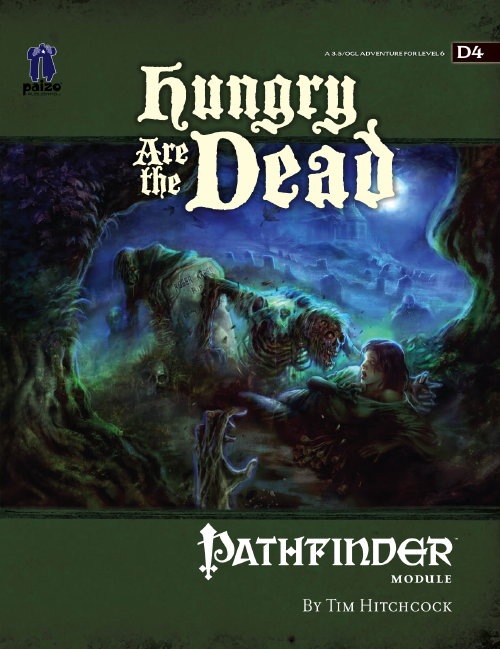
The logging town of Falcon’s Hollow has been through rough times—first a kobold tribe abducted the town’s children for an evil ritual, then an unknown force reanimated the defeated kobolds to attack the town. Now a horde of zombies approaches and a mysterious evil gathers power in the north, tainting wildlife and the buried dead, its presence hinting at ancient evils better left undisturbed.

Kalakeri: The Forbidden Temple is a gothic horror adventure for 4-5 characters of 7-8th level. It can be played over the course of 8 hours for a one-shot, but works better when played slowly over the course of two games. This is the third part of the Carnival of Lost Souls campaign. It can also be played as a standalone adventure. Kalakeri: The Forbidden Temple features: Exploration of the ancient Greater Vochalam temple with a powerful eidolon guardian. Lots of dangers and rival explorers are waiting for the characters, among them the priests of Osybus and Firan Zal’Honan himself! Intense social encounters with the leaders of major forces of Kalakeri: Ramya, Arijani and Reeva, and the possibility to align with them. Random encounter table for Kalakeri travels, and mechanic for quick resolution of random combat encounters. New custom monsters to make combat encounters truly memorable and exciting. High-quality maps, also available in universal vtt format. Check out previous adventures in the series: Lamordia: The Hardest of Hearts and Dementlieu: Dance with the Devil! And look out for the next adventure in the Carnival of Lost Souls series: Valachan: Hunter’s Moon! It will be released in the next month. Once all four adventures are out, we will also release a special Campaign Guide, which will explain in detail how to best set up and play the campaign. However, if you want to start your campaign right now, don’t worry - we have included a short appendix at the end of each adventure that will explain the basics! Disclaimer: We are a team of writers from Ukraine, so the unprovoked war and senseless aggression of the terrorist state of russia influenced our initial timelines significantly. However, we are now as safe as we can ever be under the constant threat of missile strikes, and determined to finish the whole series! And after that - who knows, maybe even more cool adventures will follow ;) Made in Ukraine
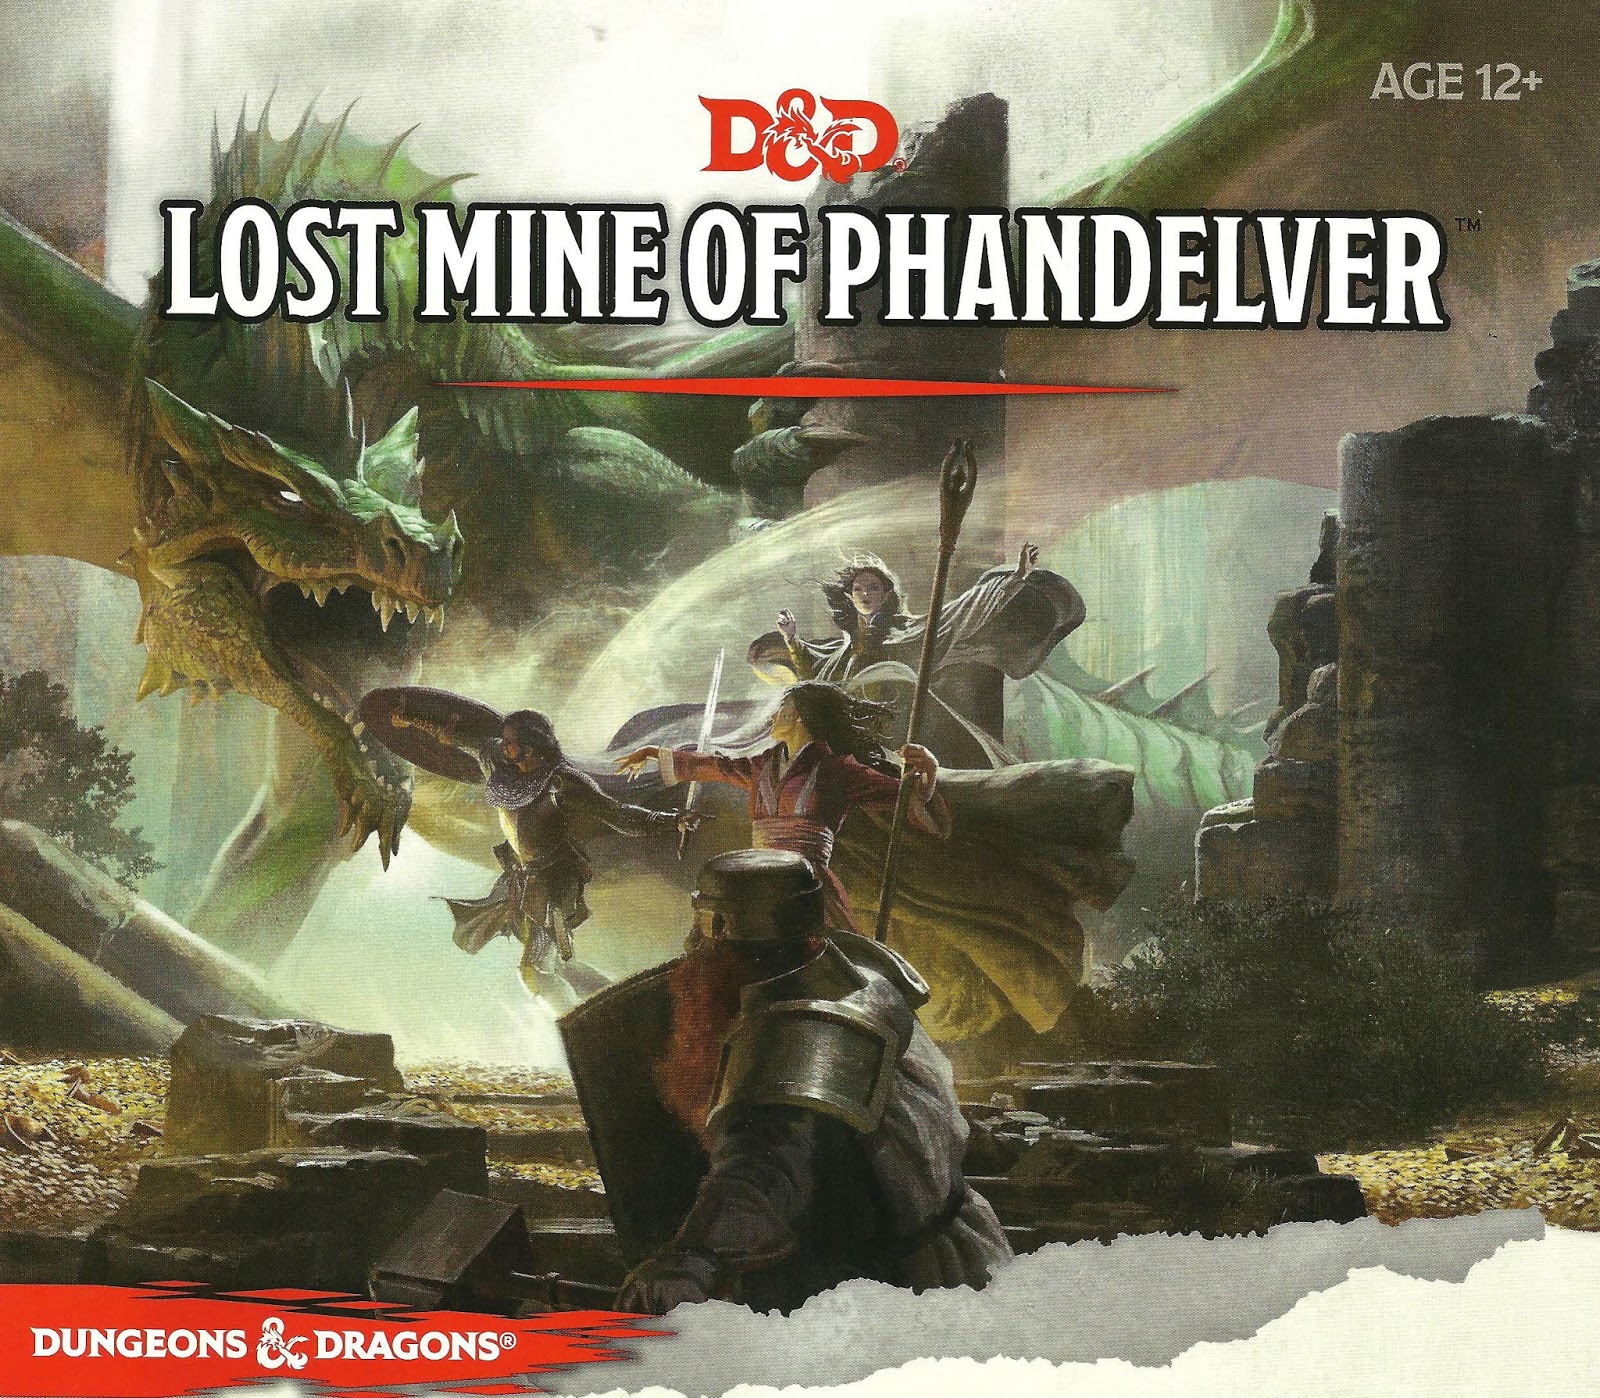
"More than five hundred years ago, clans of dwarves and gnomes made an agreement known as the Phandelver’s Pact, by which they would share a rich mine in a wondrous cavern known as Wave Echo Cave. In addition to its mineral wealth, the mine contained great magical power. Human spellcasters allied themselves with the dwarves and gnomes to channel and bind that energy into a great forge (called the Forge of Spells), where magic items could be crafted. Times were good, and the nearby human town of Phandalin (pronounced fan-duh-lin) prospered as well. But then disaster struck when orcs swept through the North and laid waste to all in their path. A powerful force of orcs reinforced by evil mercenary wizards attacked wave echo cave to seize its riches and magic treasures. Human wizards fought alongside their dwarf and gnome allies to defend the Forge of Spells, and the ensuing spell battle destroyed much of the cavern. Few survived the cave-ins and tremors, and the location of Wave Echo Cave was lost. For centuries, rumours of buried riches have attracted treasure seekers and opportunists to the area around Phandalin, but no one has ever succeeded in locating the lost mine. In recent years, people have resettled the area. Phandalin is now a rough-and-tumble frontier town. More important, the Rockseeker brothers - a trio of dwarves - have discovered the entrance to Wave Echo Cave, and they intend to reopen the mines. Unfortunately for the Rockseekers, they are not the only ones interested in Wave Echo Cave. A mysterious villain known as the Black Spider controls a network of bandit gangs and goblin tribes in the area, and his agents have followed the Rockseekers to their prize. Now the Black Spider wants Wave Echo Cave for himself, and he is taking steps to make sure no one else knows where it is." Extra Info from AL.com users: by @marcellarius. "There are a variety of locations in this adventure: the town of Phandalin, a gang hideout, a ruined keep in the forest, a destroyed village, and Wave Echo Cave (a dungeon crawl). The adventure is written in a sandbox style and relies on the players to choose their path. Phandalin offers several side-quests which could serve as hooks for continuing adventures. The premade characters have ties in their backgrounds to NPCs and locations. If you're not using these you'll need to consider other ways to introduce key NPCs."

For over a hundred years, Skyhold Tower has floated harmlessly above the lands of Faerun. But now it is plumeting toward the earth - directly at Neverwinter! Our heroes have been urgently recruited to enter the tower and avert disaster - but can they uncover the shocking secret of Skyhold Tower before it's too late?

Smoke still rises from the shattered buildings and ruined streets of the troubled town of Cauldron, yet if not for the actions of a band of heroes, it would not exist at all. A sinister cabal of cultists bent on plunging Cauldron into the prison plane of Carceri had awakened the volcano below the town, and amidst the attacks of dragons and fiends from the outer planes, these heroes were able to evacuate the city and then strike at the cultists in their lair near the volcano's heart. Now, this cult, the Cagewrights, lies shattered, their members put on the defensive for the first time. All that remains is to finish the job, but the surviving Cagewrights still have some surprises left in their mysterious stronghold under the snake-haunted ruins of Shatterhorn. "Strike on Shatterhorn" is a Dungeons & Dragons adventure designed for four 18tth-level characters. This adventure is part of the Shackled City Adventure Path that began with "Life Bazaar" (Dungeon #97) and continued with "Flood Season" (Dungeon #98), "Zenith Trajectory" (Dungeon #102), "The Demonskar Legacy" (Dungeon #104), "Test of the Smoking Eye" (Dungeon #107), "Secrets of the Soul Pillars" (Dungeon #109), "Lords of Oblivion" (Dungeon #111), "Foundation of Flame" (Dungeon #113), and "Thirteen Cages" (Dungeon #114). The Adventure Path concludes in Dungeon #116 with "Asylum." Pgs. 56-82

The wedding was meant to unite poweful families from Everlund and Silverymoon. "Til death do us part" comes sooner for some couples than others when undead hordes and a feral demilich are uninvited guests. The Dead Wedding is a short, 3 to 5 hour adventure for characters level 14 to 16. The adventure contains maps for Moonshadow Keep and the crypt of the demilichess Regetta Arch Therm, deadly traps, and RP hooks that enable players to use high-level non-combat abilities.

In the town of Bellhold, it's not difficult to realize that something is wrong. Everyone is irritable and suffering from nightmares, children are missing, and the local adventuring company has been gone for a week. Yet the townsfolk's headaches are sure to pass, so the mayor is not especially worried. He should be. Of Sound Mind flings you into a maelstrom of trouble, for the situation is much, much worse than it first appears. Before your investigation is over, you will be dangling from cliffs, descending deep into a mountain's bowels, uncovering lost hoards of treasure, fleeing from people you thought were friends, and desperately trying to outwit an enemy that is far more than you could ever imagine. The fate of thousands hinges on your success or failure. Think your up for it? Published by Fiery Dragon

A long, perilous ocean journey behind them, the crew of the Sea Wyvern finds itself shipwrecked on the Isle of Dread. Their destination lies well over 150 miles to the south, miles heavy with the threat of the island's terrible inhabitants. Yet the unknown enemies are far more sinister, for more than just dinosaurs hunt the vast jungles. Before long, a cunning fiend picks up their trail, and its duplicitous master demands their sacrifice. "Here There Be Monsters" is the fourth chapter of the Savage Tide Adventure Path, a complete campaign consisting of 12 adventures appearing in Dungeon. For additional aid in running this campaign, check out Dragon's monthly "Savage Tidings" articles, a series that helps players and DMs prepare for and expand upon the campaign. Issue #352 of Dragon explores the Isle of Dread in detail, providing a complete ecology of the island and the writing of Larissa Vanderboren. This article can be used as a player handout to represent the journals the group recovered from the Vanderboren family vault in the first adventure in the Campaign. Shipwrecked on the Isle of Dread! Faced with a dangerous journey, the PCs must escort a ragged band of castaways through monster-infested wildlands in order to reach the safety promised by the colony of Farshore on the isle’s southern tip. Pgs. 32-60
The PCs intervene in an attempted murder and are hired to find out what made a guy go mad. This leads them to search for Yenejg Togan's tower/a strange merchant in the nearby forest, where they discover that bugbears have moved in. After exploring the tower, finding the "merchant", and dealing with the bugbears and the lamia that caused the incident in the first place, they were still unable to get into Yenejg's inner sanctum without a key. The PCs return with the key and figure out how to use it to enter Yenejg's sanctum. They then explore it, dealing mostly with traps, and finally discover the resting place of the treasure Yenejg stole from the town. This adventure begins with a skill-based roof-top chase and can include some complex non-combat interactions with potentially hostile NPCs. It includes some semi-interesting traps as well as some nifty puzzles. No villain to speak of. Fool-hardy adventurers can get themselves killed, but some caution will result in only one extremely hard fight, and even that can be avoided if action is taken quickly. Pgs. 74-107
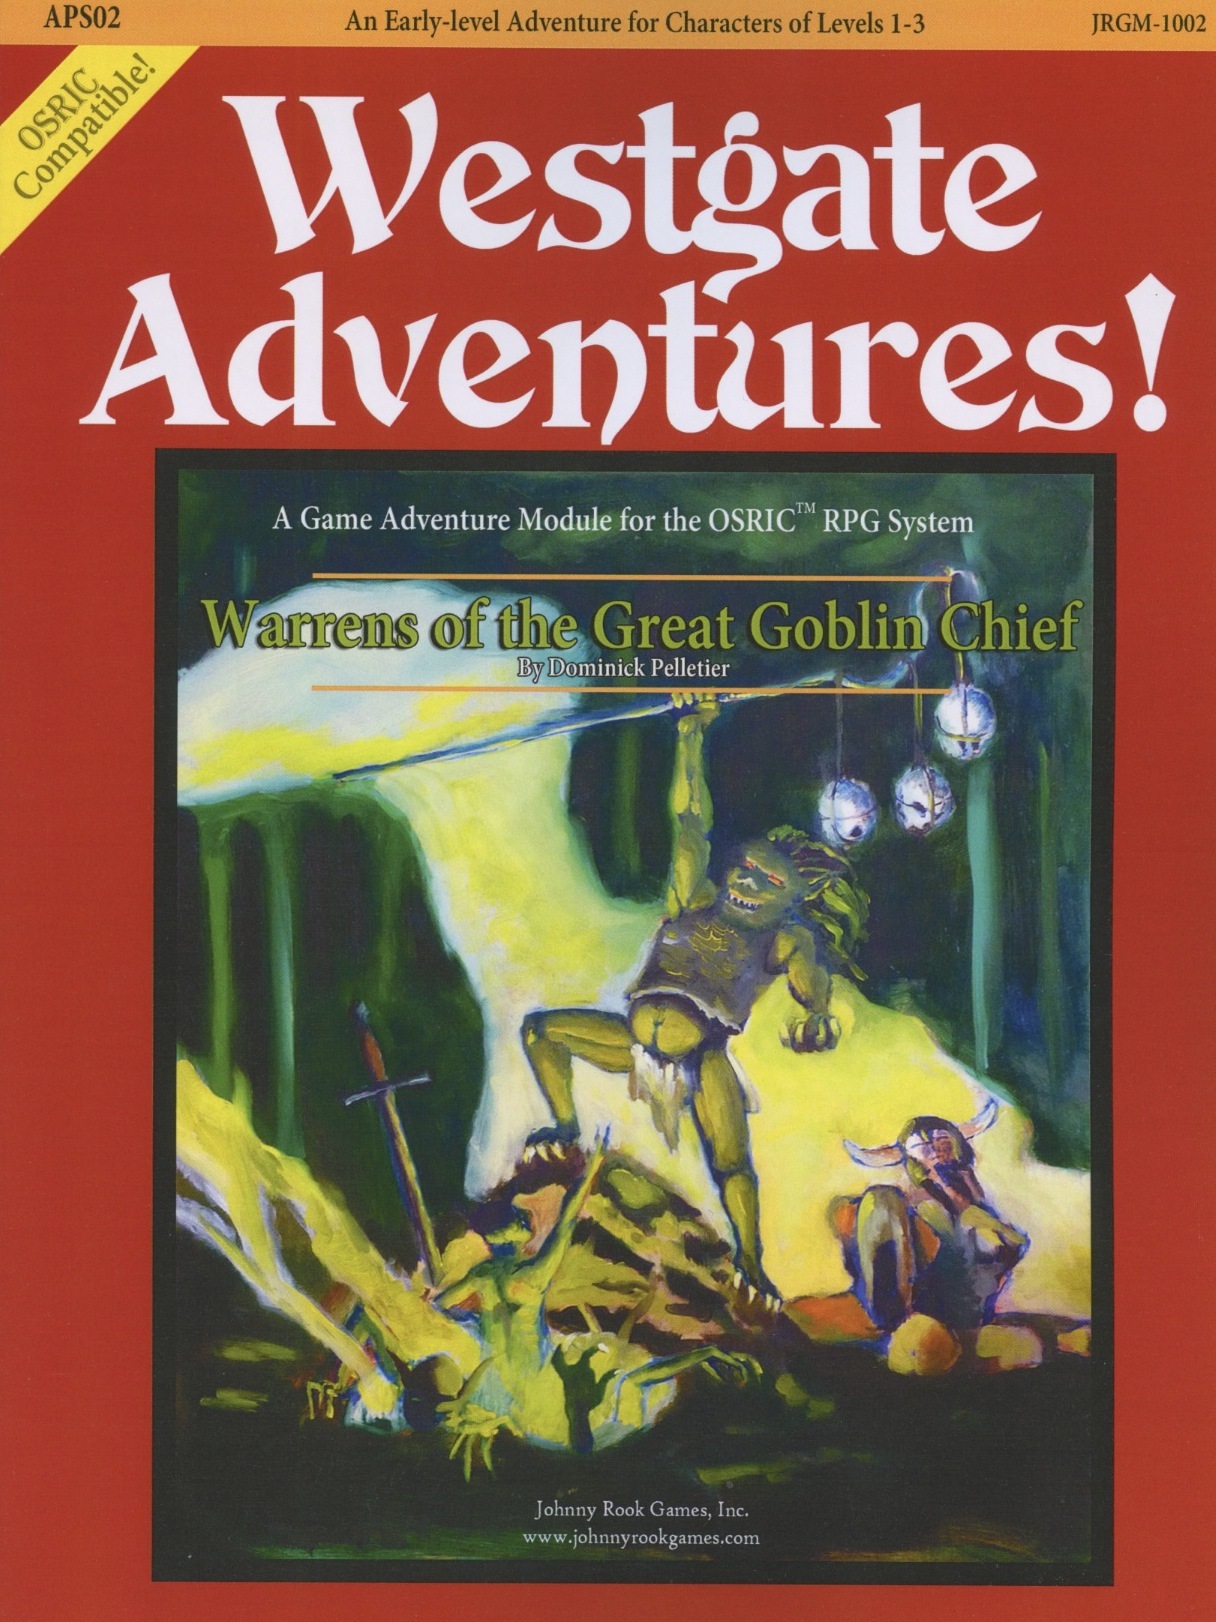
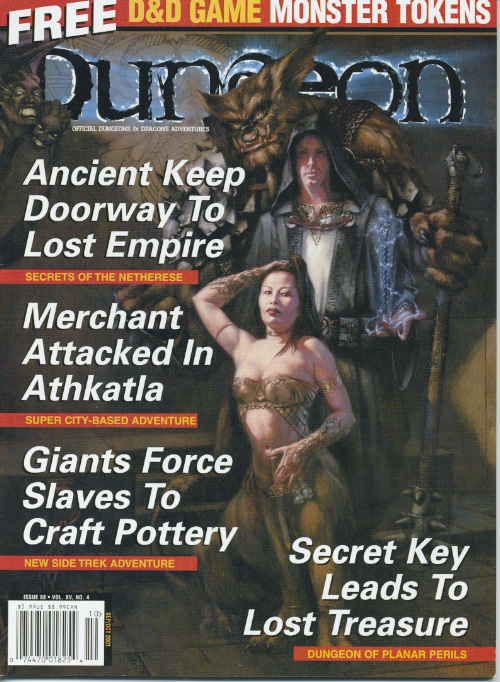
Goblins have returned to the area of Westgate, seeking an ancient magical item constructed for their foul kind. In their search, the goblins attack an imperial convoy secretly disguised as a merchant’s wagon. The knowledge that goblins are near must be kept quiet from the public, thus a small band of adventurers is required to seek out the creatures and the stolen magic item, deep inside the warrens of the great goblin chief! But the adventure does not end there...

A fiend lurks among the Black Blade goblins. A shapeshifting barghest fashioned by the General of Gehenna to exact revenge on all goblin-kind. It’s aim: to kill as many goblin leaders as possible… A masked goblin approaches the party asking for help. Two tribe leaders are dead. But a rival for chief has control of the crime scene. Will the party discover the barghest among the goblin ranks? Can they stop this imposter before it strikes again? Adventure Overview The adventure’s story is spread over 4 parts and takes approximately 4 hours to play. The adventure begins with a Call to Action scene. Part 1: Goblin Politics. Krill sends his emissaries to implore help from any strong intermediary. The party is asked to investigate the murder of Thrawn in Dringly’s lair. This is Story Objective A. Part 2: The Opposition. Gain entry into Dringly’s lair and investigate the murder of Thrawn. Gather enough evidence to find the killer. This is Story Objective B. Part 3: To The Lair! Now that the players have determined the barghest (Yeep) is to blame, they need to get to Krill’s lair quickly as he is in imminent danger. This is Story Objective C. Part 4: The Barghest.When the players arrive at the lair, they need to get to Krill and expose and defeat the barghest. This is Story Objective D. Adventure Background A barghest named Yeep has begun its onslaught of attacks against the Black Blade goblins. Starting with Chief Gnar, then his second in command Thrawn, the barghest is moving methodically down the line of command. Krill is now chief. But he has some problems: Two leaders of the Black Blades are dead. Who killed them and why? Is he next? Dringly, the next in command, has decided to take his lair for himself, declaring himself Chief of the Black Blades. Who are the Black Blades? The Black Blades are a tribe of goblins in the local area. They are known for dipping their blades in a dark black substance. It is rumored these blades are poisonous. The Black Blades regularly attack passersby on the road to rob them. The Black Blades have two lairs, one run by a chief who leads the whole tribe, and another overseen by a boss lieutenant. The Black Blades have a well-established pecking order which is how Krill stands to become chief. The next in line is Dringly, who has also declared himself chief and wants Krill dead. Krill suspects that there is something suspicious about two leaders being killed within a day of each other, but he has already burned Gnar’s body without any investigation. He needs to investigate the body of Thrawn, but it is in Dringly’s lair. Krill wishes to avoid direct confrontation with Dringly at the present for three reasons: 1) Any violence would only kill his own tribe members and further divide the lairs. 2) He believes there is still hope for negotiation to reunite the Black Blades. 3) He believes that if he were to attempt negotiations himself, Dringly would kill him. This adventure features: Two maps. Ready for your favorite Virtual Tabletop. A full color pdf. A black and white pdf. One custom monster, a reprint of barghest, all others available in the Monster Manual. Four hours of entertainment involving: roll playing a goblin bard, investigating a murder scene, tracking down a barghest before it strikes again. Applicable to any setting.