
What is the Lost Lands? The Lost Lands is the home campaign world of Necromancer Game's and Frog God Game's own Bill Webb. This campaign has been continuously running since 1977. Many of the adventures published by Necromancer Games and Frog God Games are directly inspired by this campaign. They have evolved over the decades, and more material continues to flow from it as the dice keep rolling. Sages and wizards of legend speak of the Lost Lands—many of the players who have lived and died in Bill's campaign over the years now have a place in history (in the books). Frac Cher the dwarf, Flail the Great, Bannor the Paladin, Speigle the Mage, and Helman the Halfling are well known to the fans of Bill's work. This is the game world, and these are the adventures in which the players of these famous characters lived and died. Hundreds of players over the past 35 years have experienced the thrills and terrors of this world. The Sword of Air is the centerpiece of the Lost Lands. Currently, this epic tome consists of several parts: 1. The Hel’s Temple Dungeon—kind of like Tomb of Horrors on crack. This six-level, trap-and-puzzle infested dungeon formed the basis of Bill's game through his high school and college years. Clark Peterson’s very own Bannor the Paladin spent several real life months in the place, and, sadly, finished the objective. This is where the fragments of the fabled Sword of Air can be found…perhaps. 2. The Wilderness of the Lost Lands extending to the humanoid-infested Deepfells Mountains and providing detail about the nearby Wizard’s Wall. This so-called “wall” was raised by the archmages Margon and Alycthron harnessing the Spirit of the Stoneheart Mountains to raise the land itself, creating a massive escarpment to block invaders from the Haunted Steppes. These archmages are actual player characters from the early 1980s who live on in the legends of the Lost Lands. Over 70 unique encounter areas are detailed, and each one is a mini-adventure in itself. New wilderness areas may be added based on bonus goals described below! 3. The Ruined City of Tsen. Legend has it the city was destroyed by a falling meteor. This place forms an aboveground dungeon area the size of a city, with over 100 detailed encounter areas. It’s a very dark place…even at noon. 4. The Wizard’s Feud—This campaign-style adventure pits the players in a long-running series of intrigues and battles between two archmages. Which side will they take? Their actions all play into the overall quest, and could well determine which side wins. Law and Chaos are not always what they seem, and if the wrong decisions are made, the entire ordeal could fail. Remember, one of the wizards WANTS Tsathogga to win. 5. New monsters, new demons, new spells, and new rules for various aspects of play. 6. The Tower of Bells. This dungeon is the result of the workshop Bill ran at PaizoCon 2013, where the participants assisted him in building an old-school dungeon. Visit the tower and discover the secrets of the “artist” within. Beware: those entering may never come out!

Szass Tam, the lich lord of Thay, and his Red Wizards threaten to dominate all of the Sword Coast. The Bloodgate, an elemental node of power, must be destroyed in order to stop him. Remake of the original 4th Edition adventure.

Dragonbowl is a setting and pulp action adventure in one. It plunges a party into a rich festival scenario that revolves around a deadly gladiatorial contest, where the dangers they face in the arena are almost secondary to those they encounter in the murky criminal underworld they find themselves in: a world that stinks of corruption, human trafficking, illegal dinosaur-trading, necromancy, blood sacrifice and unnatural arcane experiments. The action takes place in a vast cavern in Mount Waterdeep, known as the Underbelly, where not only Dragonbowl Arena, but also an entire festival grounds – consisting of temples, bars, casinos, funfairs and markets - has been constructed to host this grand sporting extravaganza. With Xanathar, Jarlaxle, Davil, Volo and the Black Viper all in attendance, and scores of 'entanglements' (faction missions) to keep players busy, Dragonbowl can be played as a sequel to Waterdeep: Dragon Heist, or as a first step towards the Undermountain and the Dungeon of the Mad Mage. Equally, it can be played as a stand alone adventure, or easily transported into other settings. The adventure is written for a party of four 6th level adventurers, and easily customisable for three to five players, of any mid-tier level (the adventure contains maps and handouts adapted for both 4 and 5 player tables). The adventure is designed to last around ten to fifteen 4-hour sessions, but can very easily be shortened or lengthened according to the DM's desire. The adventure features all three pillars of play: combat (in and out of the arena), social interaction (a succession of parties and parades, where players can get entangled in NPC business) and exploration (30+ locations in the festival grounds alone).
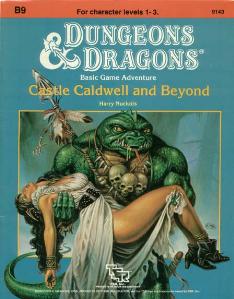
Five exciting short adventures to make your Basic campaign come alive! The Clearing of Castle Caldwell - A local merchant has recently purchased a small castle... but when he tried to move in, he discovered that the castle was already inhabited! Dungeons of Terror - A strange trapdoor in the floor of Castle Caldwell leads to a terrifying challenge! The Abduction of Princess Sylvia - On the eve of her wedding, the beautiful princess has been kidnapped! Can you save her in time? The Great Escape - Imprisoned in an enemy fortress, without armor or weapons, your situation seems hopeless. Yet there may be a way to freedom... The Sanctuary of Elwyn the Ardent - A mystical chime of great power has been stolen - but by whom? In the wrong hands, the chime can cause untold harm! But can you find and defeat this mysterious and powerful creature? TSR 9143

Expand your game with this collection of 56 NPCs of various Challenge Ratings, thirteen of which include maps and details of their lairs. Add these NPCs as a side-quest, a main villain, a one-shot, a bounty for easy money, or however else you wish. Written by some of the best-selling authors on the Dungeon Masters Guild and outstanding podcasters, each NPC includes an image, a backstory, motives, flaws, and a stat block. Some even include new magic items!

In this scenario, the adventurers pass through magical portals into a series of interlinked chambers. The characters are encouraged by a young scholarly mage to voyage into the Sea of Pastures, to explore a mysterious island connected with a number of recent shipwrecks and disappearances. The island is grassy and windblasted, but eventually the characters discover a stone door leading into a subterranean complex. There, they discover 18 rooms linked by secret passages and magical portals. Most of these rooms have been ransacked by a variety of other survivors, human and monstrous. These survivors are likewise trapped within the labyrinth and are either eking out a miserable existence there or else desperately searching for a means of escape. Also within the building are a number of extraplanar creatures, collectively known as gingwatzim, who can shift between various forms: an energy form (glowing ball of light), an inanimate form (usually a magical weapon), and an animate form (an animal or monster). Eventually the characters may find the exit, and are once again deposited on the dreary islands to await rescue. TSR 9110

Deep within a forgotten temple lies the Storm's Eye, a powerful sapphire coveted by the monstrous Behir, Krykzor. In The Storm's Eye, adventurers must navigate deadly traps, confront ghostly knights and phase spider minions, and solve a lightning-powered puzzle, all while racing against time to escape a collapsing temple. Designed for a party of levels 6-7, this one-shot adventure offers thrilling combat, intricate puzzles, and dynamic challenges as players face the storm and claim the treasure—or risk being lost forever.

When a group of archaeologists put out a call for adventurers to help them escort a valuable artefact back to civilization, nobody expects anything out of the ordinary. However, our heroes have more than mere bandits to deal with at Havel’s Cross... Undead monsters roam the night and an ancient artefact stirs within a long forgotten temple. Getting to the bottom of the mystery will require a strong sword-arm and an even stronger stomach.

Stonefang Pass wends its way through the mountains of the Stonemarch, home to brutal tribes of orcs. The time has come to clear the pass and gain a foothold, so that it can be used for trade between the town of Winterhaven and the lands beyond the mountains. Brave adventurers are needed to rid the pass of monsters and liberate Stonefang Keep from the orcs. Who’s up for the challenge?

A shadow from the past, the Ghost Tower of Inverness has loomed ever larger in the mind of the great Seer of Urnst, Now he has convinced the Duke that an expedition should be organized to go to the ancient keep and recover its greatest treasure — the fabled Soul Gem. TSR 9038

A duergar mining expedition has led to a curious find - the entrance to the mythical Forge of Creation, where the first dwarves supposedly created the tools that brought civilization to the world. Their discovery has not gone unnoticed though, as their toiling within the forge has activated a portal to the Elemental Plane of Fire, drawing the attention of the efreeti Camus, Eyes of Midnight. The PCs are caught in a clash between the efreeti sultan and the meddlesome duergar, and must survive threats from each faction and the dangers that lurk within the forge itself!

A shrewd, spell-using green dragon has taken over the deepest chamber of a limestone cave as his lair. The dragon has persuaded a tribe of troglodytes to live in the outer chambers as a sort of "protective buffer" in return for gifts of magical treasure. The troglodytes cherish the useless bits of magic without realizing their modest worth. The outer chambers of the cave are protected by the troglodytes, the beetles and centipedes the troglodytes raise as cattle, and wild creatures. The green dragon uses traps, illusions and magical devices to protect his inner chamber. Wyrmhaven is the second dragon's lair to conquer. Part of TSR 1073 The Dragon's Den

Legend tells of a long-dead empire of sphinxes, ruled over for millennia by a great queen named Ankharet. She fell into darkness and her empire was shattered, as her subjects rebelled and cast her down. Unable to kill her, it is said that they bound her with great magic and buried her in a tomb, to wait for the foretold heroes who would be able to slay her and end her evil forever. Their empire in ashes, the sphinxes scattered to roam the world in bitter freedom, save a single great androsphinx. On the edge of the mysterious Barren Hills, between the mountains and the Great Desert, there is a gigantic statue of a crowned gynosphinx, ancient beyond reckoning. At its feet, a great androsphinx known as Khubsheth the Prophet has dispensed counsel and prophecy to all who come to him for longer than mortal records can tell. The heroes have come to visit Khubsheth, whether for counsel, prophecy or out of curiosity, but as soon as he lays eyes on them, he attacks! Upon his defeat, he tells them that they are the heroes foretold by the legend of Ankharet. Ankharet ruled over a long-dead empire of sphinxes, but she fell into darkness. Her subjects rebelled and cast her down, but were unable to kill her. It is said that they bound her with great magic and buried her in a tomb, to wait for the foretold heroes who would be able to slay her and end her evil forever. Kubsheth the Prophet tells the heroes that they must enter the tomb of the long-dead sphinx queen, kill her, and destroy her cursed crown, an artifact of tremendously evil power. As his blood seeps into the sands, a doorway opens at the base of the statue, leading down into darkness…
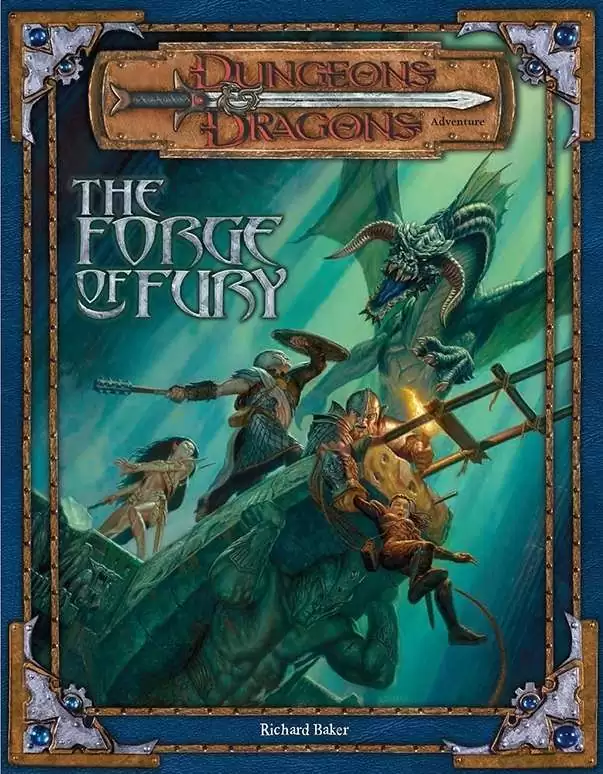
Two centuries past, the dwarven smith Durgeddin the Black carved a secret stronghold from the caverns riddling a hill known as the Stone Tooth. Laboring ceaselessly in their halls under the mountain, Durgeddin’s clan forged enchanted weapons for use in their vendetta against the orcs that had driven them out of their old homes. Durgeddin and his followers are long dead, but the dwarf-hold is not empty. Deadly peril waits in the caverns beneath the Stone Tooth, as well as Durgeddin’s hidden armory of matchless weaponry. The Forge of Fury is a dungeon crawl, or site-based adventure, describing the ruined stronghold of Khundrukar. The characters come to the Stone Tooth in search of a hidden cache of Durgeddin’s superior blades. They find the old stronghold inhabited by a number of dangerous monsters.
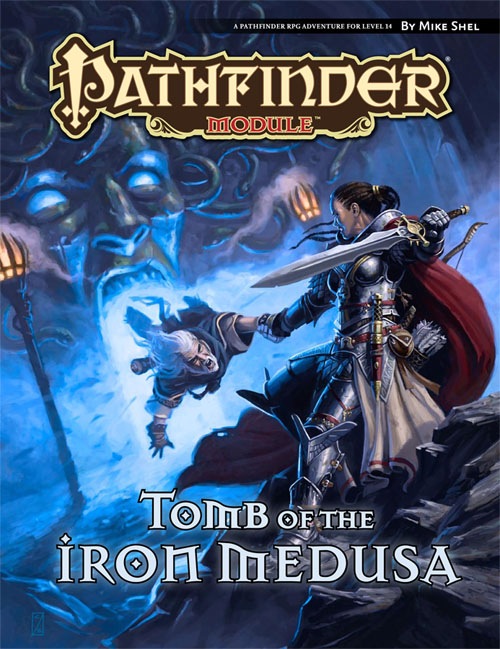
Hidden in the remote southern range of the World’s Edge Mountains lies a mysterious necropolis known in legend as the Tomb of the Iron Medusa. When the last heir of the dungeon’s long-dead noble builders hires the PCs to explore the forlorn and deadly site in search of evidence that may clear his family name, the intrepid heroes soon find themselves in over their heads. For the Tomb of the Iron Medusa does not give up its secrets lightly, and the dangerous truths that lie within its ancient, trap-laden crypts may have been hidden for very good reasons indeed.
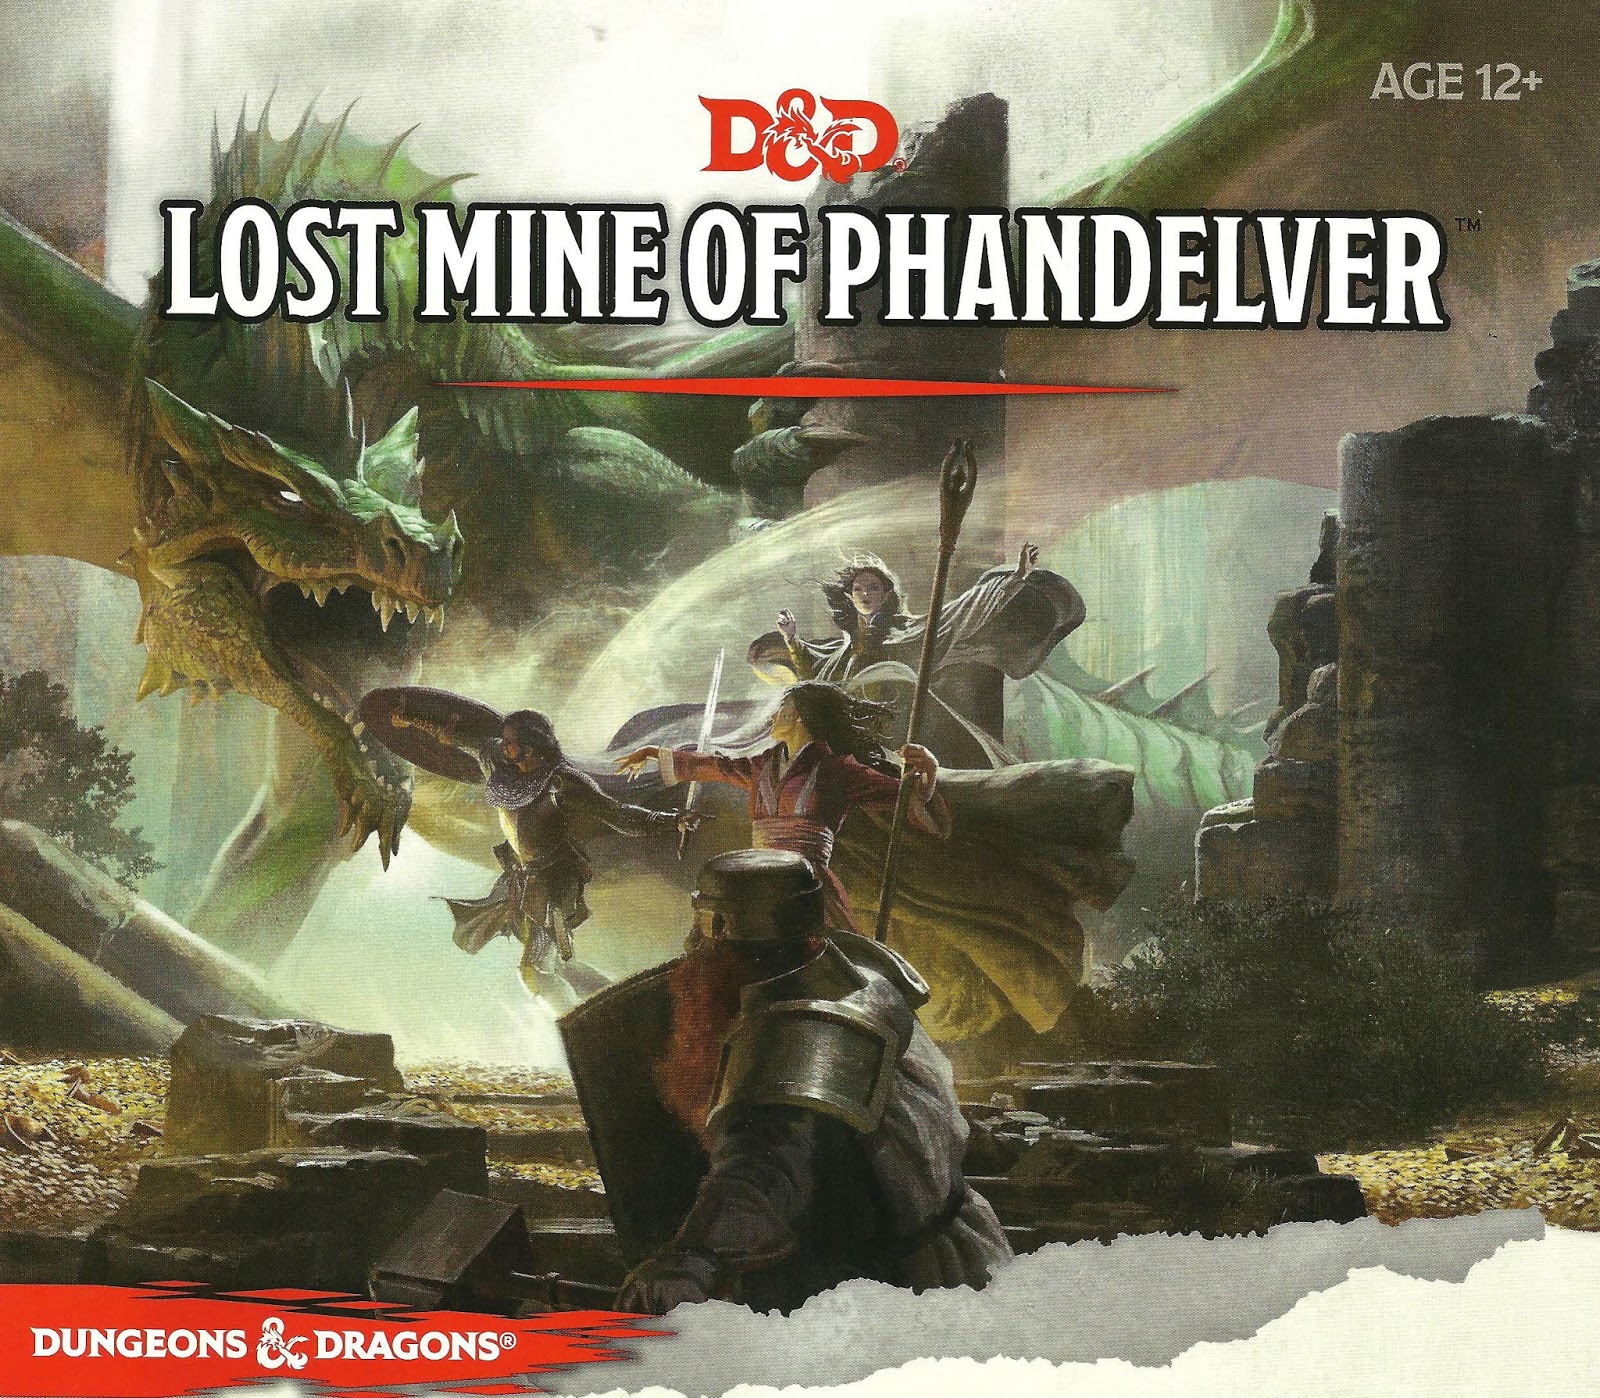
"More than five hundred years ago, clans of dwarves and gnomes made an agreement known as the Phandelver’s Pact, by which they would share a rich mine in a wondrous cavern known as Wave Echo Cave. In addition to its mineral wealth, the mine contained great magical power. Human spellcasters allied themselves with the dwarves and gnomes to channel and bind that energy into a great forge (called the Forge of Spells), where magic items could be crafted. Times were good, and the nearby human town of Phandalin (pronounced fan-duh-lin) prospered as well. But then disaster struck when orcs swept through the North and laid waste to all in their path. A powerful force of orcs reinforced by evil mercenary wizards attacked wave echo cave to seize its riches and magic treasures. Human wizards fought alongside their dwarf and gnome allies to defend the Forge of Spells, and the ensuing spell battle destroyed much of the cavern. Few survived the cave-ins and tremors, and the location of Wave Echo Cave was lost. For centuries, rumours of buried riches have attracted treasure seekers and opportunists to the area around Phandalin, but no one has ever succeeded in locating the lost mine. In recent years, people have resettled the area. Phandalin is now a rough-and-tumble frontier town. More important, the Rockseeker brothers - a trio of dwarves - have discovered the entrance to Wave Echo Cave, and they intend to reopen the mines. Unfortunately for the Rockseekers, they are not the only ones interested in Wave Echo Cave. A mysterious villain known as the Black Spider controls a network of bandit gangs and goblin tribes in the area, and his agents have followed the Rockseekers to their prize. Now the Black Spider wants Wave Echo Cave for himself, and he is taking steps to make sure no one else knows where it is." Extra Info from AL.com users: by @marcellarius. "There are a variety of locations in this adventure: the town of Phandalin, a gang hideout, a ruined keep in the forest, a destroyed village, and Wave Echo Cave (a dungeon crawl). The adventure is written in a sandbox style and relies on the players to choose their path. Phandalin offers several side-quests which could serve as hooks for continuing adventures. The premade characters have ties in their backgrounds to NPCs and locations. If you're not using these you'll need to consider other ways to introduce key NPCs."
Where shadows reign, darkness follows. You'll be lucky if you live to see the dawn's early light. The player characters are charged with entering a portal the demiplane of shadows to retrieve a magical staff that can close the portal. Roleplaying and betrayal. This adventure features many creatures native to and associated with the demiplane of shadow, often as random encounters. Pgs. 8-25

Precis Intermedia brings back this follow-up to the first known commercially-published adventure (Palace of the Vampire Queen) for the original Roleplaying Game (First Edition/OD&D/0E). Originally released in 1977 by Wee Warriors, The Dwarven Glory provides 8* map sections that can be arranged as desired and containing pre-factored creatures and treasures (in other words, this is essentially a geomorphic stocked dungeon). While hit points are provided for the creatures, the First Edition RPG or an OSR equivalent (B/X recommended) is required for actual rules and their descriptions. At one time, the community of Dwarven Glory was a thriving and wealthy one. The community became easy prey for Mortoc and his Ten Orc Tribes. Although the Orcs conquered Dwarven Glory, they could not completely destroy it. There were parts of the caverns they did not even penetrate. Now the caverns echo in the misty gloom, offering refuge to the forgotten and promise to the adventurer. This piece of gaming history is a must for collectors and old school gamers. With the original on the extremely rare list, this classic reprint of The Dwarven Glory has been remastered for a clean print, and is readily available at a low cost. * The original printing included only 7 map sections, designated Sections B through H. The mythical Section A has been added as a bonus. Wee Warriors and The Dwarven Glory are trademarks of Precis Intermedia. All rights reserved.

Figgy Puddin' Steals Christmas is a short adventure for three to six characters, and optimized for 2nd level characters. We also include Scaling Suggestions, allowing you to run this adventure for lower- or higher-level characters. We anticipate a run-time of 2- to 4-hours. There's a bit of roleplay in this adventure, which may extend the playtime. Adventure Background A traveling jester known as Figgy Puddin’ and her Coal Smudge Gang have stolen Christmas presents and now hold them for ransom. While safe and secure in her lair, she awaits either a payment of an outrageous ransom, or a crew of heroes to claim the presents after they navigate her not-so-festive lair. What's the Adventure? After you introduce the hook, the adventure occurs in Figgy Puddin's lair - a refurbished kobold bunker consisting of eight rooms. As the characters explore the linear dungeon, they encounter new creatures, complete challenges, and are tested about their Christmas knowledge. However, the final confrontation with the naughty Figgy Puddin' could make for a very Unhappy and Unmerry Christmas for our heroes, the children of Thistleton, and their parents. Who Is Figgy Puddin’? Figgy Puddin’ was once a happy jester who loved Christmas. For years she traveled the realm, bringing fun and festive cheer to villages and children while preparing the way for Santa. However, times have become tough, and entertainment doesn’t always pay as well as one would like. As Figgy prepares for retirement, she’s learned she doesn’t have enough gold to last. During this time, she’s also decided that Santa doesn’t know who she is, let alone appreciate the work she puts in every year. Using her savings, extortion, blackmail, and other nefarious means, she’s convinced several mechanical geniuses and arcane specialists to help her refurbish her underground bunker with wondrous effects, creatures, and tests. To fund her retirement, she’s taken extreme measures to make some quick gold — holding Christmas presents for ransom.

The Haunt Unlock the secrets and drive back the evil from Montarthas Manor In ages past, an ancient town was lost and destroyed to a seige of orcs. Only one building survived and to this day, the manor is the only still standing building to be seen for miles around. Some say it is haunted, a few whisper of great treasures within, whilst others whisper that it is the manor itself that lives! No one knows for sure, only that a great evil haunts its halls. Do you dare enter Montarthas Manor? Published by P.B. Publishing