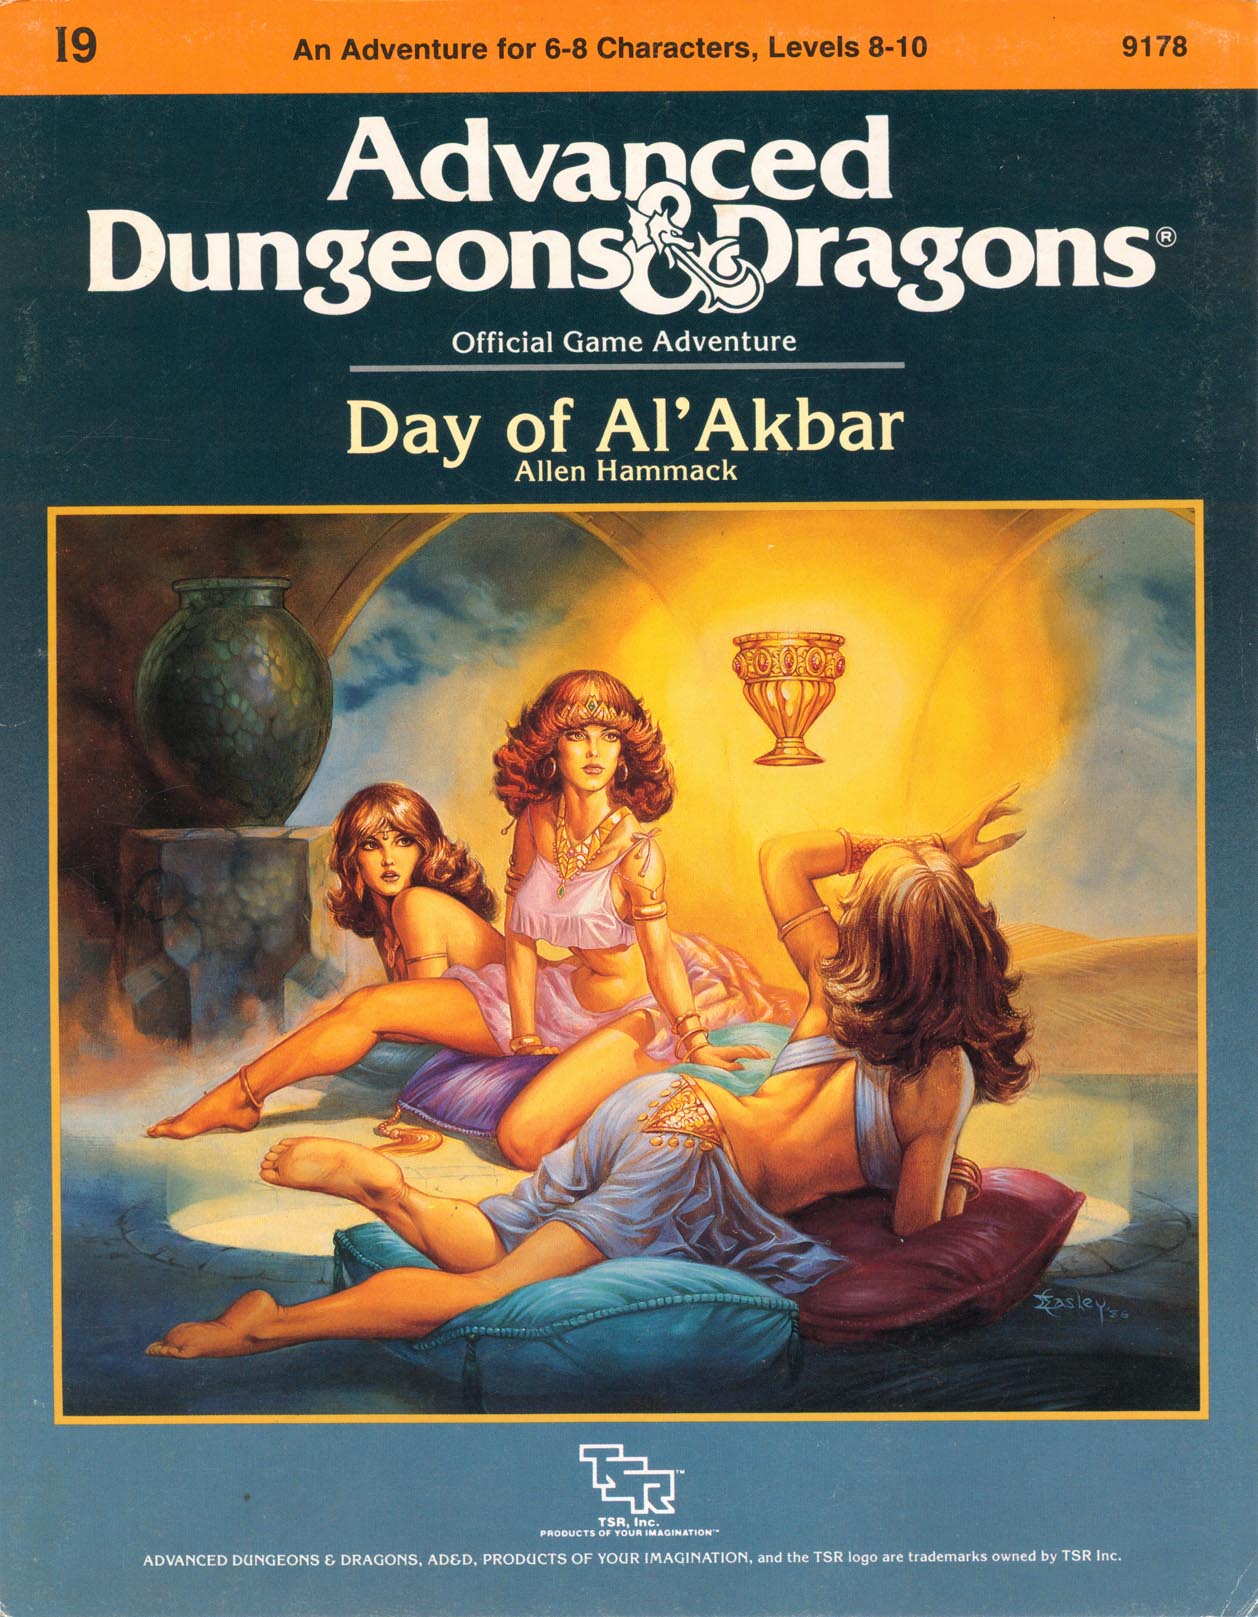
The land of Arir - a once peaceful desert country, dotted with oases, teeming with caravans - fell into the hand of infidels. The ruler, the dearly loved Sultan Amhara, was killed in the battle for the capital city of Khaibar. He left behind one of the greatest treasure stores ever amassed - jewels and coins, more than anyone had ever seen before or since - and in addition, the Cup and Talisman of Al'Akbar. A deadly plague sweeps your land. The holy men say that if only they had the Talisman, they could create cures for this dread disease. Many adventurers have tries and failed to find the Cup and Talisman. Now it is your turn. Find these treasures, and save your people! The journey is exciting, but treacherous. Do not be distracted by exotic sights and sounds, the strange foods. You must avoid being discovered by Al'Farzikh and his brigands, as you infiltrate the palace. Be wary - what is most beautiful may be most deadly, and what seems useless may be priceless. TSR 9178
Will the adventurers be able to thwart the machinations of a mad dragon in the hopes of saving the city of Sharn from certain destruction? Is the slinky elven maiden really in trouble or working for the enemy? Is the body in the morgue really the center of this whole puzzle or merely one piece? This adventure, in the style of a Dashiell Hammett novel, will certainly test their skill and resolve. This is the first full adventure for Eberron with the 4th edition D&D(R) rules. This adventure builds on the sample adventure provided in the Eberron Campaign Guide but is also playable as a stand-alone adventure.

When a Thayan research expedition returns from the Glacier of the White Wyrm with only two survivors that are reduced to whispering about an ancient pyramid under the ice, perhaps it is time to discover just what scares the life out of a nation of necromancers. The events of DDEP2 Mulmaster Undone resulted in terrible geographic upheaval all around the southeastern region of the Moonsea. Massive landslides, earthquakes, tidal waves, and gnashing tornados devastated the land and the city of Mulmaster was nearly scrubbed from the face of Faerun. Fortunately, these events also revealed previously hidden artifacts—trinkets, mostly—from the ancient Netherese all around the city. The Thayans have long held an interest in the port city and wasted no time in assisting in the rebuilding efforts. They simply asked that a blind eye be turned to their archaeological interests, and in return they would continue to spend their own resources (at no expense to the Mulmasterites or even the High Blade) to rebuild the city, bigger and better than before. It wasn’t long before their interests paid off with the discovery of a research laboratory beneath the Glacier of the White Worm, far to the east of Mulmaster and nestled in the mountains. The Thayans sent a sizable expeditionary force but only two acolytes returned. The visiting Zulkir has found this particularly troublesome, and with the assistance of Rastol Shan, the head of the Cloaks, has arranged for a mercenary force to perform a more pointed investigation of the area. In return the Thayan noble has promised significant compensation. Upon arrival at the dig site, the characters are quick to discover that the laboratory hides ancient and palpable evil. The purpose of the facility can be discerned with careful investigation, and the effect of the still-active fragment of the Dark Obelisk has empowered (some may say attracted) servants of the Worm that Walks. Danger and death await, certainly, though the characters always have the option of running away and living to fight another day…

The recent discovery of an entrance to the Underdark has set local leaders on edge. In a display of initiative, the First Lord of Hillsfar has ordered the construction of defensive structures surrounding what locals have begun to call "The Waydown." You have been charged with escorting an emissary back to his home in the Underdark without alerting the Red Plumes.

A SOLO adventure for thieves level 1-3 or Group play level 1-3 The storm sweeps off the mountaintops without warning, as if conjured by some supernatural power. Within minutes, huge drifts of snow have halted the caravan, and the snow falls so hard it is impossible to see more than five feet. You huddle next to the sledge, trying to shelter for you numb face from the icy winds. A dozen half-human forms march into view out of the raging blizzard. The little man-things carry wooden spears or long, unsheathed swords in bony, gnarled hands. Their blood-red eyes quickly fall upon your sledge and the ugly creatures turn toward your hiding place. Will you survive to uncover the secret of Blizzard Pass? This module contains all you need to solve the riddle of Blizzard Pass, including 14 maps, an invisible ink marking pen, a complete solo adventure, a pre-rolled character, and an outline for group play! TSR 9067
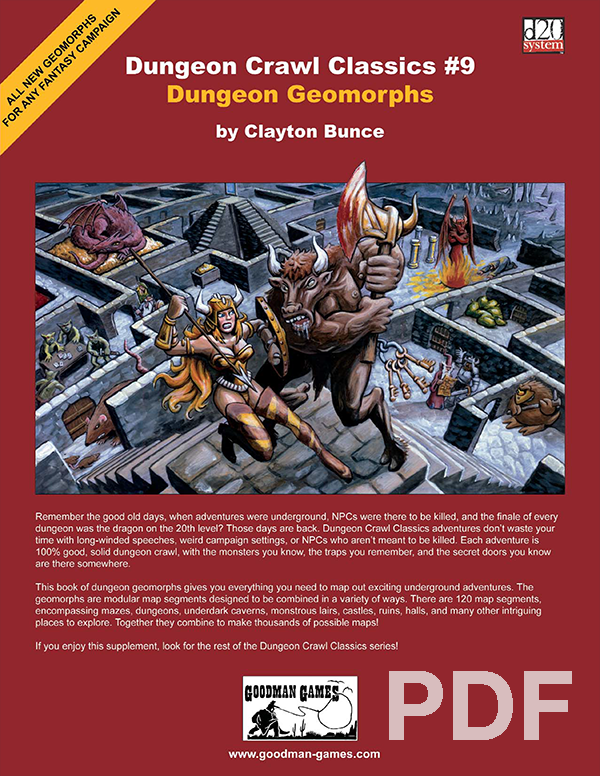
Unlike other Dungeon Crawl Classics, this volume does not present a completed adventure. Instead, it presents a set of DM tools that will make your job easier. This book of dungeon geomorphs gives you everything you need to map out exciting underground adventures. The geomorphs are modular map segments designed to be combined in a variety of ways. There are 124 map segments, encompassing mazes, dungeons, underdeep caverns, monstrous lairs, castles, ruins, halls, and many other intriguing places to explore. Together they combine to make thousands of possible maps!

Will your party survive the frostbite Frostbite Gauntlet? A sequel to The Great Trial, this module is an arctic, highly challenging gauntlet focused on exploration and combat, planned for fours 10th-level characters. The adventure can be also run as a one-shot or as part of any campaign for that level. For more information on The Great Trial, see at the end of this page. The module is divided in two parts: Chapter 1 The gauntlet itself, the party will be taken to a demi-plane against their will and from there, they have a simple goal: leave. However, a powerful undead guardian will make things difficult. The party needs to find some of the sources of power of Deathwings, the guardian, to weaken it and have a chance against it. Chapter 2 After leaving, the group will arrive at a cave complex made of stone and ice. A ancient dracolich names Icingdeath will chase the party, squeezing through the tight tunnels, always on the party' heels. Once out, the party is greeted by Aenor and offered their rewards.

Stonefang Pass wends its way through the mountains of the Stonemarch, home to brutal tribes of orcs. The time has come to clear the pass and gain a foothold, so that it can be used for trade between the town of Winterhaven and the lands beyond the mountains. Brave adventurers are needed to rid the pass of monsters and liberate Stonefang Keep from the orcs. Who’s up for the challenge?

East of Beregost, nestled in the outskirts of the Wood of Sharp Teeth, Durlag’s Tower has intrigued and yet stymied adventurers for decades. Stuffed full of mechanical traps and arcane wards, and rumored to be inhabited by fiends, very few have managed to extract any REAL treasure from the former home of Durlag Trollkiller. However, a powerful item in the ancient fight against the giants is said to be housed there, and the cloud giant Baron Rajiram has committed significant resources toward recovering it. After a pleasant tea in her garden, Seer calls upon you to beat him there and put a stop to his efforts! Sequel to Durlag's Tower.

There is the well-known regional legend of Iptiz, a spirit naga whose greed was remarkable even among its own kind. Murderous raids and relentless pillaging yielded a hoard so valuable that the creature needed some place to store and protect it. Thus was the Vault conceived: an underground complex custom built to destroy anyone who is not its creator. Years ago, Iptiz's campaign of terror suddenly ended without precursor or cause. The location of the Vault was never discovered. Until now. The ring-city of Sulindal, built upon the shores of a mile-wide desert oasis, has come under martial law by an invading army of yuan-ti. They intend to exploit the resources in this renowned city of knowledge to locate the third and final Beacon of Selune. ...but for what purpose? A four to six hour adventure for four 5th level players.

"Can you solve the Labyrinth within 13 hours and get back what was stolen from you?" A 4-Hour Adventure for Tier 1 characters optimized for APL 3 taking place in the Feywild Domain of Delight, Labyrinth, where everything seems possible and nothing is what it seems. This adventure takes place when the characters have been abruptly teleported into the Feywild Domain of Delight, Labyrinth. The Kobold King has given the characters thirteen hours to solve the labyrinth, or they will lose what he stole from them forever. "It's only forever, not long at all..." Pillars of Play: Skill challenges and exploration. Minimal/optional combat. Content warning: Non-consensual theft Adventure Inspiration: Jim Henson's Labyrinth (1986)
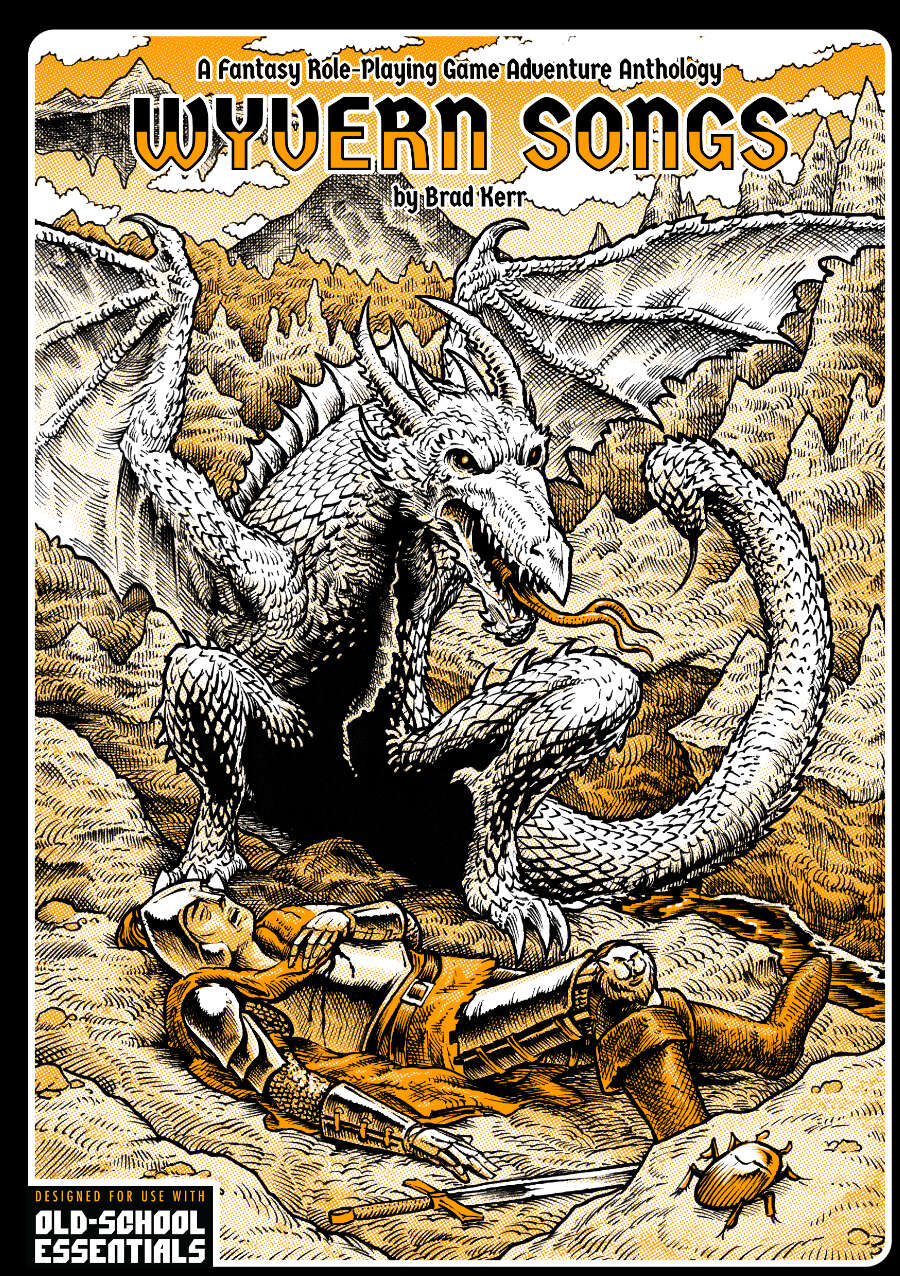
The Dreaming Caldera involves the players infiltrating a volcano teeming with monsters that are intent on constructing a chaos god. The players must navigate through the hostile environment, disrupt the monstrous activities, and ultimately prevent a catastrophic event. 27 keyed locations Written for the Old-School Essentials (OSE) rule system

The wedding was meant to unite poweful families from Everlund and Silverymoon. "Til death do us part" comes sooner for some couples than others when undead hordes and a feral demilich are uninvited guests. The Dead Wedding is a short, 3 to 5 hour adventure for characters level 14 to 16. The adventure contains maps for Moonshadow Keep and the crypt of the demilichess Regetta Arch Therm, deadly traps, and RP hooks that enable players to use high-level non-combat abilities.
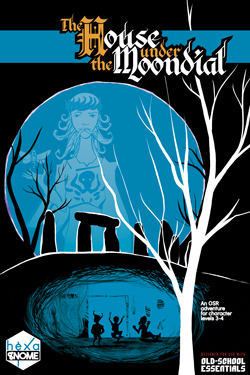
There is a witch in the wilds, a goddess unremembered, and a madman. There is a circle of stone - who knows what lies beneath? The villagers are distraught: their children! replaced by fae! The villagers are distraught: who heeded their plea? Ravenous inquisitors, that's who. Oh, and adventurers... This investigative folkcrawl adventure module contains: * an isolated village full of secrets, riddled with strange traditions, * adventure sites and dungeons populated by peculiar denizens, * a small Fae Realm to explore, weird and perilous, * a terrible fae threat and too many curses, * unlikely friends, and foes nobody expects! An OSR adventure module for character levels 3-4, designed for use with the Old-School Essentials ruleset, compatible with most old-school pen-and-paper RPGs. Includes a fully-linked interactive PDF, a fillable Referee's Toolkit, and player-friendly VTT maps.
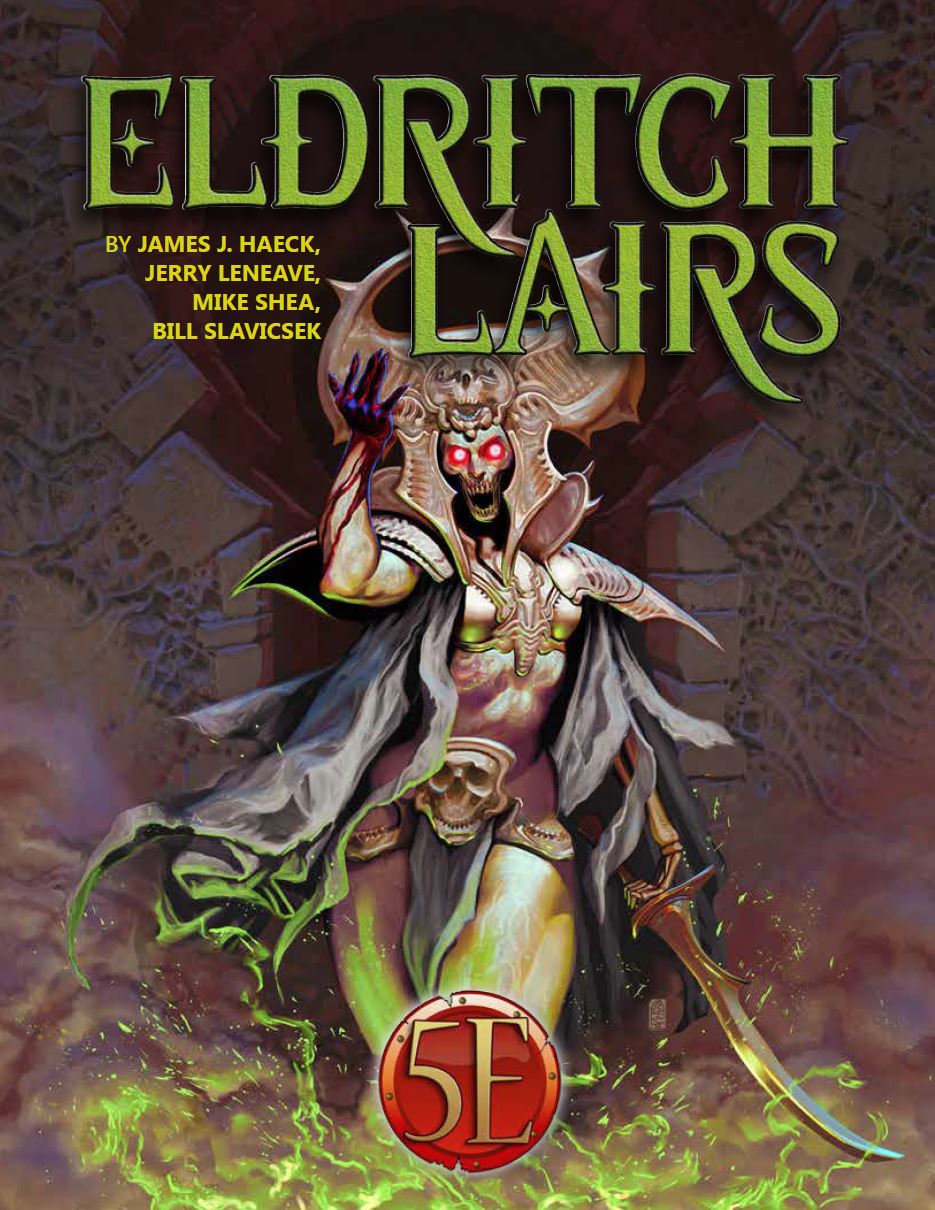
The city is plagued by an affliction being called "stone sickness" or "the gorgon’s touch" that disorients people and turns them to stone. Those with, or suspected to have, the affliction are being banished from the city. Some demand a cure, but most are just scared for their loved ones. A ravenfolk woman named Spinel Larkdon, mother to a child with the gorgon’s touch, begs the PCs for assistance. An artifact known as the Shroud of Tiberesh, capable of curing any sickness, is locked away within The Umbers' vault of spoils below the city. Passionate, she is determined to save her son and all those afflicted. Fortunately for the player characters, completing the Umber’s Gauntlet alive means they are not only entitled entrance into the cult, but also a single item from its vault of spoils. The PC's only hope of procuring the Shroud is by traversing this initiation Gauntlet – a series of traps, monsters, and puzzles devoted to the demon-god Nakresh - and claiming the Shroud as their prize.
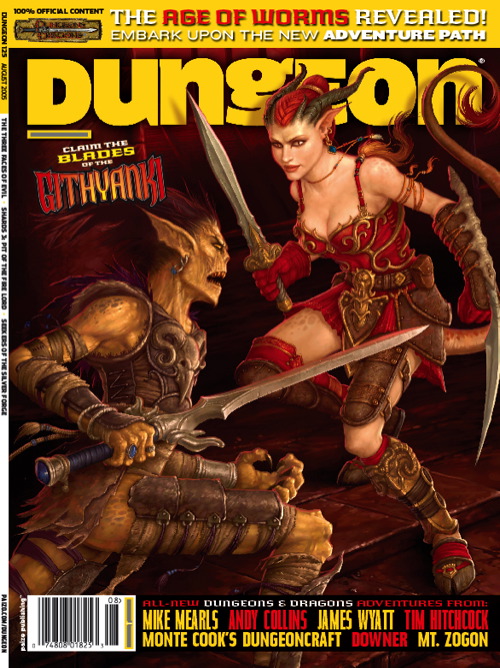
Clues discovered in Diamond Lake lead to the Dark Cathedral, a forlorn chamber hidden below a local mine. There the PCs battle the machinations of the Ebon Triad, a cult dedicated to the three vile gods. What does the Ebon Triad know about the Age of Worms, and why are they so desperate to get it started? "The Three Faces of Evil" is the second installment of the Age of Worms Adventure Path, a complete campaign consisting of 12 adventures, several "Backdrop" articles to help Dungeon masters run the series, and a handful of poster maps of key locations. For additional aid in running this campaign, check out Dragon's monthly "Worm Food" articles, a series that provides additional materials to help players survive this campaign. Issue #334 of Dragon provides comprehensive lists of all the things you can find for sale in Diamond Lake's (often) dubious shops. Pgs. 16-47
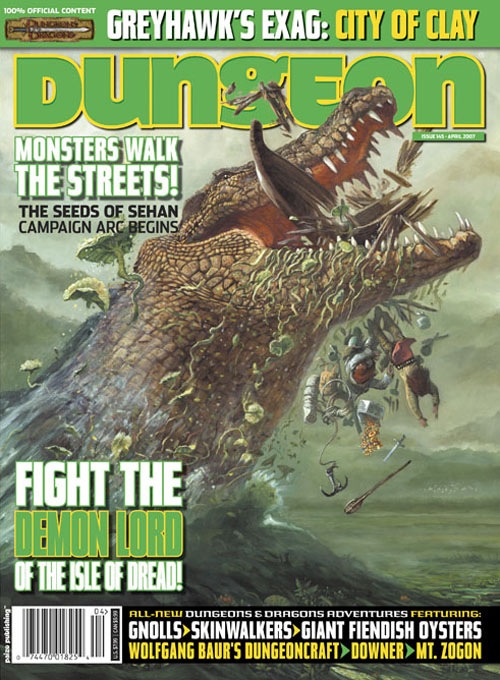
A horrific drug has seized the population of the strange city of Exag, yet confronting its source only reveals the true extent of a dire new threat. Part one of the Seeds of Sehan campaign arc, this is a D&D adventure for 8th-level characters.

Citadel by the Sea is an AD&D gaming module for 4-8 characters, each of 1st to 3rd level. The fewer the characters available, the higher their levels should be. Characters should be well equipped, with at least one magical weapon apiece, but do not need any particular game experience. It is recommended that at least one ranger character and one elf character be members of the adventuring party, and that no player character be a half-orc. The Dungeon Master should read the entire module carefully before running this adventure; the events are laid out in the approximate order in which characters would normally encounter them, and the text builds the adventure as one reads through it.
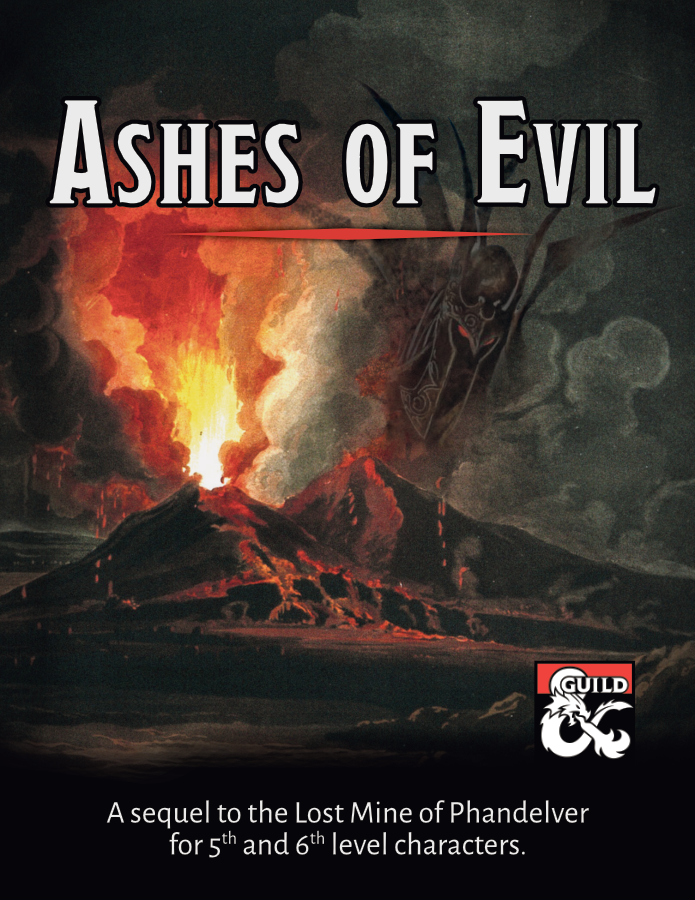
A sequel to the Lost Mine of Phandelver adventure for 5th and 6th level characters. An ancient forgotten evil threatens the Sword Coast once again! Our party of intrepid adventurers returns to Phandalin and Wave Echo Cave for what is at first glance a rescue and exploration mission. Prospectors for the Rockseeker mining concern have disappeared deep inside the flooded caverns that give the cave its name. The peril extends much deeper than mere lost explorers though, as the party stumbles upon an ancient, long-forgotten struggle between good and evil. Inexplicable cultists hide in ambush at every turn. A risky raft ride through treacherous underground waterways leads to an ominous discovery. Ancient ruins tell a story of the terrors of the night and a noble alliance sworn to fight them. A search for a powerful weapon of light leads the party on a mind-blowing, sky-high ascent into the unknown. Then, a whirlwind of danger: A rumbling volcano. Legions of undead. A desperate battle for the survival of the region. This adventure was designed as part of “The Next Adventure” Design Jam at the DMs Guild. It works best for a party that has just completed the Lost Mine of Phandelver adventure, but it can easily be inserted into any campaign. It is designed for a party of four to six 5th or 6th level characters and, based on playtesting, will take an average of about 3 sessions to complete.
"You enter some sort of corridor, but it is a far departure from the airship hallway you expected. The walls and ceiling are rusty chain-link fences and the floor is a corroded mesh of iron slats. Beyond the fence is a void of black, unmoving emptiness which carries the faint scent of ozone and rotten meat..." Inspired by horror franchises such as Silent Hill and Saw, Flight of Madness is a one-shot horror adventure in which the players must venture though an airship which has been warped by the plane of Xoriat--also known as the Realm of Madness! During the adventure the players will attempt to save the crew from unspeakable horrors, uncover the nature of the madness that has afflicted the ship, and face off against the one who appears to be responsible for all of this. But is everything as it seems? The adventure is for four level 5 players and is expected to take around 5 hours to complete. It is a great introduction to the darker side of Eberron for DMs and players alike. • An exciting mystery to unravel, with multiple interpretations and endings • An alternative to the madness mechanics provided in the Dungeon Masters Guide, which is integral to the final encounter of the adventure • Two terrifying new monsters: the winged torso and corrupted captain • Detailed battle maps as well as a map of the ship • Newspaper hand outs for the end of the adventure • Terrifying monster art WARNING: This is a horror adventure aimed at mature audiences and as such includes extreme violence and disturbing scenes. Before running this adventure it is recommended that you confirm that your players are comfortable with the adventure’s contents.