
A gnomish settlement is plagued by inexplicable earthquakes, the wrath of an Earth Elemental. Can the heroes save the gnomes? Do the greedy gnomes deserve to be saved? "Valanche's Eye" was inspired by a desire to write an adventure which blurs the line of who the bad guy actually is, or indeed whether or not there's a really tangible villain. It takes the "patron hires adventurers to clear dungeon" trope and twists it – the patron turns out to be a pretty rotten bastard, and the monsters in the dungeon are just trying to live their lives. It starts when gnome gem-miners strike the mother lode of emeralds and sapphires, only to find themselves run off their claim. First they accidentally broke through to the Elemental Planes of Earth and Fire, and mephits burst out to annoy them. When they were just about done dealing with the mephits, they disturbed an earth elemental who just wants to be left alone, and emeralds are its favorite snack. The mine boss hires the adventurers to come kill all the elementals. But should they?

This deluxe adventure takes heroes into the ruins of Gardmore Abbey, a monastery that was once the base of a militant order of paladins devoted to Bahamut. According to legend, the paladins brought a dark artifact back from a far crusade and stored it in their abbey for safekeeping, and evil forces gathered to assault the abbey and take it back. What the legends don’t tell is that this artifact was actually the Deck of Many Things, a force of pure Chaos. This adventure brings characters into the extensive dungeons beneath the ruins - dungeons that are warped and twisted with the raw forces of Chaos surrounding the cards of the deck.
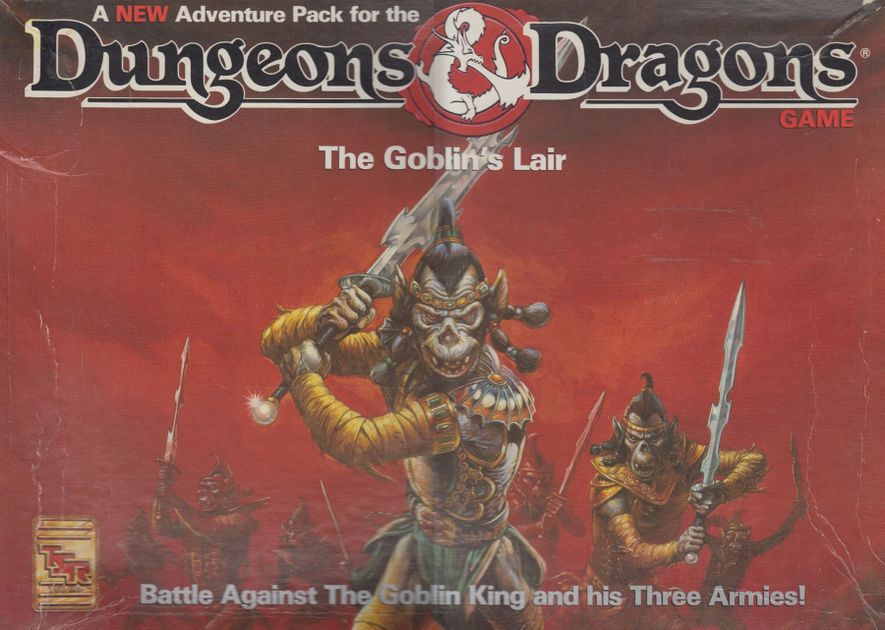
A goblin warband has found the secret tunnel which leads from the dwarven keep of Hearth-Home to the nearby hills. The tunnel is intended to be a means of escape if the keep ever falls to attackers, but now it has provided goblins with an easy way into the Underkeep. So far, the goblins have confined their attentions to the various underground rooms that make up the Underkeep, but sooner or later they will find a way to the surface. They pose a serious threat to Hearth-Home - the goblins must be cleared out of the Underkeep so this breach in security can be repaired before the orcs hear of it and overrun the dwarven keep. This adventure is slightly more challenging than Red Hand Trail, and it is recommended that it is played after that quest and before Palace of Dread. However, the scenario in Trouble Below can easily be played independently from the rest. Part of TSR 1076 The Goblin's Lair

Just when you thought it was safe to take a long rest. She's Back! The terrifying SEQUEL to the PLATINUM bestselling, and Dragon+ Magazine featured horror adventure: The Haunt. The Haunt 2 is both a one-shot, and a sequel that can be run as either. Long, long ago St. Greycastle’s Hospital served the city through the years, mainly treating the wounded and sick among the militia. Over time, the lower basement was converted into a sanatorium, housing those who became maddened from enduring the violent, brutal orcs raids which plagued the region during that time. This was the place where Gertrude, the night hag, tormented patients, and created her masterpiece, the Evil Doll. Now, after all of these years, Montarthas Manor has finally fallen, and the Evil Doll has been wounded. She has returned to the only familiar and safe place she remembers, to lick her wounds and plot her next move. Her presence in the hospital awakens the evil inside, creating a nightmarish charnel house of terror. In addition, the hospital itself feeds on fear. Do your players have what it takes to enter the haunted and evil hospital, to finally end the haunt and terror of the Evil Doll?! Published by P.B. Publishing.
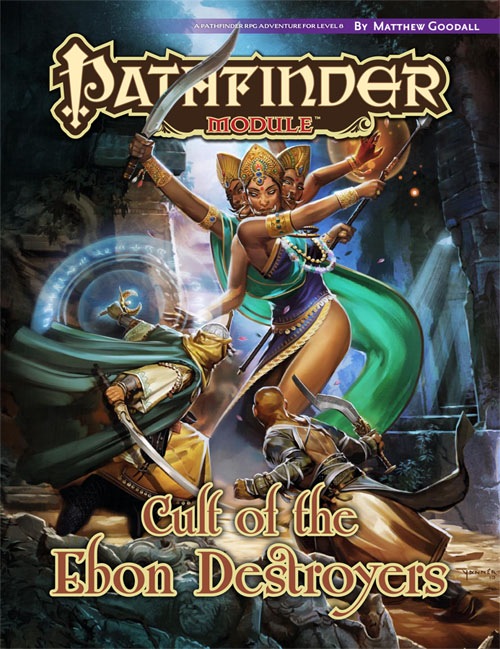
A malignant cult has taken root in the mystical and magical realm of Jalmeray. Known and feared throughout distant Vudra, the cult of Dhalavei has expertly destroyed organizations and societies from within for millennia. Now a new sect of the sinister Cult of the Ebon Destroyers has its sights set on Thakur Kharswan of Jalmeray, and the magistrates and bureaucrats behind the throne must hunt down and eliminate the cult before the unthinkable happens. If only there were someone they could trust to behead Dhalavei's cult before the assassins do the same to their beloved ruler…
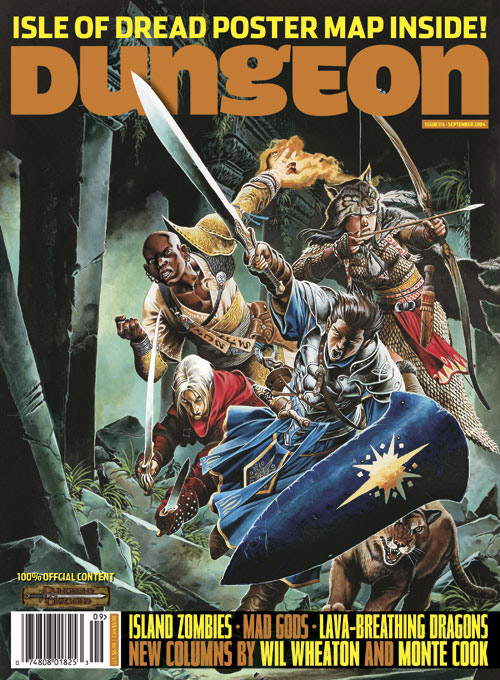
A supernaturally powerful storm, mudslides, and agitated dinosaurs are the least of the worries in the tropical village of Mora. The village's spiritual leader, the Zombie Master, has gone missing, and now undead rise from sodden graves and the village matriarch lies dead, murdered by her own son. What dire menace awaits in the flooded catacombs below? Set on the infamous Isle of Dread.
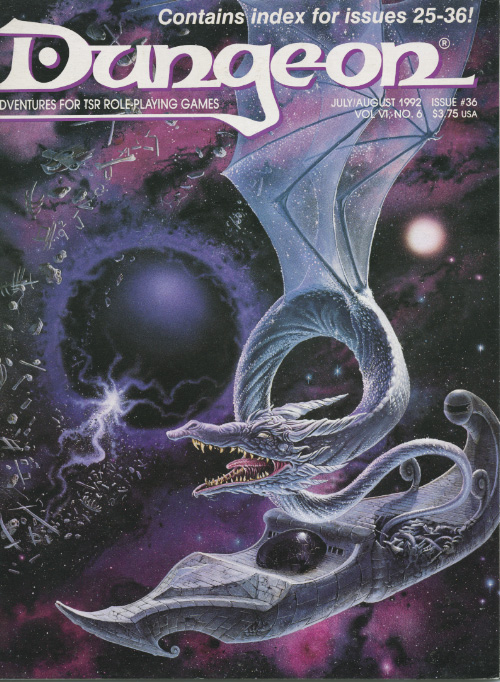
Abandon hope early and avoid the rush. A rebel leader is locked in a prison from which there is no escape. That's why the rebels called for you. The players are recruited to help rescue a prisoner of the Theocracy. The prison is very unique in that the cells are situated in a wheel formation. The prisoners are forced to push against their cell walls every day until after 1 full year (1 full rotation of the wheel), an opening appears in their cell and they are free to leave. There are many paths to success in this adventure, and it can play out more like a heist rather than a dungeon crawl. Pgs. 24-37

Deep in the Marsh of Chelimber lie the ruins of a great wizard’s tower. SEER has received intelligence, which she imparts via her emissary Hsing, that deep beneath the marsh in the remains of an old tower is knowledge of older magics. This could be just what Parnast needs to resist the onslaught of Bad Fruul and his armies!
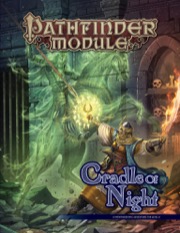
A desperate refugee emerges from the earth's depths in shadow-cloaked Nidal with an urgent pleas. A new faction in the subterranean dark folk city of Lyrudrada -- a wicked cult called the Reborn -- seeks a fabled artifact called the Cradle of Night. Vanished demigods of the Shadow Plane once used this artifact to craft the elusive caligni race, and the Reborn want to use it to shroud the world in darkness once more. Cursed with the stain of shadow, the heroes must battle their way through the tomb of an ancient horselord chieftain before descending to Lyrudrada. Plots and schemes run rampant in this city riven with political upheavals and back-alley bloodshed, and the heroes must collect allies and information to confront the Reborn in their fortified fane. With the mysterious masters of the caligni race arrayed against them, can the heroes hope to shed their shadowy curse and claim the Cradle of Night?

Kalakeri: The Forbidden Temple is a gothic horror adventure for 4-5 characters of 7-8th level. It can be played over the course of 8 hours for a one-shot, but works better when played slowly over the course of two games. This is the third part of the Carnival of Lost Souls campaign. It can also be played as a standalone adventure. Kalakeri: The Forbidden Temple features: Exploration of the ancient Greater Vochalam temple with a powerful eidolon guardian. Lots of dangers and rival explorers are waiting for the characters, among them the priests of Osybus and Firan Zal’Honan himself! Intense social encounters with the leaders of major forces of Kalakeri: Ramya, Arijani and Reeva, and the possibility to align with them. Random encounter table for Kalakeri travels, and mechanic for quick resolution of random combat encounters. New custom monsters to make combat encounters truly memorable and exciting. High-quality maps, also available in universal vtt format. Check out previous adventures in the series: Lamordia: The Hardest of Hearts and Dementlieu: Dance with the Devil! And look out for the next adventure in the Carnival of Lost Souls series: Valachan: Hunter’s Moon! It will be released in the next month. Once all four adventures are out, we will also release a special Campaign Guide, which will explain in detail how to best set up and play the campaign. However, if you want to start your campaign right now, don’t worry - we have included a short appendix at the end of each adventure that will explain the basics! Disclaimer: We are a team of writers from Ukraine, so the unprovoked war and senseless aggression of the terrorist state of russia influenced our initial timelines significantly. However, we are now as safe as we can ever be under the constant threat of missile strikes, and determined to finish the whole series! And after that - who knows, maybe even more cool adventures will follow ;) Made in Ukraine
What it says on the tin! You are after GLAXORZIS, THAT SORCEROUS CREEP, who wronged you somehow. Kidnapped your friend, stole your shiny artifact, played a stupid prank on you. Follow him underground into a complex of 21 rooms spread out over three levels. This is a barebones thingie, printable/foldable as a pocketmod. No stats. For fantasy adventure games where you die in a hole. Published by: Eldritch Fields

Giants have been raiding the lands of men in large bands, with giants of different sorts in these marauding groups. Death and destruction have been laid heavily upon every place these monsters have visited. This has caused great anger in high places, for life and property loss means failure of the vows of noble rulers to protect the life and goods of each and every subject -- and possible lean times for the rulers as well as the ruled. Therefore, a party of the bravest and most powerful adventurers has been assembled and given the charge to punish the miscreant giants. This module contains background information, referee's notes, two level maps, and exploration matrix keys. It provides a complete module for play of ADVANCED DUNGEONS & DRAGONS, and it can be used alone or as the first of a three-part expedition adventure which also employs DUNGEON MODULE G2 (GLACIAL RIFT OF THE FROST GIANT JARL) and DUNGEON MODULE G3 (HALL OF THE FIRE GIANT KING). TSR 9016

The trees part before you, revealing the crumbling walls of the ruined keep. Only hours ago, you set off after the marauding orc band responsible for the destruction of the temple of Freya and the theft of its sacred crucible. But something else waits for you within the ruined walls. Something darker and far more sinister. Something that has hidden from the light for ages.

The adventures in Dalentown continue in The Darkness Beneath Dalentown. Workers in the town’s sewers have stumbled upon the long abandoned halls of the dwarves that once settled beneath this region. What they’ve found is a haunted library. What they’ve woken is something far more sinister! The Darkness Beneath Dalentown features hordes of oozes, undead, and demons festering for years in an ancient dwarven mining stronghold. Now, they are slowly working their way to the surface, and the folk of Dalentown are in dire peril!

Fresh off the adventure trail your party takes refuge at the small caravan stop at the Village of Tomore. There your party hears a bard tell the tale of “Tarlac Keep” which was laid siege to by two dragons and a horde of humanoids. While the mighty keep fell the subsequent military action was enough to quell further issues. By the end of the tale your group feels that a real estate deal may be in the making for you….
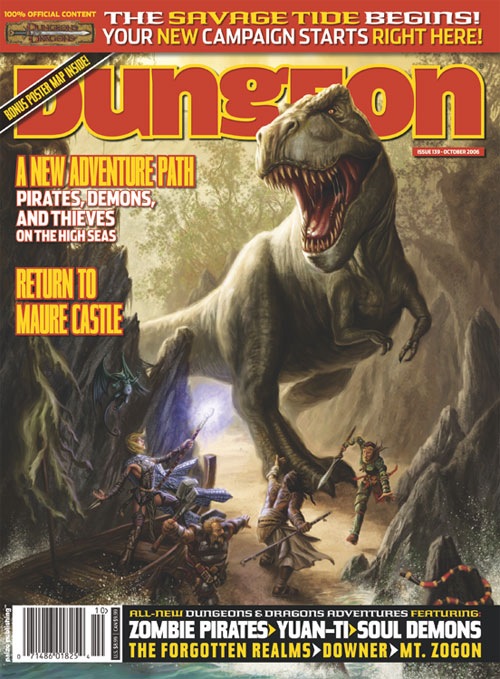
The first savage tide has already touched the mortal world, yet none who live today recall this time of red ruin. Unleashed from the cruel heart of a fell seed known as a shadow pearl, this savage tide swept over an ancient city perched atop the crown of a remote island. The tide transformed beggar and noble, merchant and thief, resident and visitor into feral, ravenous fiends. The fruits of centuries of labor came crumbling down in a matter of days, and when the survivors tried to stem the tide by destroying the pearl, the resulting blast of power sunk their city into the boiling lake of death. Through it all, the Abyssal architect of the savage tide watched, taking pride in the ruin. When the tide's final ripples had faded, what was left became known as the Isle of Dread. Now, after a thousand years, the true masters of the Isle of Dread look upon new targets, new cities beyond the horizon, compelled by the hateful will of their demonic lord Demogorgon to prepare for the coming glory. This time, the doom will not be limited to one hapless city. This time, all of civilization waits unknowing on the shore, blissfully ignorant of what the incoming tide brings in. "There Is No Honor" is the first chapter of the Savage Tide Adventure Path, a complete campaign consisting of 12 adventures that will appear in the next twelve issues of Dungeon. For additional aid in running this campaign, check out Dragon's monthly "Savage Tidings" articles, a series that helps players and DMs prepare for and expand upon the campaign. Issue #348 of Dragon kicks off this series with details on six affiliations based in Sasserine that your players may wish to join. And if you're running Savage Tides in the Forgotten Realms or Eberron, make sure to check paizo.com for the latest conversion notes for each adventure. The Savage Tide Adventure Path debuts as a new band of heroes confronts exotic monsters, undead pirates, and a sinister guild of thieves on the cusp of unleashing a murderous coup. Pgs. 14-46

After checking local pawn shops and the library you have discovered information on an old Adurite noblewoman who possessed a magical mask. The woman had suffered a facial injury and commissioned a magical face shield to hide her wound. Having never heard of the item you believe it is probably in the ruins near Ugus Horrus where she lived. With no other leads at the moment you gear up and decide to embark on the search for this item!

A fiend lurks among the Black Blade goblins. A shapeshifting barghest fashioned by the General of Gehenna to exact revenge on all goblin-kind. It’s aim: to kill as many goblin leaders as possible… A masked goblin approaches the party asking for help. Two tribe leaders are dead. But a rival for chief has control of the crime scene. Will the party discover the barghest among the goblin ranks? Can they stop this imposter before it strikes again? Adventure Overview The adventure’s story is spread over 4 parts and takes approximately 4 hours to play. The adventure begins with a Call to Action scene. Part 1: Goblin Politics. Krill sends his emissaries to implore help from any strong intermediary. The party is asked to investigate the murder of Thrawn in Dringly’s lair. This is Story Objective A. Part 2: The Opposition. Gain entry into Dringly’s lair and investigate the murder of Thrawn. Gather enough evidence to find the killer. This is Story Objective B. Part 3: To The Lair! Now that the players have determined the barghest (Yeep) is to blame, they need to get to Krill’s lair quickly as he is in imminent danger. This is Story Objective C. Part 4: The Barghest.When the players arrive at the lair, they need to get to Krill and expose and defeat the barghest. This is Story Objective D. Adventure Background A barghest named Yeep has begun its onslaught of attacks against the Black Blade goblins. Starting with Chief Gnar, then his second in command Thrawn, the barghest is moving methodically down the line of command. Krill is now chief. But he has some problems: Two leaders of the Black Blades are dead. Who killed them and why? Is he next? Dringly, the next in command, has decided to take his lair for himself, declaring himself Chief of the Black Blades. Who are the Black Blades? The Black Blades are a tribe of goblins in the local area. They are known for dipping their blades in a dark black substance. It is rumored these blades are poisonous. The Black Blades regularly attack passersby on the road to rob them. The Black Blades have two lairs, one run by a chief who leads the whole tribe, and another overseen by a boss lieutenant. The Black Blades have a well-established pecking order which is how Krill stands to become chief. The next in line is Dringly, who has also declared himself chief and wants Krill dead. Krill suspects that there is something suspicious about two leaders being killed within a day of each other, but he has already burned Gnar’s body without any investigation. He needs to investigate the body of Thrawn, but it is in Dringly’s lair. Krill wishes to avoid direct confrontation with Dringly at the present for three reasons: 1) Any violence would only kill his own tribe members and further divide the lairs. 2) He believes there is still hope for negotiation to reunite the Black Blades. 3) He believes that if he were to attempt negotiations himself, Dringly would kill him. This adventure features: Two maps. Ready for your favorite Virtual Tabletop. A full color pdf. A black and white pdf. One custom monster, a reprint of barghest, all others available in the Monster Manual. Four hours of entertainment involving: roll playing a goblin bard, investigating a murder scene, tracking down a barghest before it strikes again. Applicable to any setting.

A one-shot adventure of dark fantasy, tragedy, and horror... - 4-6 hour adventure for 3rd - 5th level characters. - 24 pages of an elegant, easy to read PDF. - 4 custom handouts that pair with the adventure. - 2 custom monsters. - 10+ trinkets and magic items for handing out to your players. - 6 gorgeous free battle maps that can be found here: https://www.dmsguild.com/product/434359/Map-Pack-01--The-Sorrows-of-Southsward-Keep

A museum of the Mad Archmage, it contains curiosities and treasures from all over the multiverse, and the challenges of the Watery Caves, which are a series of living caves connected by an underground river. This adventure can be used as an expansion to the Castle of the Mad Archmage mega-dungeon adventure, or as a stand-alone adventure. Published by BRW Games