
Anandak, a red dragon, has taken over an abandoned dwarven stronghold as his lair. He has also assembled together a rough confederation of monsters to act as his bodyguard. Anandak is preparing to enter into an alliance with the Black Prince, the March Lord Draven. The plan is for Anandak's monster allies to terrorize the lands north and east of Knacker Knob while the Black Prince, on pretext of marching to the aid of Knacker Knob, take control of Knacker Knob and the surrounding region. An emissary from the Black Prince, Lord Gonzaga, is currently in the dungeon, and he is in possession of papers that might reveal the Black Prince's treasonous plot. The lair is horribly overcrowded because monsters of all tribes and gangs are gathered to take counsel with the red dragon. Monsters are sleeping in the hallways because there is so little room, and the antagonism between races is at flash point. The PCs may be able to fan these resentments into intermonster battles. League of the Red Serpent is the third dragon's lair to conquer. Part of TSR 1073 The Dragon's Den

There is no particular overarching story here, just a prospect gate keep dungeon you can drop into your own sandbox and run as you see fit. This adventure is formatted to both 1E & 5E gaming rules.

The small village of Angst in western Famore has a humanoid problem. A missive on the message totem is calling for help to dispatch these pesky raiders. It is believed that they are working out of the abandoned Opair Keep. Locals gasp in amazement as the locale is well known to be cursed!
Everybody's a fool for a lost kid. He wanted power but settled for scraps - for now. The outcast wizard Lertol has adopted two leucrotta, and their team is ambushing passing travelers and robbing them with no-one the wiser. The players first fall into this trap when the leucrottas mimic a lost child and a search party in the middle of a night at camp. If the players leave to investigate the voices, the wizard loots the camp while they are gone. The players can then follow the wizard back to his lair and get their treasure back. Pgs. 48-49 & 28
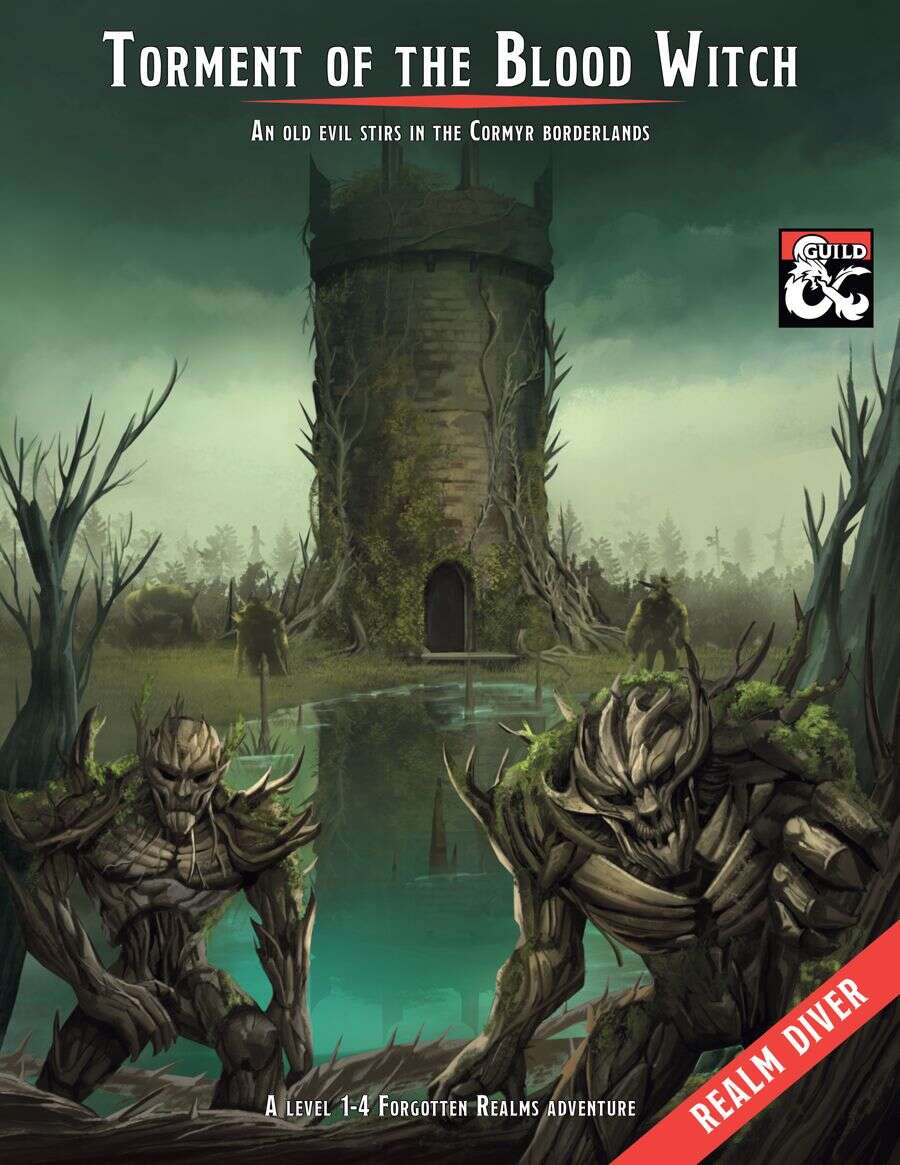
The town of Proskur has been cut off from the rest of the kingdom of Cormyr by a terrible storm, just as its people begins to suffer from a feinting sickness. Now the crops are failing. Are these the acts of a vengeful god? Or something more sinister? While aiding the good peoples of Cormyr in their plight against goblin hordes, the restless dead, a band of cut-throat pirates and the wilds of the Gritstone Moorland, the adventurers must investigate the true cause behind these calamities while uncovering a century old past, following in the footsteps of a legendary band of knights. Will they bring the fight to the evil hag, Bad Blood Hattie in her accursed Bloodtower lair? Or doom Proskur to become a blighted ruin?
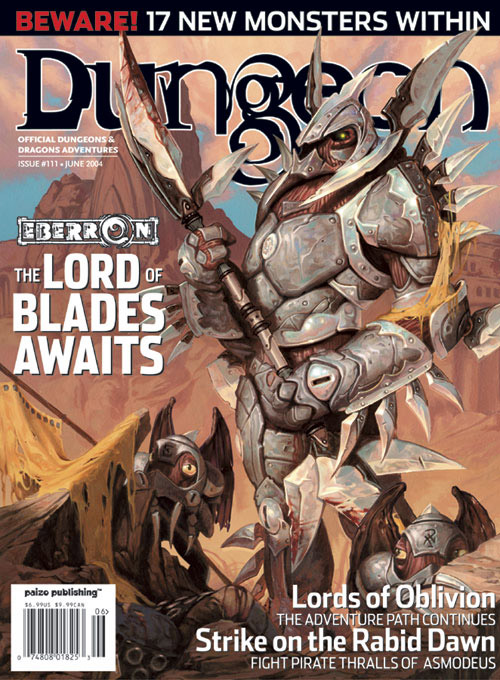
A terrible thunderstorm batters a seaside port, yet thunder and lightning are nothing compared to what is about to be unleashed by the diabolic crew of the Rabid Dawn. Casters with access to control water, control weather, or control winds will prove especially valuable, as will characters with strong Swim skills. The adventure is best suited to a predominantly good or neutral aligned party of PC's. Strike on the Rabid Dawn takes place in the port city of Hardby (Dungeon #109). As most of the action takes place within a lighthouse and on a ship at sea, however, any suitable port from your campaign makes an appropriate substitution for Hardby. Pgs. 12-32

The Soulmonger is shattered and its pieces scattered across the peninsula of Chult. Dire forces seek those shards for their own nefarious purposes, and the Red Wizards are rumored to have found a number of them already. Can you wrest those necromantic artifacts from the hands of the dread mages? Part One of the Broken Chains Series. A Four-Hour Adventure for 17th-20th Level Characters.

Dracula, the Lord of Shadow and Darkness, has covered the land in shadow and dispatched armies of monsters and undead from his magical castle. His armies threaten to overrun major cities and plunge the world into a literal Dark Age. The last of the vampire-hunting clan that traditionally opposed him has disappeared, and still the armies advance. He must be stopped. If that's not enough motivation, it is well-known that his castle is full of magical items and great riches... but also great danger. If you've ever wanted D&D and Castlevania to meet, look no further. This adventure is exactly what you wanted. Every area of the castle poses different and unique challenges to keep the party engaged and on their toes. Written for the DM as a ready-to-run adventure, it is designed for four to six characters. The adventure starts at level 3 at the outer defenses of the castle, and ends with the party advancing to level 13 after defeating Dracula in an epic battle. The adventure includes documentation to help even a new DM succed, including suggestions for how to run each of the area "boss" monsters in combat. There are approximately 50 new enemies and over 3 dozen new magical items. It also comes with a list of suggested music for many areas of the castle, and a 25-page campaign log recounting an actual tabletop play-through of this adventure from the DM's perspective.

Slain in disgrace, reborn in fury, armed to the teeth: Flame returns! Flame is back - and is he mad! The sequel to "Into the Fire" from Dungeon 1. Pgs. 42-63

Someone in the misty, wooded Moonshae isles needs hundreds of brand new swords taken under guard from Sword Coast smiths to a certain place on the Isles. The swords are needed so badly, and their safe arrival is considered so unlikely, that someone is willing to pay adventurers a lot of gold - someone fairly important. Adventures foolish enough to take assignments too good to be true (or merely desperate for coins) will soon find themselves embroiled in a dark and mysterious struggle against evil that will take them into sacred groves, crumbling castles, and through ancient magical gates to the halls of the High King - and beyond -- An adventure that takes place on the Moonshae Isles, in which a mid-to-high level party fights against the encroaching darkness of The Cult of Bane. Although helped by the Harpers, players will have to uncover the plans of the cult, and thwart them where possible. Preventing the summoning of the "Godson", a manifestation of Bane's evil. Part of the "Forgotten Realms Adventure" series, this is FA1 - Halls of the High King. FA2 is "Nightmare Keep" TSR 9301

This scenario was presented to Gryphcon's 30th anniversary last year. The party finds themselves coming to the Triland on their way to Taco Del Toro. This island chain is unique in that it has a land mass made of clouds, hovering over the island. Upon landing, your group discovers that the governor's child has been abducted by a Cloud Giantess. Time for your hero hats...

Devastated in a war with a nearby wizards' school, the Fighters' Academy has since been surrounded by a foul and dank swamp - the Gloomfens. Since the climatctic battle between the wizards and fighters, the tower has decayed. The spirit of the head of the academy haunts the building, eternally plotting his revenge on the wizards who killed him. his loyal sutdents remain faithful to him even in death. Other foul undead have made their home in the rotting, spacious academy. From their lair, they make forays into farmsteads near the swamp in search of victims to feed their unspeakable appetites. The Problem of these terrible attacks by the savage undead will not stop until the evil that has found a home at the tower is burned from the face of the land forever. Will your party heed the call and help the town of Melinir? Will they be able to clear the former Academy of its undead? Towers of Evil is the second in a three part adventure, The Haunted Tower. Or, it can be ran as a stand alone adventure. The choice is up to you. Part of TSR 1081 The Haunted Tower

What is the Lost Lands? The Lost Lands is the home campaign world of Necromancer Game's and Frog God Game's own Bill Webb. This campaign has been continuously running since 1977. Many of the adventures published by Necromancer Games and Frog God Games are directly inspired by this campaign. They have evolved over the decades, and more material continues to flow from it as the dice keep rolling. Sages and wizards of legend speak of the Lost Lands—many of the players who have lived and died in Bill's campaign over the years now have a place in history (in the books). Frac Cher the dwarf, Flail the Great, Bannor the Paladin, Speigle the Mage, and Helman the Halfling are well known to the fans of Bill's work. This is the game world, and these are the adventures in which the players of these famous characters lived and died. Hundreds of players over the past 35 years have experienced the thrills and terrors of this world. The Sword of Air is the centerpiece of the Lost Lands. Currently, this epic tome consists of several parts: 1. The Hel’s Temple Dungeon—kind of like Tomb of Horrors on crack. This six-level, trap-and-puzzle infested dungeon formed the basis of Bill's game through his high school and college years. Clark Peterson’s very own Bannor the Paladin spent several real life months in the place, and, sadly, finished the objective. This is where the fragments of the fabled Sword of Air can be found…perhaps. 2. The Wilderness of the Lost Lands extending to the humanoid-infested Deepfells Mountains and providing detail about the nearby Wizard’s Wall. This so-called “wall” was raised by the archmages Margon and Alycthron harnessing the Spirit of the Stoneheart Mountains to raise the land itself, creating a massive escarpment to block invaders from the Haunted Steppes. These archmages are actual player characters from the early 1980s who live on in the legends of the Lost Lands. Over 70 unique encounter areas are detailed, and each one is a mini-adventure in itself. New wilderness areas may be added based on bonus goals described below! 3. The Ruined City of Tsen. Legend has it the city was destroyed by a falling meteor. This place forms an aboveground dungeon area the size of a city, with over 100 detailed encounter areas. It’s a very dark place…even at noon. 4. The Wizard’s Feud—This campaign-style adventure pits the players in a long-running series of intrigues and battles between two archmages. Which side will they take? Their actions all play into the overall quest, and could well determine which side wins. Law and Chaos are not always what they seem, and if the wrong decisions are made, the entire ordeal could fail. Remember, one of the wizards WANTS Tsathogga to win. 5. New monsters, new demons, new spells, and new rules for various aspects of play. 6. The Tower of Bells. This dungeon is the result of the workshop Bill ran at PaizoCon 2013, where the participants assisted him in building an old-school dungeon. Visit the tower and discover the secrets of the “artist” within. Beware: those entering may never come out!

What happened to the signal tower? What waits for you in the misty mountains? The mayor of the town of Four Trails hires you to find the missing magic user, Delea the White! Delea was tasked with improving the signal tower at Eddistone Point. After leaving with her party of dwarven mercenaries, the mayor received a message from Delea's familiar; a white crow with a note scrawled in charcoal; "Bandits in the tower! Help!" The tower is straightforward, five levels, each a single room. There's a bait-and-switch where the players think the half-orc bandit leader is the bad guy, but an innocuous-seeming vagabond is actually a powerful illusionist. No monsters to speak of, only class-based NPCs, no magic apart from a ring of protection (not listed in this record, being equivalent to magic armor.) Pgs. 19-27

Indomitable it stood for centuries, a symbol of order in a world of chaos. Bastion of the pass through the Kamph Mountains, the very stones of the Keep of Adlerweg were the stuff of legends. What evil power had strength enough to take it? How were its defenses swept aside? Fell creatures now attend the battlements that overlook the only pass between Berghof and the sea. This is not a pretty problem to be solved by the militia of the local villages. These and more may be needed to withstand the mayhem stirred up by the fall of the keep. Indeed, if the Keep is not retaken, and retaken soon, the Hold of the Sea Princes itself may not be secure. Now is the time for heroic action. Aided by the Sentinel, former protector of the legendary Guardians of Adlerweg, have you the courage and the determination to rid the keep of its sinister occupants? UK3: "The Gauntlet" (1984), by Graeme Morris, is the third UK-series adventure and the second half of the two-part Adlerweg series. It was run as the final round of the GamesFair 1983 AD&D Open (and won by a RuneQuest fan!). It was then published in 1984. TSR 9111

The Tower of Bondage 𝐏𝐚𝐫𝐭 𝟐 “Fane of the Jailers” takes you deeper into Aumvor the Undying’s dungeon of terror. As your players draw closer to the tower below, they will meet new horrors that include: ● 15 encounters with dark denizens including undead ● New Monster, “Walking Ooze” ● Margoyles of the AD&D era converted for 5th Edition. This adventure is part two of a six-part series that comprises six levels of dungeon and culminates in the PC’s escape from an underground prison of torture and madness, and if they choose, the destruction of the Lich known as Aumvor the Undying. In early 1320 DR Aumvor the Undying collected the greatest of all of the relics and lore of the Netherese Empire and secreted it away in his domain in Endless Caverns. There he awaited the return of the City of Shade. He did not have to wait long for it was but thirty eight years when it appeared. The undying one saw this as his long awaited opportunity to return and bring the Netherse Empire to its full glory. As quickly as it rose, it also fell, for even Aumvor could not foretell the advent of the second sundering. This change in the weave left him weakened and the nations placed under his yoke, rebelled. By 1487 DR the City of Shade fell and the end of Netheril was not far behind. From the ashes of an empire two times fallen, Aumvor the Undying plots again to restore Netheril. His ancient portal traps still in operation, he feeds on the living and grows strong again. Who can stop him? 𝐅𝐨𝐫 𝐦𝐨𝐫𝐞 𝐨𝐧 𝐀𝐮𝐦𝐯𝐨𝐫𝐞 𝐭𝐡𝐞 𝐔𝐧𝐝𝐲𝐢𝐧𝐠 𝐚𝐧𝐝 𝐭𝐡𝐞 𝐡𝐢𝐬𝐭𝐨𝐫𝐲 𝐨𝐟 𝐭𝐡𝐞 𝐄𝐦𝐩𝐢𝐫𝐞 𝐨𝐟 𝐍𝐞𝐭𝐡𝐞𝐫𝐢𝐥, 𝐜𝐨𝐧𝐬𝐮𝐥𝐭 𝐂𝐡𝐚𝐦𝐩𝐢𝐨𝐧𝐬 𝐨𝐟 𝐕𝐚𝐥𝐨𝐫 𝐚𝐧𝐝 𝐒𝐰𝐨𝐫𝐝 𝐂𝐨𝐚𝐬𝐭 𝐀𝐝𝐯𝐞𝐧𝐭𝐮𝐫𝐞𝐫’𝐬 𝐆𝐮𝐢𝐝𝐞. This exciting series presents the dungeons of Aumvor the Undying after the second sundering, desperately clinging to what little he has left. This may be the time to strike him down once and for all.

This is a trapped corridor which can be dropped into any castle, dungeon, ruin or underground adventure. It features full rules on how to scare the living be-jesus out of your adventurers and have sone great fun with them too. Get ready... as the 'Umber Eyes' is ready to receive you...
:strip_icc()/pic684151.jpg)
This is the second episode of The Black Tower, designed for use with Rolemaster or AD&D. The first part of the scenario appeared in issue 1 of ADVENTURER.

This heist adventure that takes place almost entirely at Fort Bones. It is split into five scenes: Karrnathi Opening. The characters meet Vedim ir’Durna, a noble from the region who is willing to help the player characters infiltrate the Fort. Guild Handler Lhara introduces their prize: a necromantic artifact called the Queen of Night, tied to the plane of Mabar. Valenar Gambit. Whether by wit or stealth, the characters find their way inside the walls of Fort Bones. They might use the incoming Valenar attack as a distraction, find a secret entrance, or plant themselves on a visiting dignitary’s staff. Castling. Safely inside, the characters must figure out when the artifact is unguarded, and find their way into the castle’s inner sanctum. Check. The characters must navigate their way past a magical vault door, then descend into the crypts. The Queen of Night is guarded by a terrifying construct. Endgame. With the artifact in their hands, will the characters be able to escape with their lives?

The Ghost Tower is a companion adventure made to go along with the events unfolding in Folio #19 (WS6 Duel on The White Ship). It contains the information needed to run a side adventure that will help characters get to the White Ship temple Complex. The deck of the White Ship is filled with peril, and the stamina of the characters has already been worn down just getting to it. However, a single tower, and its now crumbling bridge, might allow the characters to skirt the bulk of the wandering monsters on the deck and get to the temple complex intact, but only if the tower proves less deadly... This adventure is formatted to both 1E & 5E gaming rules.