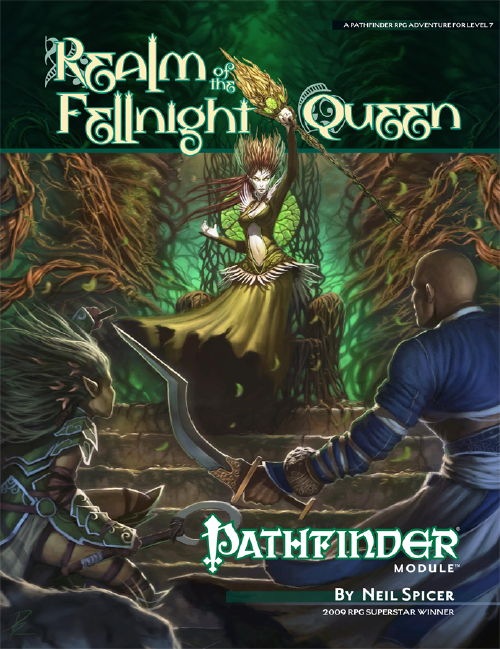
Deep in the forest, something is stirring. An evil fey sorcerer, cast out of the First World millennia ago by her own kin, has found a way to break through the ancient walls of her prison, and carries with her a vengeance too deep to be sated. For the quiet Andoren town of Bellis, busy celebrating a long-awaited marriage, it's a time for joy and laughter. Yet the forest that's always sheltered it is growing dark, and things are moving in the heart of the woods...

South of Tarlac Keep and across Lake Lowe lies a dormant volcano and its set of caverns. This location is currently the home to the powerful Artillus Highwing a massive Black Dragon. Artillus and his mate were responsible for the destruction of Tarlac at the cost of his partner. Artillus lost most of his army that day and has since moved into the caverns and attempted to rebuild the army to set his revenge upon the area.

When adventurers are in the same area its nice to have a base of operations. The Village of Tomore rests between adventures pertaining to two different campaigns in the Filbar region. The quaint village has a caravan stop and will allow PCs to come into contact with a wide variety of personages and rumors for exploration. This area can be utilized as a base of operations near the areas of the FN or F series campaigns or just as a rest stop for the party.

In this prelude to the full Princes of the Apocalypse campaign book, adventurers face off against the influence of Elemental Cultists in the hills and canyons of the Dessarin Valley. The four mini-adventures within are only tangentially related to each-other, and instead serve as starting points and hooks for the plots of the complete Princes of the Apocalypse Campaign. Players start in the well-described town of Red Larch; first investigating a local necromancer, then uncovering cult influences within the town, and finally heading off to infiltrate or do battle with two small elemental cultist strongholds. All parts of this adventure can serve as great places to seed hooks for other campaigns.

The Hardest of Hearts is a gothic horror adventure for 4-5 characters of 5-6th level. It can be played over the course of 6-8 hours and should roughly take one playing session if the party is quick, or two if the party is progressing slowly. This is the first part of the Carnival of Lost Souls campaign. It can also be played as a standalone adventure. The Hardest of Hearts features: - Exciting journey through the cold wilderness of Lamordia, which features a special travel system and survival rules - Exploration of the old mansion which has been taken over by the vicious local gang - the Corpse Collectors - Several custom diseases to challenge your players - Moral dilemma at the end of the adventure which the characters will have to solve - New custom monsters to make combat encounters truly memorable and exciting - High-quality maps, also available in universal vtt format Look out for the next adventures in the Carnival of Lost Souls series: Dementlieu: Dance with the Devil, Kalakeri: The Forbidden Temple and Valachan: Hunter’s Moon! They will be released over the course of the next two months. Once all four adventures are out, we will also release a special Campaign Guide, which will explain in detail how to best set up and play the campaign. However, if you want to start your campaign right now, don’t worry - we have included a short appendix at the end of each adventure which will explain the basics!

The first part of the Dreams of Red Wizards adventure path originally published for the D&D NEXT Playtest. Following the events Ghosts of Dragonspear Castle, a new set of adventurer's will see some of the repercussions of that adventure. This adventure is intended to be continued in the Dead in Thay adventure (Note that they Dead in Thay 5e adventure featured in Tales from the Yawning Portal is missing a significant portion of interlude that links Scourge of the Sword Coast to the events within the Doomvault). The adventurers arrive when Daggerford is crowded with refugees from outlying lands. Goblins, gnolls, and orcs have been raiding the countryside. Now, food is scarce and tension is high. Blame for a theft has fallen on the refugees, and the Duke of Daggerford has forbidden more of the displaced from coming into town. After overcoming difficulties to enter Daggerford, the characters learn more about the raids. As they fight against the humanoids and delve deeper in the darkness that encircles Daggerford, the characters learn of Bloodgate Keep. After a final fiendish ambush, they’re ready to confront the real threat to the area. DM Note: This adventure points the adventurers strongly towards Bloodgate Keep but that location does not appear until the Dead in Thay adventure; at several points the party may feel drawn to explore that location rather than continue their investigations around Daggerford. However, since Bloodgate Keep is only eluded to as a source of great evil power, it can serve to easily segue to an entirely different adventure path. As a NEXT Playtest adventure, Scourge of the Sword Coast uses milestone leveling and the included stat blocks for creatures do not necessarily match or even appear in the 5e Monster Manual, nor do they have XP values or challenge ratings. In some places it will reference rules used in the Playtest but dropped or changed in the 5e release, these are unlikely to substantially impact gampley with 5e rules.
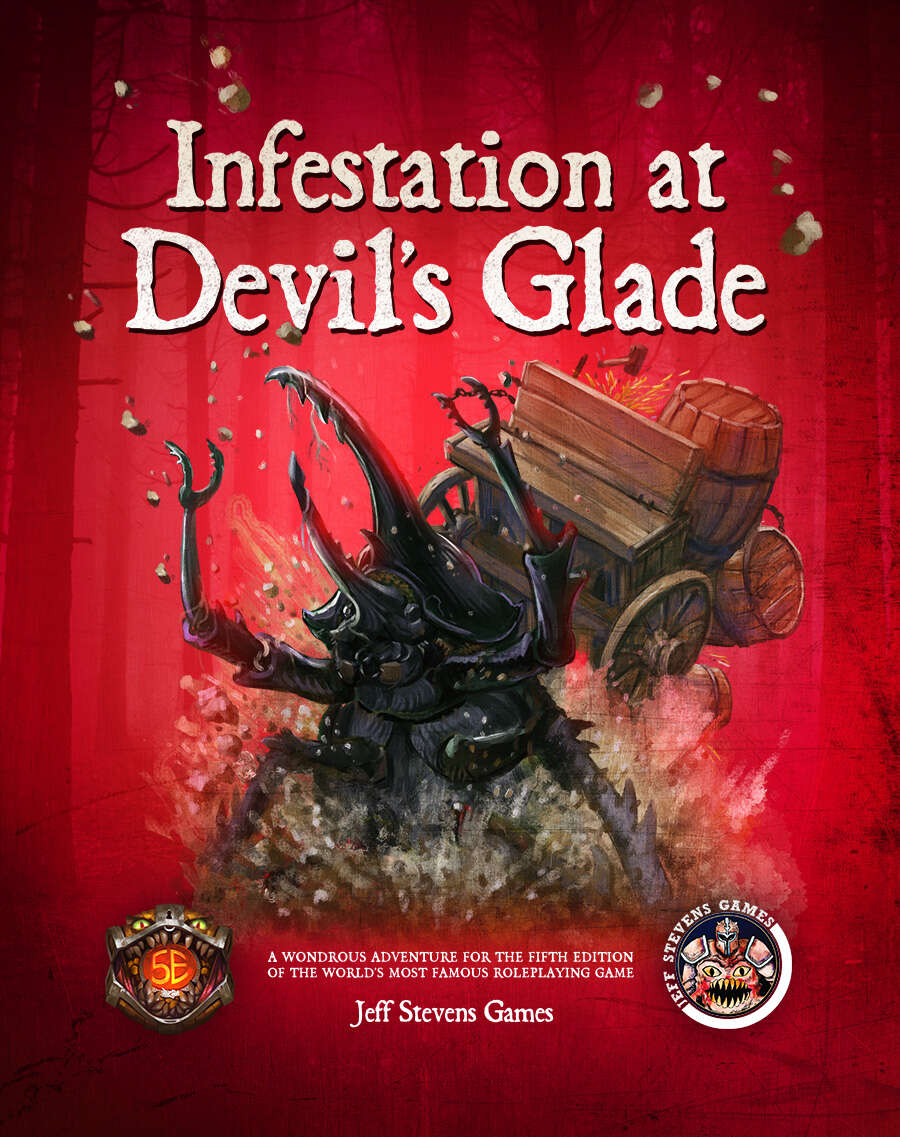
The town of Devil's Glade is under attack! Swarming insects have driven the residents out of their homes and businesses, and giant insects patrol the town square. Who or what has brought these creepy-crawlies to Devil's Glade? What's their motive? Are your heroes brave enough to put an end to the infestation? Infestation at Devil's Glade is a 2- to 4-hour adventure designed for four to five characters of 1st to 4th level, and is optimized for 2nd level characters. Scaling Suggestions are included, allowing you to play this adventure with characters of 5th to 6th level. Infestation at Devil's Glade isn't just a short adventure. We provide you with a location to which your heroes can return, or even use as a home base. The Supplement Includes: Adventure. The main adventure focuses on the heroes cleaning the town of the infesting insects and the villains who brought them. Beginning at The Fork (a tavern where many of the residents have made camp), the characters learn about the infestation of Devil's Glade, and are hired to look into the matter. NPCs. The adventure is filled with fun and engaging NPCs. During the characters' time at The Fork, they have the opportunity to talk with NPCs, help them, and learn more about the infestation. After the heroes return Devil's Glade to normal, the merchants and residents return, giving your characters unique shops to explore and quests to complete. Cursed Mask. The crux of the problem - a cursed mask that slowly transforms the attuned creature into a giant, insect monstrosity, and gives them power over insects. To end the infestation, the adventurers must confront the partially transformed person wearing the mask. Shops & Services. Devil's Glade contains shops and services the characters can explore, including therapeutic mud baths, a diner specializing in eggs, a trinket shop, a candle maker, and a dentist. Side Quests. We provide several side quests for before and after the main adventure, allowing you to increase the main adventure's run-time, and provide you with material for after the main adventure. Maps. The adventure contains maps for the main locations and major side quests. Each map is hand-drawn by Jean Lorber. Art. NO AI! The book is filled with fantastic, original artwork by Matt Morrow Art. Also Included: Map Files. Both grid and non-grid maps are included and available to download. Special VTT Tokens and Assets. Several custom tokens and art assets are included for VTT play.

"The southlands of Eor are being despoiled. Merchants will no longer run their caravans on the main highway past the quiet village of Waycombe. The peasants are fleeing their lands, and all are demanding protection from the powerful Count of Eor. The goodly count has sent a troop of his trusted fighters to exterminate the brigands believed responsible for these outrages, but weeks have passed, and still there is no word from this force. Now John Brunis, Count of Eor, has turned to you for aid. After taking counsel with the High Priest of Eor, he believes that a small party of cunning, bold adventurers may succeed where armed might has failed. You find yourselves faced with many mysteries! Why has robbery suddenly erupted in the peaceful southlands? How could mere brigands be as powerful as the foes described to you by their numerous victims? Is this really mere robbery? Or is there some truth to the rumors, told only in hushed whispers, about the beginnings of a hideous plot being hatched by an ancient, vile, and evil foe of all mankind?" Eor is beset by marauders and lizardmen of a boldness not seen in years. Hired by the Count of Eor, the party is tasked with tracing the source of these foes and eliminating them for the safety of the realm. After a set piece combat in Count Brunis's castle, the party must trek across Eor's wilderness, eventually coming to the Great Southern Swamp beyond the village of Waycombe. With further exploration they can locate the Ancient Temple which serves as the tomb and stronghold of Sakathas, the vampiric LIZARD KING! TSR 9055

The power of prophecy is given to few. Wise are they who guard this gift well, for those who thirst after such knowledge are not always men of principle. Bastion of destiny, the Tower of the Heavens stands silhouetted against the star-studded night sky. From within his darkened observatory, perched like an eyrie on the highest turret, a figure in white charts the course of a shooting-star as it disappears behind the snow-capped peaks of the Tegefed mountains. The old man smiles grimly to himself; the event foretold has come to pass! Power, glory, riches - it takes years to acquire them. The uncanny accuracy of their predictions has brought all these and more to the sages of the Tower of the Heavens. But what is hard to win is often easier to lose, and the future of the tower now hangs in the balance. For it is written that the day of reckoning draws nearer when a star falls.... TSR 9120

The heroes are sent to find what happened to a local druid, but discover his mind has been driven to madness and he is attacking the local villages. The heroes track down the druid's grove and find he was enchanted by a hag, and the heroes have to find a way to destroy the chimes she uses to enchant the druid.

FN11 – The Amulet of Dorian Beldor begins as a race to catch a fugitive from justice and quickly escalates into a much larger problem. With over 40 pages and 8 different maps this adventure has your party stumbling onto a former city covered by a rock slide now inhabited by a large group of humanoids. Buried deep within the complex is the ancient relic that controls elementals and will be quite useful as the Filbar North series winds down.

An evil cult with a trick up its sleeve. A missing tome, a trail of clues and an unusual cult. Lawful-good characters, especially paladins are recommended for this adventure. Clerics of Aphrodite, Hanali Celanil, Hera, and lshtar have a special interest in despoiling the cult of Shami-Amourae. [Note: Adventure contains statistics for the Demigod Succubus, Shami-Amourae] Pgs. 19-27
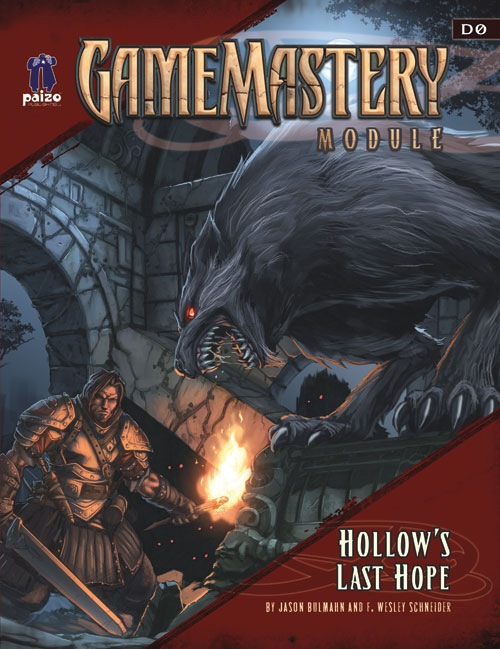
The town of Falcon's Hollow needs a miracle. The plague has come to the town of Falcon's Hollow, and not even the town's priest can abate its wretched course. With the coughs of the sick and the wails of the dying echoing through town, the local herbalist uncovers a cure, but she needs some brave heroes to retrieve the ingredients. Finding the cure means risking the dangerous Darkmoon Vale, infiltrating a witch's haunted hut, and delving the ruins of an abandoned dwarven monastery.
A Giant Ransom is a short adventure for four 11th-level characters. There are opportunities for diplomacy, stealth, and combat, based on the choices the PCs make, so any mix of classes is appropriate. The adventure can be set in any campaign world, in a frontier region near glacier-covered mountains. The newly appointed Duke Castaril Ambrinigan has recently relocated to a modest, newly constructed keep near the frontier town of Ormanlak. He and his family arrived safely, but a caravan containing family heirlooms was waylaid by a band of frost giant raiders. Most of the items were of no consequence to the Duke, with the exception of one: a three-foot tall golden statue of a lion. The Duke, wanting to avoid a war, sent an emissary to the frost giants. He offered gems totaling 10,000 gold pieces in value as ransom for the lion. The giants accepted, and a time and place was set for the exchange. But there is more. A white dragon named Whildenstrank lives in the midst of a nearby glacier, and has maintained a network of winter wolf spies, including some in the frost giants' camp. Through these spies, Whildenstrank learned of the capture of the golden lion, and the upcoming trade. Thinking that the lion would make a fine addition to his frozen treasure hoard, Whildenstrank has prepared to strike.

Escape from Elturel is a 6-8 hour Dungeons & Dragons adventure for characters of levels 1-2, for use as an introduction to Baldur's Gate: Descent into Avernus. Pilgrims and travelers flock to the holy city of Elturel to bask in the light of its second sun. But when the Companion starts to malfunction, the characters must escape the doomed city before it is pulled down to the Nine Hells. In the aftermath, a caravan of refugees needs their help to find a safe haven in that notorious hive of scum and villainy, Baldur's Gate! The adventure has everything you need to start a new campaign in Elturel, including: - a new adventure hook for Descent into Avernus - short introductory encounters set during and after the fall of Elturel - a skill challenge for escaping Elturel as it is pulled down to Avernus - resources, encounters, travel activities, and NPCs for a caravan to Baldur's Gate - notes for transitioning into Descent into Avernus - two creature and NPC stat blocks - a map pack with two maps by Dyson Logos Escape from Elturel also includes suggestions for combining this adventure with Burial in Baldur's Gate if you want to run a mixed party of characters from Elturel and Baldur's Gate.

You and your cohorts have their first adventure under their belts and are now recognized heroes of the realm! You plan on building your reputations but one of your henchmen has promised his love that he would marry her. You and your group are happy to attend and quickly discover that danger lurks everywhere as bandits crash the celebration.

This week’s Filbar offering is an introductory level adventure pitting fresh adventurers against a variety of opponents. As they head out to make a name for themselves the young group will first need to pass by the Horn of Delmar. This mountain landmark was once home to a mighty fortress felled centuries before hand. While many have adventured to the top they have returned ravaged with injuries and reports of strange and foul creatures. This adventure features an old tower, bandits, undead, and an old dungeon complex for those who search hard enough.

AL19 – Junket to the Southlands has the PCs enjoying a little R&R in southern Allatrama when a caravan comes into town. Scuttlebutt has it that some famous Bard came in with them and is giving a performance later. With nothing else to do you opt to take a listen. After hearing the tales recited by the incredible poet you opt to visit the location of her stories. Saddle up folks, you’re heading into the frozen land to the south!
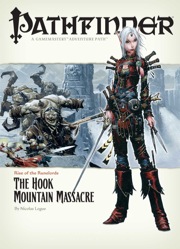
Them Ogres Ain't Right... The Rise of the Runelords Adventure Path continues! The notorious Hook Mountain ogres, known for their violent and savage ways, have slaughtered the soldiers of Fort Rannick. The few surviving rangers need heroes to help them retake this key fortification before the ogres use it as a staging ground for further assaults on the region. Yet why have the ogres chosen now to launch this sudden attack? What sinister force grows in the surrounding wilderness, and what ties to the mysterious Sihedron Rune do the ogres of Hook Mountain hide? Are the rumors of an army of giants massing for war true?

5e Solo Gamebooks presents Citadel of the Raven, the third in our series of solo adventures. Citadel of the Raven is the sequel to Tyrant of Zhentil Keep, but is also playable as a standalone solo adventure. The first solo adventure in this series is titled The Death Knight’s Squire. At 589 entries, you can expect a lot of variety from this solo quest. There are several main paths your character could take, and numerous encounters and options on those paths (including short sub-threads designed for specific classes), making the number of possible adventures practically endless. Add to that the characteristics of your class, and the numerous variegated combat encounters, and it’s safe to say that no two run-throughs of Citadel of the Raven will be the same.