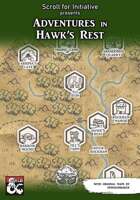
Adventures in Hawk's Rest is a love letter to low-level D&D: Studio Ghibli meets the Shire meets Lost Mine of Phandelver. An open-world hexcrawl for characters of 1st to 2nd level, Hawk's Rest is intended as a prologue to a longer campaign, with seven keyed adventure sites and fantastic maps by Dungeon Baker (How to Defend Your Lair, The Lazy DM's Companion). Hawk's Rest is written for new and veteran players alike but avoids the usual pitfalls associated with 1st-level adventures: not only are encounters balanced to avoid character death, but most combats can be avoided entirely with clever roleplaying.
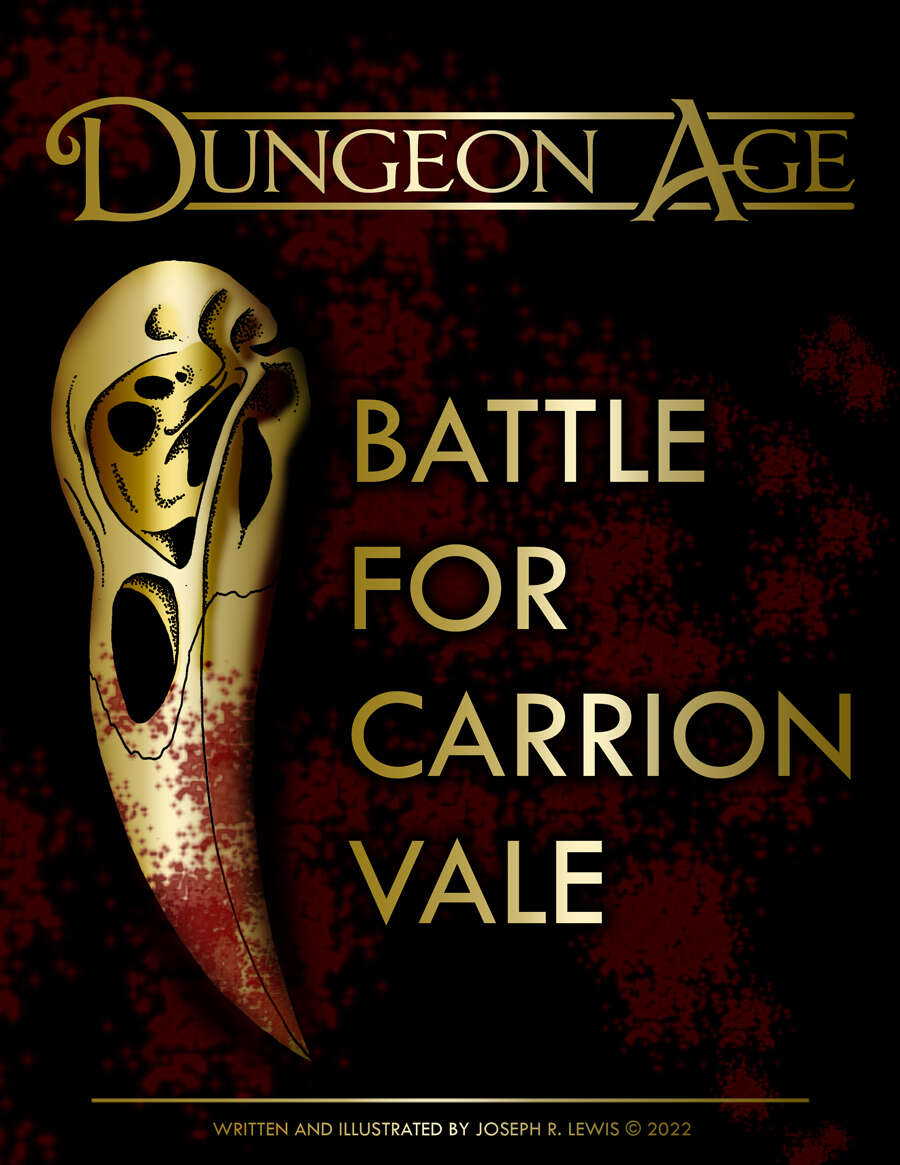
This morning, the forces of Law and Chaos clashed at Castle Yennagor. The battle raged all day, but as darkness fell, a cataclysmic explosion destroyed most of the castle and leveled both armies. Now, as night claims the vale, flickers of life return. Survivors make camp, flee the field, or continue the fight. Scavengers creep over the dead. And one question remains unanswered: what happened inside the castle? This is a dark sandbox adventure. Players take the role of battlefield survivors. They can choose which side they are on (or neither), and they can choose their goal, such as to escape the field with their lives, to plunder the dead, or to reach the castle and finish the mission. ADVENTURE TYPE: Mid Level / Combat / Diplomancy / Battlefield / War / Dark Fantasy / Factions DESIGN NOTES This adventure is intended for mid-level characters around Level 6-7 Players navigate a battlefield full of competing factions and gruesome situations 30 unique encounter locations 70+ original magic items 30+ original monsters One map and multiple illustrations Estimated play time: 1-4 sessions (4-16 hours)

The Wizard’s Amulet is a short, introductory adventure for six newly created good-aligned 1st-level characters. The adventure revolves around Corian, a fledgling Sorcerer. While an apprentice, Corian discovered a letter written by a wizard named Eralion, who it is said some years ago attempted to become a lich—and failed. Accompanying the letter was a mysterious amulet with strange markings. Joined by newfound companions, Corian set off in search of Eralion’s keep and his supposedly unguarded treasure. But Corian is not alone in desiring to unlock the mystery of Eralion’s fate. Darker, more evil forces have designs on the secrets reputedly hidden with Eralion—forces willing to stop at nothing to obtain… The Wizard’s Amulet.

As a pair of fresh faced adventurers yearning to show the world what you have you can almost taste the action, but you haven’t found any yet. While on the road a local farmer tells you that the Thorp of Templeton is looking for someone to find their missing ferryman. While the farmer doesn’t have many details the thorp in question is less than half a day’s walk from where you are. As you wander down the road with your friend you both revel in a job as easy as finding a drunken boat captain!
Two hundred years ago, the great dwarf smith Durgeddin the Black built Khundrukar, a hidden stronghold for his war of vengeance against all orckind. For years Durgeddin labored, until the orcs discovered Khundrukar and stormed the citadel, slaying all within. Legends say that Durgeddin's masterful blades and glittering treasures were never found.

A top the crown of the Isle of Dread, a hateful monster broods. Spawned by the Price of Demons, the architect of the shadow pearls dwells deep under the ruins of ancient Thanaclan. As long as this vile monster lives, the threat of the savage tide remains, looming dark on the horizon. "City of Broken Idols" is the seventh chapter of the Savage Tides Adventure Path, a complete campaign consisting of 12 adventures appearing in Dungeon magazine. For additional aid in running this campaign, check out Dragon magazine's monthly "Savage Tidings" articles, a series that helps players and DMs prepare for and expand upon the campaign. Issue #354 of Dragon magazine features the totemic demonslayer, a new prestige class that focuses on fighting and defeating demons, be they at the heart of the Isle of Dread or encountered in the depths of the Abyss itself. The central mesa of the Isle of Dread is taboo to the locals, a place shrouded in mystery and cloaked in rumor. The time has come to confront the evil that dwells atop the island’s savage crown. Pgs. 54-84

Getting there is half the fun? The town of Timel is suffering under a plague and the townspeople need the cure that Havendale has! The safest way to Timel is through the Dorgel Mountains where the Hammerskin Dwarves operate some kind of system that allows for faster travel. Hopefully the Dwarves will allow you to get to Timel faster!
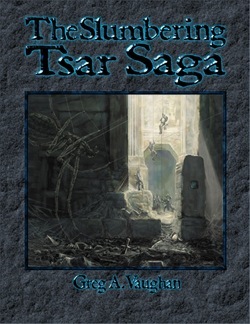
The Sleeper Awakes! At last, after languishing in its crypt for an age, the secrets of the slumbering city of Tsar burst forth in all their macabre glory. Poured forth from the eldritch furnaces and crucibles of the Necromancer and Orcus himself comes Frog God Games bringing you at long last The Slumbering Tsar Saga™. Something Stirs in the City of Evil Over the distant northern hills, beyond The Camp, and past the Desolation stand the pitted walls of Tsar. A hundred armies have crushed themselves against this bulwark in futile attempts to breach the city. Even the combined might of the Heavens and Earth were unable to break through in the final battle of Tsar. So why was the city suddenly abandoned on the verge of victory, and what waits for those foolish enough to enter the Temple-City of Orcus? The Black Gates Await Only the bravest and most powerful of heroes dare the depths of the Desolation and live to tell of it. But what happens when they penetrate that blasted landscape and look upon the gates of the very center of evil on the earth. Can even heroes of such renown breach the Walls of Death and live?
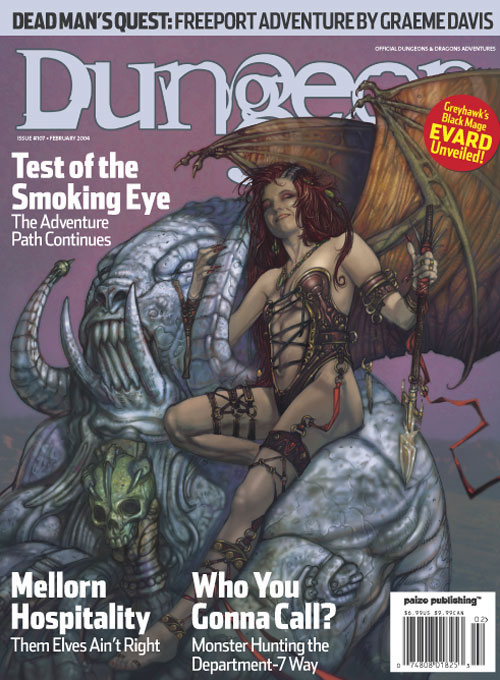
Every seven years, the elven village of Mellorell hosts the Festival of Life, an opportunity to trade, shop, and celebrate with the folk of nearby lands. But a dark secret that could cost the life of fairgoers draws the heroes into a plot that leads all the way to Hades. The core of the adventure is a short thirteen room lair with grimlock guards, a basilisk pet and Malifustal the Night Hag, who guards a portal to Hades. Pgs. 12-33

At the end of the Hateful Wars, Lord Sandor led his army into the Barrier Peaks in pursuit of a host of goblins and orcs. He and his army vanished, and now a group of adventurers follows his footsteps to discover what doom fell upon him and his men. Pgs. 30-46

The Lady in Blue, a mysterious figure of cosmic power, enlists a band of simple peasants for a strange task. They are to follow an invisible bridge until they arrive at a hole in the sky – and then jump through. Death awaits all but the bravest, strongest, and luckiest, but the Lady offers a reward beyond all the riches of the world: the chance to change the very stars these peasants were born under, and thus change their destiny.
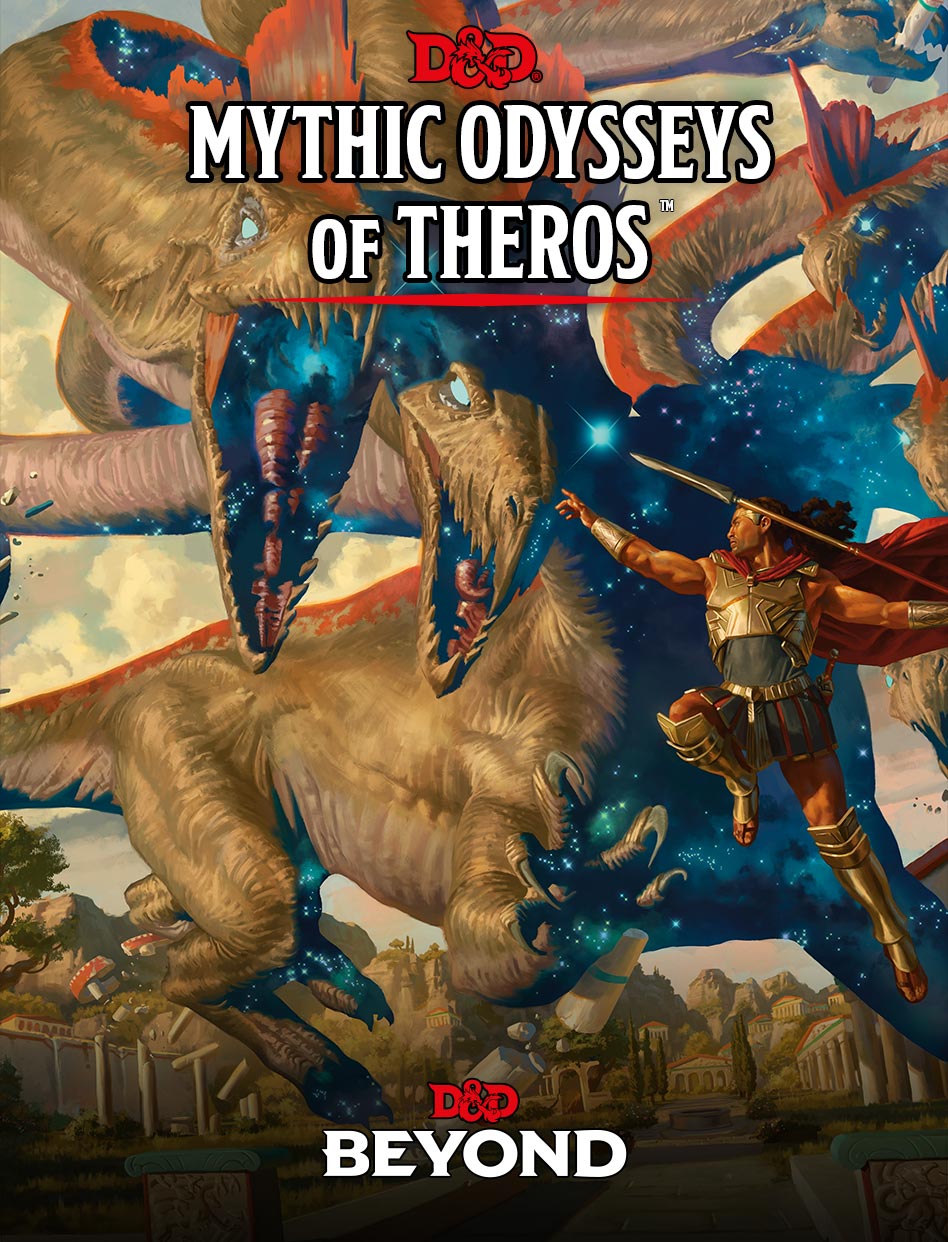
The adventure begins with the characters discovering the recently murdered Returned, Varyas, and confronting his killers. Varyas's gold mask bears a code on it, one that points toward the sage Khea who lives in the nearby polis. When the characters investigate, they learn from Khea that the writing is undecipherable except for the first line, which refers to the legendary Court of Orestes, a site sacred to the god Phenax. She also notes that a recent earthquake has uncovered a cave along the Khystonos River that could be the secret site's location. If so, then perhaps within lies the key to deciphering the mask, along with its own treasures. With the information provided by Khea, the adventurers set forth into the wilds, where they'll face multiple storied dangers before reaching the Court of Orestes. Once at the lost holy site, the characters discover ancient guardians, as well as an unliving entity with the potential to reveal Phenax's lost secret.
Venture-Captain Dennel Hamshanks sends you to convince an Andoren druid named Hemzel to allow the Pathfinder Society to study his recently discovered lorestone, a minor magical item that unlocks some of the mysteries of the ancient Andoren druid circles. When you arrive and find Hemzel murdered and the lorestone missing, you must race against time to recover the lorestone and stop Hemzel's murderers from using it against the druids of Andoran.

Through seven gates lie seven realms. In seven realms stand seven guardians. With seven guardians lie seven symbols. From seven symbols comes one key. Alpahaks the Dark desires that key, by which he plans to release death and chaos into the realms of man. Your party may be all that stands between life and death. Will you heed the lunatic ravings of a dying madman? Travel to the top of Guardian Mesa, and enter the Septahenge. Gather the mystic symbols, create they key, and defeat the Carnifex, before it's too late... TSR 9174

X11 Saga of the Shadow Lord consists of two linked adventures as a mini-campaign: In the first adventure called Elvenstar, PCs try to steal a magic item from the Shadow Lord to thwart his planned invasion of a peaceful neighboring kingdom. Encounters in this adventure include a village populated by adventurers, and a cloud giant living in a small castle, before the party reaches the Shadow Lord's lair for the final encounter. In the second adventure, also enclosed in module X11, The Halls of Drax Tallen, the Shadow Lord returns more powerful than ever. His undead minions are searching for another magical item to give him immense power and the PCs must find this item before he does. Player characters must get past the undead army of the Shadow Lord and infiltrate his haunted fortress to retrieve the magical Elvenstar. TSR 9165

The chase to save your family continues! After your encounter at the cove, you head south across Esaq to try and catch the slavers. With some experience under your belt, you are feeling more confident about your fighting ability, but it is about to be tested yet again. This scenario picks up where DQ1 left off and is the middle of a trio of adventures.

Eurich Gunshoff IV, Count of Kleaves, is beset by powerful enemies. The King to the north has laid waste his holdings beyond the Tot River and even now threatens the river castles. Only the coming winter holds him at bay, giving the Count time, if only a little, to muster his strength. Long have the people of Kleaves worshiped the gods of the south, and it is to these people that he turns, striking a bargain with the powerful King of Kaymor. In exchange for a precious gift the Kayomarese promise to aid Eurich and his people, but it is Eurich’s charge to deliver the prize. He can spare few troops, and with spies all about he cannot be too careful. The prize he sets in a wagon in a caravan and as escort he calls upon those who dwell upon the fringes of society, adventurers who seek fame, gold and glory. They are charged to cross the wilderness and deliver the wagons safely. But the road is fraught with danger. Walls of stone block the road and winter upon the open plains carries dangers beyond the biting cold. But more than stone and frost, the end promises fire without comfort. Designed in 3 parts Giant’s Rapture offers overland travel, dungeon, and intrigue and pits the character’s wits against the open road and one another.

A long, perilous ocean journey behind them, the crew of the Sea Wyvern finds itself shipwrecked on the Isle of Dread. Their destination lies well over 150 miles to the south, miles heavy with the threat of the island's terrible inhabitants. Yet the unknown enemies are far more sinister, for more than just dinosaurs hunt the vast jungles. Before long, a cunning fiend picks up their trail, and its duplicitous master demands their sacrifice. "Here There Be Monsters" is the fourth chapter of the Savage Tide Adventure Path, a complete campaign consisting of 12 adventures appearing in Dungeon. For additional aid in running this campaign, check out Dragon's monthly "Savage Tidings" articles, a series that helps players and DMs prepare for and expand upon the campaign. Issue #352 of Dragon explores the Isle of Dread in detail, providing a complete ecology of the island and the writing of Larissa Vanderboren. This article can be used as a player handout to represent the journals the group recovered from the Vanderboren family vault in the first adventure in the Campaign. Shipwrecked on the Isle of Dread! Faced with a dangerous journey, the PCs must escort a ragged band of castaways through monster-infested wildlands in order to reach the safety promised by the colony of Farshore on the isle’s southern tip. Pgs. 32-60

One reason why they call it "the dead of winter." A year ago, a white dragon came out of the mountains north of Polarton, attacking trappers, driving off game, and marauding as it pleased. The dragon is seriously affecting the financial stability of the town. Therefore, the town council has placed a bounty on the dragon. This is a short arctic adventure. Pgs. 15-19

This high level adventure returns the PCs to Helvana. A recent adventure has netted the party some Adamant, a rare ore in Filbar that is excellent for constructing weapons of amazing quality. As you arrive in Vorshmorgan to locate a smith you quickly discover there are problems in town. The scenario was designed to give upper level players a challenge and pits them against one of the most feared creatures in the land!