
In the Lodge, things are simple. They can look like you. They want to BE you. And in their home, the only thing standing between you and death is six millimeters of glass. Can you escape the Polished? Find out in Six Millimeters, a thrilling horror adventure for the world's greatest roleplaying game! Take 4-6 of your friends through the Lodge, an extradimensional space overrun by nightmarish beings that can strike from any reflective surface. Shardlings revel in the paranoia caused by their reflective horrors, sowing doubt and mayhem until the opportune moment presents itself. Panes, meanwhile use their impressive stature to quickly overwhelm their foes. Spellcasters especially are in for a nasty surprise! This adventure is intended for 1st-level characters and uses milestone advancement to ensure they reach 3rd-level throughout the course of the game. For players who take their time investigating the Lodge and discovering its dreadful past, this adventure may take 7-9 hours to complete. Given the adventure’s horror elements and milestone advancement, Six Millimeters is easy to use as a starting scenario to the Curse of Strahd adventure. Content Warning: Suicide, Self Mutilation

She ran. Where to or for how long, she really couldn't say. The little flame of her oil lamp sputtered and went out a few times. She'd snap her fingers and make the wick flare to life, but she may as well have ran blind. The hallways were pitch black with soot and choked with smoke, every turn was a guess and every corridor a gamble. Unnatural screams echoed from every direction. Left, right, left again, was this the south or north end of the labyrinth? She had no idea. The next turn brought her face to face with a doorway completely consumed in blue fire. The room beyond was so bright she had to look through her fingers at it. A shadow covered her, a shape in the doorway: a hulking creature with a wolf-shaped muzzle and enormous pincers for hands, wreathed in the same blue flames. The screams were getting closer behind her, too. They had her cornered, again. The demon slammed its shoulders through the narrow opening, splintering the wood and stone. She dropped the lantern and let the wand in her sleeve fall into her waiting hand. With a word of power and a gesture, she appeared in the familiar bedroom: stuffy and reeking of wood smoke. She'd have to try again tomorrow, if she could remember. During an exploration on the sixth level of Undermountain, a strange invisible creature leads to a series of collapsed chambers that hide a forgotten secret and one of the most devastating forces known to the multiverse. Marambra Nyghtsteel, the forgotten apprentice of Halaster Blackcloak, has been locked away for an age deep within Undermountain. What point and purpose her forced seclusion has, only Blackcloak may know. When a spell consuming blue fire, known as The Spellplague is trapped within the chambers, a series of events have left Marambra, lost in her madness, struggling to survive.

At last- an opportunity to avert the threat to the little town of Saltmarsh! The real enemies have been identified-- evil, cruel creatures, massed in force and viciously organized. Can the brave adventurers thwart this evil and ensure the safety of Saltmarsh? The Final Enemy is the final part in the series of three modules designed and developed in the United Kingdom for beginning adventures with AD&D rules. Its plot follows directly from those of the first two parts (U1 - The Sinister Secrets of Saltmarsh, and Module U2 - Danger at Dunwater.) TSR 9076

This module is designed for characters who have made their way through the Freeport Trilogy. Characters new to Freeport are at disadvantadge, however. Hell in Freeport sends the characters to the depths of the Hell as pawns of an undead duke. When they discover the truth of their mission, they must race against a sinister clock to save two cities. Act 1 kicks off with a battle against a cornugon on the Freeport docks. The characters are hailed as heroes for defeating the fiend, and are summoned to the Church of Retribution to help in the battle against Hell. Tee old inquisitor who greets them is actually Jalie Squarefoot, an infernal lich who took this form to search for the perfect cat's-paw. Squarefoot wants to take the souls of Freetown, a city in Hell, but must first get around a contract poin: he can't take the city until the Tyre tower clock-now stopped- strikes midnight. He sends the party to Devil's Cry, an inslan off the coast of Freeport, with instructions to close the gate to Hell hidden inside. In truth, he knows the party will be transported straight to the Third Circle when they try. Inside Devil's Cry the party finds the remnants of a great battle fought between an invading devil's army and the Church of Retribution, and battle their way past undead defenders until they reach the gate itself and unwittingly trigger it. Act 2 begins with the party in a twin of the complex they explored in Devil's Cry, but now they are deep in Hell. They fight their way back to the cavern entrance, only to find that they are not on the Prime anymore. When they voyage back their homeport, they instead find themselves in Freetown, a city of scaped slaves in a dark mirror image of Freeport. Once in Freetown, they make the acquaintance of the city's mayor Wycleffe-a servant of Jalie Squarefoot-who persuades them to go on a quest to Tyre to restart the tower clock. They travel the Styx to the Eight Circle and fight their way into a long-buried vity, and then into the tower clock itself. They restart the clock and begin the trip home, but are waylaid by devils and taken prisioner. Act 3 opens with the party naked and in chains in the infernal prison called the Forge. They learn that Jalie Squarefoot and Wycleffe have duped them, and that the supposed rebels of Freetown are actually its protectors. The characters must escape or win their freedom in the gladiator pits before the tower clock they restarted destroys both Freetown and their home city of Freeport. They battle back to Freetown, taking revenge on their captors in the process, and capture the city from Wycleffe with the help of the rebels. Finally it falls to the PCs to enter the tower clock and stop it and Jalie Squarefoot before the fiend's plan can come to fruition. After being tricked and manipulated throughout the adventure, the party finally has their revenge on the duke and his minions.

Gnomish denizens of Berribury are terrorized by flooding. Their only hope is for adventurers to summon the archfey of their domain; Tiddy Mun, to take the waters away. A Two-Hour Adventure for Tier 1 Characters. Optimized for APL 3

What is the Lost Lands? The Lost Lands is the home campaign world of Necromancer Game's and Frog God Game's own Bill Webb. This campaign has been continuously running since 1977. Many of the adventures published by Necromancer Games and Frog God Games are directly inspired by this campaign. They have evolved over the decades, and more material continues to flow from it as the dice keep rolling. Sages and wizards of legend speak of the Lost Lands—many of the players who have lived and died in Bill's campaign over the years now have a place in history (in the books). Frac Cher the dwarf, Flail the Great, Bannor the Paladin, Speigle the Mage, and Helman the Halfling are well known to the fans of Bill's work. This is the game world, and these are the adventures in which the players of these famous characters lived and died. Hundreds of players over the past 35 years have experienced the thrills and terrors of this world. The Sword of Air is the centerpiece of the Lost Lands. Currently, this epic tome consists of several parts: 1. The Hel’s Temple Dungeon—kind of like Tomb of Horrors on crack. This six-level, trap-and-puzzle infested dungeon formed the basis of Bill's game through his high school and college years. Clark Peterson’s very own Bannor the Paladin spent several real life months in the place, and, sadly, finished the objective. This is where the fragments of the fabled Sword of Air can be found…perhaps. 2. The Wilderness of the Lost Lands extending to the humanoid-infested Deepfells Mountains and providing detail about the nearby Wizard’s Wall. This so-called “wall” was raised by the archmages Margon and Alycthron harnessing the Spirit of the Stoneheart Mountains to raise the land itself, creating a massive escarpment to block invaders from the Haunted Steppes. These archmages are actual player characters from the early 1980s who live on in the legends of the Lost Lands. Over 70 unique encounter areas are detailed, and each one is a mini-adventure in itself. New wilderness areas may be added based on bonus goals described below! 3. The Ruined City of Tsen. Legend has it the city was destroyed by a falling meteor. This place forms an aboveground dungeon area the size of a city, with over 100 detailed encounter areas. It’s a very dark place…even at noon. 4. The Wizard’s Feud—This campaign-style adventure pits the players in a long-running series of intrigues and battles between two archmages. Which side will they take? Their actions all play into the overall quest, and could well determine which side wins. Law and Chaos are not always what they seem, and if the wrong decisions are made, the entire ordeal could fail. Remember, one of the wizards WANTS Tsathogga to win. 5. New monsters, new demons, new spells, and new rules for various aspects of play. 6. The Tower of Bells. This dungeon is the result of the workshop Bill ran at PaizoCon 2013, where the participants assisted him in building an old-school dungeon. Visit the tower and discover the secrets of the “artist” within. Beware: those entering may never come out!

Uncover the curious tale... When the party are shipwrecked they take shelter in an old forgotten cottage. They soon find themselves uncovering the mysterious death. One thing is for sure, they are not alone... Back to the sea is a 3-5 hour one shot, recommended for Level 3-4 adventurers. It offers a refreshing and different look at Ghosts in D&D. Contains 3 beautiful original digitally illustrated Maps. Unique Monsters and interesting combat scenario. Encourages player creativity and problem solving. Screen reader version.

The Lamenting Lighthouse is a four-hour adventure for 5th-10th level characters, designed for Dungeons & Dragons 5th Edition, with a nautical theme, heavy undead and horror elements, and mysteries to solve! One lonely lighthouse shines the way through the rocks and shoals that deny entry to the northern Moonshae Isles. But when the party’s transport approaches, a horrific gale at their backs - no light is in sight... The party must venture ahead of their vessel in a race against the storm to the restore the beacon before their ship is lost. What has befallen the keepers, and what dark secret does the lighthouse hold? Will the heroes prevail, or will they join the lighthouse's lament? This adventure can easily be inserted into a run-through of Ghosts of Saltmarsh. This one-shot can also serve as a nautical interlude in any on-going campaign where the characters have to take to the sea. Included with this adventure are: + 6 original custom creatures, the dread wraith, the dread wight, the swarm of seagulls, the captain, the rating, and the sailor + 12 player hand-outs with notes that shed light on the mystery of the lamenting lighthouse, with a randomization mechanic that ensures a degree of replayability + 9 original fleshed out NPCs, including personality traits and roleplaying tips + 2 original magical artifacts + 7 hand-drawn maps of important locations + a story reward and 2 story hooks for continuing the adventure (depending on how the adventure resolves)

Strange things are happening at War Tortle Brewery. Not only is the magically automated, multi-level stone tower brewery under the influence of corrupting magic, but a bodacious party of hipsters has taken over the grounds. Management needs help! Prove your worth to partying hipsters by playing games and earning VIP points. Earn enough points and earn a Supreme Party Animal Badge – your key to entering the tower. Once inside, navigate the automated brewery, infested with all-new creatures and threats manifested from the brewery’s equipment and brewing ingredients. Do you have what it takes to gain entrance, brave the tower, and put an end to the corrupting magic? Will you survive the challenges within, or fall trying? Content Warning: Alcohol, Drinking Games, Crude Humor, Intoxication
This adventure can be used as stand-alone or continuing the arc started by Death in Freeport. Terror in Freeport leads the PCs deeper into the intrigue they began to glimpse in Death in Freeport. The investigation takes them from the corridors of power to the bowels of the underworld, with terrifying insights into who really controls the city. They discover that the Brotherhood of the Yellow Sign has its claws in the town's power elite, but thanks to some clever camouflage by Sea Lord Drac. they may not find out just whom the serpents control until it's too late. As the adventure begins, the PCs are contacted once more by a very nervous Brother Egil. He tells them that while staying with Lucius one evening, he awoke to find a burglar in the roomstealing a scroll. Egil is certain that the Brotherhood have penetrated further into Freeport than anyone imagines. He wants the PCs to investigate Milos's other ties to the city and find out what's being done about the temple of the Unspeakable One. The PCs search the cultist's lodgings and discover it has been carefully gone over, and several possibly incriminating books are missing. But the burglars overlooked one thing: a Tome with a diagram of the Lighthouse of Drac sketched onto the back page, marked with the letter V. Upon leaving Milos's lodgings, the PCs come upon a gang of orcs beating up a hapless messenger. They lend a hand, only to discover they've been tricked - the messenger makes off with Milos's book! A chase through the back streets leads them to the boarded-up building the y discovered in Death What they find isn't encouraging. There is a guard posted out front, courtesy of "V"- -Verlaine. head of the Captains' Council. Meanwhile, down below, the cultists continue to have the run of the caverns-— in fact, they have been shipping their unholy relics to Verlaine's own home!

A lost island, a magical pillar, the promise of lost treasure...what more could intrigue adventurers? The history of Torusak is filled with interesting events but when a hurricane actually made it into the Grona Bay and destroyed cities, more questions than answers have presented themselves. Is your group ready to investigate this "magical pillar"?
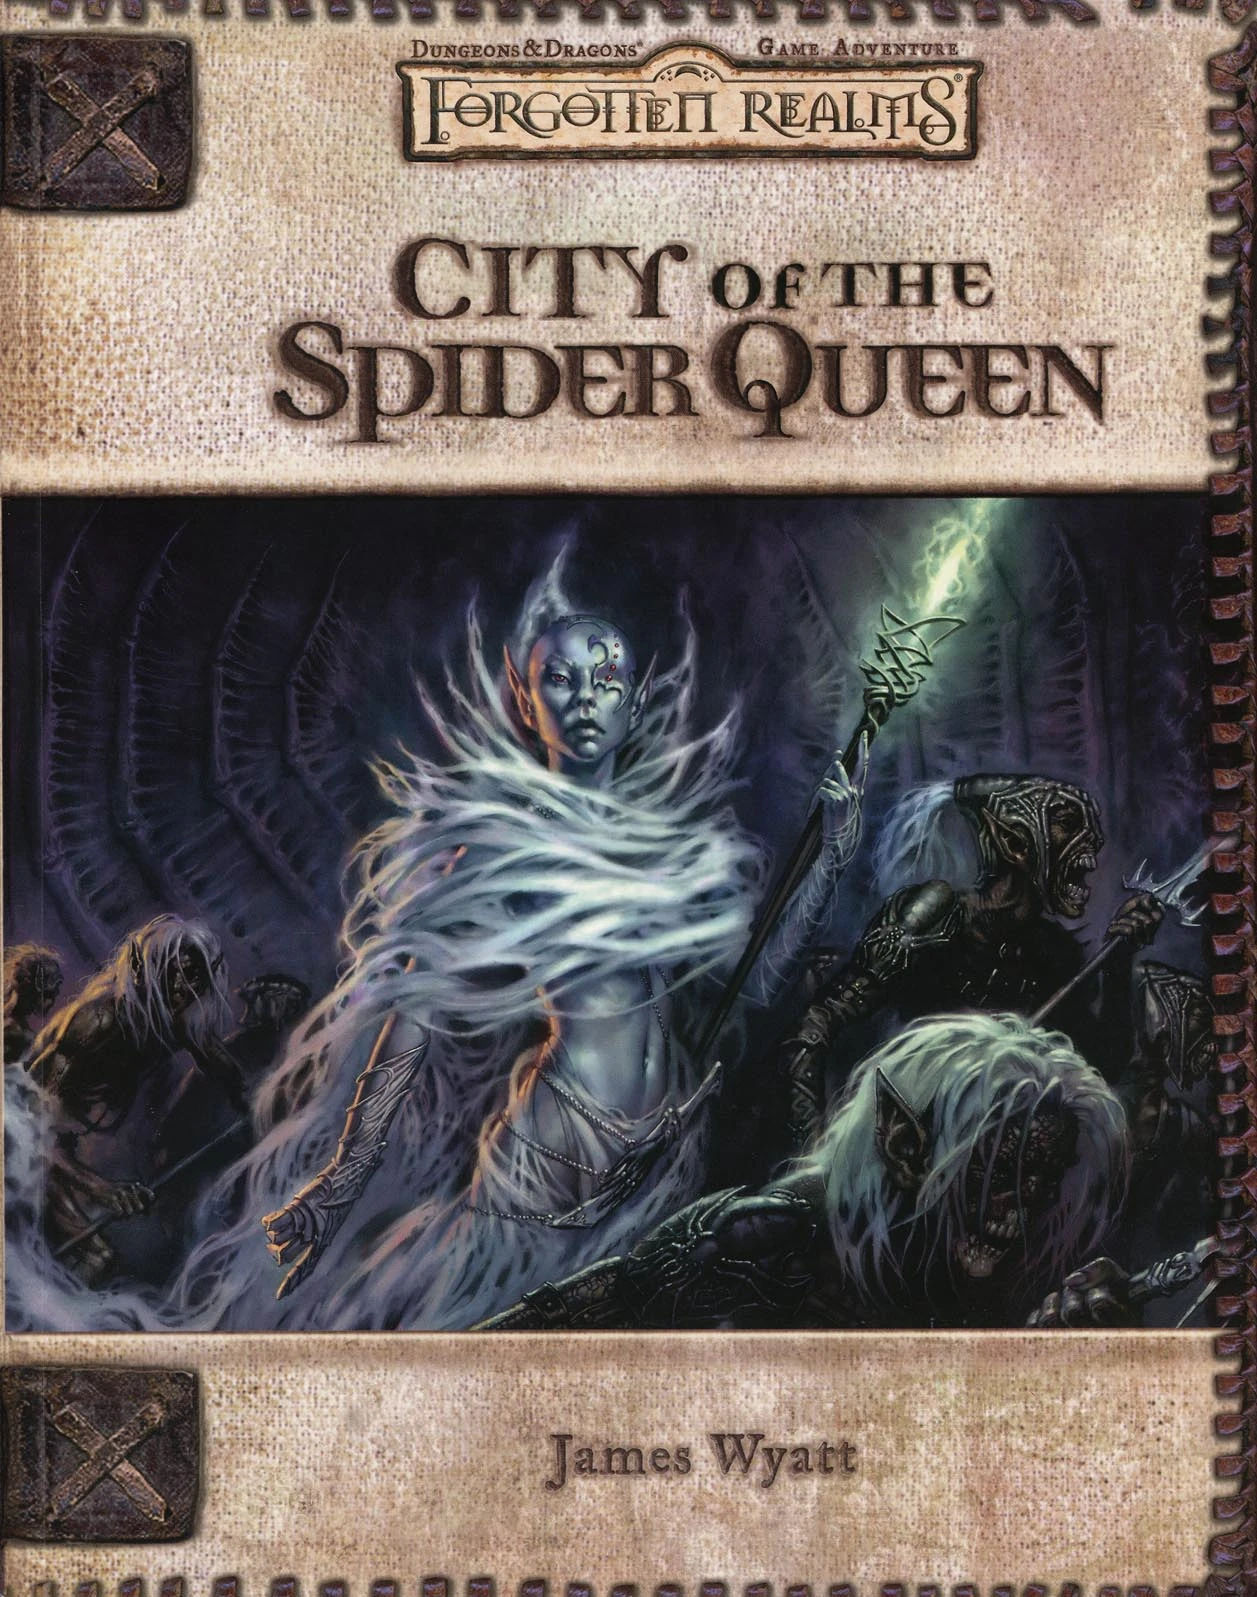
The Fate of Faerûn Lies in Shadowy Darkness! Daggerdale is reeling from a sudden series of murderous drow raids. As a grave threat to the entire surface world develops in the war-torn dark elf city of Maerimydra, intrepid heroes must discover its source and destroy it, if they can.

A far realms themed delve into a twisted dungeon complex, filled with unique hazards, creatures and items. This adventure is designed for 4 level 6 characters and should take one or two sessions. Player and GM maps included.

The Tale of The Haunted Ravine is a Hex Crawl Adventure of Exploration that can be used for any game system but was designed for use with D&D 5e. A Hex crawl map and random roll tables are used to create surprising encounters and mysteries for your players to interact with. Wild necrotic magic, magical mutations, undead, lost souls, and demons all cloaked in a fog fog-choked landscape; forsaken by the gods and scarred by the battle fought here long ago. Will your adventurers survive and escape the Haunted Ravine? Or will they join the legions of cursed souls imprisoned in this corrupted land?

You return to the peculiar village of Basht for one of their unusual festivals: the procession of the Straw Bears. While there, you meet some old friends and are asked to escort the brave villagers into the woods to continue the party into the night. It should be perfectly safe, shouldn’t it? A Two to Four-Hour Adventure for Tier 1 Characters. Optimized for APL 3. The Straw Bears originally debuted at U-Con on November 2020. (https://www.ucon-gaming.org/)

While investigating rumors of a dangerous blue dragon wreaking havoc in the deep desert, the heroes tumble under the sands into the magically sealed dome of an ancient palace. The temporarily weakened dome reseals above them, and they are left to explore the golden palace of Zahadran, once seat of power for the legendary Caliph Ardishir the Magnificent. But the dome is weak because it has been assaulted by the mythical storm demon Azi Dahaka and his trapped minions, evil creatures that were sealed under the magical dome to keep them from ravaging an unsuspecting world.

The Filbar Quest series continues with FQ8 – Uprising of the Undead. As you continue to pursue the lost pages from the Codex of Gamber Dauch (Daw-sch) you quickly discover that the dead have risen from their graves. A rogue mage known as Mortatus the Wicked has discovered the emerald pages from the ancient tome and is using the powerful magic to raise an army of the dead. Your cleric had better be in good graces with their deity!
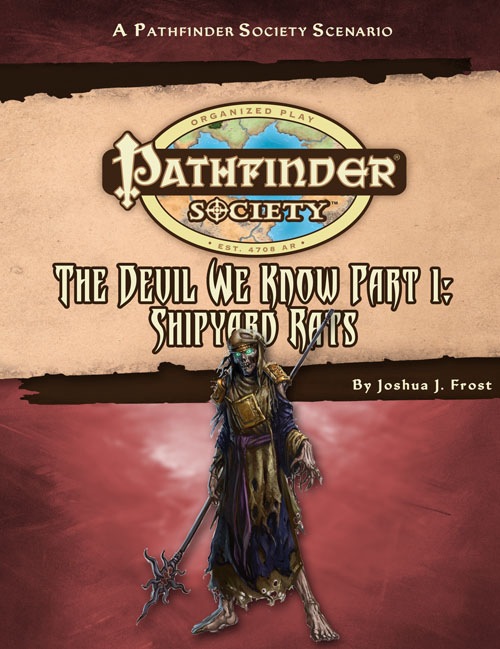
Part 1 of the "The Devil We Know" campaign arc. Shipyard Rats is a Pathfinder Society Scenario designed for 1st to 7th level characters (Tiers: 1–2, 3–4, and 6–7). When simultaneous kidnappings of Pathfinder and Aspis Consortium agents rock Cassomir's Imperial Naval Shipyards, the Society orders you to join forces with hated Aspis agents to solve the mystery. Can you work together with the enemies of the Society to uncover the source of the kidnappings, or will you perish in the shipyards of Cassomir?
CORE 1-2 With the identity of a murderer confirmed, heroes are needed to track it down to its home. As it turns out, it might be a longer journey than first imagined. Part Two of The Chaos in Melvaunt. The characters enter Mechanus via a portal in Melvaunt with the aim to infiltrate a modron army encampment. They must then flee the camp in a chase scene.

First Lord Torin Nomerthal and several his advisors will be leaving Hillsfar to inspect the Wall with only a small contingent of Red Plumes. The chance to strike is now! Part Two of Six Knives for Torin Nomerthal. A two-hour adventure for 1st-4th level characters.