
The PCs are called on to assist in retrieving the legendary Scrolls of Thoth on behalf of Khemet III, the Ruby Prince of Osirion. Along the way, they discover the ultimate fate of the ancient Song Pharoah -- and potentially assist her in her journey through the Duat, the final series of tests that a Pharaoh must face in the afterlife. It was designed as a one-shot lasting approximately 5-6 hours, but could be run as a side-quest in the Mummy's Mask adventure path. See the site for notes on adjustments to make if you are using it in that way. It includes maps, handouts, stat blocks for all of the NPCs, and Hero Lab files for Hero Lab users. Because the adventure is born digital, the page count is a rough estimate based on print previewing the pages in the site. There is no source of a printed copy other than printing one yourself (which you are welcome to do). This adventure has not been published, and is made available under the terms of the Paizo Community Use License.

Devastated in a war with a nearby wizards' school, the Fighters' Academy has since been surrounded by a foul and dank swamp - the Gloomfens. Since the climatctic battle between the wizards and fighters, the tower has decayed. The spirit of the head of the academy haunts the building, eternally plotting his revenge on the wizards who killed him. his loyal sutdents remain faithful to him even in death. Other foul undead have made their home in the rotting, spacious academy. From their lair, they make forays into farmsteads near the swamp in search of victims to feed their unspeakable appetites. The Problem of these terrible attacks by the savage undead will not stop until the evil that has found a home at the tower is burned from the face of the land forever. Will your party heed the call and help the town of Melinir? Will they be able to clear the former Academy of its undead? Towers of Evil is the second in a three part adventure, The Haunted Tower. Or, it can be ran as a stand alone adventure. The choice is up to you. Part of TSR 1081 The Haunted Tower
A Star-Crossed Tragedy. When the party is hired to investigate a haunted castle, they’re drawn into a tale of hatred, love and betrayal stretching back more then 300 years. Will they be able to free the ghosts haunting Arevon Castle, or will they find themselves just another footnote in its long history of misery?

The Thieves Guild Ebonclad has welcomed its newest team to the fold, assigned to the Keeper Reese Kincaid for instruction. The recruits are green, but capable. Their Keeper has devised a job for them to assess their talents. If his new team is successful, he gets some insight as to how his new Scraps operate, in addition to scratching something off his to-do list. If they die trying, well, then Reese has one fewer thing to worry about. The party must track down the slum thief Dale E’ssio, and reclaim valuables marked for the guild. Should anything unfortunate happen to Dale, there must be no evidence tracing things back to Ebonclad. The mission will require the party to enter Kintalla’s sewers to ultimately confront Dale E’ssio in a ruined slum house. Characters may have to explore the city while trying to get a lead on him.
Provost Nigel Faurious’s research has revealed the location of an icy spire near the eastern side of Icewhite Island. The Provost needs the Hoarfrost Flower, an artifact found inside this spire, to make his Convergence Manifesto a reality. Eager to complete his work as quickly as possible, the Provost previously paid for an expedition from the Deathsgate Guild to explore the icy spire at the same time the Clifftop Guild surveyed the Shining Valley in the last adventure. The Deathsgate expedition’s ship, the Nightwood Cask, was destroyed by the cold of the Risia manifest zone. They made it to the island on lifeboats and headed to the spire, hoping to use it as shelter until someone from the Deathsgate Guild comes to rescue them. The spire’s builders are long gone and forgotten, but their traps and magic remain. Mror archeologists once found this place while in search of their ancestors that many believe hailed from the Frostfell. Only their camp remains in the foyer of the spire, where the party from Deathsgate waits. While the Deathsgaters’ supplies dwindle, they argue among themselves on their next steps. Should they try and make it to shore and hope their ship somehow survived, continue to wait, or delve deeper into the spire to complete the task they were hired for?

The time has come for the brave and the bold to put an end to the machinations of Maerimydra’s demonic occupiers and their fiendish fire giant ruler. This will be no mean feat; the city is a cesspit of corruption and madness. You will have help, however, as an unlikely group of allies have gathered to your side in the Underdark beneath Faerûn. Danger, glory, and redemption await those brave enough to seize it. With allies gained from denizens of the Underdark, the former drown enclave of Szith Morcane is on the precipice of being retaken. During the battle for Szith Morcane, secrets of the drow community are revealed. What will you do with this knowledge, and how will it affect the outcome of the conflict?

Tell the greatest story no one ever told... A tantalizing tale; in which a bold group of heroes braves the depths of Fort Morninglord, a long forgotten ruin. Therein, their mettle is tested by cruelty, suffering, and no small-measure of mischief. Will their courage -and their stomachs- hold steady? Will they banish the wicked presence that holds dominion here? Can they end the misery of Fort Morninglord's Mourning Lord? Let's find out! The players delve the tainted depths of Fort Morninglord to find the cause of its corruption. This leads them into terrifying peril and certain doom at the hands of the fort's denizens. Specters, Wraiths, Mummies, Revenants, Death Knights, The Mourning Lord himself and more await them inside! Along with plenty of mind-bending, gut wrenching obstacles that are sure to keep these heroes on their toes!

Many years ago, Evard came to Duponde to destroy his rival Vontarin, a powerful wizard who lived in a manor at the edge of town. The two mages met near the walls of the abbey of St. Avarthil and dueled all night long with black spells, laying the old monastery in ruins with their magic. In the morning, the surviving friars found Evard dead in the wreckage and buried him in the town’s graveyard. Vontarin was never seen again. Now, almost fifty years after his death, Evard’s final curse is about to descend on the town and everyone within it. Also available in Dungeon Magazine #219 Pgs. 30-90

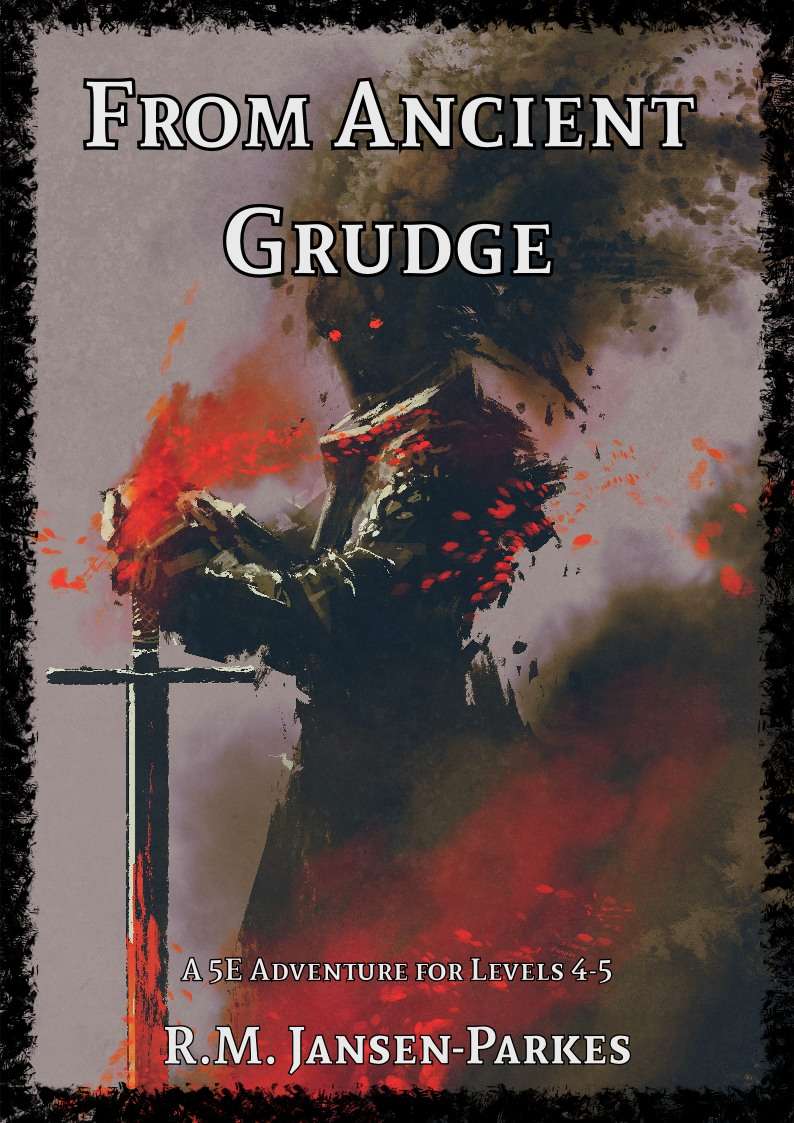
Eternally does the Lord of Nessus scheme, and his designs are for all eternity; In the pit of Hell do the devils teem round his throne, and his reign is unchallenged; By the eight Dark Ones is he held supreme, and his name (speak it not!) is Asmodeus. - From "The Canticle of Thumis," 142:15 To some, justice is more important than glory, duty is more important than desire, and goodness is more important than life. The great paladin Klysandral was such a man. But even the sleep of death, at the end of a long lifetime spent battling evil, did not bring peace to Klysandral. During his funeral, the entire Temple of Neheod was dragged by terrible magic into the Nine Hells, along with the soul of Klysandral and scores of living mourners! What unearthly motive could be behind this tragedy? Only the bravest, strongest, and most resolute heroes will have the mettle to find the answer. Along the way, they will meet the enigmatic wizard Emirikil the Chaotic, sail aboard the fiendish ship Demonwing, and finally face the horrific minions and overwhelming terrors of Hell itself. Only the path of light can lead the bravest of the brave into perdition and safely out again. Step wisely, and walk in justice.
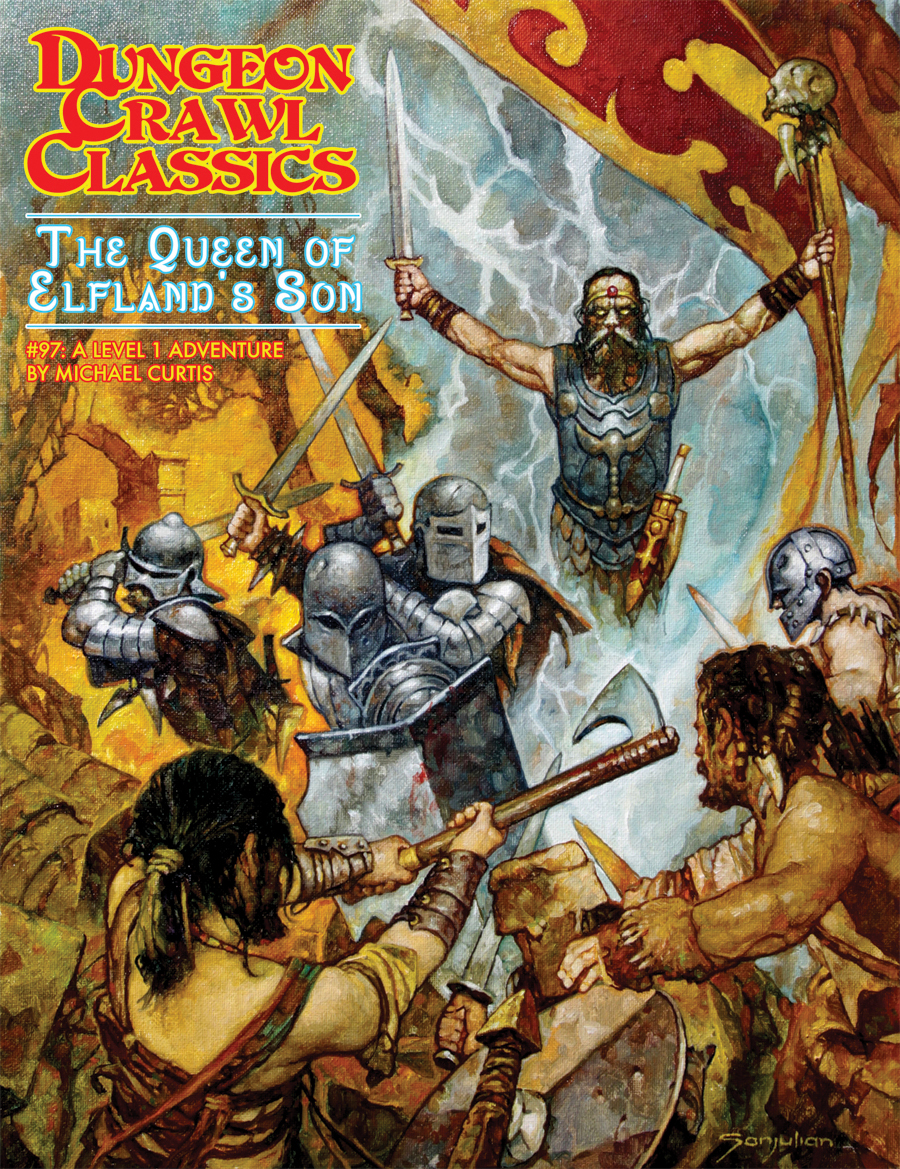
Strange attacks in the night plague the people of Eng. Slaughter and shadows keep the villagers inside after dark. Mighty adventurers are needed to seek out the source of these threats and stop them for good. This quest will take the heroes to the very borders of Elfland and pit them against the cruelty of the Unseelie Court of Faerie. Will the heroes overcome the machinations of the Queen of Elfland or will they fall victim to the glamours and wiles of Elfland’s malicious nobility?

You wake up in a dark room with a group of friends. You don't know how you got here and your thoughts seem distant, echoing in your mind. The note you find reminds you your mission: retrieve the flower of oshadis and escape this temple alive. Culitsts and traps stand between you and freedom.

Hanging out in the city of Acre has gotten mundane and the old adventuring itch is flaring up. Your fruitless search for jobs quickly changes as a farmer locates you. He indicates that he has a minor farming problem with a land shark that the party can deal with. Once this job is completed, the party is approached by more opportunities!

Ragvala, also known as the "Coinmaker," is an ancient gold dragon who wishes to mend his broken friendship with his old adventuring buddy. Recently, there are rumors that his friend’s old magical instrument has resurfaced in the Quivering Forest. Unable to change shape anymore, the dragon needs the help of skilled adventurers who can join him on his quest.

To Hell and Back Again is the perfect adventure for new players and veterans looking to experience Dungeons & Dragons in a new way! It's written as a solo adventure, where choices have gigantic consequences, but it also provides balanced rules to play with a group or a Dungeon Master as well! This 80 page adventure features: - A heart-pounding origins story that fits perfectly as either a prequel to Descent Into Avernus, a stand-alone adventure, or into your ongoing fantasy campaign. - Beloved characters like Lulu the hollyphant, Mad Maggie and her redcap gang, the archdevil Zariel, and many others brand new to this adventure. - Infernal War Machines, and exciting encounters with unique stat blocks. - Innovative Destiny and Traits mechanics that make your choices really matter. - A ton of possible outcomes that will fuel your character's many adventures to come! - Four gorgeous sample characters, with interactive character sheets designed to be new-player friendly so that you can jump right into the story if you'd like. - A community survey when you finish so that you can see how your outcomes and choices compared to other players!

Set Sail with the Pirates of Chaos! A thousand welcomes, noble friend! I see your eye is as keen as the eagle and your mind as sharp as my jambiya, for you hold in your hand a great treasure. This box contains everything needed to launch an epic adventure featuring corsairs and mamluks: - A stunning poster map of the Corsair Domains and Zakhara's northern shores. - Six full-color cardstock sheets containing maps and player aids. - An 8-page booklet filled with new monsters, including the dreaded ghul-kin. - A 32-page sourcebook detailing the wily pirates of Hawa and their greatest enemies, the stalwart mamluks of Qudra, plus several new magical items. - A 64-page adventure book presenting a fabulous array of tales set in or near the Corsair Domains. Meet the beautiful and notorious Jayani al-Jasir, called by some the Queen of pirates. Face untold perils to fetch the wondrous waters of the River of Gold. Save Hawa's people from the horrible Soultaker, and much, much more. But beware! Treachery awaits at the hands of those you trust most! Recommended for use with the Arabian Adventures rulebook. TSR 9449
Deep in the forest, an ancient pyramid was constructed many millennia ago for an unknown purpose as part of a forgotten modron war. Within it is a labyrinth of strange traps, taxing puzzles, and some unwelcome troglodytes. This adventure for 1st-3rd level characters can be played as the first part of the Legacy of Zandrax campaign or as a standalone one-shot.

Damnation! The Companion that once stood as a beacon of hope and goodness above the city of Elturel has been extinguished and the entire city—along with its denizens—have been drawn into Avernus, the first layer of the Nine Hells! While those fortunate enough to have been outside of the city’s walls during its departure have been spared that fate, but they’re not yet out of danger! The refugees formed a caravan bound for the nearby city of Baldur’s Gate. Can you keep them safe from devils, bandits, and one another until they reach safety? Four One-Hour Mini-Adventures for 1st to 2nd Characters. Optimized for APL 1.
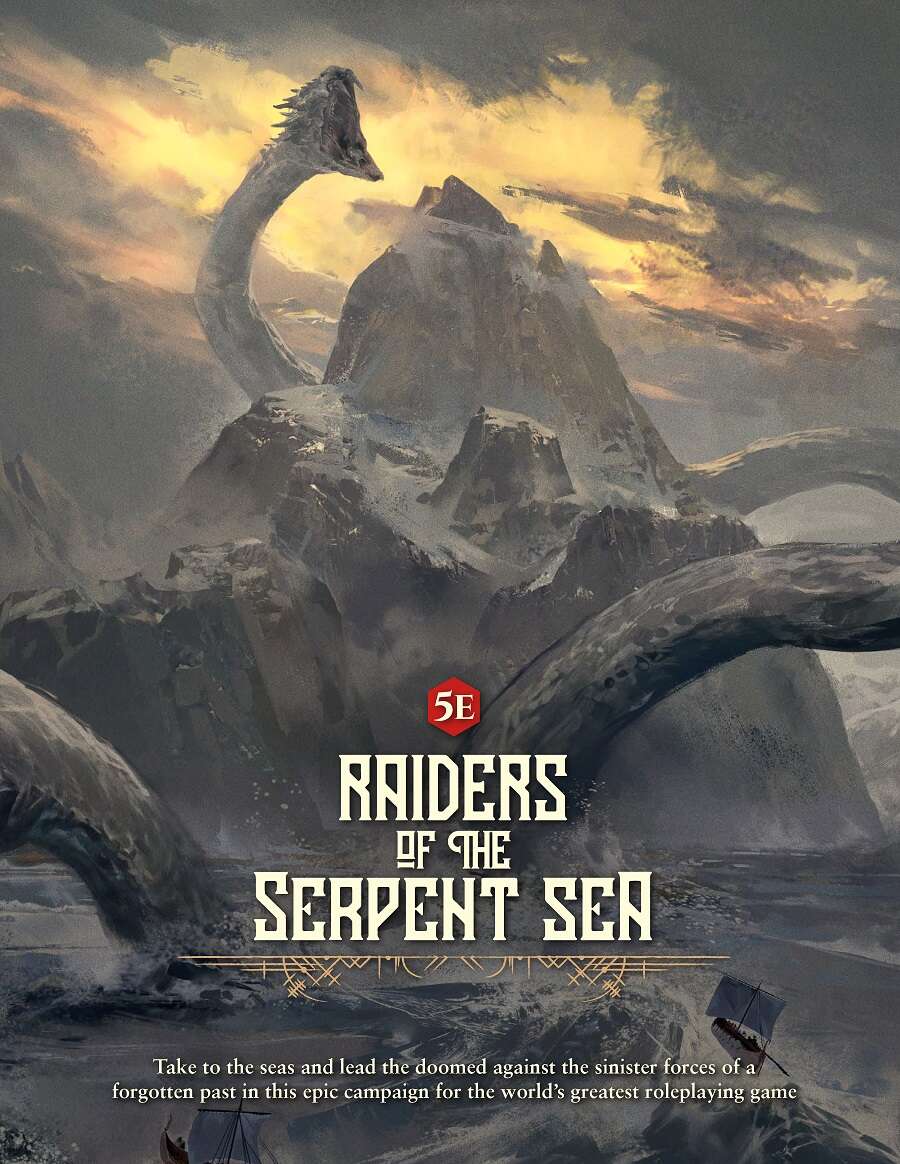
From the lead designer of Dragon Age Origins, in partnership with the creators of Odyssey of the Dragonlords, comes Raiders of the Serpent Sea! Take to the seas of Grimnir and battle against the sinister forces of a forgotten past in an epic campaign for the 5th Edition of the world’s greatest roleplaying game! Guide 4-6 players through tumultuous waters as they become heroes across a campaign that will take them from 1st to 16th level. Raiders of the Serpent Sea is a blend of high fantasy and a darker world of grim seafaring raiders. Grimnir’s clans constantly fight to survive in this doomed world filled with ancient and fantastic creatures - giants, sea serpents, saber-toothed tigers, and the world-devouring Yoten. Nowhere is safe, danger and glory abound! The Raiders of the Serpent Sea Campaign Guide PDF includes almost 500 pages of epic adventure and supplemental material with full-color maps and illustrations that breathe life into the campaign world.

Welcome to Cirria’s Gambit, a four- to six-hour adventure for 2nd-4th level characters, designed for Dungeons & Dragons 5th Edition! This adventure invites you and your players to a fiendishly fun party with revengeful devils, a succubus who just wants to go back to hell, snobbish nobles, intoxicated socialites and one really irritated banshee! Cirria wants to go to hell! There is only one tiny problem: her mistress Glasya, archdevil of the sixth layer, has banished her for insubordination. So, what’s a succubus to do in Cirria’s place? Take over a local noble family and organize a grand feast like this boring plane has never seen before to channel the emotional energy of her guests into a ritual to open a portal, of course! Isn’t it obvious? Cirria’s plan only had one tiny unaccounted for issue: Lady Kaera, matron of the noble house Cirria targeted, is a banshee. Cirria found a momentary solution – but that will only hold so long as no intrepid group of adventurers disrupts it… This adventure can be run as a one-shot or inserted into an on-going campaign. The theme fits Baldur’s Gate: Descent into Avernus particularly well!

At the request of a stranded djinni, you have three days to steal a diamond from the marbled, enchanted vaults of the Modern Artworks Museum. Investigate its defenses, disable magical wards, bamboozle the staff, battle a golem, and escape with the prize! A group that succeeds is rewarded with a single wish - the power to bring about almost anything you desire. Highlights of the adventure include (and are not limited to): - An alternate skill check system that keeps clumsy characters involved in the heist - A fight to the death with fantasy Botticelli's Birth of Venus - The Modern Artworks Museum, a trove of sculpture, frescoes and tapestries - Museum events: sketch and sip, a gala, seminars! - Museum brochure, including handy map and exhibit descriptions - A wish Clever and light-hearted, Diamond Heist adds brains and Renaissance style to any urban campaign. This adventure centers exploration, planning and roleplay. Players match wits against various spell effects, discovering and disabling magical wards to access their prize. A cumulative alarm level system replaces pass/fail steath skill checks, so one bad role doesn't ruin the heist. The artworks described are based on those of Renaissance Italy, with frescoes, marble sculpture, and haughty nobles aplenty. Content warnings: Death of a loved one, mentioned.