
The Five Cities are dying. Their water sources are drying up, and the brightest of their youth are leaving, lured out into the desert by an unknown power. Enaxi, the unifier of the Five Cities, now a lamia, is weary of watching their descendants ruin their great works. The Council won’t let young people restore the Five Cities to their former glory, so Enaxi is gathering them. They’ll start their own paradise and doom the Five Cities… unless the heroes can convince them otherwise.

A rare breed of wolf has apparently been staging daring attacks on citizens of Rendrick. A group of hunters seek to claim bounty on the beast, but as the PCs quickly learn, the wolf isn't all it appears. Something sinister lurks in the woods near town, and the PCs must act quickly to save innocent lives. Pgs. 16-26

Tortles of the Purple Sage - Part 2 completes a D&D Expert Set wilderness adventure which began in DUNGEON issue #6. Through the gate stones, into the unknown. This adventure takes place in the Known World of the D&D game, as outlined throughout the D&D game rule books and modules. The DM may find it useful to consult the Companion and Masters Sets, as well as most of the X-series of Expert Set modules. The DM may find it useful to consult the Companion and Masters sets, as well as most of the X-series of Expert Set modules. Expert Set module X9, The Savage Coast, would be especially helpful, as Tortles of the Purple Sage should easily serve to continue that module's direction and plot line, adding previously undescribed areas to the Known World. The DM may also place the areas and events of this adventure within an existing campaign setting, as long as the geographical areas of the campaign match those set forth here. Pgs. 8-25

The lord of a local realm is having his council members systematically killed or cast out for treason with little to no evidence to support the claims. This has been occurring for some time and a local shaman by the name of Borjah thinks he knows the cause. In his visions, he has seen a strange spirit shifting the shadows, a puppet master using the lord as its personal servant by warping his mind. This entity is slowly gaining power in the city and increasing its dominance over Lord Kestyl. Borjah attempted to warn the council of this corruption, but all those he informed ended up dead a few days later, so now he is taking matters into his own hands . . . with a bit of help from some willing adventurers of course. Borjah has a few strands of Lord Kestyl's hair, enough to create a strange potion for the party to consume. A potion that will link their minds to that of the lord and be able to fight back against the corruption that has taken hold. All they need to do is wait until his mind is at its most vulnerable . . . when he is asleep. Then, and only then, they can plunge into the mind of this once nobleman and drive back the forces of darkness that threaten to destabilize the entire political landscape of the area. The potion is powerful. Dying while in this dream state cause such severe mental trauma that it usually results in the death of that individual in the real world, so the party will need to be careful. The rules of the normal world don't necessarily apply in the realm of dreams, and as they close in on the entity things are sure to grow more and more chaotic and illogical. Find out if your players have what it takes to fight back against an invisible evil using nothing but their strength of will!

Questing through the forest, you will be tested. Which side will you take between a wizard and the Keepers of the Veil? Will you be able to find the materials necessary to help cure your friend of the ancient evil that assails him? And when it comes down to it, what are you willing to sacrifice for your beliefs? Third Time’s the Charm picks up where Second Glance left off and invites the PC to find a wizard who can help heal the Crystalline Curse slowly paralyzing the PC’s friend and protector. As the party grows closer on this adventure, learning to depend on one another, they must also navigate the Veiled Wood’s changing landscape, deciding who they can trust and who they will help as much lies in the balance. Though this was written as the third installment in the Crystalline Curse Trilogy, this adventure can be inserted into any campaign setting and scaled accordingly. Third Time’s the Charm is part of our mission to bring you high-quality, ready-to-play material that supports adventuring parties of 1 Player and 1 DM. This adventure is written for a third-level character in a one-on-one 5th edition D&D campaign. Everything you need for your own two-person game is inside! This product includes: -A 3rd or 4th-level adventure adaptable to any setting -Stat blocks for one new creature and two NPCs -A region map, two sitemaps, and a hand-drawn dungeon map to aid the PC’s investigations -A fully realized forest region with fleshed-out NPCs and places to explore -Detailed backstory for the ancient warrior sheltered inside the PC’s treasured amulet -Four custom magical items And helpful tips for DMing a one-on-one game This adventure is perfect for those looking to begin or continue their duet campaign. Published by D&D Duet.

One of the original D&D classics, "The Isle of Dread" is a hex crawl wilderness adventure. It focuses on surviving primitive beasts, dinosaurs, and pirates while uncovering the mystery of the island's inland city, where a great treasure awaits. From the cover: "This module contains maps and background material for the Isle, fifteen new monsters, and suggestions for further adventures. In addition, The Isle of Dread contains a map and background information for a large continent, and eleven smaller maps for encounters on the island itself. In this module, players will push their way through dark jungles and treacherous swamps to discover the lost plateau, and the final secrets of - the Isle of Dread!" TSR 9043

A dwarven laboratory forgotten for many centuries has finally been rediscovered, but there is sure to be danger lurking within. It turns out some of the other machines within are still active, as are some of the traps and puzzles. Prepare your party for a blend of challenging puzzles and diverse fights in the dungeon that was home to my first player kill.
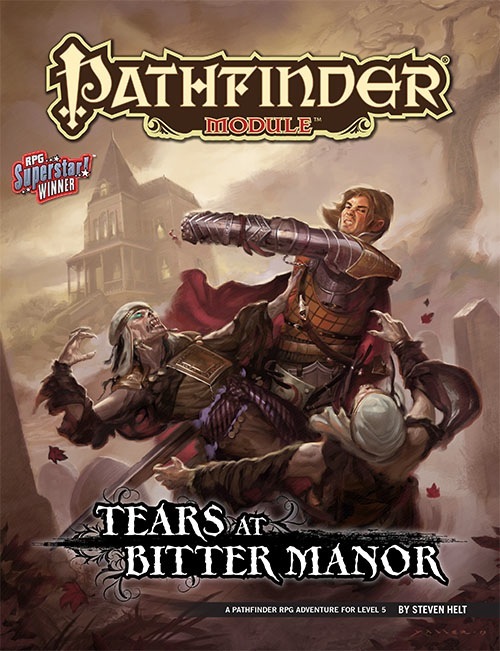
Bleak days have come to the Taldan city of Cassomir and nearby settlements, with a wave of depression and rage sparking horrific acts of violence. When retired adventurer Taergan Flinn doesn’t show up to meet with his old companions, the PCs are called upon to investigate, leading them into a swirling maelstrom of horror and tragedy.

"The first raid on our village happened a little over 3 months ago. We awoke in the morning to discover that the Cooper family's house at the edge of town had been sacked in the entire family was missing," croaks Obed, the village elder. "We mounted a search party, but found no trace of them." The old man lifts his gaze to the west woods. "After the third such attack, we sent a messenger to seek aid from one of the larger towns nearby. He never returned." He turns back to face your party and continues, "We had no idea who or what was attacking our village... Until last week. Creatures in black robes drifted out of the woods to the west and began setting houses on fire. Then, they seized four of our bravest men and carried them, screaming, into the mists." Obed throws his mug of ale into the fire, suddenly angry, "The only creature capable of this evil is the Barrow King, who lives in the burial mounds to the west. But I swear, we have done nothing to focus his anger upon us, nothing!" Warily, the elder stands, leaning heavily on his walking stick. Slowly, he lifts it, pointing at each one of you in turn. "If it is the Barrow King, God help us!"

Meaningful decisions, unexpected twists and memorable characters are the foundations of this dark 4-hour adventure for 5th to 10th level characters. A chance encounter on an unassuming road leads to a dangerous and lucrative opportunity. But what seems simple on the surface turns out to be much more below. Thrust into a world where every enemy has an enemy and everyone has their own dark motive, the only chance to survive is to ally with the right foe. Sometimes “doing the right thing” comes only in shades of black. Six Summoned Swords is a stand-alone adventure that begins on the side of the road leading to Phlan and can be easily accessed by any adventurers traveling through the Moonsea region. In addition to a world full of intrigue and complex character choices, purchasing this adventure includes: An Official Adventurers League magic item certificate Printable portrait cards with roleplaying tips for important NPCs Gridded reference maps for combat encounters Condition icons to help track character status Special Certificate Holder ideal for event play NEW: Season 8 Item Unlock Handout - prints 9 to a page, one for every player! * Looking for an adventure to run at your special game day or convention? This adventure includes a “certificate holder” that features specially created art of the adventure’s magic item. When printed in colour and on card stock, it perfectly frames the official AL magic item certificate from this adventure and makes for an unforgettable souvenir. About the Swords Below the Moonsea Saga The saga consists of three adventures, with this adventure serving as a stand-alone prelude. The series continues with Six Striking Swords and Six Swords Unbound, the two of which should be played in tandem.

"Yea I knows of a job for the likes of you" the bartender says as he wipes off the table. "This wizard who lives near the shore about two or three days ride lost somethin' he was expected on the ship The Intrepid. I hear he wants the cargo back and is willing to pay good coin for it to any who'd chance going into the Lake of Chaos." A grizzled old man in the corner gasps and says “any would want to go into that sea gots to be crazy. Aye, that wizard is lookin' for some crazy people. That waters haunted by dead sailors". "Oh come on” Telkall the bartender continues "you know that’s just an old story to keep kids away from the water. I'm sure it’s going to be an easy job for the likes you. You all appear to be quite able to take care of yourself. Go down the coast road for about two days if yer on horses and you'll see a stone tower. Ask for Kresellus ... he's the one you'll be lookin' for. Oh, and tell him Wolfgar sent ya ... if you could." Well things were getting boring at the Dead Orc Inn anyway.

In the eastern desert stands the ancient tomb of Solomon III. Like all tombs, it is full of magical treasure and crawling with deadly creatures. But unlike other tombs, this one is screaming. Years ago, soldiers and wizards went in to silence the screams, and they succeeded, but they never returned. Now Solomon’s tomb is once again screaming out across the dunes, and no one knows why. Solomon’s treasure is still down there, but then, so is whatever is screaming. ADVENTURE TYPE: Small Linear Dungeon DESIGN NOTES: This adventure is intended for characters levels 5 to 7. It includes a desert wilderness area, an oasis, the tomb exterior, the tomb interior, and a cave system below the tomb to explore. Each area contains various NPCs, new monsters, old traps, shiny treasures, and strange magical items. There are many opportunities for (deadly) combat, and a few of them may be inescapable, but it is possible for players to have complex interactions and to experience very different consequences, depending on their choices. INCLUDES: Story hooks, dialogue prompts, creature stat blocks, dungeon overview map, and full-sized battle maps of each dungeon room that can be printed and used right on the table. KEYWORDS: Tomb, ghuul, ghoul, skeleton, ooze, demon, devil, thief, wizard, desert, sabercat, oasis, spider, viper

A small adventure that can be used as part of a larger campaign or run as a one shot for 3-4 Tier I or II characters. A small urban adventure set in Waterdeep with various hooks to extend beyond this adventure. A character needs to repay the debts he accumulated in life, but now his family isn’t so keen to just let someone take what they are owed. This family may have more sinister secrets that they wish to keep hidden.
CORE 1-2 With the identity of a murderer confirmed, heroes are needed to track it down to its home. As it turns out, it might be a longer journey than first imagined. Part Two of The Chaos in Melvaunt. The characters enter Mechanus via a portal in Melvaunt with the aim to infiltrate a modron army encampment. They must then flee the camp in a chase scene.

When huge stones fall out of the night sky, A deadly curse settles over Gravencross. Help the village exorcise the Demon Stones. “The sun had set an hour ago, and the rain lashed down and the wind howled on the dark moor. A storm this late in the season was unusual, but this one seemed different. The clouds were more menacing, tinged with anger, the rain colder and more biting than usual. Skerrill had to find the lost calf and get him back to the farm before his father came back from the city on business. He’d been looking for two hours now, and he was right in the middle of the moor when the storm hit. He knew he should have turned back as soon as darkness fell, but then he was never the brightest boy in the valley. If only he had remembered to lock the farm gate. The calf was now likely dead anyway having stumbled among the boulders and rocks, panicking in the dark, and then fallen in a floodwater stream and drowned. Either way, he was in more trouble than he could imagine. Suddenly, a bright flash of white light and a roaring peal of thunder were preceded by an explosion as a huge object fell from the sky and impacted the ground of the moor no more than a stone’s throw from him. Dirt, mud, water, and debris erupted from the impact site, flying high into the air and then covering the moor for hundreds of feet all around. Skerrill was knocked to the ground instantly and covered in the fallout from the blast. His ears rang and his head spun, but he staggered to his feet in a daze. He stumbled to where the blast had happened only moments before, and in a depression in the ground lay a huge stone glowing orange as if hot. Skerrill passed out. Two more thunderous explosions crashed in the distance.”

Tomb at the Dragon's Spine is a companion adventure made to go along with the events unfolding during the middle sections of Folio #14 (WS1 Isle of Jade). It contains the information needed to run a side adventure during the Isle of Jade. Many centuries ago, in an age forgotten, the last of the great sea dwarf masons died on the Isle of Jade after helping construct some of the final Corsair structures the world will ever see. Now, his tomb rests on the heights of the Dragon's Back, and evil has crept into the tomb. Only the brave few might now pass the threshold for the treasures that certainly lay within. While crossing the deadly 'Dragon's Spine' of the island's interior, the party encounters a darkness at the heights. Within the ancient stones the tomb of one of the last sea dwarf master masons rests. Has the corruption of the island reached the tomb? Only exploration will reveal the truth, and the treasure. This adventure is formatted to both 1E & 5E gaming rules.

After basking in the glory of your accomplishments, you learn of a problem with a caravan attack. A group of possibly Goblins have brazenly attacked the Hamlet of Kako, burning it to the ground. The information comes from a local farmer that witnessed the carnage. Pack your gear…time to go back to work in the Principality of Lockerbie!

A short adventure to tie player characters into the events of the climax of the Prism of Pentad series. Terrible cataclysmic occurrences herald the end of one Athasian age and the beginning of another. As the Great Earthquake rattled the Tablelands huge storm of lightning and torrential rain appeared over the distant edge of the Sea of Silt, a powerful defiler named Malignor watched for a sign from his master, Tithian, King of Tyr... The relentless passage of time sweeps across the burning plains, and the world beneath the crimson sun changes in its wake... The Dragon of Tyr is gone, his evil scattered on the scalding winds. Torrential rains fall over the Sea of Silt, spinning off deadly storms that can strike anywhere in the Tablelands with only a moment's notice. Violent upheaval rocks the city-states of Raam, Draj, and Balic after the deaths of their sorceror-kings. A new age has dawned on Athas, but will it be an age of restoration - or of destruction?
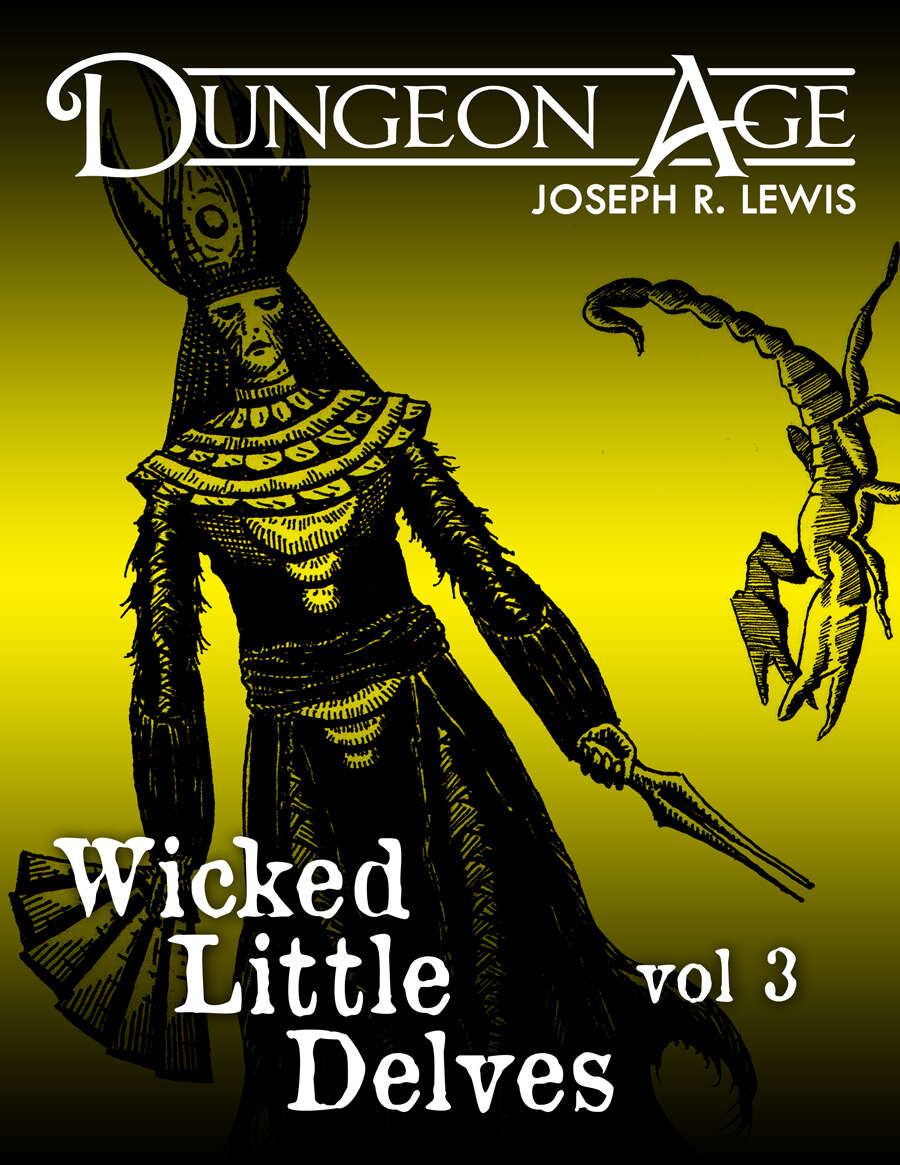
These are three one-shot dungeon delves. Each delve features nine rooms or locations full of challenges and interactivity. Each delve has only one type of monster, but they are complex, and there are lots of them! This volume of Wicked Little Delves includes three small dungeon adventures: - a tunnel complex full of dragons trying to eat each other, - a desert palace of sorcerous mummies trying to restore life to the wasteland, and - an ancient cathedral where zealots of Chaos try to summon unspeakable terrors from beyond the stars. SYSTEM: Each monster has stats for Fifth Edition, Old School Essentials, and Into the Odd. These adventures are intended for characters at levels 7, 8, and 9. They are mainly focused on exploration and combat, with some minor social encounters. Estimated run time for each: 1 session, or 2-5 hours. Each adventure includes one complex original monster and a variety of unique treasures. ADVENTURE TYPE: Mid Level / Combat / Exploration / One-Shot / Dungeon Delve DESIGN NOTES These adventures are intended for mid-level characters Level 7-9 9 unique encounter locations per delve (27 in all!) 3 original monsters with multiple abilities and weaknesses Dungeon maps and original illustrations
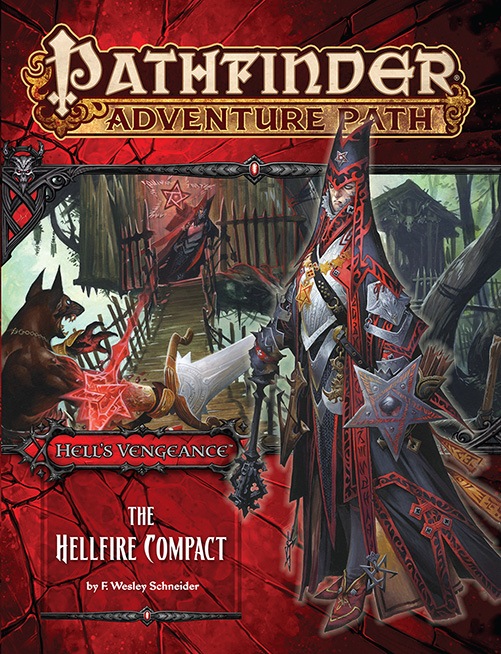
The Hell's Vengeance Adventure Path begins with "The Hellfire Compact," an exciting new adventure in which the players take the roles of evil characters in the diabolical empire of Cheliax! A paladin of Iomedae and knight-errant of the Glorious Reclamation comes to the town of Longacre, inspiring the citizens to join the uprising against the Thrice-Damned House of Thrune. First as amoral mercenaries, then as retainers of the wicked archbaron of Longacre, the evil adventurers must move quickly to put down the insurgency and keep the town from falling to the knight's rebellion.