Set in the Age of Mortals, 80 years after the War of the Lance, adventurers seek the legendary sword Chaos Reaver, a magical weapon that can help defeat the incursion of chaos creatures left over after the Chaos War. The adventure brings the heroes from the misty isle of Cristyne into the otherworldy realm of the Gray and is designed with flexibility for 4-5 characters of levels 5 up to 9. The adventure also introduces chaos creatures such as the shadow wight and daemon warrior, as well as several other classic Dragonlance creatures new to 5th Edition - the wichtlin, artifact spirit, and white dragonspawn. Also includes full details on the magical sword Chaos Reaver and a variety of handouts that give clues to the characters as they seek the sword.

This adventure picks up where AS1 – Artifact of Gegios left off. You return to the city of Gegios to divide treasure and determine what the strange wand is. Your return trip may have given you a clue in that travel to the east causes it to vibrate less while moving in a western direction causes it to shake more. What is the significance of this anomaly? Is your party ready to find out? Bring your water wings folks you’re probably going for a swim!

Beneath an ancient castle on the borderlands, reclaimed from the ruins of a lost civilization, there is a dark and deadly tournament being held. Seven stalwart adventuring companies, each representing a wealthy noble house, delve into the depths of the Dungeon of the Black Fey Mithelvarn. Each races to be the first to claim the power of the infernal machine that drives it, and find the Elixir of Immortality it contains. Can your party take up one of the relic banners and face the challenge of the dungeon, as well as the lethal competition from other companies seeking the prize? This adventure is formatted to both 1E & 5E gaming rules. Also available in PDF.
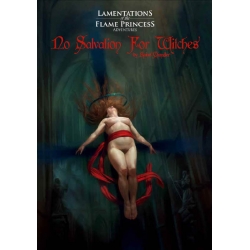
England, 1620. To strike a blow against the Patriarchy, six women perform a dangerous rite in an abandoned priory. Through dance, they commune with Terpsichore, Greek muse and patroness of dancers. Starving demons slither across the moors; monstrous nuns shriek in the infirmary; and within the Attic, a great unraveling awaits. The fate of the world rests in the hands of the players. Will they bring about an egalitarian utopia? Will they skulk away in the night, pockets bulging with treasure? Will they bring about the destruction of all things? Will they find the Tract of Teratology, a randomly-generated creature-summoning ritual with 3.6 quadrillion combinations? After this adventure, nothing will be the same. An adventure for Lamentations of the Flame Princess Weird Fantasy Role-Playing and other traditional role-playing games. Writing by Rafael Chandler Cover Art by Jason Rainville Interior Art by Jason Rainville and Ian MacLean Cartography by Ian MacLean Layout and Design by Sarah Richardson

"Nights on the streets, especially those where walls whisper or ratmen lurk beneath, and never a place for those without purpose. Tonight, amid the gathering shadow, creeping fog, and guttering lamps a lone figure walks with cool intent. Footfalls echoing on the cobbles and a single flare of a pipe, or was that magic, lighting a face that has seen more than its fair share of death..." These are the Cities of Sorcery, Valoria and Taux. Two incredible swords and sorcery settings from the minds of masterful storytellers with a vision born from the works of great masters like Leiber, Howard, and Burroughs. Dare to enter these mean streets where gangs rule, mighty trade houses foster endless vendettas, and dark magic lurks behind the brightest of smiles. Join the adventure in two epic trilogies, a half dozen secondary adventures, and various gazetteers, as you blaze a path to glory and riches among some of the most fabled realms in fantasy. With both 2D & 3D maps, Iconic Characters handouts, campaign characters sheets, and more, this isn't something to miss out on if you are a true hard core gamer. Contains: DF1 The Patina Court DF1.5 Ratmen of the Dead Oak DF2 The Lost Apprentice DF2.5 Gang War! DF3 Forgotten Temple of Tefnu DF3.5 The Creche of Set AT1 The Subtle Revenant AT1.5 Storm Seasons AT2 The King and the Serpent AT2.5 The Part We Must Play AT3 Playing Down the Dawn AT3.5 A Wall beyond Fury The Patina Court Places, 1E and 5E blank Character Sheets, Iconic Characters These adventures are formatted to both 1E & 5E gaming rules.

What links an infamous Zhentarim mercenary with a brilliant but tormented artificer? To find out, the adventurers must break the goblinoid siege of the village of Westfir. After the bizarre goblins are defeated, the Cornflower Hive must be destroyed. Ultimately, what secrets are held in the grain mill by the Westfork river? A D&D Adventurers League four-hour adventure for 1st-4th level characters.

𝐍𝐨𝐰 𝐰𝐢𝐭𝐡 𝐚𝐧 𝐢𝐥𝐥𝐮𝐬𝐭𝐫𝐚𝐭𝐢𝐨𝐧 𝐛𝐲 𝐂𝐇𝐑𝐈𝐒 𝐇𝐎𝐋𝐌𝐄𝐒 𝐚𝐧𝐝 𝐚 𝐏𝐑𝐈𝐍𝐓𝐄𝐑-𝐅𝐑𝐈𝐄𝐍𝐃𝐋𝐘 𝐃𝐔𝐍𝐆𝐄𝐎𝐍 𝐌𝐀𝐏! 𝐓𝐇𝐄 𝐑𝐔𝐈𝐍𝐄𝐃 𝐓𝐎𝐖𝐄𝐑 𝐎𝐅 𝐙𝐄𝐍𝐎𝐏𝐔𝐒 is a fifth edition (5E) conversion of the ground-breaking introductory adventure for Dungeons & Dragons that served as a DM aid in the first 𝐃&𝐃 𝐁𝐚𝐬𝐢𝐜 𝐒𝐞𝐭, released by TSR in 1977. This set included a 48-page rulebook covering the first three levels of play, and was skillfully edited by 𝐃𝐫. 𝐉. 𝐄𝐫𝐢𝐜 𝐇𝐨𝐥𝐦𝐞𝐬 from the original 1974 D&D rules written by 𝐆𝐚𝐫𝐲 𝐆𝐲𝐠𝐚𝐱 and 𝐃𝐚𝐯𝐞 𝐀𝐫𝐧𝐞𝐬𝐨𝐧. Holmes advanced the "Sample Dungeon" concept by writing a new thematic dungeon with a strong backstory, creating an adventure that has remained a fan favorite over the decades. Officially, its only title is "Sample Dungeon" but colloquially it goes by various names based on Zenopus, the doomed wizard who built the dungeon under his tower. An adventure for 1st to 2nd level characters; four pregenerated characters are included. Also includes ideas for using it as an adventure site in 𝐆𝐡𝐨𝐬𝐭𝐬 𝐨𝐟 𝐒𝐚𝐥𝐭𝐦𝐚𝐫𝐬𝐡. 𝐍𝐎𝐓𝐄: Using this conversion requires a copy of the original dungeon found in the (1977) Basic D&D rulebook. However, Wizards of the Coast has provided a free pdf of this dungeon since 2008 on their website, see the first page of the pdf for the link. 𝐂𝐎𝐍𝐓𝐄𝐍𝐓𝐒: Introduction, page 2 The Setting, page 3 About the Dungeon, page 4 Dungeon Master's Map, page 5 Areas of the Dungeon, pages 6-13 Appendix A: Further Reading, page 13 Appendix B: Dungeon Factions, page 14 Appendix C: Portown Rumors, pages 15-17 Appendix D: Use with Ghosts of Saltmarsh, pages 18-19 Appendix E: Pre-generated 1st level characters, page 20 𝐈𝐧𝐜𝐥𝐮𝐝𝐞𝐬 𝐭𝐡𝐞 𝐟𝐨𝐥𝐥𝐨𝐰𝐢𝐧𝐠 𝐧𝐞𝐰 𝐦𝐨𝐧𝐬𝐭𝐞𝐫𝐬, 𝐍𝐏𝐂𝐬, 𝐚𝐧𝐝 𝐌𝐚𝐠𝐢𝐜 𝐈𝐭𝐞𝐦𝐬 𝐟𝐨𝐫 𝟓𝐄: Cleaning Cube, Veteran Smuggler, Thaumaturgist, Monstrous Sand Crab, Lemunda, Monstrous Rat, Brazen Head of Zenopus, Verminslayer Longsword, Lesser Wand of Petrification, Scroll of Stone to Flesh The Ruined Tower of Zenopus was featured as part of the "D&D Classics" column in Issue #32 of Dragon+ magazine! Go to 𝐝𝐫𝐚𝐠𝐨𝐧𝐦𝐚𝐠.𝐜𝐨𝐦 or find the link on the Wikipeda page for Dragon magazine. 𝐂𝐑𝐄𝐃𝐈𝐓𝐒: Original Dungeon: J. Eric Holmes Conversion, Added Content & Cartography: Zach Howard Content Review & Editing: Scott McKinley Interior Art: Chris Holmes (“Octopus Attack”, page 9) Cover Art: “Italian Coast Scene with Ruined Tower” by Thomas Cole, 1838. Open Access Image from the National Gallery of Art at images.nga.gov Format: Derived from the “Adventure Template for Open Office/LibreOffice” by Dale Robbins on DMs Guild Dungeon Maps drawn using the application Gridmapper by Alex Schroeder

Slumber in the Sands – A Level 6 Adventure Beneath the shifting desert dunes lies an ancient ruin, home to a fanatical goblin tribe that worships a slumbering blue dragon as their god. Traps, puzzles, and hidden dangers fill the dungeon, all designed to protect the dragon’s hoard. Can your party navigate the treacherous ruins and escape with the treasure before they awaken the beast? This adventure includes: ✅ A sandbox-style dungeon crawl with multiple paths to success ✅ Dynamic encounters featuring goblin zealots, deadly traps, and a cunning Sand Druid ✅ A time-twisting magical artifact – the Hourglass of Stilled Time ✅ DM-friendly layout for easy reference and play Perfect for one-shots or as a drop-in adventure for your desert campaigns! Will your party slip away unseen, or will they awaken the dragon’s wrath?

The PCs return to Diamond Lake to consult with the sage Allustan, they find the town in shambles and Allustan is missing. Locals tell tales of a terrible dragon's rampage through town. Unfortunately for the characters, the dragon is only the beginning. "A Gathering of Winds" is the sixth installment of the Age of Worms Adventure Path, a complete campaign consisting of 12 adventures, several "Backdrop" articles to help Dungeon masters run the series, and a handful of poster maps of key locations. For additional aid in running this campaign, check out Dragon's monthly "Worm Food" articles, a series that provides additional materials to help players survive this campaign. Those who have studied the cult of Kyuss and read through the Apostolic Scrolls they recovered in "The Champion's Belt" may qualify for the wormhunter prestige class, a highly customizable five-level prestige class detailed in Dragon #338's "Wormfood." Pgs. 38-66

An ancient legend, a missing wife, and a broken heart that time won’t mend. Part 4 of the Evenflow Saga

"Yea I knows of a job for the likes of you" the bartender says as he wipes off the table. "This wizard who lives near the shore about two or three days ride lost somethin' he was expected on the ship The Intrepid. I hear he wants the cargo back and is willing to pay good coin for it to any who'd chance going into the Lake of Chaos." A grizzled old man in the corner gasps and says “any would want to go into that sea gots to be crazy. Aye, that wizard is lookin' for some crazy people. That waters haunted by dead sailors". "Oh come on” Telkall the bartender continues "you know that’s just an old story to keep kids away from the water. I'm sure it’s going to be an easy job for the likes you. You all appear to be quite able to take care of yourself. Go down the coast road for about two days if yer on horses and you'll see a stone tower. Ask for Kresellus ... he's the one you'll be lookin' for. Oh, and tell him Wolfgar sent ya ... if you could." Well things were getting boring at the Dead Orc Inn anyway.

A pair of leprous mountain dwarves plead for the rescue of their compatriots from a deadly ettin-wight

The once-dwarven wizard Hehranna knows that her previous race, for all its pride and skill, is hampered and distracted by lesser concerns—family, friendship, emotion. Once they join the Hive, they won’t begrudge a few moments of pain in exchange for the industrious awakening she has to offer them. Pgs. 16-32

In part one of the Randal Morn Trilogy, "The Sword of the Dales," the legendary leader of Daggerdale, Randal Morn, was captured by unknown assailants as he sought to regain the great weapon for which that adventure was named. A stalwart band of enthusiastic heroes was recruited to ride to his aid, yet all they recovered was the Sword itself and a message: "Seek me in Spiderhaunt Wood." In the second part of the trilogy, "The Secret of Spiderhaunt," those same adventurers found Randal and freed him briefly, yet he was almost as quickly torn from their grasp by an agent of the evil Zhentarim, seeking to end the threat of Randal Morn's return to power. In this final episode, the heroes must follow the kidnapper's trail and rescue Randal Morn again before the Zhentarim finish interrogating him and the axe falls upon his neck. Armed with the Sword of the Dales and aided by a powerful spirit that lives within the weapon, the heroes must march into the heart of Zhent-occupied Dagger Falls, free Randal Morn, and save the city from utter destruction. The job is dangerous - perhaps more than the heroes can handle - yet those who would live in songs and legends cannot concern themselves with living to a ripe old age! This is the final part of a trilogy of modules that began with "The Sword of the Dales" and "The Secret of Spiderhaunt." TSR 9488
Never try to catch a falling star. A bad seed has been planted in the dark soil of Ravenloft, and now it's time to harvest the crops. A comet has fallen from the sky outside of the town of Delmunster, and the people of this sleepy little village are changing in ways their families cannot explain. The players are on the clock to find the comet and stop its influence on the town. For every day the players take to solve the mystery, another townsperson falls under the sway of the comet. A story heavy influenced by a certain horror movie about pod people. Pgs. 48-68
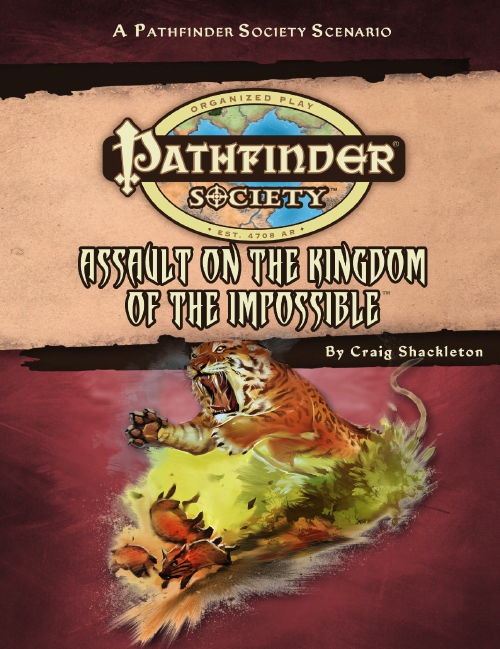
The Pathfinder Society sends you to the fabled Kingdom of the Impossible, the island of Jalmeray, to stop an Aspis Consortium black market relics dealer who is organizing the local bandits and violently robbing Jalmeray and Pathfinder Society caravans laden with relics, artifacts, and magical mysteries. When a venture-captain is murdered by the Aspis Consortium agent, it's up to the PCs to find him and do whatever it takes to stop him.

Mount Black. A mountain filled with a myriad of creatures’ lairs, a crippled dragon that wants to control it once again, and a friendly kobold who can guide you to glory - for a price. Pgs. 8-17
You say you want a revolution? Monsters are prowling through farmland, people are starving, and the government is on the verge of collapse. But why? The Knights of the Shield have infiltrated the town council of Zazesspur, are are subtly manipulating the countryside around Ithmong by bringing in attacking monsters and making the land unfertile. They hope to make one of their members king of Tethyr! The players are tasked with cleaning up the countryside of Ithmong, finding the source of the increased monsters, and stopping whatever is making the land unfertile. Pgs. 4-18

A museum of the Mad Archmage, it contains curiosities and treasures from all over the multiverse, and the challenges of the Watery Caves, which are a series of living caves connected by an underground river. This adventure can be used as an expansion to the Castle of the Mad Archmage mega-dungeon adventure, or as a stand-alone adventure. Published by BRW Games
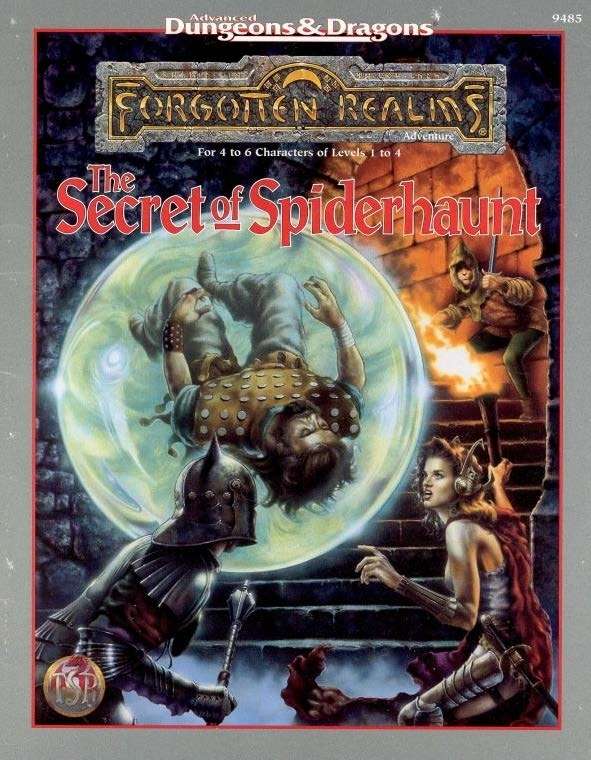
The infamous Sword of the Dales has always held a certain fascination in the eyes and hearts of the citizens of the Dalelands. Thus, it was no surprise when Randal Morn, rebel leader of Daggerdale, led an expedition into the crypt of a long-dead wizard to recover the weapon. Shaevyn the weapons-mage had created the Sword long ago, and it stood to reason that the blade would be waiting within his tomb. Perhaps the Sword of the Dales woulld allow Randal Morn to rule Daggerdale once again. But Randal Morn never returned from that fated party. Only tales of terror told by a lone survivor held any clues as to Randal's fate. A brave hand of heroes accomplished what Randal Morn's group failed to do in part one of this adventure trilogy, "The Sword of the Dales." Battling through the tomb's undead inhabitants, those heroes reached the burial crypt of Shraevyn. There, resting in the center of the coffin, was the Sword of the Dales, its azure glow filling the chamber. However, there was no sign of Randal Morn. Only a note signed by his hand held any clue as to his fate. "Seek me in Spiderhaunt," it proclaimed. "The fate of Daggerdale is in your hands." This is the second part of a trilogy of modules that began with "The Sword of the Dales." The saga concludes with "The Return of Randal Morn." TSR 9485