
The mining town of Glister has had a prosperous year, and people have been coming in search of work and wealth. A call has gone out for help in some local matters, but getting there is no easy task. Catch the caravan and travel through treacherous Thar! A 2-Hour Adventure for 1st-4th Level Characters Part 1 of Kossuth’s Kiss

The village of Bad an Fithich is besieged by a monster and the villagers offer a reward for its head. Thus far none have succeeded, but the tales tell only of a large wolf, which seems like an easy bounty. The party’s first night in the village is marked by the cry of a banshee proclaiming their inevitable doom, but if they listen closely they may hear another story. Pgs. 119-127

A terrible and unnatural fear has come over the people of Waterdeep. In a matter of weeks, dozens of people are missing, and more disappear each night. Rumors tell of curses, phantasms, demons, and possession. In truth, these are the victims of tiny parasitic brain maggots unleashed by the illithid dragon called Brainstealer. The fate of its victims fall on your shoulders, as you discover his lair and prepare to raid it.
Mare Vinceret has kept the underwater city of Conatha thriving for centuries. Deep within the Greyspace lurks a force so strong that it could impede their progress toward peace. It dwells in a place beyond where they would ever choose to go, filled with dark aquatic life and a menacing presence that no one could match. Juliya Alastor, the leader of Mare Vinceret, sends her best to dispose of the threat known only as Biandra, the Hag of Conatha (sea hag). The Hag of Conatha seeks to fix what Mare Vinceret has done to the beautiful land that she sees as corruption in disguise, then live in peace. Biandra has taken their forgotten structure and made it her own. She sits within a threedomed greenhouse with walls blanketed by vines of kelp and seaweed and swimming with deadly aquatic creatures. Within the dark, polluted lair, Juliya's team falls into madness. One by one, Biandra's hallucinatory tricks destroy them, leaving each of them within her grasp. Believing all is lost, Juliya finds a glimmer of hope in a crackled communication one of the members of the party must be alive. She must send out one more group of brave adventurers to bring down Biandra for good and reclaim the underwater dome. Will the adventurers find the lost orc rogue, fight their way in, and investigate through the biodome maze? Or will they be confined to the underwater maze of Conatha in madness, trapped with the Hag of Conatha herself? Pgs. 35-41

"Ribbons of blood dance through the air, tracing wide crimson arcs before fraying into thousands upon thousands of bright red droplets. The cheerful tavern atmosphere evaporates in a moment, rent apart by screams and cries. A woman with grey hair stands near the bar, grasping at the dagger in her throat with fingers made slippery by blood. She sways and collapses. More screams. A man stands before her. He is holding the hilt of the dagger, but lets it slip from a gory hand as the woman falls. He freezes for a moment, then spins and sprints away, knocking aside people as he goes. A young, flaxen-haired woman at the back of the tavern cries out, “Stop him! Stop him!” as he approaches the entrance – the entrance where you and your comrades are standing. What do you do?" A lonely outsider murders a popular village local before a room full of witnesses. But could he be innocent? The Lurker Beneath Red Larch is a 4-6 hour adventure for characters of 3rd-4th level. It is full of roleplaying, problem solving and challenging combat encounters.

This adventure is designed for the D&D Adventures League Season 5 - Storm King’s Thunder campaign, and is meant to enhance your party’s connection to important events and NPCs. While it is intended for a party of around 6th level, the nature of the quest is such that it fits easily with a higher level as well. It will put your players in contact with Felgolos, the bronze dragon that is encountered in Chapter 9 of D&D Adventures League Season 5 - Storm King’s Thunder, as well as the ancient dragon Iymrith, who plays a prominent role in the main plot. Of course, you can also change names and locations to make this adventure fit into any other campaign world – as long as it has dragons and deserts. Enjoy!
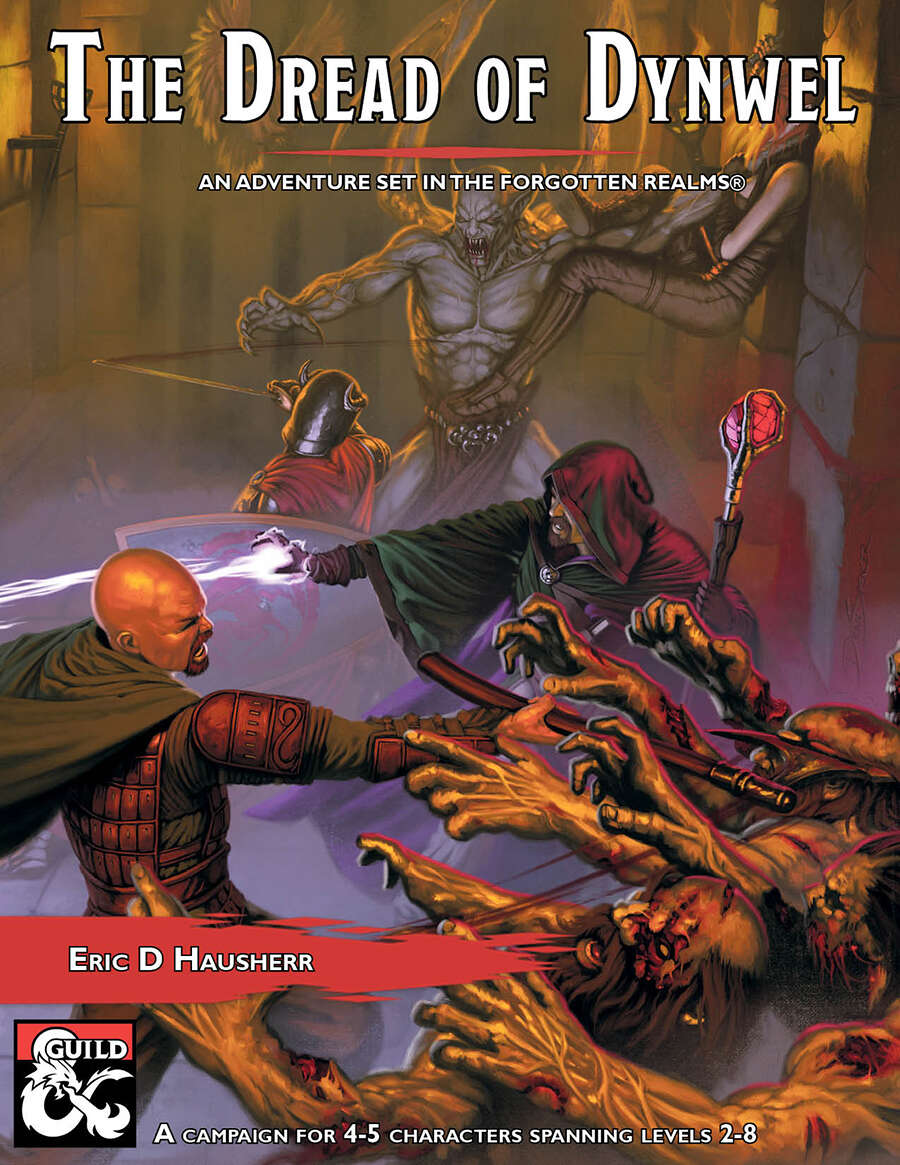
The Dread of Dynwel is an adventure set in the Forgotten Realms and optimized for 4-5 players. The characters start as a down on their luck but somewhat experienced crew of adventurers with a wanted poster which pays a much-needed gold reward. Soon, events in the Sunset Vale are revealed as more dangerous than they seem, sweeping the characters along with them. From the heights of the Sunset Mountains, the alleyways of Scornubel, and depths of the Reaching Wood: The Dread of Dynwel covers levels 2 through 8 and features material which can be played as a full campaign or dropped into an ongoing one.

You return to the peculiar village of Basht for one of their unusual festivals: the procession of the Straw Bears. While there, you meet some old friends and are asked to escort the brave villagers into the woods to continue the party into the night. It should be perfectly safe, shouldn’t it? A Two to Four-Hour Adventure for Tier 1 Characters. Optimized for APL 3. The Straw Bears originally debuted at U-Con on November 2020. (https://www.ucon-gaming.org/)
Invasion of Veluna - Level 1 Demons have invaded Veluna, laying waste to Verbobonc and small towns! Survive the siege, and track down their origins. This adventure has inspiration from The Village of Hommlet. Infiltration of Dorakka - Level 2 Rumors of Demonic Invasions have the characters traveling across the lands of Iuz, surviving in the war torn wastelands to reach the Rift and back to infiltrate the capital of the fiendish Empire. This adventure has inspiration from The City of Skulls, with a special optional twist. Scant Rebellion - Level 3 Rumors of demonic forces across the Flanaess are forcing the hand of the Scarlet Brotherhood. Aid or covertly work against the Brotherhood to eliminate or save the Free Onwall Army of Rebellion and create a temporary peace. Assassination - Level 4 The Free Onnwall Army of Rebellion has been weakened. The Scarlet Brotherhood mean to end its threat with the permanent removal of a key leader and funder of the army. Beneath the Gnarled Root - Level 3 Mad demonic cultists wandering listlessly across the Gnarley have been ranting and raving of a secret asylum hidden beneath the gnarled root. Find the dungeon, and learn what secrets it may hold. Quarry of Elemental Chaos - Level 4 The demonic forces near the Gnarley have constructed a massive quarry to tap into the elemental chaos, using its power to locate a magical artifact for a greater evil. Dive into this massive dungeon and end the insanity in an adventure inspired by the Temple of Elemental Evil. Irongate Heist - Level 3 Azure Masks have tracked an important magical relic to be in the possession of a traveling author who has just come home to Irongate to celebrate his newest book launch. During the party, enter his home and steal the artifact while forces work against you. The Bright Desert - Level 4 Rary the Traitor has partnered with the demons to gain information on the Lost Pyramid of Kesh. Within is the legendary Scorpion Crown that would hand the fiends an army of tlincalli. You must race across the desert to reach the pyramid before Rary's forces in this adventure based on Rary the Traitor and Desert of Desolation. Bastion on the Borderlands - Level 5 The bravery of the characters has seen them rewarded with a bastion in Keoland abandoned by the Knights of the Watch due to political pressure. The characters may take a moment to breath, place roots down, or bring order to the nearby chaotic caverns in this adventure inspired by Keep on the Borderlands. The Neverending War - Level 6 Transported to and trapped within the neverending war in the lost city of Rauxes, the characters are tasked with ending the curse upon the city to escape this D&D roguelike adventure. Jungles of Hepmonaland - Level 7 The mirror of gates, an artifact to easily bring groups of people across the planes, has been split. The first piece has been discovered to be deep within the Jungles of Hepmonaland in this adventure inspired by Needle. Across the North - Level 8 Rumors of artifacts in a hidden vault in the northern Flanaess have circulated for decades, but with the keys now showing up, and demons circling, this rumor could be a key to stopping this invasion in this adventure inspired by Five Shall Be One. City of the Lizardking - Level 9 The Silent Ones have maintained a close relationship with a band of Lizardfolk in the Hool Marsh. Their recent silence, following a discovery of another piece of the Mirror of Gates could only mean one thing... They need to be saved in an adventure inspired by Tomb of the Lizardking. Lair of the Kraken - Level 10 The Ladies of Crede had discovered yet another shard of the Mirror of Gates, having it transported to Oakenisle when the shipment was attacked by a kraken. Now the characters must go on a very deep sea adventure to take back what is theirs. The Demonic Rainbow Dungeon - Level 11 Unbeknownst to most, beneath the Free City of Greyhawk is a massive dungeon constructed by a variety of creatures to funnel power for Demogorgon to maintain his charade of an alliance with the Queen of Chaos. Put an end to his scheming in this adventure inspired by Castle Greyhawk. Comes Sail Away - Level 12 The characters partner with the Scarlet Brotherhood to traverse the sea of worlds and enter the City of Glass in the Elemental Plane of Water, trying to gain the Ax of Severance before the Queen of Chaos. This adventure was inspired by The Vortex of Madness and Other Planar Perils. Fly Away With Me- Level 12 Dropped into the middle of Aaqa in the attempt to stop the Queen of Chaos' plan, the characters must naviagte politics and the infinite skies to reach the Ax of Severance before the demons. Through the Fire and the Flames - Level 12 Inspired by Secrets of the Lamp, this is a political-intrigue quest, with characters forced to navigate the politics of the City of Brass, getting a new sultan in power to gain the Ax of Severance before the demons under the Queen of Chaos can seize upon the chaos they wrought. Underground - Level 12 The characters must navigate the shifting labyrinths of the Elemental Plane of Earth to pull off a heist and find the Motherlode before the demons! Portal of the Drow- Level 13 The time has come to enter the Abyss. The nearest - permanent - portal is inside the drow city of Erelhei-Cinlu and is guarded by the son of Demogorgon. As a result, only one action is reasonable: besiege the great city in this adventure inspired by Vault of the Drow. Invasion of the Abyss - Level 14 Upon finding themselves in the Abyss, the characters arrive in the uppermost layer of the Abyss, trudging through 13 layers to reach the home of the Queen of Chaos in this adventure inspired by the Demonweb Pits.

This adventure has been designed as a one shot adventure for 4-8 players, pregen 5th level characters included, in 4-6 hours. It tells a classic story of the "good" races oppressing the "dark" races, with their warlike expansionist ways.

Lair of the Frog King is a short adventure for five 1st-level characters that takes place in an ancient castle. The river—which used to flow around the castle and fill its moat—has diverted over the centuries, and now what used to be fertile farmland is marshy bog. What’s more, the swamp has claimed the castle itself. A tribe of bullywugs settled in the muddy former fortress, and use it as a base to raid nearby farms. Can the newly-minted heroes stop the bullywug menace? Find out in Lair of the Frog King!

When a harsh winter turns uneasy neighbors into bitter rivals, or worse, Granny Grimsicle sees an opportunity to spread her unique brand of horror in Hrokstead. Short on food themselves and exhausted from their adventures, our heroes arrive in the frontier settlement to find that something is very wrong. Can they get to the bottom of the threat, and make it out alive? This title stands as a one-shot, but also plants seeds for the ongoing Hags of Hoarfrost anthology. It works great as a supplement to Icewind Dale: Rime of the Frostmaiden, or placed into your own homebrew setting, or run as a standalone adventure. This module includes a detailed battle map and a monster token for use on Virtual Tabletops, and player handouts presented as standalone images for easy distribution to your online players.

In the Anauroch desert, darkness is growing. The followers of the Vile Spore Goddess Zuggtmoy have stolen the dreams of the Bedine Seeress Deja, trapping them in an eldritch artifact. Unless her dreams are returned, the Seeress will descend into madness, and her people along with her.

Eberron Gothic: Curse of the Thornwood is an intricate, character-driven mystery set against the sins of the past. On a journey to Arythawn Keep at the edge of the Mournland, the adventurers stop for the evening in the Thranish village of Brightdawn where they discover that there are dark secrets hidden in the wilds nearby. . .

"Can you solve the Labyrinth within 13 hours and get back what was stolen from you?" A 4-Hour Adventure for Tier 1 characters optimized for APL 3 taking place in the Feywild Domain of Delight, Labyrinth, where everything seems possible and nothing is what it seems. This adventure takes place when the characters have been abruptly teleported into the Feywild Domain of Delight, Labyrinth. The Kobold King has given the characters thirteen hours to solve the labyrinth, or they will lose what he stole from them forever. "It's only forever, not long at all..." Pillars of Play: Skill challenges and exploration. Minimal/optional combat. Content warning: Non-consensual theft Adventure Inspiration: Jim Henson's Labyrinth (1986)

A print friendly 2-4hr adventure PDF for 3-4 level 1 players. Designed with new Dungeon Masters in mind. In a far away village, an anxious priest sends out ravens, requesting aid from anyone willing to help the gaurdian of his village. The reward, well not much, the village is poor but can offer what little gold it has. More importantly though, is the promise of a bards tale and the first step on the road to becoming a famous adventurer. Compatable with the starter set and the WOTC free official basic rules (links provided) Pre Gens provided via link. Hook provided for adventure to be ran as a prequel to the Lost mines of Phandelver Includes 3 colour tactical maps

Uncover the curious tale... When the party are shipwrecked they take shelter in an old forgotten cottage. They soon find themselves uncovering the mysterious death. One thing is for sure, they are not alone... Back to the sea is a 3-5 hour one shot, recommended for Level 3-4 adventurers. It offers a refreshing and different look at Ghosts in D&D. Contains 3 beautiful original digitally illustrated Maps. Unique Monsters and interesting combat scenario. Encourages player creativity and problem solving. Screen reader version.

Synopsis: Chalk Hill is a lonely village on the edge of the Downs. Nearby barrows contain remains of long-dead kings. As is the local custom, a pair of young newlyweds went to the ancient standing stones for the druids to bless their union. They never came back. The heroes must find and return the couple, who have been taken into the grave of Eorl Wulfstan. The undead Eorl saw the new-wife in a dream, and she is the spit of his long-lost beloved, so he had his servants bring her to him. They slew the young man, who rose as undead under the Eorl’s control. Can the heroes find the survivor and put the dead back to rest? A 4 to 6 hour adventure for 4 to 6 Tier 1 characters—optimized for 5 characters of 3rd level. This adventure came about thanks to the generosity and encouragement of Dyson Logos, cartographer of Waterdeep: Dragon Heist. In it you'll find maps never before seen in a Guild adventure! "Chalk Hill" is an Old School "out and down" dungeon crawl, where brave adventurers venture into the wilderness and pit themselves against horrors which would set a-quiver the flesh of honest folk. It's proof you can have an OSR experience using the 5e rules!

Ashvale is a simple village, full of people who live their simple lives without knowing anything about the world outside their simple valley. But there is one thing that they know: animals can sense danger. And, for the last few days, animals have been running out of the woods. Characters are hired to investigate and must venture into the forest. But the culprit, a dryad, may have a good reason for chasing all of those animals away.
Outside Briar Glen lies a dangerous swamp, and deep within it runs the Weeping River. Those who venture too far into the swampland near the river are overcome with grief and cry until their tears turn to blood. If they’re lucky, they die quickly. Lately, however, women in town disappear into the swamp near the Weeping River at night... and return in the morning, entranced but unscathed. Their families want to know why they return at sunrise with no memory of the previous night. These women found themselves a friend in the boo-hag, angry at the townsfolk for damaging her swamp. She initiated the women into her coven and tasked them to drain the life energy from their families to help the boo-hag heal the swamp.