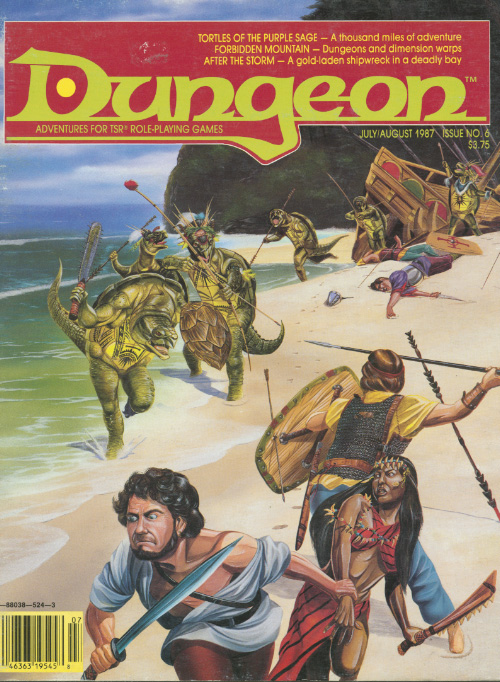
One reason why they call it "the dead of winter." A year ago, a white dragon came out of the mountains north of Polarton, attacking trappers, driving off game, and marauding as it pleased. The dragon is seriously affecting the financial stability of the town. Therefore, the town council has placed a bounty on the dragon. This is a short arctic adventure. Pgs. 15-19

Deep below the surface lies an ancient beholder city called Ilth K'hinax. In times past, hundreds of beholders called it home - until simmering rivalries within their society exploded into warfare. The few survivors fled, leaving the city deserted for hundreds of years. However, the story of Ilth K'hinax's glory was passed down from one generation of beholders to the next. Now, after countless years of self-imposed exile, the beholders are back! After securing the city, the hive mother of Ilth K'hinax implemented a plan to wipe out all the beings living above it. Unfortunately for the beholders, several facets of the hive mother's plan have been revealed through the exploits of a party of adventurers. Now, this group of heroes must meet eye to eye with Ilth K'hinax's newest occupants in an effort to stop the hive mother's pernicious plan! "Eye to Eye" is the last of three adventures featuring the nightmarish beholder. It can be played as an individual mission or as part of the series that began with "Eye of Pain" and continued in "Eye of Doom." TSR 9536

Into the void. It all started with two wizards feuding now a sphere of annihilation and a daemon princess threatens the whole town. It is up to the party to stop things before the city is destroyed. Pgs. 24-47
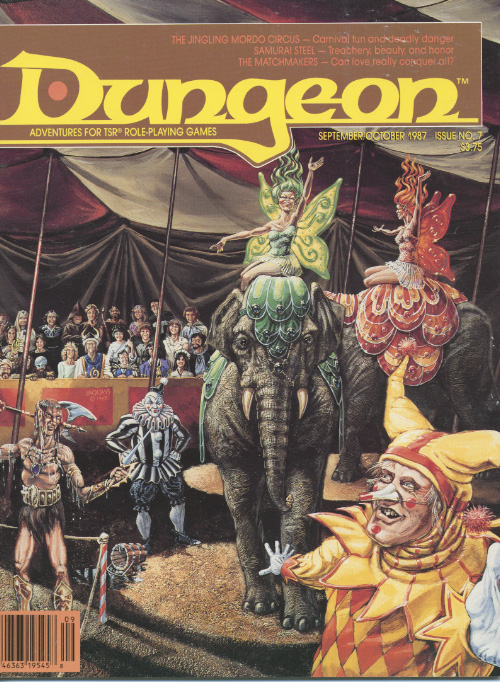
Tortles of the Purple Sage - Part 2 completes a D&D Expert Set wilderness adventure which began in DUNGEON issue #6. Through the gate stones, into the unknown. This adventure takes place in the Known World of the D&D game, as outlined throughout the D&D game rule books and modules. The DM may find it useful to consult the Companion and Masters Sets, as well as most of the X-series of Expert Set modules. The DM may find it useful to consult the Companion and Masters sets, as well as most of the X-series of Expert Set modules. Expert Set module X9, The Savage Coast, would be especially helpful, as Tortles of the Purple Sage should easily serve to continue that module's direction and plot line, adding previously undescribed areas to the Known World. The DM may also place the areas and events of this adventure within an existing campaign setting, as long as the geographical areas of the campaign match those set forth here. Pgs. 8-25
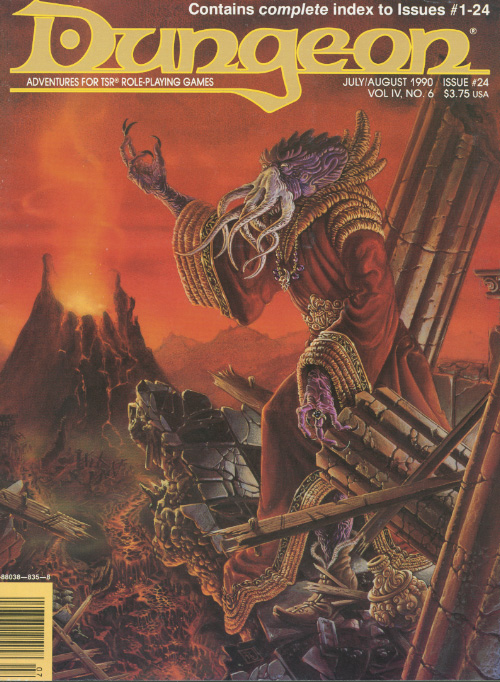
Things are darkest before they go totally black. He wears black, hires orcs, and looks depraved - but don't be fooled. He's far more dangerous than he seems. Thaddigren Dentiata recently arrived in the village of Sisak, and within 3 months had constructed a great tower on the outskirts. The villagers have become more wary of him, since he employs the help of orc henchment (albeit polite ones), and also is suspected of using dark magic. Since then, livestock has begun disappearing from the surrounding pastures, and two drunk men fell upon a terrible fate when they went to investigate the tower secretly. One was killed and the other remains missing. The villagers have confronted Dentiata, but he and his henchmen politely turned aside their questioning. The players arrive just after one of the town elders was taken by orcs from the village after trying in vain to rally the rest of the townspeople. The players will spend some time in the village gathering information and then attack the tower itself, ending in a final battle with the evil wizard. The module provides details on all buildings in the town as well as all NPCs and stores. Pgs. 6-24
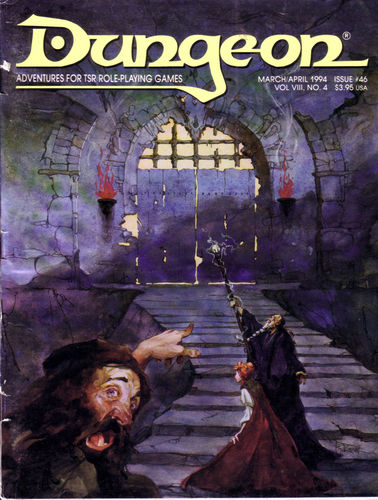
If the drought doesn't get you, the goblins will. The river has mysteriously run dry and the farmers' crops are in peril. Locals are convinced a nearby tribe of goblins are responsible, and have offered a reward to anyone brave enough to sort it out. While they were correct about the goblins causing the drought, they were wrong about the reason. The chief of the goblin tribe is an enthusiastic fisher and a particular fish, Salvel the Talking Trout has continually eluded him. This adventure has a humourous tone and emphasises role-playing and negotiating. Pgs. 8-21 & 49
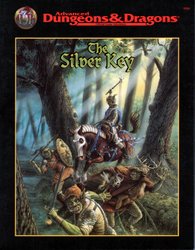
Between the settled human lands and the orc-filled mountains rests the barony of Honshar. The residents have grown used to occasional orc raids, but now they find themselves facing a full-scale war. As if that wasn't bad enough, the orcs have kidnapped an important political figure from Honshar, along with a crucial magical item - the Silver Key. Unless the key is recovered, it could be Honshar's undoing. Both the key and the hostage are being held in the orc city of Krimba-hai, so getting them back will be tricky. However, there is a plan.... TSR 9508

At last- an opportunity to avert the threat to the little town of Saltmarsh! The real enemies have been identified-- evil, cruel creatures, massed in force and viciously organized. Can the brave adventurers thwart this evil and ensure the safety of Saltmarsh? The Final Enemy is the final part in the series of three modules designed and developed in the United Kingdom for beginning adventures with AD&D rules. Its plot follows directly from those of the first two parts (U1 - The Sinister Secrets of Saltmarsh, and Module U2 - Danger at Dunwater.) TSR 9076
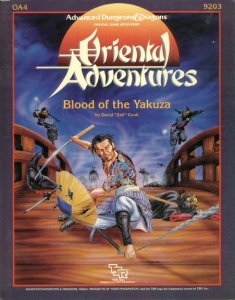
In the port city of Nakamaru, the masks of deceit and treachery embroil the entire city. Plots and counterplots, loyalties, revenge...all can be found in this city of Wa. You have been thrust amidst this cauldron of intrigue. You must pick your loyalties with care. Will you side with one of the yakuza gangs in their secret battle for control of the streets? Will you throw your fate into the political whirlwind that surrounds the powerful families of Nakamaru? Will you sohei battle his rivals for the hearts of the people? Blood of the Yakuza is an adventure for use in your Oriental Adventures campaign. It includes a colorful map of Nakamaru and descriptions of the major NPCs, districts, and factions of the city. All of these make Nakamaru an exciting and dangerous place for adventure! TSR 9203
While travelling across the ocean by ship, the party is attacked at night by by the infamous Floating Rock bugbears. What makes this band of pirates unique is their lair: they live on the shell of a gargantuan sleeping sea turtle as it drifts around in the ocean current. Pgs. 24-26

"...the Ultimate Campaign Adventure..." A sinister force, long thought destroyed, stirs from the black hole that spawned it. Like an ebony darkness it prowls the land and safety is but an illusion, for it watches from every shadow and ponders possibilities. What began years ago with the introduction of the players to the quiet village of Hommlet and the amazing lands of Greyhawk, at last is complete. Here is the long awaited campaign adventure featuring the ruins of the Temple of Elemental Evil! Evil broods and grows beneath those blasted stones. This is your chance to drive it back and scatter its forces again. This product includes the village of Hommlet, the filthy shire of Nulb, and reveals the ruins of the Temple of Elemental Evil and the labyrinths that lie beneath, a warren of darkness. And beyond these ruins, even more is revealed. For the first time this product provides a complete campaign adventure which will take beginning characters from 1st all the way to 8th level and possibly beyond! Hours of adventure await you! TSR 9147
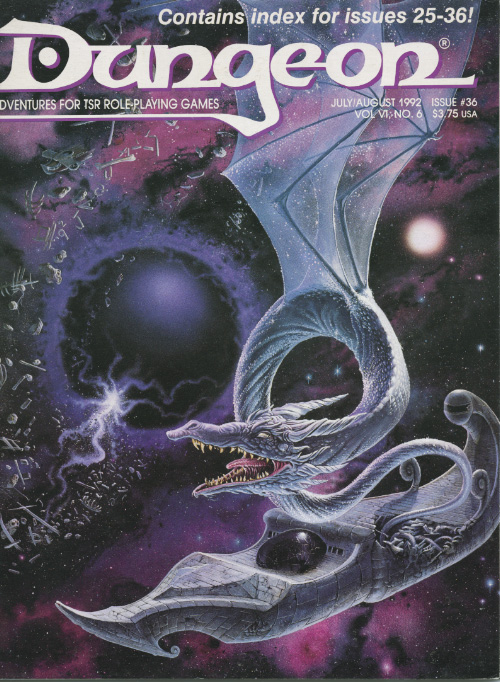
Abandon hope early and avoid the rush. A rebel leader is locked in a prison from which there is no escape. That's why the rebels called for you. The players are recruited to help rescue a prisoner of the Theocracy. The prison is very unique in that the cells are situated in a wheel formation. The prisoners are forced to push against their cell walls every day until after 1 full year (1 full rotation of the wheel), an opening appears in their cell and they are free to leave. There are many paths to success in this adventure, and it can play out more like a heist rather than a dungeon crawl. Pgs. 24-37

In this scenario, the adventurers pass through magical portals into a series of interlinked chambers. The characters are encouraged by a young scholarly mage to voyage into the Sea of Pastures, to explore a mysterious island connected with a number of recent shipwrecks and disappearances. The island is grassy and windblasted, but eventually the characters discover a stone door leading into a subterranean complex. There, they discover 18 rooms linked by secret passages and magical portals. Most of these rooms have been ransacked by a variety of other survivors, human and monstrous. These survivors are likewise trapped within the labyrinth and are either eking out a miserable existence there or else desperately searching for a means of escape. Also within the building are a number of extraplanar creatures, collectively known as gingwatzim, who can shift between various forms: an energy form (glowing ball of light), an inanimate form (usually a magical weapon), and an animate form (an animal or monster). Eventually the characters may find the exit, and are once again deposited on the dreary islands to await rescue. TSR 9110

Adventure in the world of Greyhawk! Powerful forces are set in motion as your party searches for the legendary Blades of Corusk. Take them on the perilous journey from Rookroost to the Lair of the Shadow Dragon in the frozen northlands. Will they survive the ramifications of events that they have initiated? Those who hold the magical blades will not easily give them up. Plucking them from the grasp of a jealous dragon or stealing them from the center of the subterranean City of the Ore Horde will strain your adventurers to their limits! TSR 9317
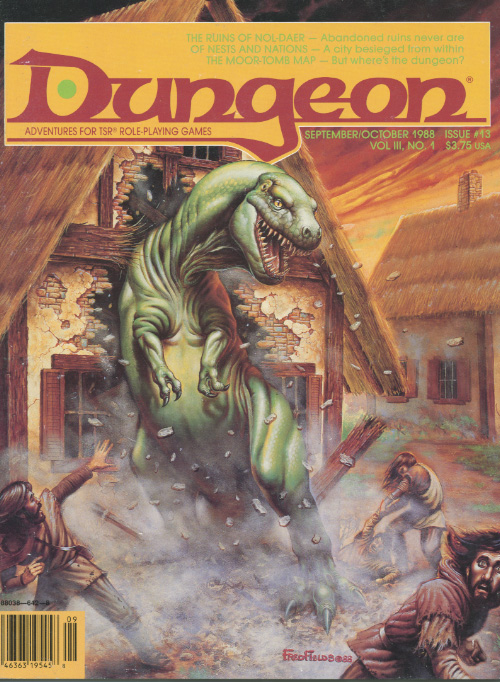
Auction fever can empty anyone's pouch of coins. An Arch-Mage is retiring and selling his possessions - and you're at the auction! Pgs. 19-23

You have no friends here What can you do when the Mists deposit you in the city of Lekar? The militia is no better than a gang of sadistic bullies, the citizens are more contagious than a fleet of plague ships, and every foot of public space is covered with corpses of criminals who committed no crime greater than struggling to survive in the oppressive domain of Falkovnia. Danger haunts your every move A secret society of assassins, known only as the Ebon Fold, has been hunting down visitors to Lekar and killing them in a most grisly fashion; all that remains of the victims are desiccated husks that crumble to ash when touched... and you are their next targets. There is no escape When everyone who has befriended you is either dead or hunted by the authorities, you have no choice but to fight back. But the Ebon Fold is a numberless horde whose leader holds sway over death. How can you defeat enemies that won't stay in the grave? They strike from the depths of darkness and steal your life... one dagger stroke at a time. This 64-page adventure can be played independently, or as the opening challenge in the Grim Harvest series that continues with Death Ascendant and concludes with Requiem. Inside the package is a poster map that fully details asll 10 levels of the chilling complex known as the Well of Bones. TSR 9523

This short adventure is set in the Ravenloft domain of Lamordia where the PCs find themselves trying to save a beautiful maiden from the mad scientist, Dr. Victor Mordenheim, who is trying to restore life to his dead wife. TSR 9336
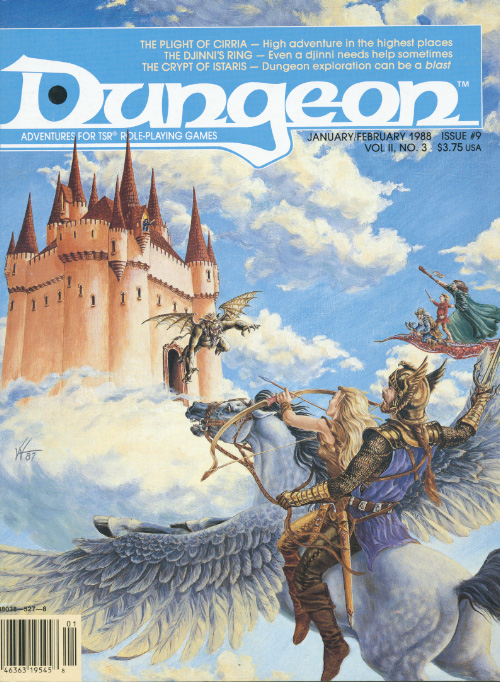
An Arch-Mage who can kidnap a dragon is one tough Arch-Mage. Definitely not for those who are afraid of heights. An evil archmage, Ezoran, has kidnapped a dragon in order to discover the means to seize control of a cloud giant's castle. The adventures are tasked with rescuing the dragon by the dragon's mate. The adventure revolves around tracking and navigating through dense jungle and working through a cloud giant's fortress. Pgs. 50-63

An interesting and atypical adventure in its writing style. For one the module contains insightful "When things go Wrong" sections and DM guidance for sticking close enough to the rails for the story and fun's sake. Lots of DM hints about how to handle PCs' choices. Overall the story is fine too - a traditional hook, a mystery, some twists. There's a tower, a surprise pocket-dimension context, and a dungeon. It's mirror of life trapping, isn't it? Well, yes and no. People go in, and they don't come out. Nor can you talk with anyone inside. Somehow, that's not quite the way you remember those mirrors work. This Skarda fellow showed up a few years ago with a band of raiders, and no one in the land has been safe since then. Whole villages have disappeared into this Skarda's mirror. Your band is approached by relatives of one of the victims?and adventurer like yourselves. You have to get into that mirror of whatever-it-is, find this man, and get him out in one piece. The reward is more that adequate. Only problem is, no one out here can tell you what to expect once you get in? or even how to get there. TSR 9188
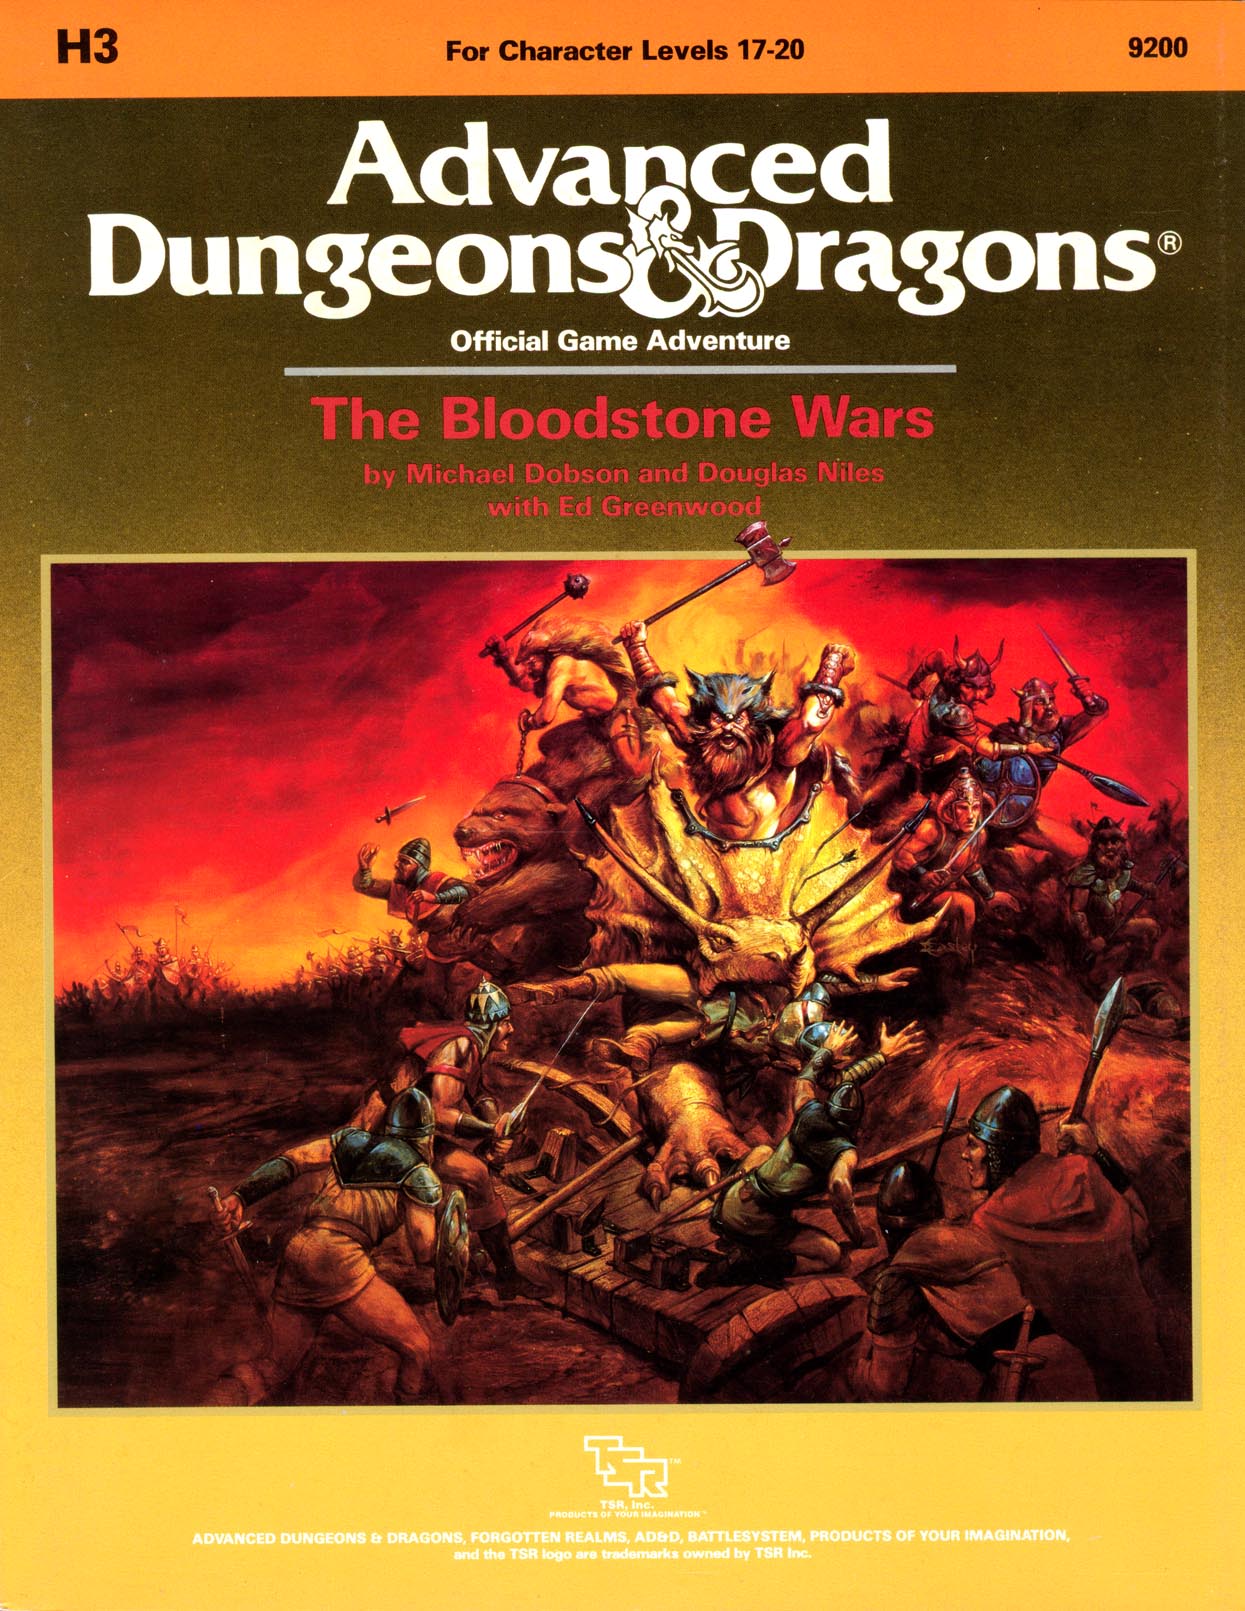
What strange role does Orcus, Prince of the Undead, play in the invasion of the peace-loving Damara? And what interest does the Grandfather of Assassins have in the tiny barony of Bloodstone Pass? With this adventure, your player characters inherit an entire barony - with a recently-reopened mine that produces immense wealth. Wealth enough to attract the dangerous attention of their neighbors...wealth enough to attract the attention of the Witch-King of Vassa...and Orcus himself! Now, your tiny barony is the pivotal point in a war that threatens to engulf the entire Forgotten Realms. Take command, and defend yourself against the encroachment of the evil, demonic forces of the nightmare realm of Vassa. A large, four-color map of the region makes your new realm come alive. Wild and wooly BATTLESYSTEM scenarios (with options if you're not into miniatures) give you the full range of battlefield excitement! Come learn why high-level AD&D game play can be much more than just monster bashing. The Army of Bloodstone wants you! TSR 9200