
The Cult of the Dragon, along with its dragon allies and the Red Wizards of Thay, seek to bring Tiamat from her prison in the Nine Hells to Faerûn. To this end, they are sweeping from town to town, laying waste to all those who oppose them and gathering a hoard of riches for their dread queen. Continued in The Rise of Tiamat.
![Cover of D&D Encounters Season 03 - Keep on the Borderlands: A Season of Serpents [Chapter 1-5]](https://www.drivethrurpg.com/images/44/121468.jpg)
At Restwell Keep, you've heard that fortune and glory await those bold enough to brave the dangers of the Chaos Scar, a valley carved ages ago by a fallen star. The same tales warn that this Chaos Scar draws wickedness to it. Perhaps you can help stem this tide... and gain treasure along the way. While the location is a different keep, this adventure is an homage to B2 Keep on the Borderlands(https://adventurelookup.com/adventures/b2-keep-on-the-borderlands)
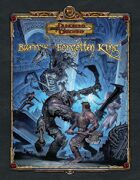
Who Disturbs the Slumber of the Forgotten King? Wolves prowl the graveyard of sleepy Kingsholm, and death lurks behind shadowed tombstones. Something has disturbed the sleepers in the mausoleum, and brave adventurers are needed to explore the catacombs beneath the graves and discover what evil stirs in the darkling depths. Part 1 of the Barrow of the Forgotten King series. Followed by the Sinister Spire.
The hobgoblins were not the only forces that remained after Kalarel was slain. Before the Keep’s portal was fully sealed, evil spirits from the Shadowfell escaped into the Nentir Vale. They were drawn to Kalarel’s own dark soul, which remained in the mortal world thanks to a spirit-orb the priest had created to prevent him from moving on after death. The presence of these malignant spirits caught the attention of a frost witch called the Rime Mistress and her followers—unaligned territorial beasts—who rose up to defend their domain. The Rime Mistress knows that the spirits present a greater threat than the hobgoblins do, so she and Prang, the Iron Gauntlet leader, have agreed to an uneasy truce. Thus, the hobgoblins and the creatures of the Cairngorm Peaks are united in their struggle against Kalarel’s spirit army.

A black dragon’s treasure hoard has been located in the Twilight Marsh, and within it are secrets that hold interest to the factions. With the dragon marauding over the countryside, the horde is left unguarded. Now is the time to plunder its lair!

The rough ground on the outskirts of the village of Col Fen once served as a graveyard for an evil temple destroyed long ago. A recent disturbance released some of the ancient evil buried here, and now the dead in this graveyard are beginning to walk. Several villagers have already vanished and more will die if the undead are not put to rest. Pgs. 56-63

A green dragon called the Dawn fancies herself a deity and has attracted reptilian followers that raid elven settlements. The PCs must find her temple in the woods and end the threat. Pgs. 78-83

The Sea Witch is a short adventure for four 10th-level characters. The difficulty of the adventure can be adjusted by changing the level of main antagonist (Black Molly, the sea hag pirate) or by altering the number of her ogre servants. To tailor the encounter to groups of different levels, refer to table 4-1 in Chapter 4 of the DUNGEON MASTER’S GUIDE. The adventure is set off a lightly populated coastline known as Misty Bay, but adapts easily to any coastal region in existing campaigns. The sea hag known as Black Molly is a notorious pirate who has plagued the coastal cities for the better part of a decade. A successful Knowledge (local) check (DC 15) will reveal that Molly and her ogre crew have a filthy reputation as merciless killers who delight not only in plundering vessels for their riches, but also in destroying the ships themselves and sending all hands to the bottom of the sea. Now the villain and her followers have seized control of the Old Lighthouse of Misty Bay located off a lightly populated coastline. For generations the lighthouse beacon has protected the fishermen of this region, warning them of the dangerous rocks that lurk just below the level of the high tides. Recently, the hag has put out the beacon, darkening the lighthouse; misery and destruction are sure to follow as ships start to blunder into the rocks. Blackmail is apparently Black Molly’s aim in this venture: She conveyed a message to the nearest shore community, the fishing village of Poisson, demanding the princely sum of 50,000 gp. Until she receives this ransom, she intends to hold the lighthouse and its beacon hostage. The fate of the human keepers who tend the lighthouse is unknown to the seaside communities at this time, but they fear the worst. The Sea Witch is ostensibly a rescue mission: The PCs are pitted against the evil of Black Molly and the brawn of her savage ogre crew. It is the heroes’ task to retake the lighthouse and, if possible, free its captives from the clutches of their jailer. What neither the PCs nor the shore communities yet realize is that while she 1would be pleased to have the gold, Black Molly is in fact after bigger treasure. Molly has no intention of giving up the lighthouse — at least, not until she finds what her master sent her here for. Lying on the sea floor practically at the base of the rock on which the lighthouse sits is the wreck of the war galley Flying Cloud, which according to popular legend was captained by a cleric who wore around his neck an amulet of the planes. Black Molly wants this prize, but so far she hasn’t been able to find it. She’s scoured the wreck without finding any sign of the magic item. Now she’s trying to determine where to search next, for the item might well be somewhere near the wreck. If she can’t find it, she’ll start torturing her captives to find out if they have any useful knowledge about the amulet.
Will the adventurers be able to thwart the machinations of a mad dragon in the hopes of saving the city of Sharn from certain destruction? Is the slinky elven maiden really in trouble or working for the enemy? Is the body in the morgue really the center of this whole puzzle or merely one piece? This adventure, in the style of a Dashiell Hammett novel, will certainly test their skill and resolve. This is the first full adventure for Eberron with the 4th edition D&D(R) rules. This adventure builds on the sample adventure provided in the Eberron Campaign Guide but is also playable as a stand-alone adventure.
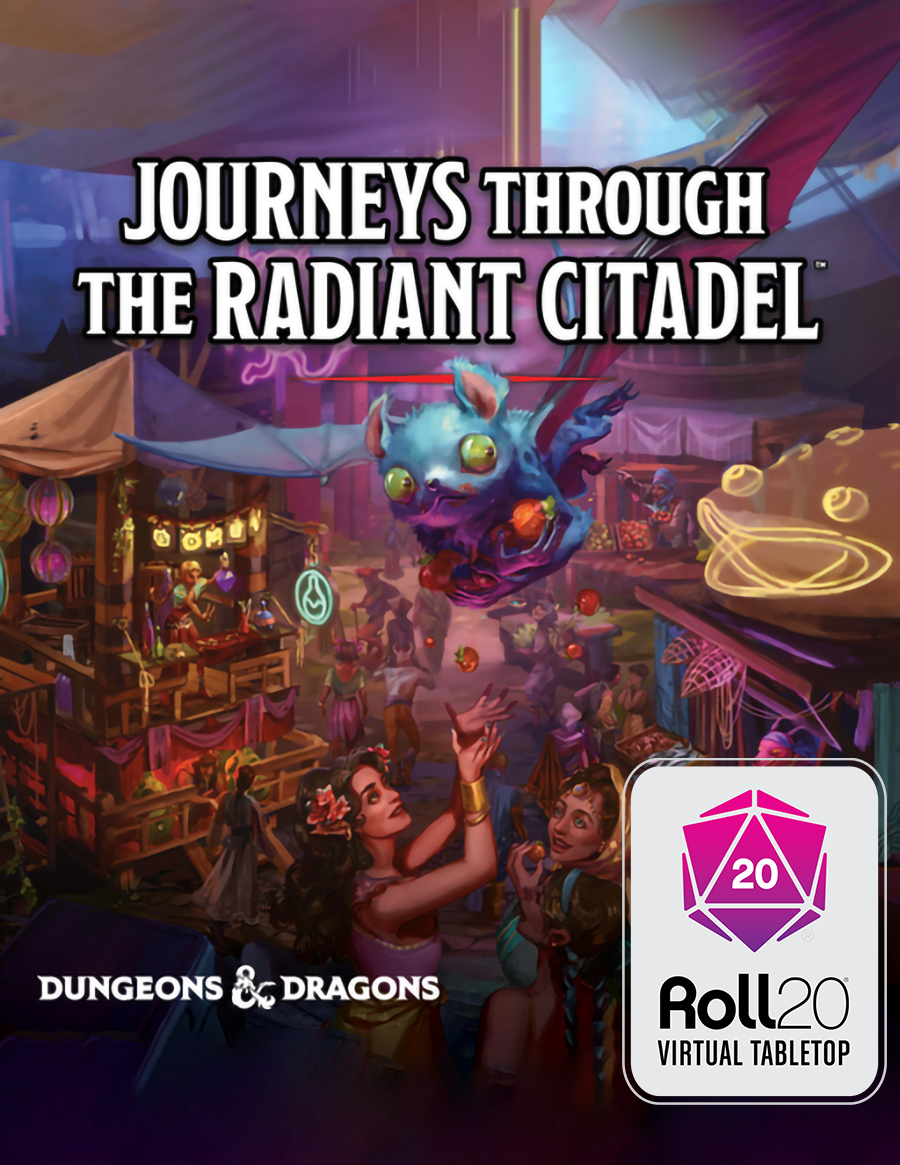
"A series of disturbances plagues the Dyn Singh Night Market, an endlessly changing maze of stalls filled with incredible wares, enticing smells, and magical lights. Accusations fly as the characters become entangled in a feud between the well-respected Tyenmo and Xungoon merchant families of the Siabsungkoh valley. To prevent the families' conflict from escalating, the characters must earn the trust of the market's vendors and gain their help to unmask who's behind a rash of vandalism and thefts."
A nest of vampires has claimed a dark forest and the surrounding human towns as its domain. Some of the local residents revere the vampires and serve as daylight guardians and spies. However, most of the townsfolk live in a state of dread. Those townsfolk have finally scavenged enough valuables to hire a band of adventurers to destroy the nest. Pgs. 66-71

All of the Treasure, None of the Traps is an adventure that includes a single gauntlet of traps that contains twelve traps; meaning that it has either one or twelve encounters. The adventure consists of a long, twisting corridor with all of the traps set off, but these traps are reset by the PCs when they reach the center of the area. Pgs. 32-34
A Giant Ransom is a short adventure for four 11th-level characters. There are opportunities for diplomacy, stealth, and combat, based on the choices the PCs make, so any mix of classes is appropriate. The adventure can be set in any campaign world, in a frontier region near glacier-covered mountains. In the story thus far, the PCs have been tasked by Duke Ambrinigan, a local lord, to recover a stolen statue of a golden lion. The lion was stolen in transit by frost giant raiders, and was to be ransomed back to the Duke for 10,000 gp. The PCs were sent to perform the exchange. The giants, however, were attacked by the white dragon Whildenstrank, who stole the statue and retreated to his lair in the middle of a nearby glacier. The PCs encountered the remaining giants, and then set off westward toward the dragon's lair. They traveled across the flat part of the glacier, encountering the frost giant ranger Velg the Dragon Tamer, as well as some burrowing bulettes. Then they braved the hazards of frost worms and remorhaz in the Ice Canyons: a maze of twisting passageways surrounding the black spire of rock that the dragon calls home. The PCs now stand at the edge of an open space, looking at the towering edifice in front of them.
The Raiders’ Hideout is a series of underground chambers (or perhaps the interior of a pyramid) that serves as a base of operations for a band of gnoll desert raiders. The PCs have come to exact a measure of justice for recent brutal caravan raids. They’ve tracked the gnolls to their lair, where they intend to end the threat to desert trade once and for all. Pgs. 30-35
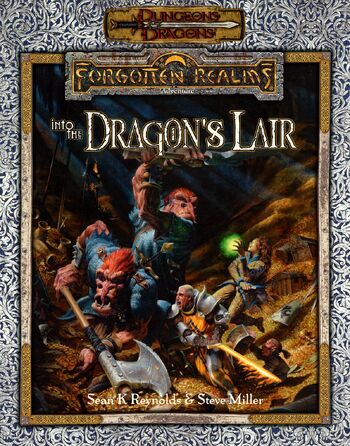
Into the Dragon's Lair takes place in the Forgotten Realms setting, and takes place after the novels The High Road and The Death of a Dragon by Troy Denning. The nation of Cormyr tries to rebuild after the death of King Azoun IV, and seeks the treasure hoard of a dragon to fund these efforts and keep the kingdom from falling into chaos. The player characters must find this treasure before all the other seekers.
Welcome to Waterdeep! A fantastic treasure trove is yours for the taking in this adventure for the world's greatest roleplaying game. Famed explorer Volothamp Geddarm needs you to complete a simple quest. Thus begins a mad romp through the wards of Waterdeep as you uncover a villainous plot involving some of the city’s most influential figures. A grand urban caper awaits you. Pit your skill and bravado against villains the likes of which you’ve never faced before, and let the dragon hunt begin!
Into the Forsaken Temple's Crypt is a short adventure for four 10th-level characters. The adventure takes place in a buried temple crypt, which has been sealed for centuries. Dungeon Masters can adjust it for higher-level characters by widening the dead magic areas and increasing the number and power of constructs and undead that inhabit the complex. The PCs had just entered the Forsaken Temple's crypt in the last episode. Now they can begin to penetrate deeper into the crypt, discovering more of its hidden dangers.

For the past several nights, drums have been heard on the wind, coming from the Twilight Marsh. Each morning, more turn up missing from the nearby farms, leaving only muddy, clawed foot prints heading towards the marsh. Can you help find the lost and bring justice to the abductors?

Operating as secret agents for the Lords of Waterdeep, a promising lead takes you deep into the world of the Xanathar, but what will it take for you to return?

Curtain Call: A Sharn Adventure is an introductory Eberron adventure. This is a great adventure for new Dungeon Masters to Eberron and includes sidebars to help DMs and players get familiar with the world of Eberron. A paying job in Sharn to find out what happened to a missing noble turns into a myriad of street chases, personal grudges, spy agencies, cultists, and charlatans as you take an exciting tour through the City of Towers.