
The citizens of Phent, which is a large town in Thesk, are a proud, yet warm and accepting folk. For the past nine years, they have been host to over six hundred orcs, which is certainly an anomaly in the average Faerûnian community. In 1360 DR, Zhentil Keep sent one thousand orcs to aid in the fight against the westward-sweeping Tuigan hordes. The orcs fought well—well enough that the citizens of Thesk welcomed them as citizens when Zhentil Keep abandoned them in this land in 1363 DR. Still, a current of unsettling concern lingers. Some believe that the orcs are still part of Zhentil Keep’s strike force, but that they went on standby to wait for the moment when their masters give the signal. Once allowed, these orcs may launch a crippling attack from within. However, in nine years, no signal has been given—at least none that any of the paranoid folk have noticed. The orcs are enthusiastic citizens and, apart from some rowdiness during breaks from the mines or fields, they have hurt no one. And then, a prophet comes, with a message of war . . . In A Call to Arms, the player characters (PCs) have a chance to prevent orcs from rising up against some humans. This adventure is designed for four 9th-level D&D® characters. The encounters can be adjusted up or down to suit your group’s needs, however.

In ages past, the wizard Karavakos made a deal with devils, which resulted in him being trapped in an extradimensional pyramid, unable to escape. His only hope for escape is to lure adventurers into the Pyramid, in hopes that they will destroy his splinters and return his power to him. But his wife Vyrellis, whom he slew in a rage when the Pyramid formed, still lingers in spirit and wants nothing more than to see him laid low... Although set to allow PCs to just fight through each encounter, tips are included for PCs negotiating with the factions trapped in the pyramid.

This deluxe adventure takes heroes into the ruins of Gardmore Abbey, a monastery that was once the base of a militant order of paladins devoted to Bahamut. According to legend, the paladins brought a dark artifact back from a far crusade and stored it in their abbey for safekeeping, and evil forces gathered to assault the abbey and take it back. What the legends don’t tell is that this artifact was actually the Deck of Many Things, a force of pure Chaos. This adventure brings characters into the extensive dungeons beneath the ruins - dungeons that are warped and twisted with the raw forces of Chaos surrounding the cards of the deck.
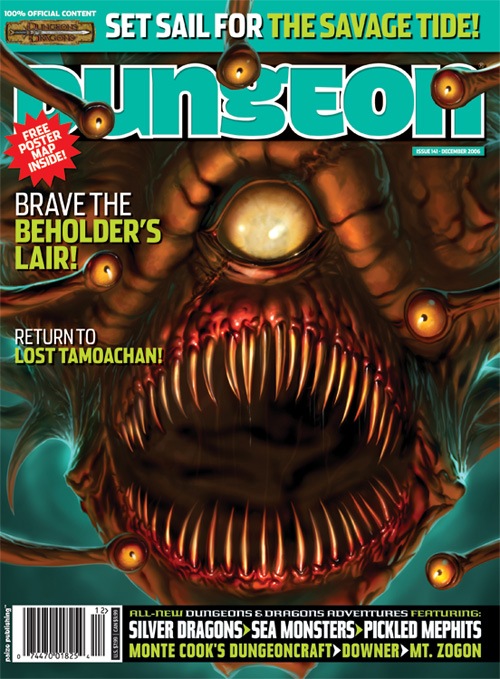
All ocean voyages are fraught with peril, yet a voyage to the infamous Isle of Dread might seem to some old salts to be a deliberate goading of the gods of the sea. Many of those who have attempted the voyage before managed to return to civilization often choose not to speak of the trials they experienced on that dangerous route, yet those whose lips can be loosened by a draught of grog whisper amazing stories... tales of pirates, sea monsters, terrifying storms, and perhaps most harrowing of all, of a strange and sinister land without land, a floating graveyard of dead ships mired in a sargasso the size of an island. This place has many names, but its most well-known may be it's most apt - Journey's End. "The Sea Wyvern's Wake" is the third chapter of the Savage Tide Adventure Path, a complete campaign consisting of 12 adventures appearing in Dungeon magazine. For additional aid in running this campaign, check out Dragon magazine's monthly "Savage Tidings" articles, a series that helps players and DMs prepare for and expand upon the campaign. Issue #350 of Dragon magazine features a regional guide to the seafaring environs the PCs can expect on the journey to the Isle of Dread. It’s time to bid farewell to the city of Sasserine as the PCs board the Sea Wyvern for a 3,000-mile voyage south into the uncharted waters of the Vohoun Ocean. Their destination: the Isle of Dread. Pgs. 16-48

Kravenghast Necropolis is hidden in a valley that was formerly part of a now dead city. It consists of a small cemetery that sits atop an abandoned necromancer's laboratory. The necropolis has been refitted as a temple to Vecna, the undead God of secrets. The mausoleum in the cemetery contains a secret spiral staircase that leads to the underground laboratory. The temple is populated by a twisted cult of Vecna, led by the lich-priest Mauthereign. Pgs. 96-103

When the priestess of Ehlonna was murdered by a werewolf, the townsfolk of Deepwood lost no time in meting out justice, even though the shapechanger turned out to be a trusted friend and neighbor. But his journal has the town worried. Written in an unknown tongue, it seems to contain important pieces of information. Is it a list of other werewolves? Is the threat to Deepwood over, or has it only just begun? Cries of "Murder!" brought the villagers of Deepwood running to the temple to witness a grisly sight. The priestess of the Temple of Ehlonna lay murdered on the floor, savaged by some vicious beast. Above her body stood a large wolf. Then, before their horrified eyes, the wolf turned into a man -- their friend and neighbor Trammil! The villagers lost no time in giving Trammil the justice he deserved at the end of a rope, even over the objections of those few who thought he deserved a trial. But Trammil's death has not made the villagers feel safe. No one suspected his dark secret until the day of the crime. Could there be others? Can anyone in town be trusted? Only someone who can translate Trammil's journal and fully investigate the murder can solve the mystery.

Lost Laboratory of Kwalish explores an alternate expedition into the Barrier Peaks. The legendary inventor disappeared in the peaks eons ago… as it turns out, finding a crashed planar ship and studying its technology to fuel his own experiments—only now, Kwalish’s lost research is desperately needed! This adventure explores two locations within the Barrier Peaks, and includes new monsters, magic items, and spells, plus sci-fi trinkets, random encounters, and even rumors of the area submitted by the player community! Further featuring new art, maps (from Claudio Pozas), and even a cartoon (from Jason Thompson)—as well as the famed suit of powered armor, as edited by Jeremy Crawford on the Dragon+ livestream! Best of all, all monies that Wizards of the Coast receives from sales of this PDF are donated to Extra Life. Your purchase of this adventure goes to a truly great cause!
Create your own Critical Role campaigns with this sourcebook for the world's greatest roleplaying game! Explorer’s Guide to Wildemount provides everything you need to play Dungeons & Dragons on the continent of Wildemount (set within the world of Exandria)—a land of war, betrayal, and swashbuckling adventure. Comprised of four regions, Wildemount provides endless potential for adventure in a land of brewing conflict and incredible magic. Rising tensions boil over into all-out war between the politically dubious Dwendalian Empire and the light-worshiping wastefolk of Xhorhas, supplying a vibrant backdrop for any D&D campaign to explore. Uncover a trove of new options usable in any D&D game, featuring subclasses, spells, magic items, monsters, and more, rooted in the adventures of Critical Role—such as Vestiges of Divergence and the possibility manipulating magic of dunamancy. Start a campaign in any of Wildemount’s regions using a variety of introductory adventures, dozens of regional plot seeds, and the heroic chronicle system—a way to create character backstories rooted in Wildemount. Explore every corner of Wildemount and discover mysteries revealed for the first time by Critical Role Dungeon Master, Matthew Mercer. Includes: Frozen Sick: https://www.adventurelookup.com/adventures/frozen-sick Unwelcome Spirits: https://www.adventurelookup.com/adventures/unwelcome-spirits Tide of Retribution: https://www.adventurelookup.com/adventures/tide-of-retribution Dangerous Designs: https://www.adventurelookup.com/adventures/dangerous-designs

Agents of the fire giants of Maerimydra, a city in the Underdark, have overtaken the drow outpost of Szith Morcane. The factions seek out adventurers to free the outpost’s leaders for questioning on the giants’ activities. Can you extricate them before it’s too late?
The Tower of Zoramadria is hidden away in the Feywild. The tower is an arcane academy under the tutelage of the lich Parthal. Parthal and his students lead serene lives of study and contemplation, except when they engage in a bout of bloody necromantic research that requires innocent souls as vital components. Parthal has a score to settle, and the Feywild itself might shudder and scream before the lich has had his revenge on those who killed his love. Pgs. 104-111
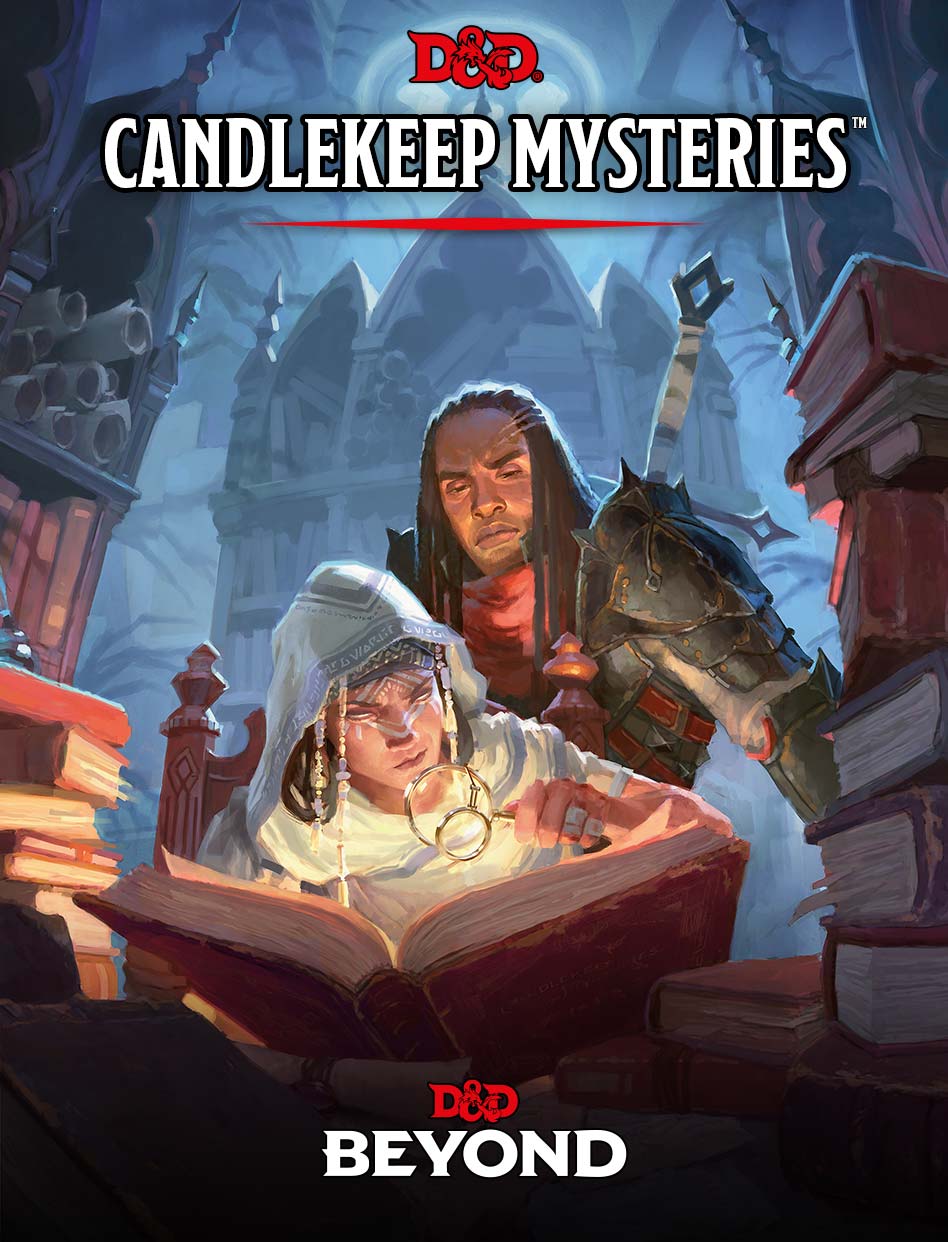
A Book of Books Candlekeep Mysteries is an anthology of adventures written by members of the Dungeons & Dragons community. Each adventure begins with a book that the characters find in Candlekeep, an enormous library located on the Sword Coast in the Forgotten Realms setting. If you're not running a Forgotten Realms campaign, you can adapt the adventures in this book for other settings, substituting any large library similar to Candlekeep. Examples from other published D&D settings include the following: On the world of Exandria, the Soltryce Academy in Rexxentrum (a large city on the continent of Wildemount) or the Cobalt Reserve in Westruun (a small city on the continent of Tal'dorei) On the world of Eberron, the Library of Korranberg in the nation of Zilargo, the University of Wynarn's library in the nation of Aundair, or Morgrave University's library in the city of Sharn On the world of Oerth, the Great Library in the Free City of Greyhawk Contains: The Joy of Extradimensional Spaces Mazfroth's Mighty Digressions Book of the Raven A Deep and Creeping Darkeness Shemshime's Bedtime Rhyme The Price of Beauty Book of Cylinders Sarah of Yellowcrest Manor Lore of Lurue Kandlekeep Dekonstruktion Zikran's Zephyrean Tome The Curious Tale of Wisteria Vale The Book of Inner Alchemy The Canopic Being The Scrivener's Tale Alkazaar's Appendix Xanthoria
(NB: this adventure is set in a desert in the broader 'Nentir Vale' world, but not the Nentir Vale itself) Eladrin raiders led by the Half-Elf Emrett Mazrid have been trying to uncover the secrets of immortality. Disgraced academic Mazrid has discovered an obelisk in an oasis guarded by a sphinx, and is preparing to sacrifice their academic rival Voor as part of the ritual. Save Voor, the obelisk, and the oasis!

Temple of the Gleaming Sands is a short adventure for four 5th-level characters that features monsters, spells, and items from the newly released Sandstorm book. You can use this scenario to introduce the new material on deserts and arid wastelands into your campaign, or you can just use it as a site-based adventure in a desert area. The scenario is set in a remote area of the desert that very few humanoid travelers visit. The temple from which the adventure takes its name has lain forgotten for centuries and is now inhabited only by monsters who use it as a base. The area around the temple should be inhospitable enough to discourage humanoid settlement.

The Alchemist's Eyrie takes the characters into a fortified dwarven tower, where they are sent to recover some needed items. When they arrive, they discover the tower has been captured recently by a warband of renegade lycanthrope dwarves. Between the interlopers and the remaining traps set by the late owner, the characters may find themselves in deep, despite the lack of head clearance.
(Note: The titular crown is in this adventure, but it's up to the GM to provide their own stats for it, should the PCs obtain it) A short three-combat dungeon delve: Trolls with remarkably proficient tactics have been causing trouble for years. Track them to their lair then kill the trolls & their leader who has a black crown beaten into the flesh of their head.

HSING bears foul news: SEER has been captured. While exploring the ruins of Ulcaster in search of knowledge pertaining to runes (or perhaps even how to create them), they were separated and now the pseudodragon fears the worst. Without SEER's guidance, the efforts of the assembled factions in these recent events may all be for naught.
Under raging storm clouds, the vampire Count Strahd von Zarovich stands silhouetted against the ancient walls of Castle Ravenloft. Rumbling thunder pounds the castle spires. The wind’s howling increases as he turns his gaze down toward the village of Barovia. A lightning flash rips through the darkness, but Strahd is gone. Only the howling of the wind fills the midnight air. The master of Castle Ravenloft is having guests for dinner—and you are invited. Spans levels 1-10.

An agent of the King’s Dark Lanterns has stolen a cache of gold from the Brelish exchequer. Hunt him down, retrieve the gold, and thwart whatever else the rogue agent is plotting. Pgs. 28-65

The residents of Haskenport are worried -- someone is living at the old manor house. The local druid says it's a band of hobgoblins. Are they just looking for a temporary shelter before moving on? Or do they plan to bring a whole tribe to live there when the place is secured? Or do they work for an even worse creature that no one has seen yet? Whatever their reasons for being there, the situation can't be good. It's up to the heroes to clean the monsters out of the place so the townsfolk can sell it.

The people of Orașnou are desperate. The village is on the brink of starvation and has little chance of surviving the harsh winter. Even if they had enough food and supplies, Lord Strahd’s taxes are due, and the ruler of Barovia does not accept excuses as payment. The Burgomaster and others in the village have recently learned of a wealthy estate that might have enough resources to solve both of Orașnou’s problems. It is a temptation he cannot afford to resistor can he? Part Nine of Misty Fortunes and Absent Hearts