
Something evil is devouring the souls of the living in Chult, but before the characters take on the horrors in Tomb of Annihilation, they must first uncover the death curse’s origin by braving a lich’s tower in the Cloakwood. This introductory adventure is designed for a party of four to six 1st-level characters, who should advance to 2nd level by the adventurer’s conclusion. It is a prelude to Tomb of Annihilation that should take about 2 to 3 hours. This product includes Fantasy Grounds files for the adventure. What Inspired Cellar of Death? The introduction of Tomb of Annihilation states Syndra Silvane learned about the Soulmonger from the Harpers, who “received their intelligence from a lich.” This adventure is the story of how the Harpers gathered that information. Cellar of Death has a second purpose: to give characters a greater stake in the outcome of Tomb of Annihilation by creating an NPC they love. The death curse kills this NPC, giving the characters a personal reason to go to Chult.
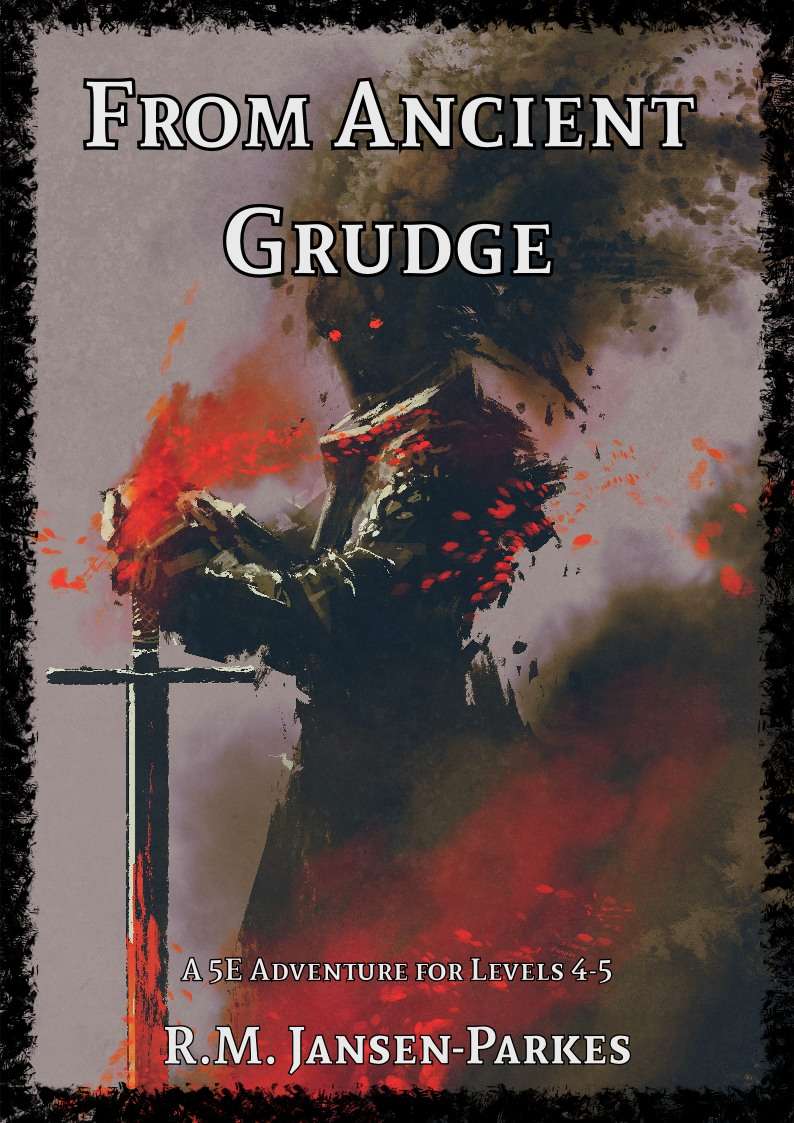
A Star-Crossed Tragedy. When the party is hired to investigate a haunted castle, they’re drawn into a tale of hatred, love and betrayal stretching back more then 300 years. Will they be able to free the ghosts haunting Arevon Castle, or will they find themselves just another footnote in its long history of misery?
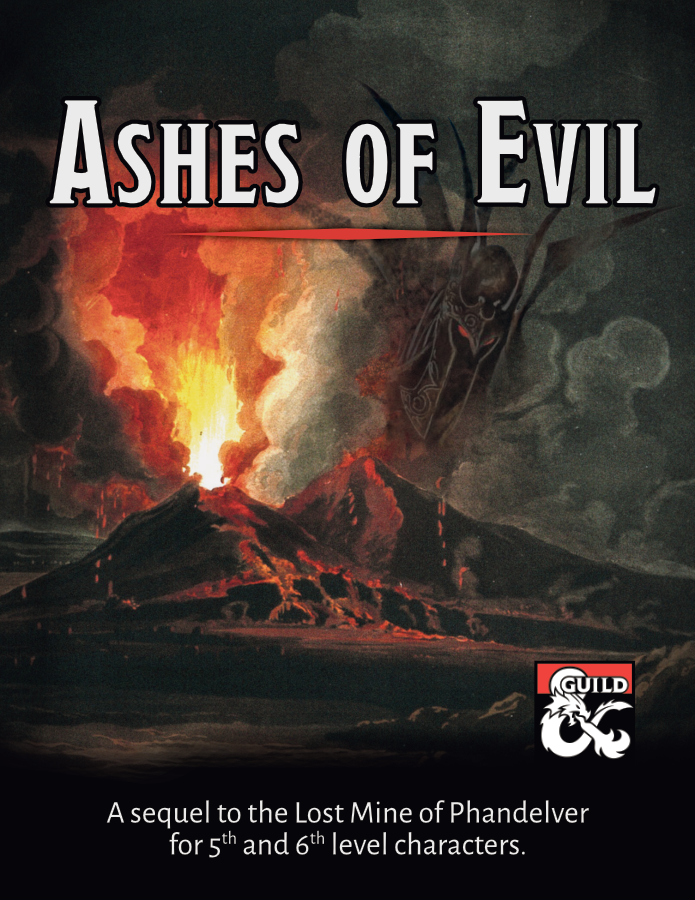
A sequel to the Lost Mine of Phandelver adventure for 5th and 6th level characters. An ancient forgotten evil threatens the Sword Coast once again! Our party of intrepid adventurers returns to Phandalin and Wave Echo Cave for what is at first glance a rescue and exploration mission. Prospectors for the Rockseeker mining concern have disappeared deep inside the flooded caverns that give the cave its name. The peril extends much deeper than mere lost explorers though, as the party stumbles upon an ancient, long-forgotten struggle between good and evil. Inexplicable cultists hide in ambush at every turn. A risky raft ride through treacherous underground waterways leads to an ominous discovery. Ancient ruins tell a story of the terrors of the night and a noble alliance sworn to fight them. A search for a powerful weapon of light leads the party on a mind-blowing, sky-high ascent into the unknown. Then, a whirlwind of danger: A rumbling volcano. Legions of undead. A desperate battle for the survival of the region. This adventure was designed as part of “The Next Adventure” Design Jam at the DMs Guild. It works best for a party that has just completed the Lost Mine of Phandelver adventure, but it can easily be inserted into any campaign. It is designed for a party of four to six 5th or 6th level characters and, based on playtesting, will take an average of about 3 sessions to complete.

A sunken ship...a lost relic...a race against evil! A seafaring adventure for charactes level 5-7! Years ago, the Salt of the Wavemother terrorized the seas, captained by the fearsome Cutter Blighe. Overnight it vanished along with all souls aboard. Now cultists are seeking Tarsik Bilgebreach, rumored to be the only surviving crew member. It's up to you to accompany Tarsik to the wreck of the Wavemother and prevent the cultists from acquiring an artifact that would give them control of the sea! Includes suggestions on how to place the adventure in your larger Ghost of Saltmarsh campaign, including faction opinions of the events!

BREAK A CURSE THAT ECHOES THROUGH TIME! You awaken on the morning of the Pudding Faire: just as you did yesterday… and the day before that… and the day before that! To escape the loop, you must break a curse that strikes to the heart of halfling and gnome lore. Pudding Faire is a 3-4 hour Dungeons & Dragons module for character levels 1-4. It is part of a series of adventures that expands upon the material presented in Mordenkainen's Tome of Foes™. It can be played on its own or as a part of any D&D campaign. This product is a DMs Guild Adepts adventure! The Dungeon Masters Guild Adept program brings highly talented individuals together for creative development. Guild Adept products are identified with the golden ampersand and logo. Pudding Faire is legal for play in the D&D Adventurers League and has the following code: DDHC-MORD-04

Storms frequently blow from the Cloudscape Mountains, but never one like this: For weeks it has hung over the peaks, casting its dark shadow across the land. Its huge black clouds billow and writhe in an effort to smother the sun. Once so picturesque and enchanting, the Cloudscape Mountains have taken on a sinister appearance. Fear now stalks the land. A malignant entity is growing and festering high in the mountain peaks. With dark tendrils, it reaches out towards the lowlands. No one is safe. Caravans are not arriving at the village of Lurneslye. It is only a matter of time before the villagers fall prey to the dark clouds and the evil they conceal. TSR 9151

Located in The Vast north of the Sea of Fallen Stars, Adhe Wood is a small but deadly place. Legends swirl of a mysterious temple in Adhe Wood where statues of snakes hold massive emeralds. But the citizens of Sevenecho, the town nearest to Adhe Wood, seem to know nothing of this legend and refuse to speak of it. Travelers into Adhe Wood rarely return, devoured by the mutated spiders that lurk in the trees.

An escaped duergar slave stumbles into the village of Elventree. With her she brings a malady that grips the small settlement in a bout of madness that seems unshakable. Can you find the source of the madness and save yourself and the village’s inhabitants? A four-hour adventure for 5th-10th level characters.

In a village shrouded in mystery, a tale unfolds that will linger in your memory. Cattle mutilations, sacred stone circles, and dark rituals intertwine as werewolves prowl through this gothic tragedy. Venture with us south of Neverwinter, to the village of Phandalin, for an adventure tailored for characters anywhere from levels 3 to 6. This one-shot episode is perfect for a group of friends seeking an immersive experience or as an intriguing addition to the "Phandelver and Below: The Shattered Obelisk" campaign. You can easily adapt this module to most any campaign setting. Featuring five maps crafted by the esteemed Tessa Presents Maps, this game includes a sprawling 120 x 120 premium battle map of Phandalin, maps for wilderness encounters, and custom tokens. Welcome to the party!

This module is the first of a series of High Forest adventures. It includes a description of the village of Merric, including detailed NPC's. Merric has always been at risk of raids by the local Gnolls, but now word has come that the Orcs of the Greypeak mountains are massing to invade High Forest. The elders of Merric have decided to hire and groom an adventuring group to ensure they have a balancing force against the invasion. Soon it becomes clear that there is something far more dangerous than Orcs threatening High Forest and if the children of Merric will ever be safe again, someone needs to stand between them and the evils that lurk in the dark.

Inside this full-color, 124-page anthology you’ll find four best-selling Adventurer’s League quests for level 1-10 characters set in the hobgoblin fortress of Glip Dak. Also included are instructions on how to weave these adventures into an ongoing story arc as part of your campaign. Tier 1 (Level 1-4): Glip Dak (CCC_GLIP-01-01) The Kroth Magg hobgoblins run the trade city of Glip Dak in the Troll Hills of Thar. From there they have taken control of the trade routes along the northern Moonsea. A young noble has been captured for refusing to pay their tariffs and his house looks to hire adventurers to rescue him. Beneath Glip Dak (CCC_GLIP-01-02) A series of unusual heists has both the thieves’ guild and city guard scrambling to uncover the culprits before the burglaries destabilize the thriving trade within the city, threatening the budding kingdom the Kroth Magg have fought and died to forge. Citadel of Vlaakith (CCC_GLIP-01-03) The adventurers are tasked with rescuing a group of heroes who vanished in the pearlescent fortress that manifested on the border between the Kroth Magg kingdom and the Varkonin empire in the Steppes of Thar. Tier 2 (Level 5-10): Blue Scales (CCC_GLIP-02-01) A behir has been hired to destroy the herds of aurochs necessary to feed the hobgoblin city of Glip Dak. Patrols and scouts continue to go missing, forcing the hobgoblins to hire mercenaries to track this behir as they recall their troops to the capital to maintain order as food riots break out.

Are your player's going fishing in the Underdark? Booked a ride with the Kua Toa Travel Agency? Taking a cruise on the Darklake? Well then Journey Through the Center of the Underdark 2 - The Darklake Strikes Back is just what the Leemooggoogon ordered! Like the first Journey, The Darklake Strikes Back contains several encounters designed with Out of the Abyss traveling days in mind, but easily inserted into any 5th Edition Dungeons & Dragons Underdark setting. Unlike the first Journey, The Darklake Strikes Back has a mid sized three level dynamically defended dungeon, complete with a dragon at the bottom! This complex is right at home on the Darklake but could also readily be inserted into your Tyranny of Dragons campaign as well. Written for a party of characters levels 4-6 with notes included for adjusting encounter difficulties for lower or higher level groups Journey Through the Center of the Underdark 2 - The Darklake Strikes Back should provide 6-10 hours of gameplay excitement!

When a Thayan research expedition returns from the Glacier of the White Wyrm with only two survivors that are reduced to whispering about an ancient pyramid under the ice, perhaps it is time to discover just what scares the life out of a nation of necromancers. The events of DDEP2 Mulmaster Undone resulted in terrible geographic upheaval all around the southeastern region of the Moonsea. Massive landslides, earthquakes, tidal waves, and gnashing tornados devastated the land and the city of Mulmaster was nearly scrubbed from the face of Faerun. Fortunately, these events also revealed previously hidden artifacts—trinkets, mostly—from the ancient Netherese all around the city. The Thayans have long held an interest in the port city and wasted no time in assisting in the rebuilding efforts. They simply asked that a blind eye be turned to their archaeological interests, and in return they would continue to spend their own resources (at no expense to the Mulmasterites or even the High Blade) to rebuild the city, bigger and better than before. It wasn’t long before their interests paid off with the discovery of a research laboratory beneath the Glacier of the White Worm, far to the east of Mulmaster and nestled in the mountains. The Thayans sent a sizable expeditionary force but only two acolytes returned. The visiting Zulkir has found this particularly troublesome, and with the assistance of Rastol Shan, the head of the Cloaks, has arranged for a mercenary force to perform a more pointed investigation of the area. In return the Thayan noble has promised significant compensation. Upon arrival at the dig site, the characters are quick to discover that the laboratory hides ancient and palpable evil. The purpose of the facility can be discerned with careful investigation, and the effect of the still-active fragment of the Dark Obelisk has empowered (some may say attracted) servants of the Worm that Walks. Danger and death await, certainly, though the characters always have the option of running away and living to fight another day…

Characters are ready to make their mark as adventurers and travel to the City of Splendors to begin their careers. Their first job in Waterdeep promises to be a memorable one: a mermaid has hired them to rescue a kidnapped bard and bring justice to the witch who stole her voice.

The Tower of Bondage 𝐏𝐚𝐫𝐭 𝟐 “Fane of the Jailers” takes you deeper into Aumvor the Undying’s dungeon of terror. As your players draw closer to the tower below, they will meet new horrors that include: ● 15 encounters with dark denizens including undead ● New Monster, “Walking Ooze” ● Margoyles of the AD&D era converted for 5th Edition. This adventure is part two of a six-part series that comprises six levels of dungeon and culminates in the PC’s escape from an underground prison of torture and madness, and if they choose, the destruction of the Lich known as Aumvor the Undying. In early 1320 DR Aumvor the Undying collected the greatest of all of the relics and lore of the Netherese Empire and secreted it away in his domain in Endless Caverns. There he awaited the return of the City of Shade. He did not have to wait long for it was but thirty eight years when it appeared. The undying one saw this as his long awaited opportunity to return and bring the Netherse Empire to its full glory. As quickly as it rose, it also fell, for even Aumvor could not foretell the advent of the second sundering. This change in the weave left him weakened and the nations placed under his yoke, rebelled. By 1487 DR the City of Shade fell and the end of Netheril was not far behind. From the ashes of an empire two times fallen, Aumvor the Undying plots again to restore Netheril. His ancient portal traps still in operation, he feeds on the living and grows strong again. Who can stop him? 𝐅𝐨𝐫 𝐦𝐨𝐫𝐞 𝐨𝐧 𝐀𝐮𝐦𝐯𝐨𝐫𝐞 𝐭𝐡𝐞 𝐔𝐧𝐝𝐲𝐢𝐧𝐠 𝐚𝐧𝐝 𝐭𝐡𝐞 𝐡𝐢𝐬𝐭𝐨𝐫𝐲 𝐨𝐟 𝐭𝐡𝐞 𝐄𝐦𝐩𝐢𝐫𝐞 𝐨𝐟 𝐍𝐞𝐭𝐡𝐞𝐫𝐢𝐥, 𝐜𝐨𝐧𝐬𝐮𝐥𝐭 𝐂𝐡𝐚𝐦𝐩𝐢𝐨𝐧𝐬 𝐨𝐟 𝐕𝐚𝐥𝐨𝐫 𝐚𝐧𝐝 𝐒𝐰𝐨𝐫𝐝 𝐂𝐨𝐚𝐬𝐭 𝐀𝐝𝐯𝐞𝐧𝐭𝐮𝐫𝐞𝐫’𝐬 𝐆𝐮𝐢𝐝𝐞. This exciting series presents the dungeons of Aumvor the Undying after the second sundering, desperately clinging to what little he has left. This may be the time to strike him down once and for all.
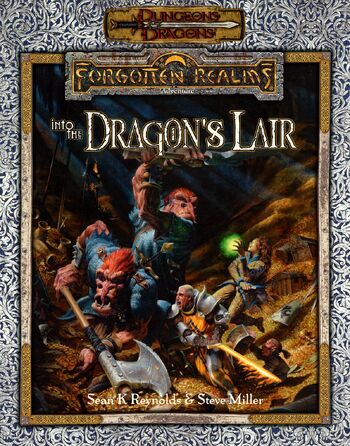
Into the Dragon's Lair takes place in the Forgotten Realms setting, and takes place after the novels The High Road and The Death of a Dragon by Troy Denning. The nation of Cormyr tries to rebuild after the death of King Azoun IV, and seeks the treasure hoard of a dragon to fund these efforts and keep the kingdom from falling into chaos. The player characters must find this treasure before all the other seekers.

A tribe of goblins are raiding travelers on the Long Road, and our heroes decide to help. After a dangerous overland journey, they enter a mysterious abandoned temple where they encounter terrifying monsters, deadly traps, dark magic and a shocking secret. Will they survive the Temple of the Nightbringers? This adventure contains 14 encounters and includes a mixture of combat, roleplaying, puzzles and traps.

Some of the hamlets outlying Hillsfar have been struck by an odd malady. Rumor has it a traveling carnival visited those hamlets before the disease struck. Does coincidence not equal causation or is something sinister afoot?

The Ghost Tribe of Orcs have been driven from their home under the Sword Mountains by some terrible evil and they now see Phandalin as their best option for a new home. The heroes, who are on their way to Phandalin for a much needed rest after their adventures in the Lost Mine, must make it to town in time to warn the inhabitants and help prepare for the orc attack. Orcs to Phandalin is the first of four parts in the After Lost Mine series and will detail the trip to Phandalin. There will be three subsequent adventures: Part II, which details the battle to save the city; Part III, which details the trip to the orc’s cave settlement; and Part IV, detailing the party’s mission to deal with the terror from the Underdark that drove the orcs out of their home.

You are charged with rescuing Bea’s missing sextuplets and must bring their captors to justice. A walk in the park for brave adventurers, unless the trail extends beyond the darkness.