
The necromancer Tal Lorvas has unearthed an underground tomb that dates back to the height of the ancient tiefling empire. Lorvas has been terrorizing the surrounding lands with his vile experiments, and now he hopes to find a ring, hidden in the tomb, that is tied to a ritual he wants to perform by the rise of the next full moon. The PCs must enter the tomb of Empress Nemeia, deal with the servants of the necromancer, and confront Tal Lorvas before he can claim the ancient relic and move one step closer to ultimate power over the undead. Pgs. 36-41

Bad Fruul and his minions have been threatening to overtake the town of Parnast for some time, and intelligence provided by Seer (via Hsing) confirms that an attack is imminent. Despite this, the town is at risk from within as internal politics threaten to tear it apart. It is up to the adventurers to resolve the infighting in Parnast and prepare the town for the hill giant's onslaught.

In the Anauroch desert, darkness is growing. The followers of the Vile Spore Goddess Zuggtmoy have stolen the dreams of the Bedine Seeress Deja, trapping them in an eldritch artifact. Unless her dreams are returned, the Seeress will descend into madness, and her people along with her.
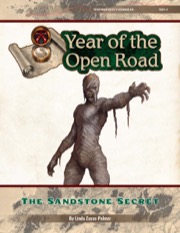
When the Pathfinder Society receives word of a promising, unexplored ruin in Osirion, the PCs set out to uncover the site's secrets. Yet upon arriving, the PCs learn that a different group of Pathfinders has already entered the ruins. Has there been some mistake, is the site's magic playing tricks on everyone, or is there something more nefarious afoot? Tags: Repeatable

Despite the adventurers’ best efforts, more creatures joined under Bad Fruul’s banner. No longer content to simply attack caravans or isolated homesteads, the hill giant warlord descends upon Parnast at the head of a great force of humanoids. SEER warns the adventurers (directly now) in time to rally the town and prepare defenses, but a heroic effort is required to break the siege.

The ruins of Castle Hermitage are shrouded in mystery after the disappearance of Lord Soulis Hermitage some 50 years ago. In the time since, the thriving village of Bellshall has grown a reputation for its market and specifically for the gemstones that can be bought there. Unfortunately for the people of Bellshall that supply of gemstones is at risk. Something is watching the Deep Gnomes who live and work in the mine. Soon it will need to feed. Are there any heroes who can help defeat this horrible menace, save the Deep Gnomes, and the village’s prosperity? Contains: A 4 to 6-hour adventure for four 4th level characters. With scaling information for other levels. A new CR3 monster, the Ettercap Host. Print friendly version. Accessible version. Separate GM & player map images for VTT use (Gridded and Gridless).

Up here in the mountains, the sun sets fast. The path has narrowed yet again as it diverts into this small slot valley. A gentle stream parallels the path; it’s pretty, but the smell of rotting vegetation dissuades from lingering long. In the lengthening shadows, birdsong seems oddly muted. As the forest clears a bit up ahead, a small manor upon a little pond comes into view. The birds have gone completely still. K1: Night at Fausen’s Manor is an investigative adventure designed for player characters around 3rd level. The players have been invited by the reclusive Lord Fausen to dine with him and discuss a job; Fausen is troubled by odd bumps and sounds in the night, something has been interfering with his mail, and recently his butler, Grimly, has disappeared. The players investigate during a night at the manor, where dark secrets lurk around every corner. Published by Coldlight Press

A city of burgeoning technology beset upon by intrigue and insurrection, Samon has been a thorn in Emperor Hitoshi's side since suffering in the rebellion against the Kengen Occupation, its wounds still fresh on the minds of its citizens. It is not beneath the notice of Hakaisuru Bengoshi however, and the adventurers are ordered by one such official to make certain that the Tazuki Rail company's doings are not curtailed by its increasingly aggressive laborers and their shadowy union, the Fangs. Little do they know that the bite of the fangs carries a far deadlier poison than any worker's ire! What you’ll find in Mists of Akuma: Fangs of Revenge: A complex cast of 20 NPCs beautifully illustrated by Nathanael Batchelor interwoven in an impressive tale of deceit, false trails, intrigue, and lethal adversaries The city of Samon, a settlement in the northern prefecture of Hakaisuru and home to Soburin’s most prosperous railroad company Four maps by cartographer Mike Myler: an isometric view of Samon, an isometric map of the Tazuki Rail Offices, a combat map of the Chujiang Gardens, and a combat map of the Tazuki Rail Basement The dangerous Mists of Akuma and the new misted condition The hengeyokai race and kitsune, nezumi, usagi, and (new!) hebi (snake) subraces The adeddo-oni and true hebi templates as well as a coterie of statblocks: adeddo-oni hunchling, adeddo-oni mage, adeddo-oni ninja, adeddo-oni samurai, factory worker, nuwa the brute (a true hebi), wajdet the charlatan (a true hebi), the many-faceted hengeyokai ninja, and the hebikontorora snake woman

This quest is for a party whose members all perished in the same encounter. The loss of an entire party is hard to recover from and often spells the end of an adventure. However, with the assistance of the enigmatic Raven Queen, the party’s tale might not be over just yet. The characters must wander through the Fortress of Memories; confront their pasts, present selves, and possible futures to return to life. Includes a quest-related NPC that a player can control if they're waiting for their character to be resurrected.
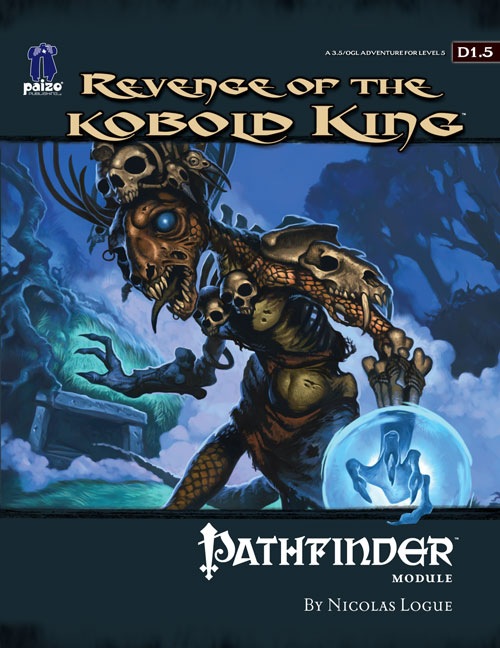
It should have been the end. When the bloodthirsty adventurers burst into his throne room and mercilessly cut him down, the tale of Merlokrep, last king of the ill-fated Truescale Tribe, should have ended. But the fates weren’t yet finished with the Kobold King, and now a dark power has brought him back from the dark beyond to wreak his vengeance upon those foolish adventurers who destroyed his tribe.

There is the well-known regional legend of Iptiz, a spirit naga whose greed was remarkable even among its own kind. Murderous raids and relentless pillaging yielded a hoard so valuable that the creature needed some place to store and protect it. Thus was the Vault conceived: an underground complex custom built to destroy anyone who is not its creator. Years ago, Iptiz's campaign of terror suddenly ended without precursor or cause. The location of the Vault was never discovered. Until now. The ring-city of Sulindal, built upon the shores of a mile-wide desert oasis, has come under martial law by an invading army of yuan-ti. They intend to exploit the resources in this renowned city of knowledge to locate the third and final Beacon of Selune. ...but for what purpose? A four to six hour adventure for four 5th level players.
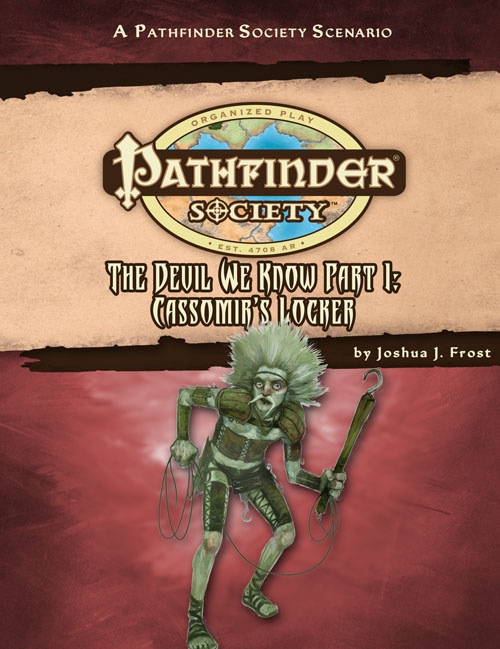
Part 2 of the "The Devil We Know" campaign arc. Cassomir's Locker is a Pathfinder Society Scenario designed for 1st to 7th level characters (Tiers: 1–2, 3–4, and 6–7). The Pathfinder Society dispatches you to the catacombs called Cassomir's Locker to find the source of a rat cult breeding monstrous vermin. After clearing Cassomir's dank sewers and delving into the dirty dungeons below, will you find the artifact that powers Cassomir's Locker or bring about the destruction of Taldor's most important port?

Deep in the Marsh of Chelimber lie the ruins of a great wizard’s tower. SEER has received intelligence, which she imparts via her emissary Hsing, that deep beneath the marsh in the remains of an old tower is knowledge of older magics. This could be just what Parnast needs to resist the onslaught of Bad Fruul and his armies!

In the kingdom of Minoxia, the dragon Oxitorus rules the people with a disease his breath causes. A rebel approaches you and implores you to investigate a lead he has on a cure. The travel through Minoxia's swamp will be difficult, and you can't trust anyone, as the tyrant's spy network has roots everywhere. What will become of you, even if you succeed?

Something evil is devouring the souls of the living in Chult, but before the characters take on the horrors in Tomb of Annihilation, they must first uncover the death curse’s origin by braving a lich’s tower in the Cloakwood. This introductory adventure is designed for a party of four to six 1st-level characters, who should advance to 2nd level by the adventurer’s conclusion. It is a prelude to Tomb of Annihilation that should take about 2 to 3 hours. This product includes Fantasy Grounds files for the adventure. What Inspired Cellar of Death? The introduction of Tomb of Annihilation states Syndra Silvane learned about the Soulmonger from the Harpers, who “received their intelligence from a lich.” This adventure is the story of how the Harpers gathered that information. Cellar of Death has a second purpose: to give characters a greater stake in the outcome of Tomb of Annihilation by creating an NPC they love. The death curse kills this NPC, giving the characters a personal reason to go to Chult.

The Dark Tide of Damodan is an underwater rescue adventure, where time is of the essence. A mysterious disease is killing of locals and visitors alike in the port town of Havenword. While the adventurers are in town, Havenword is attacked from the sea by nasty fish-headed creatures. After the battle, the characters learn that the creatures dragged off several townsfolk. They have been tasked with finding the captives and returning them safely. The only problem...they were taken out to sea. The characters must delve into the depths into an underwater keep to rescue the captives. Using the knowledge the captives to help locate one another, all the while, avoiding the sinister Damodan's forces. Will the characters turn the tides in their favor? Or will they swim with the fishes? Published by Crit Academy

A fiend lurks among the Black Blade goblins. A shapeshifting barghest fashioned by the General of Gehenna to exact revenge on all goblin-kind. It’s aim: to kill as many goblin leaders as possible… A masked goblin approaches the party asking for help. Two tribe leaders are dead. But a rival for chief has control of the crime scene. Will the party discover the barghest among the goblin ranks? Can they stop this imposter before it strikes again? Adventure Overview The adventure’s story is spread over 4 parts and takes approximately 4 hours to play. The adventure begins with a Call to Action scene. Part 1: Goblin Politics. Krill sends his emissaries to implore help from any strong intermediary. The party is asked to investigate the murder of Thrawn in Dringly’s lair. This is Story Objective A. Part 2: The Opposition. Gain entry into Dringly’s lair and investigate the murder of Thrawn. Gather enough evidence to find the killer. This is Story Objective B. Part 3: To The Lair! Now that the players have determined the barghest (Yeep) is to blame, they need to get to Krill’s lair quickly as he is in imminent danger. This is Story Objective C. Part 4: The Barghest.When the players arrive at the lair, they need to get to Krill and expose and defeat the barghest. This is Story Objective D. Adventure Background A barghest named Yeep has begun its onslaught of attacks against the Black Blade goblins. Starting with Chief Gnar, then his second in command Thrawn, the barghest is moving methodically down the line of command. Krill is now chief. But he has some problems: Two leaders of the Black Blades are dead. Who killed them and why? Is he next? Dringly, the next in command, has decided to take his lair for himself, declaring himself Chief of the Black Blades. Who are the Black Blades? The Black Blades are a tribe of goblins in the local area. They are known for dipping their blades in a dark black substance. It is rumored these blades are poisonous. The Black Blades regularly attack passersby on the road to rob them. The Black Blades have two lairs, one run by a chief who leads the whole tribe, and another overseen by a boss lieutenant. The Black Blades have a well-established pecking order which is how Krill stands to become chief. The next in line is Dringly, who has also declared himself chief and wants Krill dead. Krill suspects that there is something suspicious about two leaders being killed within a day of each other, but he has already burned Gnar’s body without any investigation. He needs to investigate the body of Thrawn, but it is in Dringly’s lair. Krill wishes to avoid direct confrontation with Dringly at the present for three reasons: 1) Any violence would only kill his own tribe members and further divide the lairs. 2) He believes there is still hope for negotiation to reunite the Black Blades. 3) He believes that if he were to attempt negotiations himself, Dringly would kill him. This adventure features: Two maps. Ready for your favorite Virtual Tabletop. A full color pdf. A black and white pdf. One custom monster, a reprint of barghest, all others available in the Monster Manual. Four hours of entertainment involving: roll playing a goblin bard, investigating a murder scene, tracking down a barghest before it strikes again. Applicable to any setting.

The Hardest of Hearts is a gothic horror adventure for 4-5 characters of 5-6th level. It can be played over the course of 6-8 hours and should roughly take one playing session if the party is quick, or two if the party is progressing slowly. This is the first part of the Carnival of Lost Souls campaign. It can also be played as a standalone adventure. The Hardest of Hearts features: - Exciting journey through the cold wilderness of Lamordia, which features a special travel system and survival rules - Exploration of the old mansion which has been taken over by the vicious local gang - the Corpse Collectors - Several custom diseases to challenge your players - Moral dilemma at the end of the adventure which the characters will have to solve - New custom monsters to make combat encounters truly memorable and exciting - High-quality maps, also available in universal vtt format Look out for the next adventures in the Carnival of Lost Souls series: Dementlieu: Dance with the Devil, Kalakeri: The Forbidden Temple and Valachan: Hunter’s Moon! They will be released over the course of the next two months. Once all four adventures are out, we will also release a special Campaign Guide, which will explain in detail how to best set up and play the campaign. However, if you want to start your campaign right now, don’t worry - we have included a short appendix at the end of each adventure which will explain the basics!
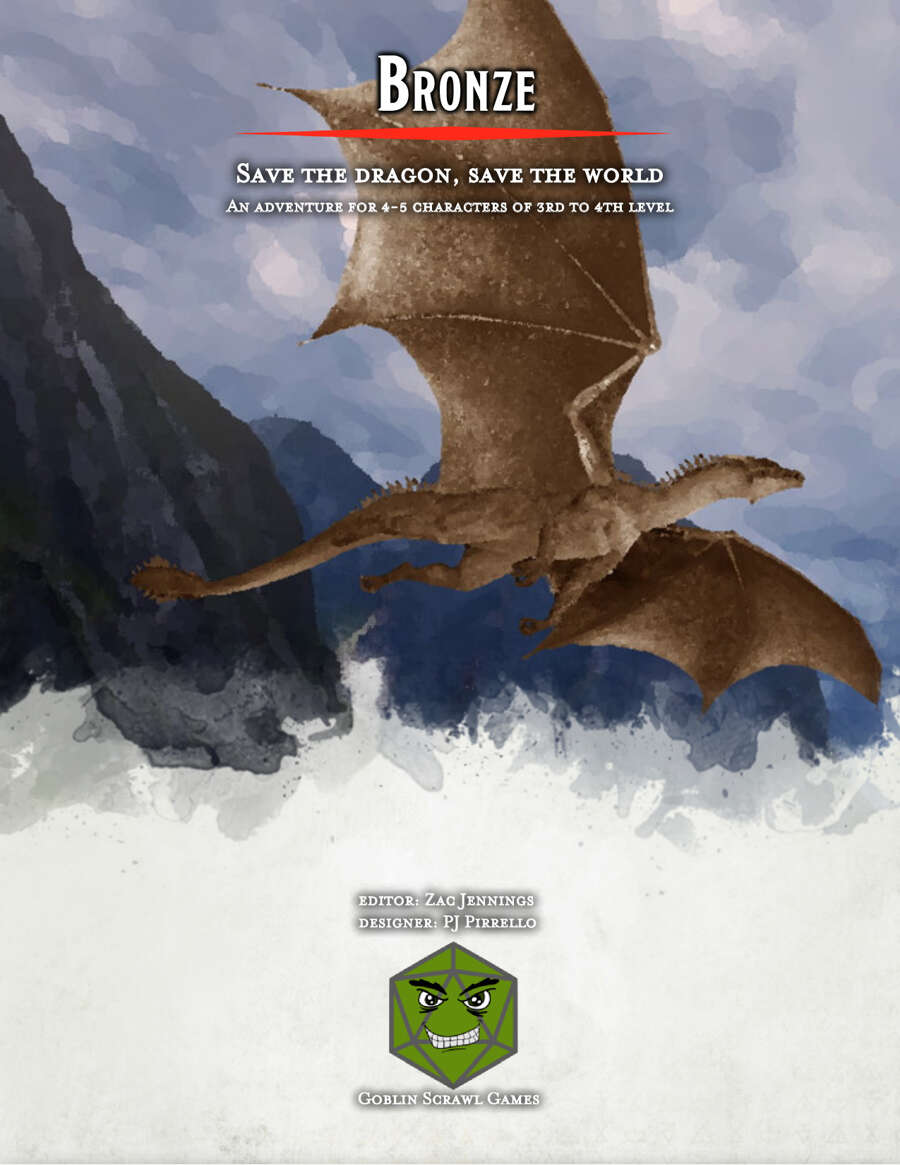
The idyllic town of Evershade is about to get a lot less peaceful. Nestled in a small valley near the border of two kingdoms, Evershade is a small but prosperous town. But ranchers have been finding their livestock slaughtered, with no idea what's behind it. What begins as a simple mission to scare off a predator, turns into a race across hills and mountains to prevent agents of evil from destroying a future force for good. Includes A adventure for 4-5 characters of 3rd to 4th level A regional map of the areas surrounding the town of Evershade Descriptions of the town of Evershade and several of the notable NPCs that live there A map of the dragon's lair on a cliff near the sea Stat blocks for all monsters Unnumbered map suitable for use in your favorite VTT Published by Goblin Scrawl Games

Summoned by the ruler of the Moonshae Isles, the adventurers are asked to seek out the five lost Temples of the Earthmother. A 12 hour adventure for 5 players of 1st-3rd level characters.