
How dangerous is a wounded dragon? A black dragon has seized Ravenglade Keep, though not without resistance! Badly wounded in the fight, the Warriors of Sehanine have fled their home and now turn to the outside world for help. There’s no time to lose! Can you arrive at Ravenglade Keep in time and discern allies from foes on the way? Warriors of Sehanine is a Dungeons & Dragons adventure module for a party of four to five characters from 3rd to 5th level. • Experience the Wood of Sharp Teeth on the way to Ravenglade Keep in a 12 to 16 hour adventure of 38 pages, written by Mithral Best Selling creators Florian Emmerich, JVC Parry and DMsGuild Adept Ashley Warren • Rock the (virtual) table with four breathtaking maps by Dean Spencer & Erin Harvey that come with player and DM versions • Bring the adventure to life with stunning artwork and player handouts by Raluca Marinescu,Henrik Rosenborg & Nathalie Lehnert • Show the NPCs with selected exclusive Trash Mob Minis

Lord Blackmoor's son has been kidnapped, and is being held in the crypts beneath an ancient fortress. Can our heroes rescue the boy before he is sacrificed in a diabolical ceremony? The party responds to a plea for assistance from Lord Blackmoor, whose son Willet has been kidnapped. Blackmoor desperately needs someone to mount a rescue mission. The party journeys along the old East Trail, facing bandits and dangerous obstacles before delving beneath the ruins of Firestone Keep, encountering fearsome enemies and ancient magic. Finally, the party must fight for their lives as the truth about Willet’s abduction is revealed.

A family has been abducted and the village of Myrehall needs help in getting them back. This is the third adventure in a miniseries with the following adventures being: A Chance Encounter The Mystic Circle A Dark Veil Falls

In this climbing adventure, characters journey into the White Peaks mountains to find the source of a rare gem, which is driving the coup in Whitehorn.

A mysterious and ancient iron tower has been discovered in the fabled Lost Peaks - and our heroes are sent to investigate. What follows is a mind-blowing adventure of exotic creatures, alien technology and a shocking revelation that will change how they view the world forever. Expedition to the Lost Peaks is a 6-8 hour adventure for characters of 5th-7th level. And features some Sci-fi themes and items that may not fit into every game.

The Forge of Fangs has been located in Vanrakdoom. While many innocents have been saved from an undying fate, the forge remains. Artor Morlin would like to see it torn to the ground and the threat ended forever. Part Three of the Undying Threat trilogy. Optimized For: APL 13

In the ruins of Kiris Dahn, a human town, lies a 'Slaying Stone'. The stone is said to have the power to kill any foe, though the stone is consumed in the process. The party will venture into the ruins which are the home to an assortment of goblins, hobgoblins, and kobolds. However, a mercenary band of orcs have been hired (by a benefactor who is not met in the module) to search the ruins for the Stone, and the party must find it first. The party must use caution and stealth to move through the town without alerting the denizens or the mercenaries while searching strategic points around the abandoned town to find the Stone. Eventually, the party should find the stone under the protection of an indifferent Brass Dragon.

Devastated in a war with a nearby wizards' school, the Fighters' Academy has since been surrounded by a foul and dank swamp - the Gloomfens. Since the climatctic battle between the wizards and fighters, the tower has decayed. The spirit of the head of the academy haunts the building, eternally plotting his revenge on the wizards who killed him. his loyal sutdents remain faithful to him even in death. Other foul undead have made their home in the rotting, spacious academy. From their lair, they make forays into farmsteads near the swamp in search of victims to feed their unspeakable appetites. The Problem of these terrible attacks by the savage undead will not stop until the evil that has found a home at the tower is burned from the face of the land forever. Will your party heed the call and help the town of Melinir? Will they be able to clear the former Academy of its undead? The Fighters' Academy is the first in a three part adventure, The Haunted Tower. Or, it can be ran as a stand alone adventure. The choice is up to you. Part of TSR 1081 The Haunted Tower
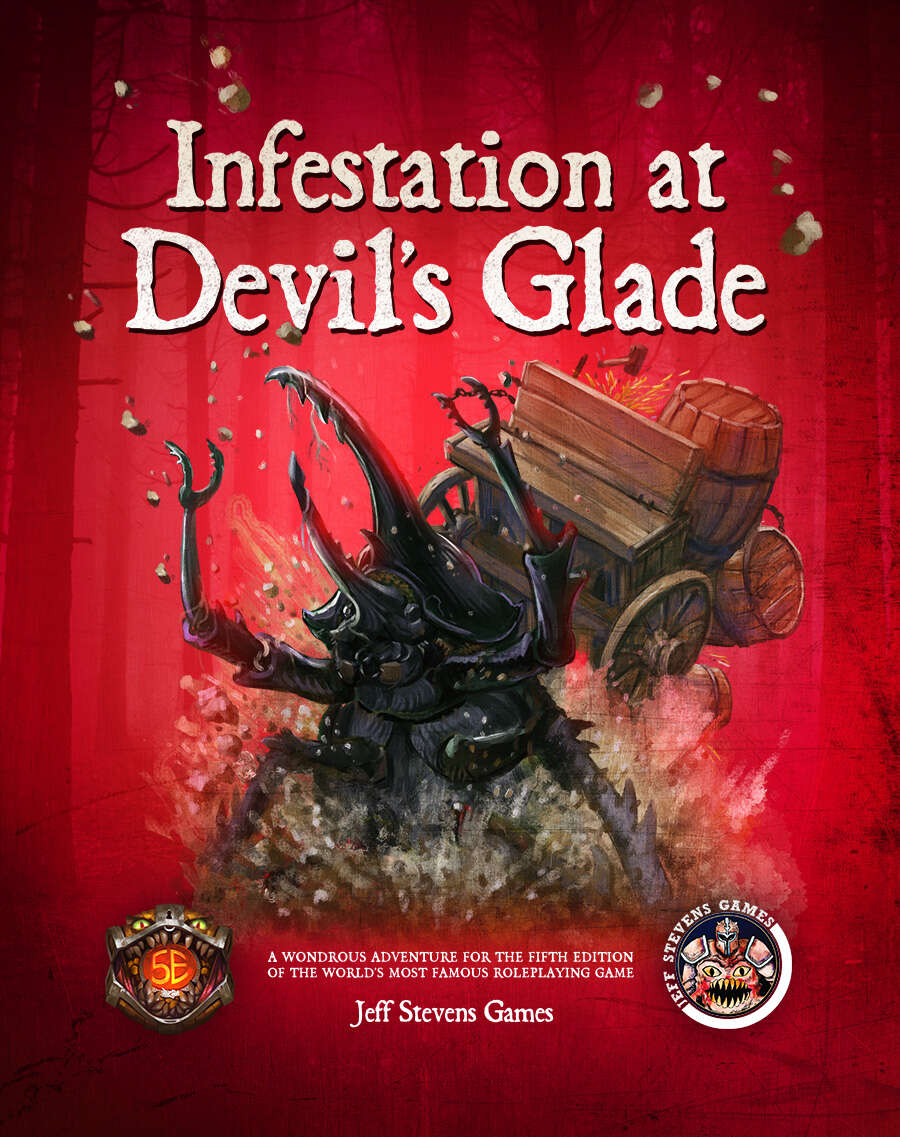
The town of Devil's Glade is under attack! Swarming insects have driven the residents out of their homes and businesses, and giant insects patrol the town square. Who or what has brought these creepy-crawlies to Devil's Glade? What's their motive? Are your heroes brave enough to put an end to the infestation? Infestation at Devil's Glade is a 2- to 4-hour adventure designed for four to five characters of 1st to 4th level, and is optimized for 2nd level characters. Scaling Suggestions are included, allowing you to play this adventure with characters of 5th to 6th level. Infestation at Devil's Glade isn't just a short adventure. We provide you with a location to which your heroes can return, or even use as a home base. The Supplement Includes: Adventure. The main adventure focuses on the heroes cleaning the town of the infesting insects and the villains who brought them. Beginning at The Fork (a tavern where many of the residents have made camp), the characters learn about the infestation of Devil's Glade, and are hired to look into the matter. NPCs. The adventure is filled with fun and engaging NPCs. During the characters' time at The Fork, they have the opportunity to talk with NPCs, help them, and learn more about the infestation. After the heroes return Devil's Glade to normal, the merchants and residents return, giving your characters unique shops to explore and quests to complete. Cursed Mask. The crux of the problem - a cursed mask that slowly transforms the attuned creature into a giant, insect monstrosity, and gives them power over insects. To end the infestation, the adventurers must confront the partially transformed person wearing the mask. Shops & Services. Devil's Glade contains shops and services the characters can explore, including therapeutic mud baths, a diner specializing in eggs, a trinket shop, a candle maker, and a dentist. Side Quests. We provide several side quests for before and after the main adventure, allowing you to increase the main adventure's run-time, and provide you with material for after the main adventure. Maps. The adventure contains maps for the main locations and major side quests. Each map is hand-drawn by Jean Lorber. Art. NO AI! The book is filled with fantastic, original artwork by Matt Morrow Art. Also Included: Map Files. Both grid and non-grid maps are included and available to download. Special VTT Tokens and Assets. Several custom tokens and art assets are included for VTT play.

The Proving Glade is a one-shot adventure meant for parties or duets. Your characters arrive in a small settlement that has a big problem. The forest, its lifeblood, has seemingly withdrawn its bounty. Others have gone in, only to return hours later confused about how they got out. Will your party have the wherewithal to navigate the treacherous forest, pass its surprising tests, and uncover what’s truly going on? I wanted a forest adventure that felt alive and busy. I also didn’t want every encounter to be solved with the swing of a sword. The Proving Glade is about questioning value, morality, judgement, and redemption. This adventure was written as part of the Summer 2019 RPG Writer's Workshop. We also submitted In the Heart of the Forest. While these two adventures are not necessarily connected, they both involve navigating difficult and dangerous scenarios in a forest and could naturally be strung together. This Product Includes -A 3 to 4 hour one-shot designed for parties or 1-1 play. -A new Sidekick stat block: Daelin Hoofbane, ranger extraordinaire. -A new custom creature: the mysterious and powerful Alseiad, a glade nymph of incredible beauty. -2 new maps: One region map for the forest around Quaervarr near Silverymoon and one battle map for The Hydra's Mire.

This fast-paced action adventure is intended to be played by 4-6 level 1 characters, and it could be completed in a single session. The characters will begin chained to the oars of a pirate ship and as they free themselves and advance through the ship, they will be able to acquire equipment and ally or become enemies with different factions, to finally face the captain, and the Kraken. Content in english and spanish. Published by Victory RPG.

Beware the cat-men's fury! This entry-level module pits a single player character of 2nd to 4th level against samurai cat-men. Rage of the Rakasta is specially designed as a one-on-one for a single DUNGEON MASTER and one player. It can also be played by a DM and a group of players or by a single player without a DM. Rage of the Rakasta takes place in the Thunder Rift game setting. It can be played by itself or as part of a campaign with other modules sharing the same setting: Quest for the Siver Sword, Assault on Raven's Ruins, Sword and Shield, Knight of Newts, and the forthcoming In the Phantom's Wake. TSR 9435

The PCs have traveled to the Nine Hells to confront an outpost of devils responsible for slave raids on their homeland. In this realm of burning ash and fire-streaked skies, the infernal legions prepare constantly for war. Pgs. 138-143
Inspired by the 12 Labors of Hercules in Greek mythology, this adaptation incorporates the classic quests, monsters, and motifs of ancient myth while injecting our interpretation of the personality and flavour of the world's greatest roleplaying game. As a result, though those familiar with the original myth may recognize key similarities in this adventure, it has been designed with the goal of re-formatting and reframing these heroic tasks in a new light, suitable for an entire mini-campaign fit for a whole group of brave and heroic adventurers. Use the Village of Kalogeros to incorporate each labor into a long running quest, or take bits and pieces and re-flavor them as necessary to fit your game. The choice is yours. Either way, we hope you enjoy.

When her father goes missing, a young adventurer has no other choice than to gather her friends and head for the city of Loudwater. Soon after she gets swept away in an obscure design threatening to drag the entire region into chaos and war. At the heart of this mystery, lies not only her father, but the long-forgotten history of her once-despised family and a primordial beast influencing events from the shadows, moving her family like pieces on a chess board. Visit www.perfumersdaughter.com for more information. You can also address me directly on The Perfumer's Daughter Q&A on Facebook. All battlemaps and dungeons are free to download for use in digital platforms (such as roll20) on the aforementioned site.

The yuan-ti have a long, storied past in the history of Chult. So, if they are to be defeated, we must look back into history. Within the jungles, a number of cities fell into ruin during the Year of Blue Fire. Both the merchant princes and factions believe that if discovered, they likely contain knowledge that’ll prove invaluable in the battles to come. Get looking! A Four-Hour Adventure for 11th – 16th Level Characters

Within the pages of this book, you will find three mini-dungeons, all with a common theme. They are all set in dangerous and exciting cave systems. Not only will you be able to drag and drop these mini-dungeons as you need, but this book will also provide a suggested campaign structure and tie-ins to each of them for those witty Dungeon Masters who wish to run them all together. 1. Lizard Folk Tunnels - APL2 to APL5 A daring rescue mission to save two young children from the grasps of a tribe of lizardfolk who's evil intentions are to sacrifice their captives to their evil god. 2. The Cavern of One-Eye - APL4 to APL7 A cave system riddled with orcs as described in Volo's Guide to Monsters. Players will need to think on their feet in this one. 3. The Lair of Frostingbite - APL5 to APL8 Snow-oxen are being stolen from the farmers of Sleet-Town, tracks lead into the ancient and abandoned mine shaft within a nearby mountain. Killer Kobolds, Quaggoth slaves and a ferocious White Dragon await. Published by P.B. Publishing

The sequel to the DMs Guild best-selling Tales from Frozen North returns better than ever with almost 4 times more content! What you will find inside: * 36 random encounters (plus 4 mini random encounters within random encounters! Encounter-ception?!) * Chapter 1: Carnival Encounters. 6 Short encounters for any carnivals and fairs in the Feywild. * Chapter 2: The Summer Court. 10 Encounters that are short and whimsical, or featuring creatures common to the Summer Court. * Chapter 3: The Gloaming Court. 10 Encounters that are short and wicked, or featuring creatures common to the Gloaming Court. * Chapter 4: The Feydark. 10 Short encounters in the subterranean world of the Feydark. * Scaling guide provided for most encounters (Tiers 1-2) * Puzzle Encounters (The Fey do love their puzzles, especially if it infuriates others) * New Fey-themed Magic Items * New Creatures! Including but not limited to: * Tooth Fairy (you might want to hold on to your teeth with this one!) * The Dawn Growlers — a team of superhero hounds?! * and a totally innocent and harmless small white rabbit…yes… harmless
:strip_icc()/pic4011257.jpg)
This scenario sees the adventuring party given an important quest to collect a number of broken magical seals and to light a number of magical braziers, all of which once protected the crypts of Kelemvor. In so doing, they can help to quell a devastating uprising of undead — organized by a powerful lich named Idris bent on destroying the city of Neverwinter. “The Crypts of Kelemvor” is a one-shot Dungeons & Dragons adventure for characters of levels 3 to 5, adapted from a quest in Neverwinter online.

A noble scion and his retinue from Baldur’s Gate left on an adventure amid much fanfare. That was two weeks ago. Rumours in the taverns suggest only a single soldier returned, bearing grievous wounds and a ransom demand. Is this a simple case of misadventure, or are darker conspiracies afoot? Can you locate and rescue the nobleman, or will you fall victim to the malevolent powers stirring deep within the Temple of the Opal Goddess?