
Questing through the forest, you will be tested. Which side will you take between a wizard and the Keepers of the Veil? Will you be able to find the materials necessary to help cure your friend of the ancient evil that assails him? And when it comes down to it, what are you willing to sacrifice for your beliefs? Third Time’s the Charm picks up where Second Glance left off and invites the PC to find a wizard who can help heal the Crystalline Curse slowly paralyzing the PC’s friend and protector. As the party grows closer on this adventure, learning to depend on one another, they must also navigate the Veiled Wood’s changing landscape, deciding who they can trust and who they will help as much lies in the balance. Though this was written as the third installment in the Crystalline Curse Trilogy, this adventure can be inserted into any campaign setting and scaled accordingly. Third Time’s the Charm is part of our mission to bring you high-quality, ready-to-play material that supports adventuring parties of 1 Player and 1 DM. This adventure is written for a third-level character in a one-on-one 5th edition D&D campaign. Everything you need for your own two-person game is inside! This product includes: -A 3rd or 4th-level adventure adaptable to any setting -Stat blocks for one new creature and two NPCs -A region map, two sitemaps, and a hand-drawn dungeon map to aid the PC’s investigations -A fully realized forest region with fleshed-out NPCs and places to explore -Detailed backstory for the ancient warrior sheltered inside the PC’s treasured amulet -Four custom magical items And helpful tips for DMing a one-on-one game This adventure is perfect for those looking to begin or continue their duet campaign. Published by D&D Duet.

After a series of successful exploits you and your associates decide it is time for a nice vacation. You pull into the large city of Breckengarden to take a few weeks off when you are approached by a courier. After a clandestine meeting you are informed that several well-known adventurers have been disappearing and the party has been asked to resolve the issue. The bigger problem is the likely source of the kidnappings is the master of the Cloud Giant kingdom that floats above the ground!

Despite the adventurers’ best efforts, more creatures joined under Bad Fruul’s banner. No longer content to simply attack caravans or isolated homesteads, the hill giant warlord descends upon Parnast at the head of a great force of humanoids. SEER warns the adventurers (directly now) in time to rally the town and prepare defenses, but a heroic effort is required to break the siege.

E2, following up on Death's Reach, the PC's first travel to Sigil following the smuggled remains of the primordial Timesus. The pursuit then leads into the Abyss, through the White Kingdom to face Doresain, the Ghoul King, exarch of Orcus. The module certainly is epic, placing the PCs up against powerful monsters like greater demons, death knights, and a demilich. It may be frustrating that the PCs arrive too late to disrupt the plot (have to allow for the finale in the next adventure) but taking out Orcus' right hand ghoul may be satisfying. Includes a skill challenge for crossing a portion of the Abyss For environments, City refers to Sigil.

The outpost of Fort Dolor has experienced an unprecedented stretch of peace in recent times. Then nearly the entire garrison disappears on a supposed routine patrol, and the town— still on the frontier— is left nearly defenseless. Can the adventurers dig to the bottom of the mystery at Fort Dolor before they, too, disappear? Pgs. 82-103

The party seeks out Commodore Krux at the Happy Beholder. After speaking with the patrons, the party learns that Krux has disappeared and gets a lead to check out his ship, the Second Wind. At the ship, the party learns from Fel Ardra and Flinch that Krux is being held prisoner by the Amoebros in a cave on the underside of the Rock of Bral. The party infiltrates the Amoebros’ lair, gets past the guards, and learns of the animal experimentation performed by the gang. In a final climactic scene, the party rescues Krux from Ripples, the wicked boss of the plasmoid gang.

This adventure picks up where AS1 – Artifact of Gegios left off. You return to the city of Gegios to divide treasure and determine what the strange wand is. Your return trip may have given you a clue in that travel to the east causes it to vibrate less while moving in a western direction causes it to shake more. What is the significance of this anomaly? Is your party ready to find out? Bring your water wings folks you’re probably going for a swim!

Greetings! I've created a sea-themed supplement that you might find uuseful: Encounters on the Savage Seas is a 100-page supplement containing mini-adventures, NPCs, new ships, locations, and magic items. In all, the writers have produced 19 unique encounters, NPCs, and locations for you to add to any nautical campaign. We’ve even included scaling suggestions so they can be used with different party levels. •Visit the township of Badu - the village riding on the back of a gigantic dragon turtle •Encounter space pirates •Interact with goblin pirates commanding strange water vehicles •Roleplay with Loan Sharks •Endure the Fog of Horrors •and so much more.... You can view the 30-page preview by clicking this link:https://www.dmsguild.com/product/270757/Encounters-on-the-Savage-Seas Also, go grab my FREE playable race: Otterfolk: https://www.dmsguild.com/product/267692/Otterfolk I hope you enjoy the content if you pick it up!

A storm of unparalleled fury has been ravaging the peaks of the Earthspur Mountains for a tenday, and the Monastery of the Yellow Rose sits in its eye for now. Some monks have fled the monastery to the safety of Mulmaster and beseech you to convince their more obstinate brothers to retreat to the city before the eye of the storm shifts, and the monestary is in terrible danger. Can you brave the elements and convince the monks to escape?

The Shady Dragon Inn is a set of pre-generated characters for use with the Dungeons & Dragons game. This player's aid comes in two parts: each character appears first in a section devoted to his or her character class. They appear again in the second section as members of a party. As a DM or as a player, you may use either or both sections; over a hundred characters await you! Each character has a brief biography that will help you to create backgrounds for PCs or NPCs as needed. Also included is a rough physical description, and a list of items owned by each character. The Shady Dragon Inn also contains the D&D statistics for those special characters who are presented by figures in the D&D and AD&D toy line, and provides a tavern setting from which players may start adventures or gather party members. TSR 9100
Hellmaw Island is a place of legend, a hidden fortress protecting the greatest treasures in the world. Rumour says it is guarded by wicked traps, bizarre and terrifying monsters, and maddening enchantments. Our heroes have been tasked with penetrating this mysterious stronghold, and they will find it to be stranger and more dangerous than anything they have encountered before. Assault on Hellmaw Island is a 5th Edition Dungeons & Dragons adventure for characters of levels 5-10. It will take 4-8 hours to complete.

When the characters set up camp in the forest, they catch the attention of a supernatural evil called the Night Hunter. Can they survive its increasingly audacious attacks and discover the true nature of what is hunting them in the night? This short horror scenario takes about 2 hours to complete and is for four or five 1st-level characters. Download it for free in the YouTube video walkthrough link! Inside the The Night Hunter, you'll find: -A new bogeyman monster tied to local folklore -The Arcane Library's signature format to make running the adventure effortless -Combat cards for monsters, PCs, and special treasure -Beautiful VTT maps with and without grid by Lantern's Light Maps

A quick-paced exploration of the magic tower, home to the great Solomon, the Master Conjurer, an expert in fiendology. Adventurers have to find Control Orbs to disable the tower's security system before it destroys them, and discover the secrets of the tower in the process. Their progress will be ushered by a seemingly helpful entity with nefarious intent - Zarloxar, the blue Abishai. The success of adventurers could also finally spell freedom to the fiend... or not if players, under stress, will realize the trickery in time. Part of "Detailed Encounter" series - each "Detailed Encounter" - features new monsters with unique stat blocks, new magic items, a custom battle map, and detailed NPCs. It also has story hooks and advice enough, to quickly turn it into a separate adventure!
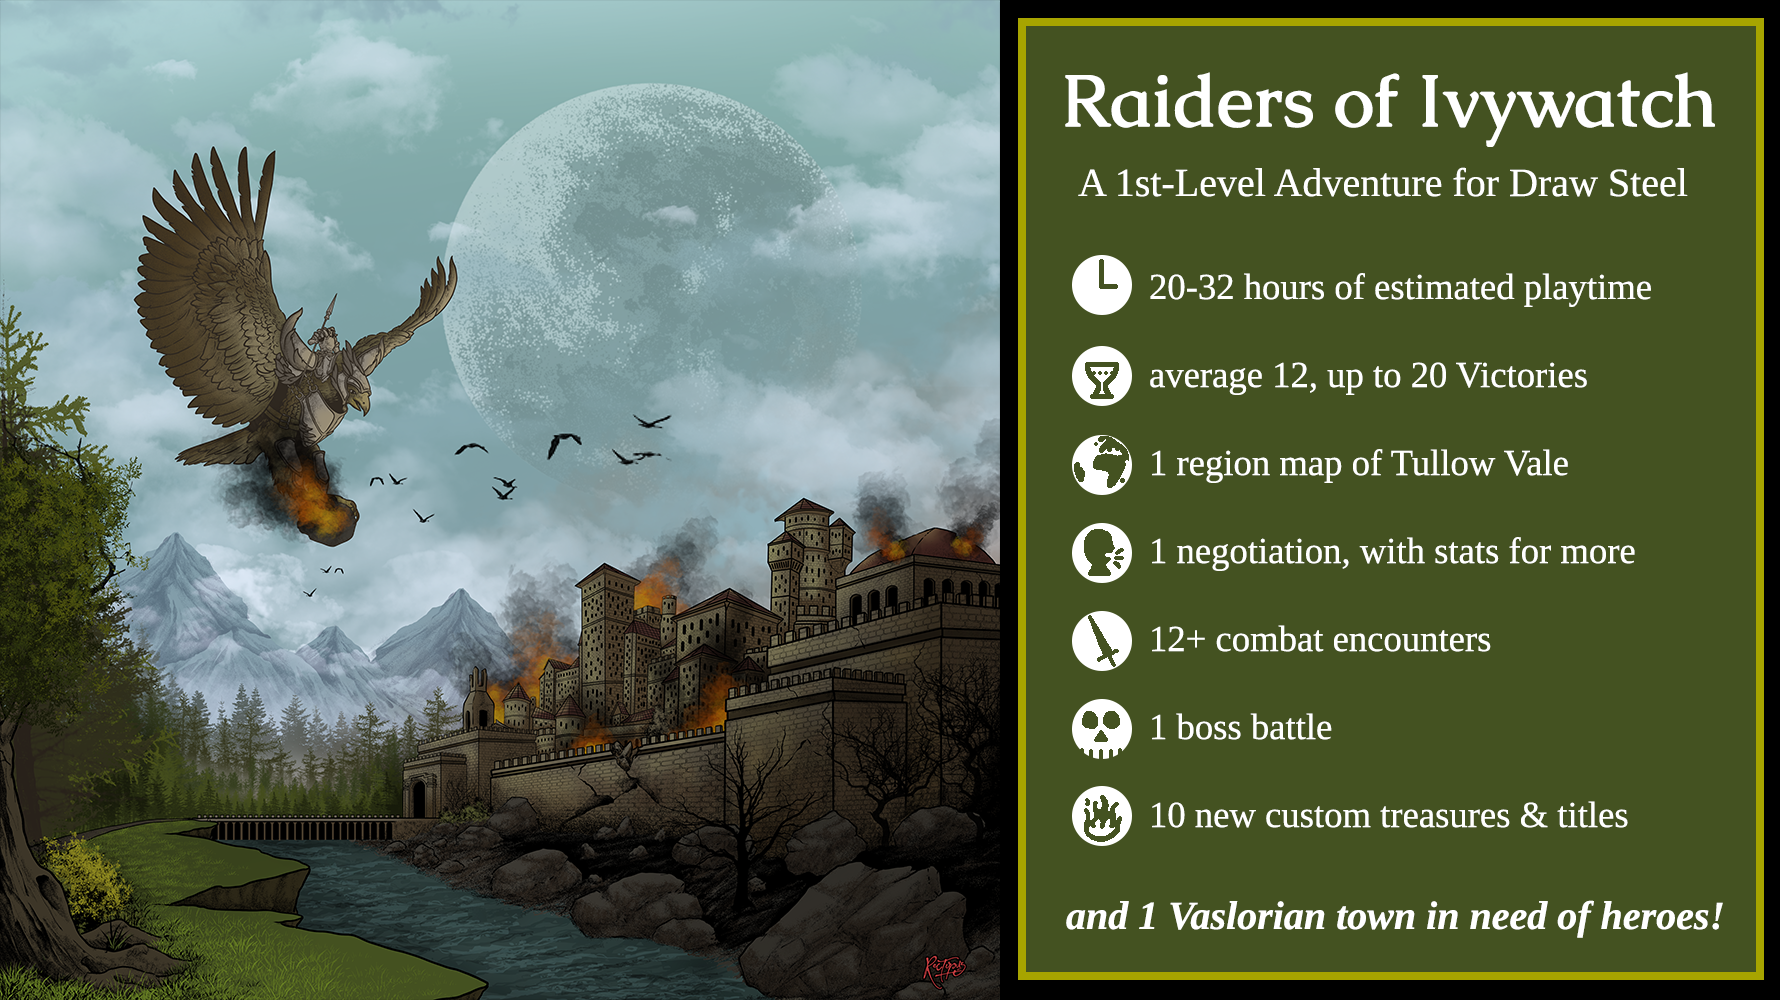
This adventure is about fighting monsters and being heroic. It’s also about discovering hidden and forgotten secrets, and then using those secrets later to the heroes’ advantage. The heroes will fight lizardfolk and hawklords, undead and basilisks, and some strange and malevolent creatures from a plane beyond Orden. The heroes will have the opportunity for a handful of negotiations which can be hugely influenced by piecing together secret information uncovered earlier in the adventure. Combat encounters in the adventure are built to generally take at least 3 rounds, sometimes more - they can be complex! The heroes will be expected to spin multiple plates at the same time! The adventure reward an average of 12, but as many as 20 Victories. Depending on your experience running and your table’s experience playing Draw Steel, how many side objectives the heroes follow, as well as a bunch of other factors, it could run around 20 to 32 hours of playtime. In the Tullow Vale of Vasloria, a centuries old town is built around a weathered statue said to seal away an ancient evil. Ajax's Hawklords bombard and lay waste to the town, stealing the statue, and in the chaos, the pitiless Deatheye Yslansh and her lizardfolk minions abduct the citizens! Can you save the people of Ivywatch before they are put to the Deatheye's fell purpose? And what or who exactly have the Hawklords unsealed? This adventure is about fighting monsters and being heroic. It’s also about discovering hidden and forgotten secrets, and then using those secrets later to the heroes’ advantage. The heroes will fight lizardfolk and hawklords, ogres and basilisks, and some strange and malevolent creatures from a plane beyond Orden. The heroes will have the opportunity for a handful of negotiations which can be hugely influenced by piecing together secret information uncovered earlier in the adventure. Combat encounters in the adventure are built to generally take at least 3 rounds, sometimes more - they can be complex! The heroes will be expected to spin multiple plates at the same time! The adventure will reward an average of 8 to 18 Victories. Depending on your experience running and your table’s experience playing Draw Steel, how many side objectives the heroes follow, as well as a bunch of other factors, it could run around 20 to 32 hours of playtime. The adventure contains: - 12+ combat scenes, including a boss battle. Most combats have objectives beyond just “kill everything” - 2-3 montage tests - 1 small, safe location to take respites in, full of NPCs with opinions - 1 big, complex, puzzle-y negotiation - 10 new custom treasures and titles, and other player rewards - A brief setting primer to Tullow Vale

Evil is stirring in the tiny village of Akeley - an evil that reaches out to minds that drift through the inky void between the stars. However, not all that comes from the skies comes with malice. A band of rather unusual warriors have are resolved to deal with the infestation before it can spread, though they cannot conquer it alone. Perhaps it’s blind chance that brings together the players in this strange and terrible drama, or perhaps it was written in the stars long, long ago. Note: This adventure is intended to work with Mordenkainen's Tome of Foes, and requires a copy of the book to run succesfully.

Your party has just spent the better part of the day travelling in dismal weather and you've just located an appropriate place to camp when, out of the drizzle filled sunset, the terrifying screams of a woman can be heard through the patter of rain through the trees. Great! You're cold, miserable, and now you have the moralistic compulsion to investigate and render assistance to a damsel in distress. What you don't realize is that morals and damsels always means more trouble than what you may be willing to pay. Will your party survive long enough to see the dawn through the Screams at Sunset?

It's a frigid New Year's Eve, and the heroes gather near midnight in a small condemned tavern wihtin the Free City-State of Gate Pass. Located in the mountain pass which separates two hostile nations. Gate Pass has been neutral since the end of their last war. That neutrality is about to be put to the test, as a scourge comes for the city from the nearby empire of Ragesia. By now, every magic-user in Gate Pass knows of the Scourge. The Emperor of Ragesia died barely a month ago, and a witch named Leska has moved to cementer herself as the next empress. Leska leads the Ragesian Inquisitors, clerics specialized in countermagic and has decreed ass disloyal mages to be tracked down and killed to prevent future threats to the empire. Their first target is Gate Pass, whose neutrality has long been viewed as an insult to the nation's honor. This is the first of twelve adventures in the War of the Burning Sky adventure path from E.N. Publishing.

Long unoccupied, the pyramid on Sorcerer’s Isle now flows with strange magical energy, warping creatures and the landscape around it. The Cult of the Dragon and Red Wizards of Thay have taken notice, and it’s up to you to keep whatever power dwells there out of their hands. An adventure for 5th-10th level characters.
![Cover of D&D Encounters Season 03 - Keep on the Borderlands: A Season of Serpents [Chapter 1-5]](https://www.drivethrurpg.com/images/44/121468.jpg)
At Restwell Keep, you've heard that fortune and glory await those bold enough to brave the dangers of the Chaos Scar, a valley carved ages ago by a fallen star. The same tales warn that this Chaos Scar draws wickedness to it. Perhaps you can help stem this tide... and gain treasure along the way. While the location is a different keep, this adventure is an homage to B2 Keep on the Borderlands(https://adventurelookup.com/adventures/b2-keep-on-the-borderlands)

Lord Dragle was set to auction off his most recent discovery, the Shroud of Olindor. The elven relic was certain to make Dragle a wealthy man. Such a pity he had to die. But the plot surrounding Dragle’s death is far more layered than it appears. It is up to the player character to discover the hidden motives and ultimately recover the Shroud of Olindor. Part 2 of the Olindor Trilogy.