
X11 Saga of the Shadow Lord consists of two linked adventures as a mini-campaign: In the first adventure called Elvenstar, PCs try to steal a magic item from the Shadow Lord to thwart his planned invasion of a peaceful neighboring kingdom. Encounters in this adventure include a village populated by adventurers, and a cloud giant living in a small castle, before the party reaches the Shadow Lord's lair for the final encounter. In the second adventure, also enclosed in module X11, The Halls of Drax Tallen, the Shadow Lord returns more powerful than ever. His undead minions are searching for another magical item to give him immense power and the PCs must find this item before he does. Player characters must get past the undead army of the Shadow Lord and infiltrate his haunted fortress to retrieve the magical Elvenstar. TSR 9165
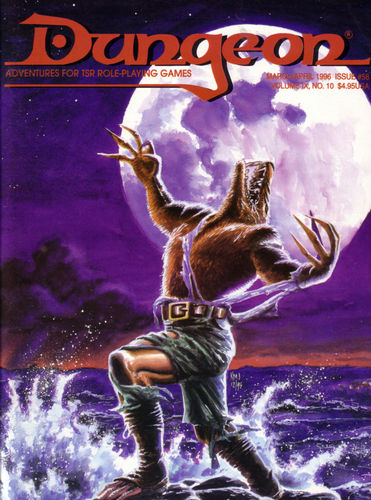
The doctor is out … of patients! An infection of mold is spreading in the city, and its haveing a mnsterous affect on the population. Its up to the party to deal with this growing threat. Pgs. 60-68

Everyone who went to opening night of the Monveau Theater's newest show has gone completely insane. Can the characters uncover the shocking secrets inside the theater and find a way to end the plague of madness without losing their own minds? The Horror Within is a cosmic horror adventure for 8th-level characters. It's a one-shot that takes about 3-5 hours to complete and includes: -A maddening mystery where the characters' sanity is at risk -A thrilling battle against an Old One in the lost depths of the city -Combat cards for each monster, PC, and special treasure -High-quality digital maps for use with virtual table tops
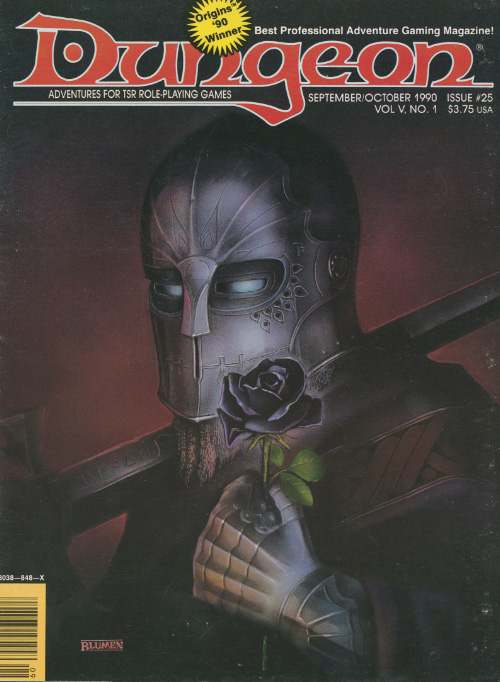
The door to the Abyss can be opened with good intentions. An act of mercy released a creature of unspeakable evil. Now, only you have a chance to stop it. A vrock has been trapped inside a stone circle outside the village of Sundown. This stone circle remained untouched for thousands of years, until an unwitting mage decided to depetrify one of the standing stones that he mistakenly thought was a helpless farmer. This released the vrock, who killed the mage and has been trying to regain enough power to plane shift back to its home. This module primarily is based on investigation and problem solving, with a final fight with the vrock at the end. Roleplaying should be emphasized. The town of Sundown is fleshed out with NPCs and stores for player exploration. Pgs. 4-16
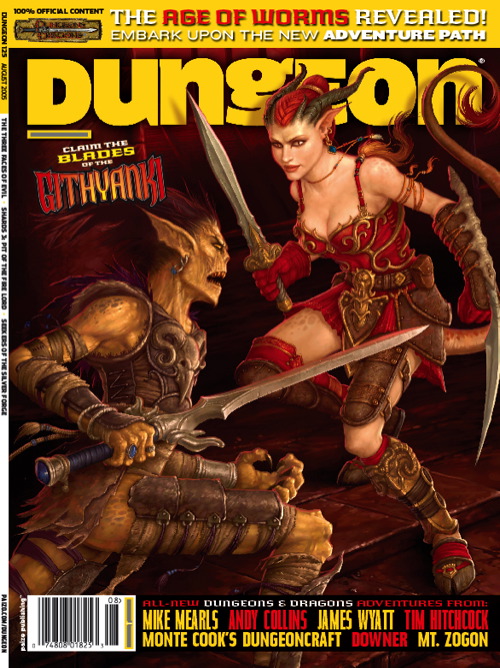
Strange catches have long plagued fishermen's nets -- but none so strange as rotting fish that twitch and gasp for days after they are taken from the water, or a gilled githyanki's severed head found in a shark's belly. Do these briny omens lend credence to rumors of a sunken githyanki city caught in a necromantic civil war? This is a sequel to "The Death of Lashimire" (Dungeon Magazine #116). This adventure makes use of rules and options from "Stormwrack" and the "Expanded Psionics Handbook". Pgs. 60-82

This adventure takes the heroes to the Nightmare Lands in search of an item that can destroy night terror, Mandalain. This item, called the rose of midnight, is the night terror's one true weakness and the means for ending the curse hanging over the Clinic for the Mentally Distressed. Adventure IV: The Rose of Midnight From Book Three: Nightmare Lands: https://www.adventurelookup.com/adventures/the-nightmare-lands TSR 1124

Untamed by the laws of man, the Giantdowns region remains a buffer zone between the ruined empire of Anuire and its northern neighbor, the Rjurik Highlands. The Great Downs themselves are the stuff of legend: Giants, they say, are buried beneath the mounds, awaiting some call to rise and battle once more. But in the meantime, other forces threaten the Downs. A new awnshegh, the humanoid known as Ghuralli, strives to make his small kingdom a rival to the neighboring Gorgon's Crown. His armies of humanoids, giant-kin, and monsters stand ready to strike at the few human settlers brave enough to live in the shadow of the Great Downs. The Rjurik settlers need a leader, someone who can defeat Ghuralli and forge a kingdom out of their scattered clans. They need someone to step forth and become King of the Giantdowns. This 64-page adventure accessory contains detailed information on the Giantdowns region, the people, monsters, and places that can be found within, and several adventures for beginning and experienced characters alike TSR 3142

Deep in the jungles of Xen'drik, a relic of great power has lain hidden for thousands of years. Now, determined adventurers race against time and the nefarious agents of the Order of the Emerald Claw to locate the relic, overcome unimagined obstacles, and unlock its ancient secret. The Order's hunt for the parts of an ancient creation pattern nears its conclusion, but other groups also seek this powerful item. Once all of the pieces come within close proximity of each other, the ancient intelligence awakens. Suddenly all parties have a new and powerful enemy to contend with...
Come on up for a bite. Sometimes the adventure comes to you. The local inhabitants of a large town have been disappearing and its up to find what is causing and bring back the people that have disappeared. Pgs. 48-59

When her father goes missing, a young adventurer has no other choice than to gather her friends and head for the city of Loudwater. Soon after she gets swept away in an obscure design threatening to drag the entire region into chaos and war. At the heart of this mystery, lies not only her father, but the long-forgotten history of her once-despised family and a primordial beast influencing events from the shadows, moving her family like pieces on a chess board. Visit www.perfumersdaughter.com for more information. You can also address me directly on The Perfumer's Daughter Q&A on Facebook. All battlemaps and dungeons are free to download for use in digital platforms (such as roll20) on the aforementioned site.
Invasion of Veluna - Level 1 Demons have invaded Veluna, laying waste to Verbobonc and small towns! Survive the siege, and track down their origins. This adventure has inspiration from The Village of Hommlet. Infiltration of Dorakka - Level 2 Rumors of Demonic Invasions have the characters traveling across the lands of Iuz, surviving in the war torn wastelands to reach the Rift and back to infiltrate the capital of the fiendish Empire. This adventure has inspiration from The City of Skulls, with a special optional twist. Scant Rebellion - Level 3 Rumors of demonic forces across the Flanaess are forcing the hand of the Scarlet Brotherhood. Aid or covertly work against the Brotherhood to eliminate or save the Free Onwall Army of Rebellion and create a temporary peace. Assassination - Level 4 The Free Onnwall Army of Rebellion has been weakened. The Scarlet Brotherhood mean to end its threat with the permanent removal of a key leader and funder of the army. Beneath the Gnarled Root - Level 3 Mad demonic cultists wandering listlessly across the Gnarley have been ranting and raving of a secret asylum hidden beneath the gnarled root. Find the dungeon, and learn what secrets it may hold. Quarry of Elemental Chaos - Level 4 The demonic forces near the Gnarley have constructed a massive quarry to tap into the elemental chaos, using its power to locate a magical artifact for a greater evil. Dive into this massive dungeon and end the insanity in an adventure inspired by the Temple of Elemental Evil. Irongate Heist - Level 3 Azure Masks have tracked an important magical relic to be in the possession of a traveling author who has just come home to Irongate to celebrate his newest book launch. During the party, enter his home and steal the artifact while forces work against you. The Bright Desert - Level 4 Rary the Traitor has partnered with the demons to gain information on the Lost Pyramid of Kesh. Within is the legendary Scorpion Crown that would hand the fiends an army of tlincalli. You must race across the desert to reach the pyramid before Rary's forces in this adventure based on Rary the Traitor and Desert of Desolation. Bastion on the Borderlands - Level 5 The bravery of the characters has seen them rewarded with a bastion in Keoland abandoned by the Knights of the Watch due to political pressure. The characters may take a moment to breath, place roots down, or bring order to the nearby chaotic caverns in this adventure inspired by Keep on the Borderlands. The Neverending War - Level 6 Transported to and trapped within the neverending war in the lost city of Rauxes, the characters are tasked with ending the curse upon the city to escape this D&D roguelike adventure. Jungles of Hepmonaland - Level 7 The mirror of gates, an artifact to easily bring groups of people across the planes, has been split. The first piece has been discovered to be deep within the Jungles of Hepmonaland in this adventure inspired by Needle. Across the North - Level 8 Rumors of artifacts in a hidden vault in the northern Flanaess have circulated for decades, but with the keys now showing up, and demons circling, this rumor could be a key to stopping this invasion in this adventure inspired by Five Shall Be One. City of the Lizardking - Level 9 The Silent Ones have maintained a close relationship with a band of Lizardfolk in the Hool Marsh. Their recent silence, following a discovery of another piece of the Mirror of Gates could only mean one thing... They need to be saved in an adventure inspired by Tomb of the Lizardking. Lair of the Kraken - Level 10 The Ladies of Crede had discovered yet another shard of the Mirror of Gates, having it transported to Oakenisle when the shipment was attacked by a kraken. Now the characters must go on a very deep sea adventure to take back what is theirs. The Demonic Rainbow Dungeon - Level 11 Unbeknownst to most, beneath the Free City of Greyhawk is a massive dungeon constructed by a variety of creatures to funnel power for Demogorgon to maintain his charade of an alliance with the Queen of Chaos. Put an end to his scheming in this adventure inspired by Castle Greyhawk. Comes Sail Away - Level 12 The characters partner with the Scarlet Brotherhood to traverse the sea of worlds and enter the City of Glass in the Elemental Plane of Water, trying to gain the Ax of Severance before the Queen of Chaos. This adventure was inspired by The Vortex of Madness and Other Planar Perils. Fly Away With Me- Level 12 Dropped into the middle of Aaqa in the attempt to stop the Queen of Chaos' plan, the characters must naviagte politics and the infinite skies to reach the Ax of Severance before the demons. Through the Fire and the Flames - Level 12 Inspired by Secrets of the Lamp, this is a political-intrigue quest, with characters forced to navigate the politics of the City of Brass, getting a new sultan in power to gain the Ax of Severance before the demons under the Queen of Chaos can seize upon the chaos they wrought. Underground - Level 12 The characters must navigate the shifting labyrinths of the Elemental Plane of Earth to pull off a heist and find the Motherlode before the demons! Portal of the Drow- Level 13 The time has come to enter the Abyss. The nearest - permanent - portal is inside the drow city of Erelhei-Cinlu and is guarded by the son of Demogorgon. As a result, only one action is reasonable: besiege the great city in this adventure inspired by Vault of the Drow. Invasion of the Abyss - Level 14 Upon finding themselves in the Abyss, the characters arrive in the uppermost layer of the Abyss, trudging through 13 layers to reach the home of the Queen of Chaos in this adventure inspired by the Demonweb Pits.

A dwarven laboratory forgotten for many centuries has finally been rediscovered, but there is sure to be danger lurking within. It turns out some of the other machines within are still active, as are some of the traps and puzzles. Prepare your party for a blend of challenging puzzles and diverse fights in the dungeon that was home to my first player kill.

A SOLO adventure for thieves level 1-3 or Group play level 1-3 The storm sweeps off the mountaintops without warning, as if conjured by some supernatural power. Within minutes, huge drifts of snow have halted the caravan, and the snow falls so hard it is impossible to see more than five feet. You huddle next to the sledge, trying to shelter for you numb face from the icy winds. A dozen half-human forms march into view out of the raging blizzard. The little man-things carry wooden spears or long, unsheathed swords in bony, gnarled hands. Their blood-red eyes quickly fall upon your sledge and the ugly creatures turn toward your hiding place. Will you survive to uncover the secret of Blizzard Pass? This module contains all you need to solve the riddle of Blizzard Pass, including 14 maps, an invisible ink marking pen, a complete solo adventure, a pre-rolled character, and an outline for group play! TSR 9067

Some dozens of leagues to the north and west of the STEADING OF THE HILL GIANT CHIEF (Module G1 of this series), amidst the tallest mountain peaks, is the stronghold of Grugnur, Lord of Frost Giants. As frost giants have been amongst those who have been in the reaving bands, the party is to deal with them as the hill giants have been dealt with. Death and destruction are to be meted out to the frost giants in the same measure they gave to the peoples below. This module contains background information, referee's notes, two level maps, and exploration matrix keys. It provides a complete module for play of ADVANCED DUNGEONS & DRAGONS, and it can be used alone or as the second of a three-part expedition adventure which also employs DUNGEON MODULE G1 (STEADING OF THE HILL GIANT CHIEF) and DUNGEON MODULE G3 (HALL OF THE FIRE GIANT KING). TSR 9017
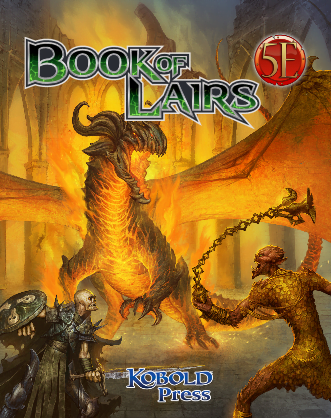
The infamous Scorpion Prince ruled his domain centuries ago, but the lands are still desolate, a testament to his poisonous influence. His terrified subjects rejoiced in his death but also feared he would return if not interred properly. To ensure the prince's happiness in the afterlife and his tomb's security, his people erected a great monument and created trap-filled chambers to house and protect his body and his wealth.
A snow hag lair suitable for four or five 7th-level characters. Mother Rime lives north of a small fishing village in the far cold north. For years she's hidden her true nature from the townsfolk, appearing as an old benevolent wild-woman to the town. When one of Mother Rime's 'children' break from her cold-hearted ways, adventurer's are sought to seek to correct the evil in the north.

A city of burgeoning technology beset upon by intrigue and insurrection, Samon has been a thorn in Emperor Hitoshi's side since suffering in the rebellion against the Kengen Occupation, its wounds still fresh on the minds of its citizens. It is not beneath the notice of Hakaisuru Bengoshi however, and the adventurers are ordered by one such official to make certain that the Tazuki Rail company's doings are not curtailed by its increasingly aggressive laborers and their shadowy union, the Fangs. Little do they know that the bite of the fangs carries a far deadlier poison than any worker's ire! What you’ll find in Mists of Akuma: Fangs of Revenge: A complex cast of 20 NPCs beautifully illustrated by Nathanael Batchelor interwoven in an impressive tale of deceit, false trails, intrigue, and lethal adversaries The city of Samon, a settlement in the northern prefecture of Hakaisuru and home to Soburin’s most prosperous railroad company Four maps by cartographer Mike Myler: an isometric view of Samon, an isometric map of the Tazuki Rail Offices, a combat map of the Chujiang Gardens, and a combat map of the Tazuki Rail Basement The dangerous Mists of Akuma and the new misted condition The hengeyokai race and kitsune, nezumi, usagi, and (new!) hebi (snake) subraces The adeddo-oni and true hebi templates as well as a coterie of statblocks: adeddo-oni hunchling, adeddo-oni mage, adeddo-oni ninja, adeddo-oni samurai, factory worker, nuwa the brute (a true hebi), wajdet the charlatan (a true hebi), the many-faceted hengeyokai ninja, and the hebikontorora snake woman

The Darkest Night is a Christmas / holiday themed adventure where players battle an ancient evil to save Kringlefest. This adventure can be used as an outline for any game system, but the specific details are for four 1st-level adventurers using the rules of the 5th edition rules of the world’s greatest roleplaying game. This adventure is designed to provide a short one-shot adventure for inexperienced players or anyone who wants to get into the holiday spirit. * An introduction poem written by Edward McCulloch to set up the adventure * 3 encounters featuring snow people, toy soldiers and a demonic Krampus finale * Various challenges along the way to Kringle's workshop * A fun gift giving conclusion with Kringle at his workshop

An army has appeared from the desert wastes led by a sorcerer said to be immortal. Fearing imminent attack, the Border Kingdoms have sent assassins to slay this so called Ravager and find this terrible rumor is true. You are tasked with discovering the secret to the sorcerer's immortality, hidden amidst an ancient crypt.

Mare Vinceret has kept the underwater city of Conatha thriving for centuries. Deep within the Greyspace lurks a force so strong that it could impede their progress toward peace. It dwells in a place beyond where they would ever choose to go, filled with dark aquatic life and a menacing presence that no one could match. Juliya Alastor, the leader of Mare Vinceret, sends her best to dispose of the threat known only as Biandra, the Hag of Conatha (sea hag). The Hag of Conatha seeks to fix what Mare Vinceret has done to the beautiful land that she sees as corruption in disguise, then live in peace. Biandra has taken their forgotten structure and made it her own. She sits within a threedomed greenhouse with walls blanketed by vines of kelp and seaweed and swimming with deadly aquatic creatures. Within the dark, polluted lair, Juliya's team falls into madness. One by one, Biandra's hallucinatory tricks destroy them, leaving each of them within her grasp. Believing all is lost, Juliya finds a glimmer of hope in a crackled communication one of the members of the party must be alive. She must send out one more group of brave adventurers to bring down Biandra for good and reclaim the underwater dome. Will the adventurers find the lost orc rogue, fight their way in, and investigate through the biodome maze? Or will they be confined to the underwater maze of Conatha in madness, trapped with the Hag of Conatha herself? Pgs. 35-41