
Having put down a rising of giants, it was discovered that the motivating force behind their depredations was that of long-forgotten evil - the Dark Elves. Determined to seek out these creatures, a body of doughty adventurers mounted an expedition to learn the strength of the Drow and bring retribution to them (DUNGEON MODULE D1, DESCENT INTO THE DEPTHS OF THE EARTH). This module contains background information, a large-scale referee's map with a matching partial map for players, referee's notes, special exploration and encounter pieces, a large map detailing a temple complex area, encounter and map matrix keys, and an additional section pertaining to a pair of unique new creatures for use with this module and the game as a whole. A complete setting for play of ADVANCED DUNGEONS & DRAGONS is contained herein. This module can be played alone, as the second part of a series of three modules (with DESCENT INTO THE DEPTHS OF THE EARTH, D1, and VAULT OF THE DROW, D3), or as the fourth part of a continuing scenario (DUNGEON MODULES G1, G2, G3, D1, D2, D3, and Q1, QUEEN OF THE DEMONWEB PITS). TSR 9020, From 1978
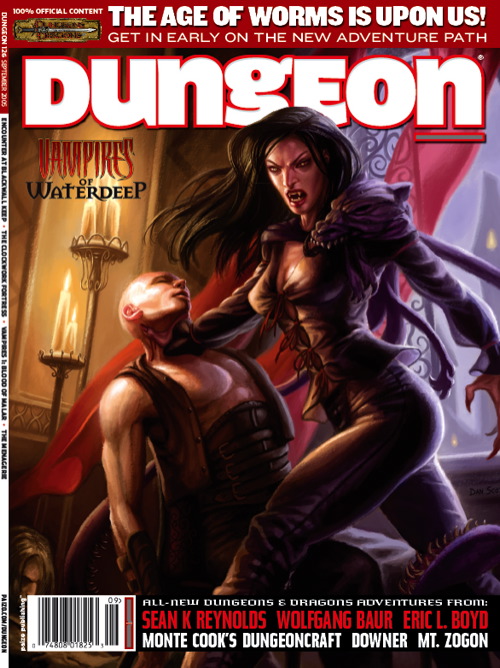
The wizard Allustan requests the party's company on a trip to Blackwall Keep, a militia outpost on the border of a treacherous swamp. But what of the green worms and unkillable zombies plaguing the region, and what fell secret is locked in the keep's forlorn basement? "Encounter at Blackwall Keep" is the third installment of the Age of Worms Adventure Path, a complete campaign consisting of 12 adventures, several "Backdrop" articles to help Dungeon masters run the series, and a handful of poster maps of key locations. For additional aid in running this campaign, check out Dragon's monthly "Worm Food" articles, a series that provides additional materials to help players survive this campaign. Check out issue #335 of Dragon for three sample cohorts that they might want to take on. Pgs. 16-40
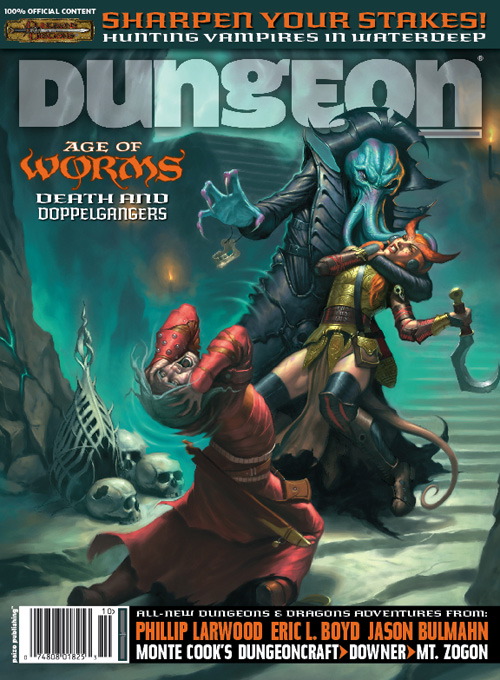
The Free City: a shining gem in the crown of cultured civilization. Beneath the surface of this bustling metropolis is a rot, festering in the darkness, manipulating the lives of those unaware of its presence. Now a small adventuring band from out of town may be in over their heads. Their actions in Diamond Lake have attracted the wrath of one of the city’s hidden masters. A gang of infiltrators and an enigmatic mastermind plot their destruction, and only tracing the rot to the root can stop the onslaught. "The Hall of Harsh Reflections" is the fourth installment of the Age of Worms Adventure Path, a complete campaign consisting of 12 adventures, several "Backdrop" articles to help Dungeon masters run the series, and a handful of poster maps of key locations. For additional aid in running this campaign, check out Dragon's monthly "Worm Food" articles, a series that provides additional materials to help players survive this campaign. Check out issue #336 of Dragon for five attractions to tempt your PCs to spend some of their hard-earned loot. This issue of Dragon also features an Ecology of the Spawn of Kyuss, one of the central creatures featured in this campaign. Pgs. 34-60
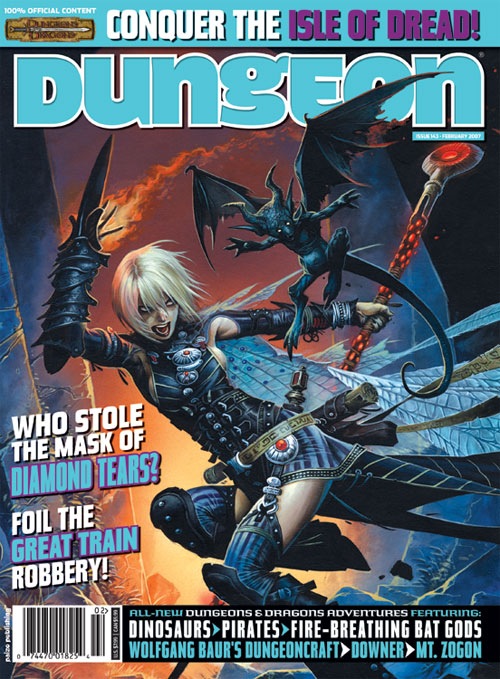
The colony of Farshore has survived on its own for years, a secluded and struggling hamlet perched on the western shore of the tiny island of Temute. An island dwarfed by the savage landscape across the narrow channel to the north, a landscape of rugged mountains, tangled jungles, and trackless swamps. This is the Isle of Dread, and its resources and hidden treasures are matched only by its peril. Yet for all these dangers, what may bring doom to Farshore is not an invasion of inhuman monsters from the mainland, but an invasion of all-too-human monsters from across the sea. "Tides of Dread" is the fifth chapter of the Savage Tides Adventure Path, a complete campaign consisting of 12 adventures appearing in Dungeon magazine. For additional aid in running this campaign, check out Dragon magazine's monthly "Savage Tidings" articles, a series that helps players and DMs prepare for and expand upon the campaign. Issue #352 of Dragon magazine features rumors of Farshore, a helpful list of improvements the PCs can make to the colony, and other features to help get PCs oriented in their new home on the Isle of Dread. The destruction of a pirate ship signals the beginning of a Crimson Fleet invasion. The PCs must race against time to prepare for the onslaught before an old enemy can release another savage tide. Pgs. 28-59 Also see Pgs. 60-71 Backdrop: Farshore City of Hope.
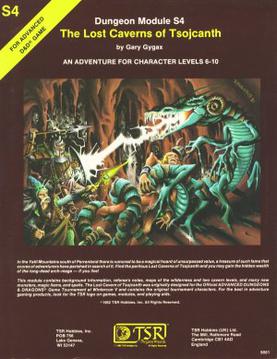
In the Yatil Mountains south of Perrenland there is rumored to be a magical hoard of unsurpassed value, a treasure of such fame that scores of adventurers have perished in search of it. Find the perilous Lost Caverns of Tsojanth and you may gain the hidden wealth of the long-dead arch-mage-- if you live. Module S4, this contains a brief wilderness journey to the caverns, but the bulk is underground. The caverns are noted as a previous lair of the Arch-mage Iggwilv- though she is long gone, her Demonomicon remains. This module marks the first appearance of several monsters and items that would later appear in the Monster Manual 2 and Unearthed Arcana. A labyrinth features in the caves. TSR 9061
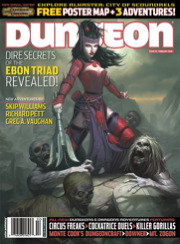
At the end of the Hateful Wars, Lord Sandor led his army into the Barrier Peaks in pursuit of a host of goblins and orcs. He and his army vanished, and now a group of adventurers follows his footsteps to discover what doom fell upon him and his men. Pgs. 30-46
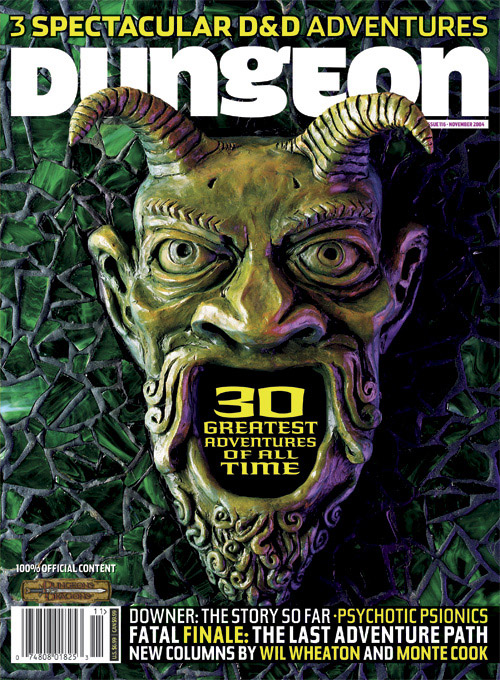
The Cagewrights are defeated. The Tree of Shackled Sould is no more. Lord Vhalantru has been exposed and put down for the menace he truly was. The town of Cauldron has been saved from volcanic apocalypse. The heroes of Cauldron have earned their place in history, and more than deserve a time of rest, yet fate is not so kind. For the true menace behind the curtain still lives. As long as Adimarchus, the demon prince of madness, continues to dream his haunted dreams and writhe away the years in torment in the fiendish asylum of Skullrot, Cauldron can never be truly safe. "Asylum" concludes the Shackled City Adventure Path that began with "Life's Bazaar" (Dungeon #97) and continued with "Flood Season" (Dungeon #98), "Zenith Trajectory" (Dungeon #102), "The Demonskar Legacy" (Dungeon #104), "Test of the Smoking Eye" (Dungeon #107), "Secrets of the Soul Pillar" (Dungeon #109), "Lords of Oblivion" (Dungeon #111), "Foundation of Flame" (Dungeon #113), "Thirteen Cages" (Dungeon #114), and "Strike on Shatterhorn" (Dungeon #115). Pgs. 40-65
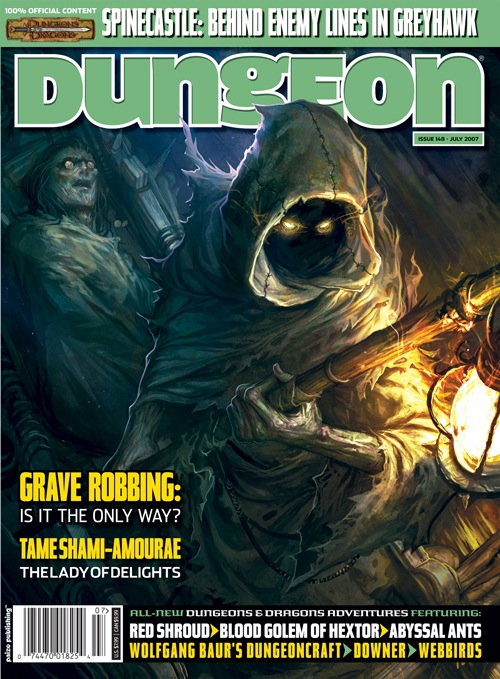
The PCs must infiltrate a city ruled by monsters to search for the spymaster that holds the key to saving a besiged nation. Pgs. 26-50

Adventure in the world of Greyhawk! Powerful forces are set in motion as your party searches for the legendary Blades of Corusk. Take them on the perilous journey from Rookroost to the Lair of the Shadow Dragon in the frozen northlands. Will they survive the ramifications of events that they have initiated? Those who hold the magical blades will not easily give them up. Plucking them from the grasp of a jealous dragon or stealing them from the center of the subterranean City of the Ore Horde will strain your adventurers to their limits! TSR 9317

The dreadful jails below the appalling City of Skulls, Iuz's nightmare capital, contain many wretched and desperate captives. Among them is Earl Holmer, Knight Commander of the Shield Lands. A brave spy in Dorakaa has shown the ay to find and free Holmer—is your party up to the job of freeing him? King Belvor IV of Furyondy believes so. In the way stand fearsome priests and mages of the Lord of Pain; ogres, giants, fiends, and worse hinder the struggle to defeat the traps and guardians of Iuz. Plucking Holmer from his grasp will bring great renown, knighthood, and treasure—for those who survive. None has ever escaped Iuz's jails. Who will you be the first to use stealth or storm to breach them? TSR 9405
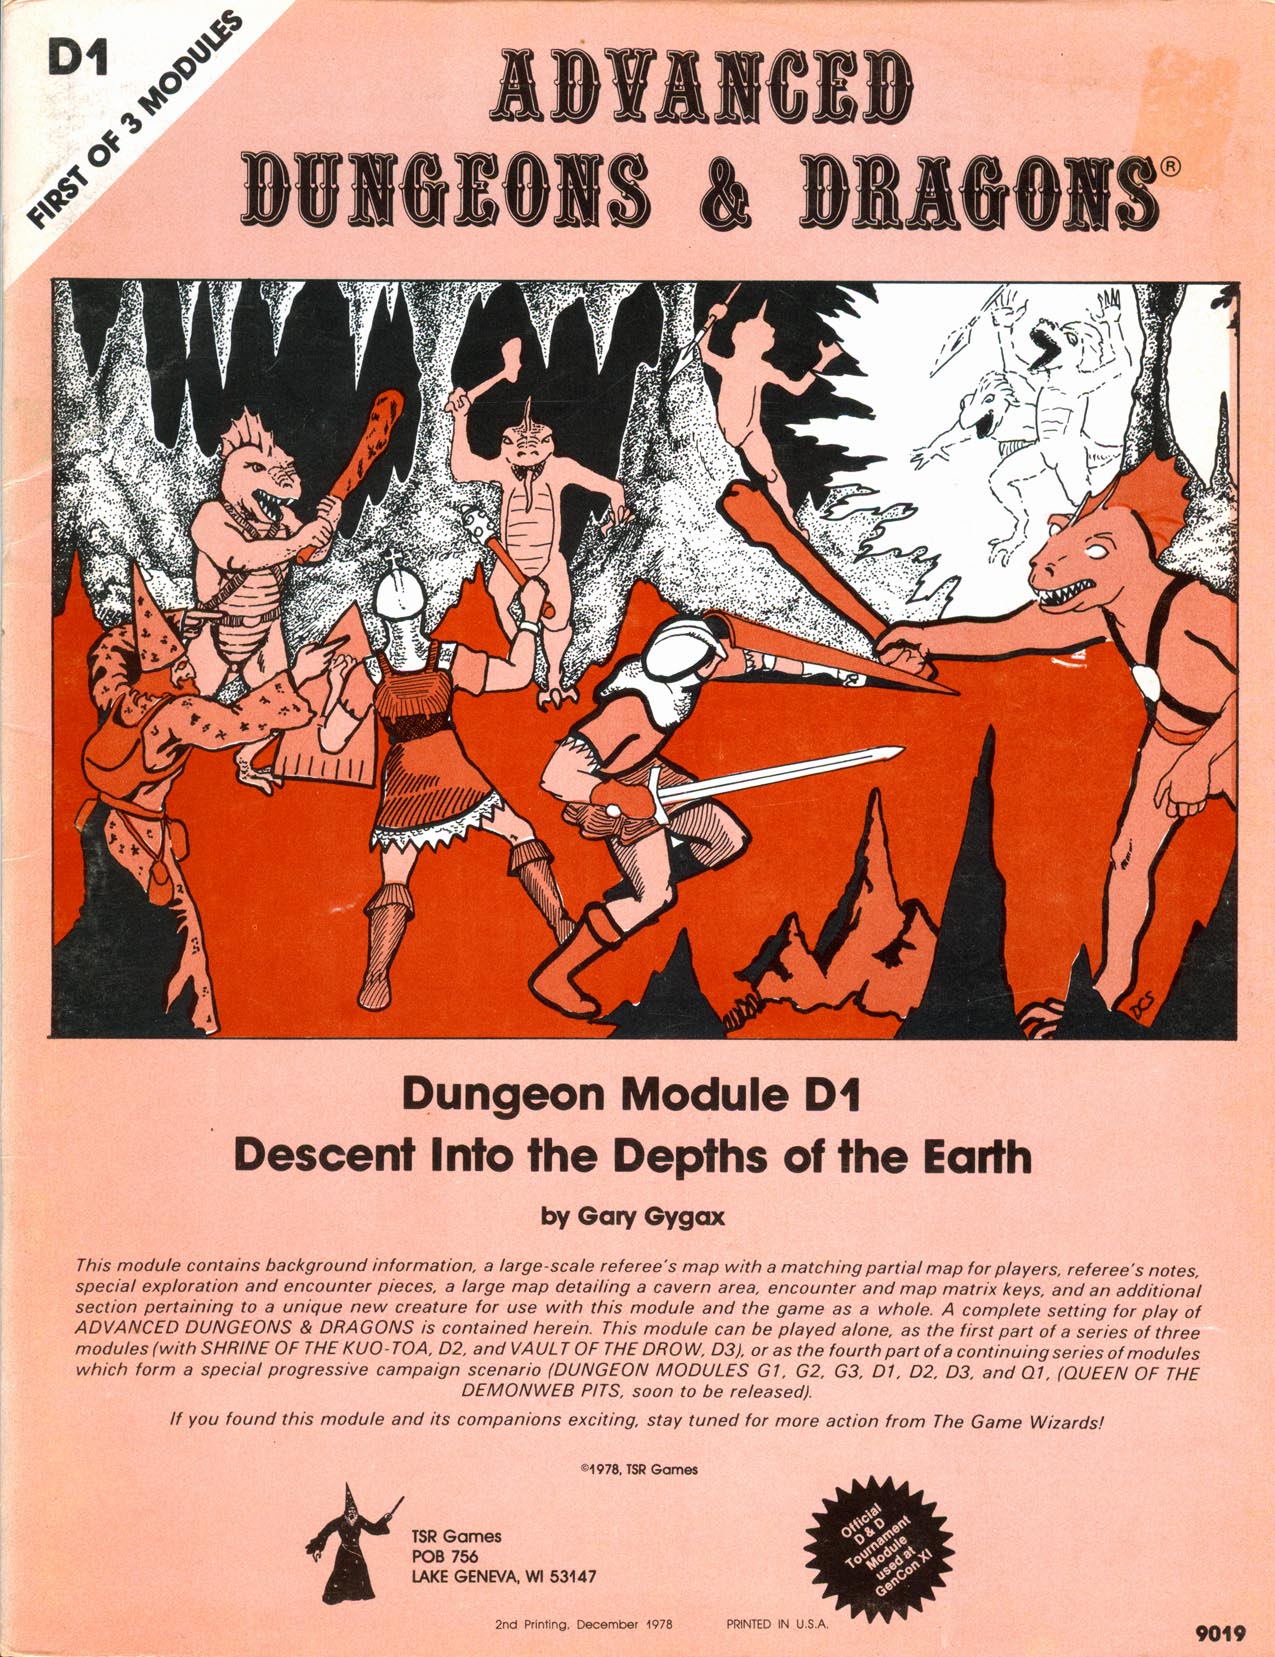
The final confrontation with the giant, King Snurre, and the entry of mighty adventurers into the caverns under his stronghold (DUNGEON MODULE G3, HALL OF THE FIRE GIANT KING) discovered the Dark Elves, the Drow, had instigated the giant alliance and its warfare upon mankind and its allied races. This module contains background information, a large-scale referee's map with a matching partial map for players, referee's notes, special exploration and encounter pieces, a large map detailing a cavern area, encounter and map matrix keys, and an additional section pertaining to a unique new creature for use with this module and the game as a whole. A complete setting for play of ADVANCED DUNGEONS & DRAGONS is contained herein. This module can be played alone, as the first part of a series of three modules (with SHRINE OF THE KUO-TOA, D2, and VAULT OF THE DROW, D3), or as the fourth part of a continuing series of modules which form a special progressive campaign scenario (DUNGEON MODULES G1, G2, G3, D1, D2, D3, and Q1, (QUEEN OF THE DEMONWEB PITS). TSR 9019

Greatwall is in peril - not from military forces of Iuz, but from lack of goods and supplies. Caravans from Willip have ceased thanks to increased dangers on the Willip Critwall Grabford Trail. As the key fort positioned to contain the Iuzian flood, Greatwall is a strategic necessity. Its failure would mean a major incursion along the border. Your characters are hired to escort a caravan from Greatwall to Willip; if its merchants are afraid to come to the fort, the fort will go to them. This should be simple, cut and dried guard job. Right? Of course not. There are many surprises in store for your little caravan, and your characters will need to keep their wits about them day and night in order to make it to the other end. Secret plans are afoot, conspiracies are brewing, and nothing is as it seems while on the Border Watch. This module uses information presented in the From the Ashes boxed set and the Iuz the Evil accessories. However, ownership of these two products is not necessary to play this module. TSR 9406

"The longest, and perhaps strongest, AD&D adventure we've ever done." The fabled Mace of St. Cuthbert has been lost from the sight of both human and demi-human for many centuries. Some claim it lies at the heart of an active volcano, guarded by salamanders and flowing lava; others swear it lies buried deep inside the earth, warded by powerful magics raised by those who would see its power denied to the forces of Law and Good. A few assert that it has never left the possession of the Saint, and even now he holds it in his strong right hand. But a few claim that none of these are so that long before the Sainted Cuthbert rose to his exalted station, his mace was hidden away from those who would steal it before he returned for it, hidden away outside the bounds of normal time and space, in a place so outlandish that the Mace's power and destiny would be unknown and unknowable, and thus safe. Pgs. 45-54 & 56-57 & 59-68

Vecna Lives is a high level adventure that pits players against the lich and almost demi-god Vecna. Although based in Greyhawk, the adventure is easily adaptable to Ravenloft and Planescape. This adventure is meant to kill characters. If you are a DM who cannot bring himself to kill a player’s prized character or one who can be pressured to “give a guy a break,” you must be extra strong when running Vecna Lives! For centuries, Vecna-archmage, despotic tyrant, the most fearsome of all liches-has been nothing but fearful legend to the honest folk of Greyhawk. Once the supreme master of all undead sorcerers, even today his Hand and Eye are object of immense power. Now something evil is stirring in the lands around Greyhawk. The Hand and Eye of Vecna have been found-and Vecna wants them back. TSR 9309

"Gnolls have captured the heroes! After stripping the characters of all equipment except their armor and clothing, the gnolls drag them to an expansive briar maze known as the Twisted Thickets and set them loose. Then, armed to the teeth, the gnolls hunt down their prey. The characters must survive the hunt and outwit their pursuers. Stripped of your armor and weapons, you are cast into the Twisted Thicket and hunted like rabbits. If you want revenge, you must first survive Yeenoghu's evil Hunters. After dealing with the gnoll hunters, the heroes can try to reclaim their lost equipment and exact revenge on the tribe, which lairs in the caves beneath Dead Gnoll’s Eye Socket." Pgs. 2-14

Lost Laboratory of Kwalish explores an alternate expedition into the Barrier Peaks. The legendary inventor disappeared in the peaks eons ago… as it turns out, finding a crashed planar ship and studying its technology to fuel his own experiments—only now, Kwalish’s lost research is desperately needed! This adventure explores two locations within the Barrier Peaks, and includes new monsters, magic items, and spells, plus sci-fi trinkets, random encounters, and even rumors of the area submitted by the player community! Further featuring new art, maps (from Claudio Pozas), and even a cartoon (from Jason Thompson)—as well as the famed suit of powered armor, as edited by Jeremy Crawford on the Dragon+ livestream! Best of all, all monies that Wizards of the Coast receives from sales of this PDF are donated to Extra Life. Your purchase of this adventure goes to a truly great cause!
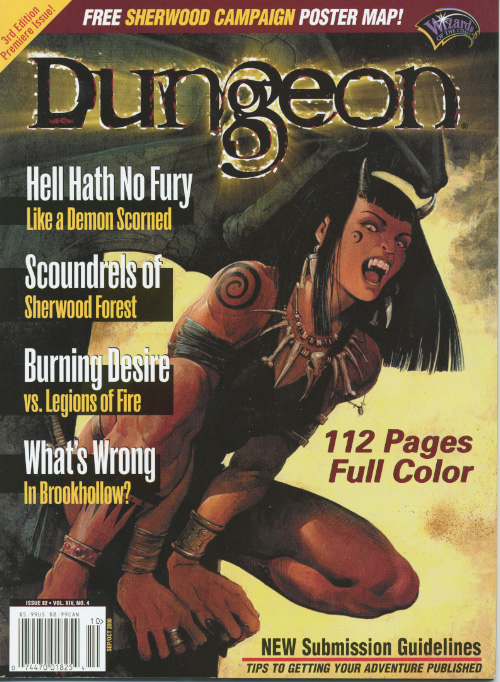
Digging in the Dark People are vanishing from the village of Brookhollow. Can you solve the mystery in time to save your friends? Pgs. 12-29

Sinister Forces Terrorize a Town The town of Brindinford is in the midst of its annual street fair. Joy and merriment abound - until calamity disrupts the celebration. Are rival gangs responsible? Is the government sliding into tyranny? Or is a nightmarish plot about to come to fruition? "The Speaker in Dreams" is a stand-alone adventure for the DUNGEONS & DRAGONS® game. Player characters are in for a wild ride in this river town. Leave the dungeon behind: the terrors lurking in Brindinford are more challenging by far! In The Speaker in Dreams, the town of Brindinford is besieged by evil forces under the command of Ghaerleth Axom. A street fair is interrupted by an attack, which serves as a distraction for the villain's forces to attack the keep of the local baron. This provides an entry point for the player characters into the main quest to discover the secret alliances trying to take over the town. The Speaker in Dreams is an event-based, rather than site-based, adventure.

Lost Tombs, Volume 2 The lich Lyzandred: a madman, an undead archmage, a survivor of the twin cataclysms that destroyed tow great empires. His name invokes fear in the hears of the smallest children, the bravest warriors, and the wisest sages. Like a malicious cat, the lich toys with all who stumble into his maze, tormenting them with strange puzzles and obscure riddles, monsters and demons, weird traps and dangerous magics. All who enter the crypt of Lyzandred find themselves scarred with his rune, proof of their visit -- and their folly. But there is a method to the madness of Lyzandred, a purpose to his twisted games. If you're lucky, you might even live to learn about it. The Lost Tombs series begins with Star Cairns (Volume 1) and concludes with The Doomgrinder (Volume 3). Each adventure is playable separately, or they can be linked to form an epic-length story. TSR 9580

Giants have been raiding the lands of men in large bands, with giants of different sorts in these marauding groups. Death and destruction have been laid heavily upon every place these monsters have visited. This has caused great anger in high places, for life and property loss means failure of the vows of noble rulers to protect the life and goods of each and every subject -- and possible lean times for the rulers as well as the ruled. Therefore, a party of the bravest and most powerful adventurers has been assembled and given the charge to punish the miscreant giants. This module contains background information, referee's notes, two level maps, and exploration matrix keys. It provides a complete module for play of ADVANCED DUNGEONS & DRAGONS, and it can be used alone or as the first of a three-part expedition adventure which also employs DUNGEON MODULE G2 (GLACIAL RIFT OF THE FROST GIANT JARL) and DUNGEON MODULE G3 (HALL OF THE FIRE GIANT KING). TSR 9016