
Something evil is devouring the souls of the living in Chult, but before the characters take on the horrors in Tomb of Annihilation, they must first uncover the death curse’s origin by braving a lich’s tower in the Cloakwood. This introductory adventure is designed for a party of four to six 1st-level characters, who should advance to 2nd level by the adventurer’s conclusion. It is a prelude to Tomb of Annihilation that should take about 2 to 3 hours. This product includes Fantasy Grounds files for the adventure. What Inspired Cellar of Death? The introduction of Tomb of Annihilation states Syndra Silvane learned about the Soulmonger from the Harpers, who “received their intelligence from a lich.” This adventure is the story of how the Harpers gathered that information. Cellar of Death has a second purpose: to give characters a greater stake in the outcome of Tomb of Annihilation by creating an NPC they love. The death curse kills this NPC, giving the characters a personal reason to go to Chult.
/pic3143465.png)
Once a powerful proponent of Law, the Archmage Tazimack the Red was eventually driven mad by a fear of mortality. As he slipped into insanity his retirement home began to reflect the chaotic bent of his mind. Long after Tazimack’s unnaturally animated body has disintegrated, his manor house remains as a shadow cast by a twisted intellect. Can the characters bring order to this chaos?

"Terror by night! The village of Orlane is dying. Once a small and thriving community, Orlane has become a maze of locked doors and frightened faces. Strangers are shunned, trade has withered. Rumors flourish, growing wilder with each retelling. Terrified peasants flee their homes, abandoning their farms with no explanation. Others simply disappear. . . No one seems to know the cause of the decay -- why are there no clues? Who skulks through the twisted shadows of the night? Who or what is behind the doom that has overtaken the village? It will take a brave and skillful band of adventurers to solve the dark riddle of Orlane!" TSR 9063

The entity known as Oreiax is a gruesome, stunted monstrosity born of ancient death. Rescued from an eternity of petrification by Doresain the Ghoul King, Oreiax immediately pledged itself to the Ghoul King's service, and thus indirectly, into Orcus's service. Oreiax, born of stone and death, seeks to glorify Doresain by petrifying the world. Pgs. 112-119

The Lamenting Lighthouse is a four-hour adventure for 5th-10th level characters, designed for Dungeons & Dragons 5th Edition, with a nautical theme, heavy undead and horror elements, and mysteries to solve! One lonely lighthouse shines the way through the rocks and shoals that deny entry to the northern Moonshae Isles. But when the party’s transport approaches, a horrific gale at their backs - no light is in sight... The party must venture ahead of their vessel in a race against the storm to the restore the beacon before their ship is lost. What has befallen the keepers, and what dark secret does the lighthouse hold? Will the heroes prevail, or will they join the lighthouse's lament? This adventure can easily be inserted into a run-through of Ghosts of Saltmarsh. This one-shot can also serve as a nautical interlude in any on-going campaign where the characters have to take to the sea. Included with this adventure are: + 6 original custom creatures, the dread wraith, the dread wight, the swarm of seagulls, the captain, the rating, and the sailor + 12 player hand-outs with notes that shed light on the mystery of the lamenting lighthouse, with a randomization mechanic that ensures a degree of replayability + 9 original fleshed out NPCs, including personality traits and roleplaying tips + 2 original magical artifacts + 7 hand-drawn maps of important locations + a story reward and 2 story hooks for continuing the adventure (depending on how the adventure resolves)

A handful of would-be adventurers gathers to explore an ancient tomb, eager to trade their discoveries for a ticket to a better life. What they find within presages the advent of the Age of Worms, an era of darkness, decay, and writhing doom. "The Whispering Cairn" is the first installment of the Age of Worms Adventure Path, a complete campaign consisting of 12 adventures, several "Backdrop" articles to help Dungeon masters run the series, and a handful of poster maps of key locations. For additional aid in running this campaign, check out Dragon's monthly "Worm Food" articles, a series that provides additional materials to help players survive this campaign. Pgs. 14-47

This adventure works best after going through the original trilogy (Death, Terror, and Madness in Freeport). After exposing the madness and corruption of the previous Sea Lord, a succession crisis is upon Freeport. There are no heirs to the seat of power, leading the Captains' Council to overturn the Law of Succession. But opening up succession plunges the city into chaos as various factions vy for the title. The PCs will need to survive riots and secret plots to make sure the right man (or woman) ends up with the job.
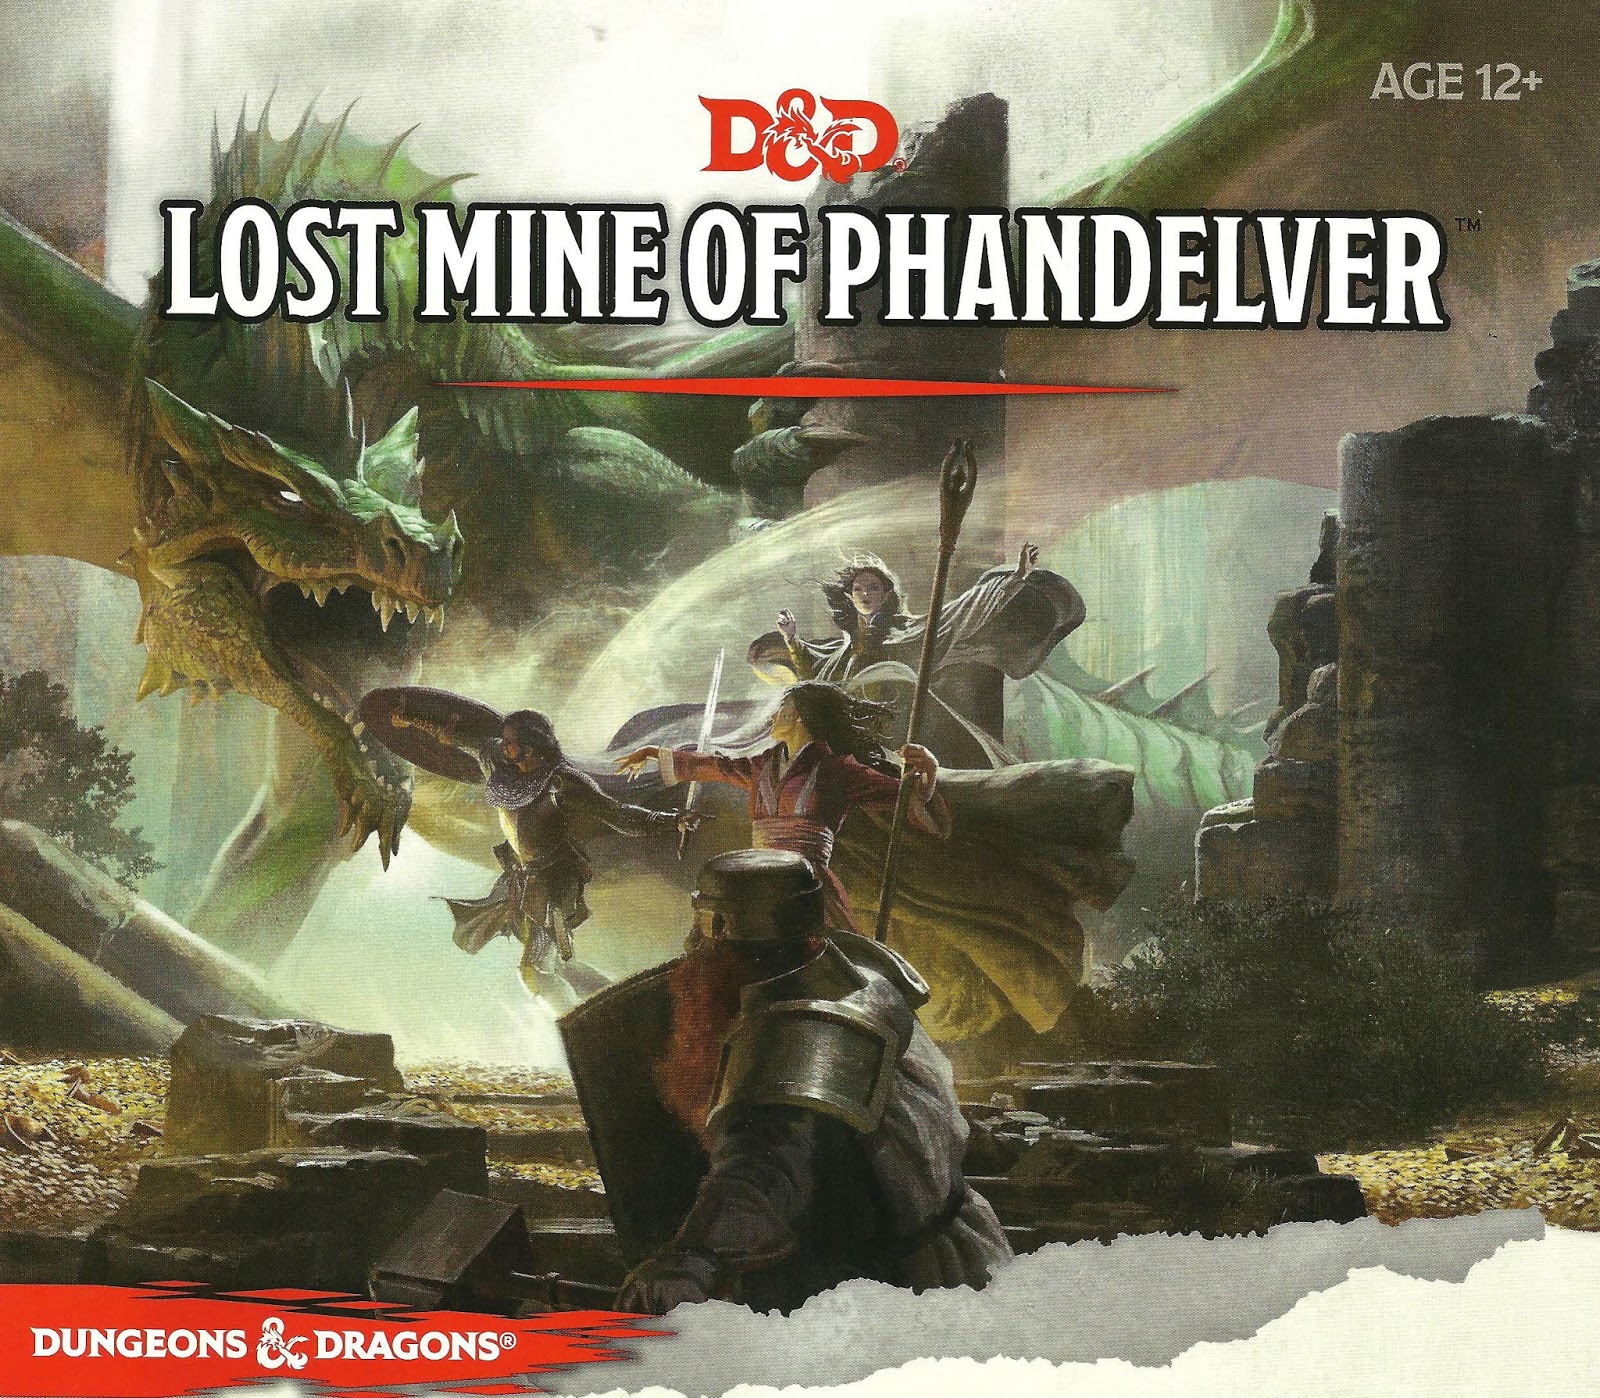
"More than five hundred years ago, clans of dwarves and gnomes made an agreement known as the Phandelver’s Pact, by which they would share a rich mine in a wondrous cavern known as Wave Echo Cave. In addition to its mineral wealth, the mine contained great magical power. Human spellcasters allied themselves with the dwarves and gnomes to channel and bind that energy into a great forge (called the Forge of Spells), where magic items could be crafted. Times were good, and the nearby human town of Phandalin (pronounced fan-duh-lin) prospered as well. But then disaster struck when orcs swept through the North and laid waste to all in their path. A powerful force of orcs reinforced by evil mercenary wizards attacked wave echo cave to seize its riches and magic treasures. Human wizards fought alongside their dwarf and gnome allies to defend the Forge of Spells, and the ensuing spell battle destroyed much of the cavern. Few survived the cave-ins and tremors, and the location of Wave Echo Cave was lost. For centuries, rumours of buried riches have attracted treasure seekers and opportunists to the area around Phandalin, but no one has ever succeeded in locating the lost mine. In recent years, people have resettled the area. Phandalin is now a rough-and-tumble frontier town. More important, the Rockseeker brothers - a trio of dwarves - have discovered the entrance to Wave Echo Cave, and they intend to reopen the mines. Unfortunately for the Rockseekers, they are not the only ones interested in Wave Echo Cave. A mysterious villain known as the Black Spider controls a network of bandit gangs and goblin tribes in the area, and his agents have followed the Rockseekers to their prize. Now the Black Spider wants Wave Echo Cave for himself, and he is taking steps to make sure no one else knows where it is." Extra Info from AL.com users: by @marcellarius. "There are a variety of locations in this adventure: the town of Phandalin, a gang hideout, a ruined keep in the forest, a destroyed village, and Wave Echo Cave (a dungeon crawl). The adventure is written in a sandbox style and relies on the players to choose their path. Phandalin offers several side-quests which could serve as hooks for continuing adventures. The premade characters have ties in their backgrounds to NPCs and locations. If you're not using these you'll need to consider other ways to introduce key NPCs."
The logging town of Falcon’s Hollow has been through rough times—first a kobold tribe abducted the town’s children for an evil ritual, then an unknown force reanimated the defeated kobolds to attack the town. Now a horde of zombies approaches and a mysterious evil gathers power in the north, tainting wildlife and the buried dead, its presence hinting at ancient evils better left undisturbed.
Catastrophe strikes the frontier village of Swallowfeld! With a grinding groan, the town’s mill slews into the Kilian River and breaks through the ceiling of an ancient subterranean dungeon. This accident frees a long-imprisoned evil to prey upon the shocked townsfolk. When several Swallowfeld residents—some innocent and some not so innocent—are spirited away into the rapidly flooding dungeon, it falls to a brave group of heroes to venture underground and rescue the missing before dark, rising waters seal their fate.

Who among you dares to challenge the high seas? Inspired by the tales of Sinbad, Golden Voyages provides teh source material and adventures needed to run a mini-campaign on the Crowded Sea. Detailed backgrounds, perilous locations, and wondrous NPCs populate the enchanted seas. Player characters will discover wildly different adventures as they sail from place to place. DM Notes There are multiple options for plot hooks which is nice, of course they all lead to the same spot, follow clues that take you to all corners of the Crowded Sea to find a Great Treasure. TSR 9366

To Find the Immortals! The all-powerful Immortals have vanished! The quest to locate them has led across the Atlass Ocean and the land of Shahjapur, where moguls hunt tigers, un-touchables respectfully avoid higher castes, and holy fakirs perch immobile for years on end. In this land of shrines and elephants and shapeshifting assassins, resolution may lie at the end of the mysterious "Emerald River." But no one knows the location of this river and no map shows its bed. Does the answer lie within the Temple of Eight Sweet Winds? Hopefully so, for time grows short. The Immortals themselves must be found and enlisted - to stave off the approaching cataclysm called: NIGHTSTORM! Nightstorm is the third adventure for the D&D Hollow World Campaign Set. The Hollow World boxed set is required to play. This 65-page adventure fits easily into your existing campaign, either as a stand-alone adventure or part of the history-spanning Blood Brethren trilogy. These three lined modules can be played in any order - but the adventure ends here! This adventure is designed for four to six characters of levels 8 to 10. Easily Adaptable to the AD&D Game! TSR 9311
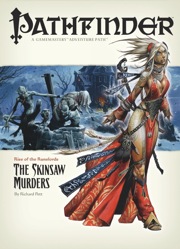
The Rise of the Runelords Adventure Path continues! A sudden string of brutal killings terrorizes the town of Sandpoint, and the killer's mark bears a familiar shape. Investigation leads to the Lost Coast's most notorious haunted mansion, a dilapidated ruin that has become the lair of a monstrous murderer. Yet this killer is but one of many, a member of a group of fanatic cutthroats calling themselves the Skinsaw Men. To defeat the cult, the PCs must travel to the bustling city of Magnimar to unravel the sinister source of these murders before they become the Skinsaw Men's next victims!
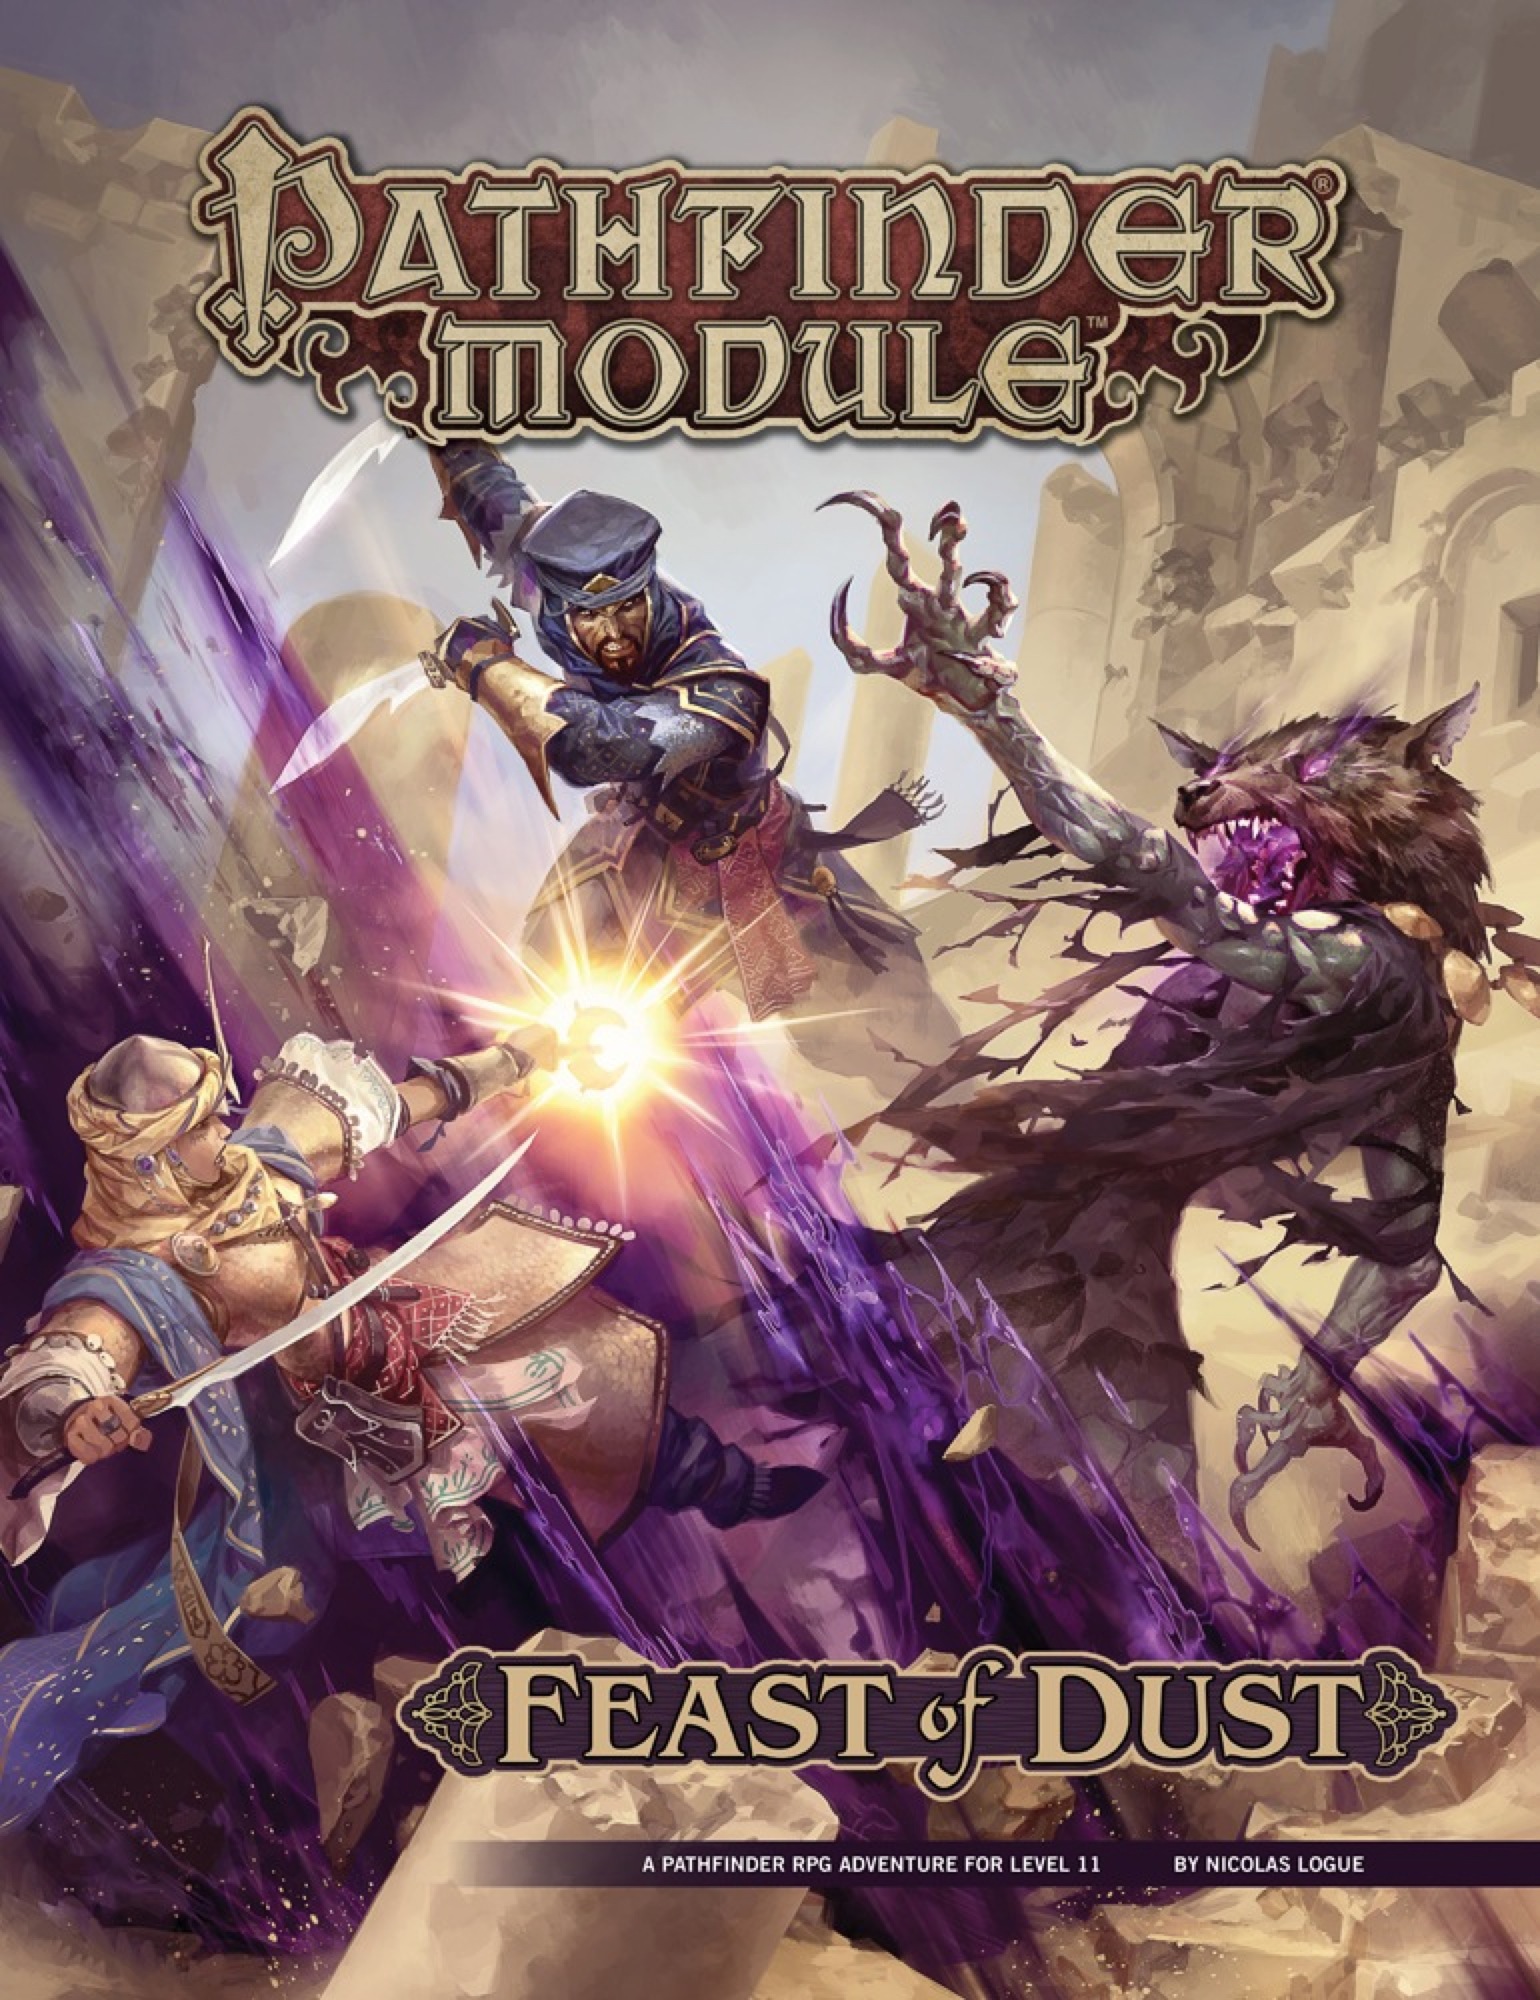
A deadly curse known as the Feast of Dust spreads rapidly through the Meraz Desert, driving its victims mad with hunger and a burning desire to flee into the sands. To find the source of this strange affliction, the heroes must investigate the plagued city of Dimayen, challenging fearsome gnoll tribes, nihilistic daemons, and the walking dead to discover the secret of a long-forgotten evil—a powerful daemon harbinger called the Jackal Prince of Famine. Despite the efforts of an ancient secret society, this twisted, unholy monstrosity walks the world again, threatening to spread his apocalyptic curse across all of Golarion! To stop the demigod's return, the heroes must uncover his three vile siblings, now bound within malevolent artifacts, and use their combined powers to stop the Jackal Prince before the entire world feels his corrupting touch.

When a group of archaeologists put out a call for adventurers to help them escort a valuable artefact back to civilization, nobody expects anything out of the ordinary. However, our heroes have more than mere bandits to deal with at Havel’s Cross... Undead monsters roam the night and an ancient artefact stirs within a long forgotten temple. Getting to the bottom of the mystery will require a strong sword-arm and an even stronger stomach.

This adventure is set in the van Richten estate, a free-floating realm in the Mists of Ravenloft. While this scenario serves as the conclusion to the other adventure included in this boxed set, it can also stand alone with relatively minor modifications. Removing most of the monsters and emphasizing the intangible supernatural phenomena makes this adventure especially apt for a Masque of the Red Death campaign. Regardless of where it is set, you may play this adventure many times without it unfolding exactly the same way twice. Suitable for use with the Bleak House campaign or the Masque of the Red Death Setting. Included in Bleak House: The Death of Rudolph van Richten TSR 1141
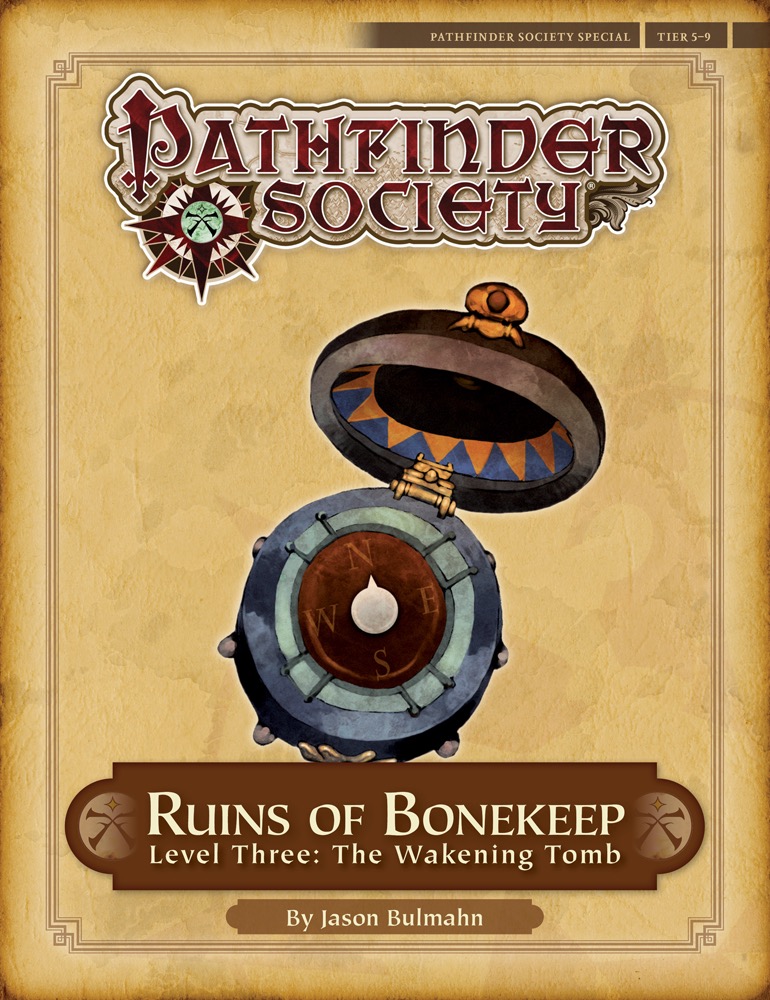
The Pathfinders descend deeper into the ruins of Bonekeep, a centuries-old siege fortress. The deeper dungeons hold even deadlier threats, yet even they cannot compare to the terrible revelations of the tower's true purpose.

This new version of the classic adventure is completely updated to 3.5 edition. In The Lost Vault of Tsathzar Rho, a defenseless village asks the characters to slay an out-of-control ogre. Sounds easy enough. But the ogre, who used to be nothing more than a nuisance, has become crazed and psychotic. When the characters arrive at its cave, they find a subterranean portal has connected the cave to a much larger underground complex. Something in that complex has transformed the ogre and many other local creatures into fiendish marauders. In fact, it’s the lost vault of Tsathzar Rho, an ancient wizard and prophet of the Outer Gods, who are gathering their foul minions for battle.

The rubble-strewn passageway twists and turns, winding ever deeper into the mountain, lower and lower into the bowels of the ancient, forbidding halls of long-dead dwarves. The torchlight flickers, threatening to succumb to the oppressive darkness. Creeping along one striated granite wall, Arikus the warrior moves cautiously toward the great cavern ahead, its sides and walls disappearing into the gloomy distance. Cocking his head to one side to listen, he holds his hand up for a moment, demanding unconditional quiet from from his companions. Then , his arm relaxing in relief, he waves everyone forward and moves into the open. Before him, scattered to the far walls of the enormous cavern, are piles upon piles of glittering treasure - coins from countless kingdoms, sparkling gems, exquisite jewelry, and items of wondrous power - enough for twenty kings' ransoms. Arikus laughs gleefully, thrusting both hands into the nearest cache of coins to let them runs through his fingers. At that moment, a monstrous shadow looms threateningly over him. Looking up, Arikus blanches and stumbles back in horror before the terrible visage of a Great Red Wyrm. The fearsome dragon opens its razor-filled maw and spews forth a gout of white-hot flame, engulfing the hapless warrior.... The ultimate Dungeon Master Fantasy! This is the most deluxe dungeon. Designed to appeal to discriminating and demanding role-players. Adventurers, beware. This is more than just a dragon hunt. Within the lair of the beast lie cruel and deadly traps, befuddling conundrums and puzzles, and cunning minions that will be the end of overconfident or careless adventurers. Comprised of three 64-page books, for two adventures that link to one super-campaign 12 full-color reference cards 16 special player handouts Eight Monstrous Compendium sheets A Sheet of cardstock standups with 24 plastic bases. Six full-color poster maps, two of which link together to make a giant tactical playing surface for use with miniatures or the included cardstock figures. TSR 1089

Retrieve the bones of a dracolich to save the life of a paladin. The epic conclusion of the Mere of Dead Men series. Set in the Mere of Dead Men region of the Forgotten Realms.