You say you want a revolution? Monsters are prowling through farmland, people are starving, and the government is on the verge of collapse. But why? The Knights of the Shield have infiltrated the town council of Zazesspur, are are subtly manipulating the countryside around Ithmong by bringing in attacking monsters and making the land unfertile. They hope to make one of their members king of Tethyr! The players are tasked with cleaning up the countryside of Ithmong, finding the source of the increased monsters, and stopping whatever is making the land unfertile. Pgs. 4-18

After the first expedition to locate an ancient tomb was prematurely ended by monsters, the Search and Locate Treasure Consortium is doubling down. Camp established, they are looking for adventurers to make their dreams come true, but the leader of the Consortium is hiding something. Will the characters be able to avoid the Man Slayer tribe that destroyed the first expedition, help Larazmu settle his internal struggles, and locate the tomb that they have been searching for without getting into Moor Trouble?

They sure don't make lawful allies like they used to. A question of morality versus ethics - made lethal. Pgs. 17-34

The characters are summoned by the Norse gods to track down two dwarves, one of whom has made a weapon for the giants to use against the gods. The mission takes the characters to Jotunheim, on the plane of Gladsheim, to take the god-slaying weapon from the giants.

Atop a distant mountain peak, a monstrous entity plots dark deeds. The final chapter of the Seeds of Sehan campaign arc. "To a mind that is still, the whole universe surrenders." Chuang-Tzu. Pgs. 30-47

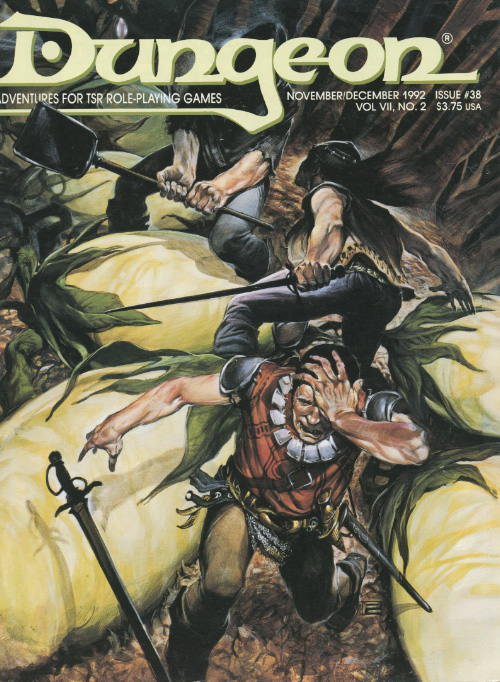
The Dwarven clans are in chaos, and a powerful host of goblins stand poised to sweep over the land in a wave of death and terror. Only the Axe of the Dwarvish Lords- one of the most powerful weapons ever created by the dwarven race- holds the key to ultimate victory against the massing humanoids. Can the PCs brave the labyrinth of an abandoned dwarven stronghold to find the Axe? TSR 11347

Provost Nigel Faurious’s continued planar research has uncovered a reference to a sapphire amulet and a map with general directions to the entrance of the Shining Valley deep within the Graywall Mountains. He believes that the Valley is an Irian manifest zone, capable of charging the sapphire and granting unknown healing properties. The Provost has already acquired the sapphire and contracted Lhara, a female shifter within the Clifftop Adventurers’ Guild, to put forth a writ calling for adventurers to follow the map he uncovered and discover if the amulet’s properties are authentic. Unbeknownst to the Provost, a flight of harpies known as the Haunting Song is already living within the Shining Valley after escaping an attack on their lives by two other flights. The characters will have to convince these current inhabitants that they mean no harm. The harpies have already learned the healing properties of the valley and have been raising a new generation without any outside interference, but due to the party’s recent expedition, an oncoming war party has been spotted and the harpies now demand they assist in defending their home.

Greatwall is in peril - not from military forces of Iuz, but from lack of goods and supplies. Caravans from Willip have ceased thanks to increased dangers on the Willip Critwall Grabford Trail. As the key fort positioned to contain the Iuzian flood, Greatwall is a strategic necessity. Its failure would mean a major incursion along the border. Your characters are hired to escort a caravan from Greatwall to Willip; if its merchants are afraid to come to the fort, the fort will go to them. This should be simple, cut and dried guard job. Right? Of course not. There are many surprises in store for your little caravan, and your characters will need to keep their wits about them day and night in order to make it to the other end. Secret plans are afoot, conspiracies are brewing, and nothing is as it seems while on the Border Watch. This module uses information presented in the From the Ashes boxed set and the Iuz the Evil accessories. However, ownership of these two products is not necessary to play this module. TSR 9406

A combination wilderness/dungeon module, first searching for then exploring the temple of Tharizdun. Tharizdun is long gone from the place, so there's no epic final fight. Rather, a mysterious Black Cyst waits at the bottom of the dungeon. The encounter with it is almost scripted, having no hazard except for careless/foolish players. Contains several monsters from the Fiend Folio. Loosely follows Lost Caverns of Tsojcanth. TSR 9065

In order to stop a series of devastating giant raids, the party must venture into the stronghold of the frost giant jarl Grugnur to both recover the giants' plans and eliminate Grugnur, who is the tactical head behind the operations. The adventure is part of the "Against the Giants" series originally by Gary Gygax, hence the writing credit.

Adventurers explore a frozen, buried dungeon of long-dead giants that turns out to be the birthplace of Runemagic itself, and may still hold the secrets of that forgotten art. However, even if they do survive the extreme cold and unfriendly denizens, they will still have to face the massive Runeforged Guardian before they can escape. This adventure includes lots of interesting multi-part traps and alternate encounters that can be added or swapped out in several places.

The Sea Witch is a short adventure for four 10th-level characters. The difficulty of the adventure can be adjusted by changing the level of main antagonist (Black Molly, the sea hag pirate) or by altering the number of her ogre servants. To tailor the encounter to groups of different levels, refer to table 4-1 in Chapter 4 of the DUNGEON MASTER’S GUIDE. The adventure is set off a lightly populated coastline known as Misty Bay, but adapts easily to any coastal region in existing campaigns. The sea hag known as Black Molly is a notorious pirate who has plagued the coastal cities for the better part of a decade. A successful Knowledge (local) check (DC 15) will reveal that Molly and her ogre crew have a filthy reputation as merciless killers who delight not only in plundering vessels for their riches, but also in destroying the ships themselves and sending all hands to the bottom of the sea. Now the villain and her followers have seized control of the Old Lighthouse of Misty Bay located off a lightly populated coastline. For generations the lighthouse beacon has protected the fishermen of this region, warning them of the dangerous rocks that lurk just below the level of the high tides. Recently, the hag has put out the beacon, darkening the lighthouse; misery and destruction are sure to follow as ships start to blunder into the rocks. Blackmail is apparently Black Molly’s aim in this venture: She conveyed a message to the nearest shore community, the fishing village of Poisson, demanding the princely sum of 50,000 gp. Until she receives this ransom, she intends to hold the lighthouse and its beacon hostage. The fate of the human keepers who tend the lighthouse is unknown to the seaside communities at this time, but they fear the worst. The Sea Witch is ostensibly a rescue mission: The PCs are pitted against the evil of Black Molly and the brawn of her savage ogre crew. It is the heroes’ task to retake the lighthouse and, if possible, free its captives from the clutches of their jailer. What neither the PCs nor the shore communities yet realize is that while she 1would be pleased to have the gold, Black Molly is in fact after bigger treasure. Molly has no intention of giving up the lighthouse — at least, not until she finds what her master sent her here for. Lying on the sea floor practically at the base of the rock on which the lighthouse sits is the wreck of the war galley Flying Cloud, which according to popular legend was captained by a cleric who wore around his neck an amulet of the planes. Black Molly wants this prize, but so far she hasn’t been able to find it. She’s scoured the wreck without finding any sign of the magic item. Now she’s trying to determine where to search next, for the item might well be somewhere near the wreck. If she can’t find it, she’ll start torturing her captives to find out if they have any useful knowledge about the amulet.

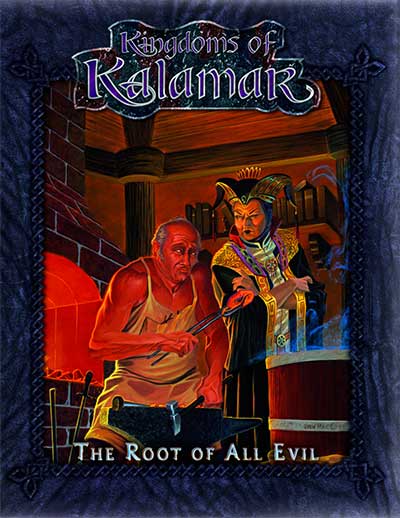
This was supposed to be a simple job! In the small town of Haanex on Reanaaria Bay, the wizard Veoden assembles the PCs to do a simple job: find the remnants of a meteor said to be made of the rare substance mithral. First they must find a map that local rumor tells is guarded by the spirits of the dead. Upon recovering the map and locating the crater, they uncover a plot to create a powerful magical item called the Coin of Power. This artifact is a tool for wickedness and the players soon find themselves on a quest to learn the means to destroy this evil item and its insidious master before she destroys them. Complicating matters is the fact that the one man who can help them was lost during an expedition to the Reelio Jungle months ago and is yet to return. Will the PCs be able to survive the rigors of the jungle and solve the riddle of the tribesmen who live there? The lives of innocents might depend on it! This accessory provides characters with an elaborate storyline and a chance for many varied types of adventure. You will take your PCs from the quiet village of Haanex in northern Reanaaria Bay to the Vry Naasu Headlands, the City-State of Zoa and finally the forlorn Reelio Jungle. The Root of All Evil fantasy game supplement is set in the popular Kingdoms of Kalamar Dungeons & Dragons campaign setting but can be adapated for use in any setting! This module can be used by itself, or as Part One of the Coin of Power trilogy (see also Forging Darkness and Coin’s End).

The PCs are singled out by happenstance as prophesied heroes who will find and return a great wizard to his family. Once brought back to the the family chateau, they are brought on as paid companions and free to explore the location as they wish. This is a large sandbox style adventure with several plots going on, including assassination, a wedding, false accusations of murder, and many machinations of the nobles to solidify or gain power. Whole this is going on the PCs are dropped into dream sequences where they learn more about the missing wizard and learn how and where to find and free him

THE FIRST SET OF DUNGEONS ON DEMAND ADVENTURES! The first volume of Dungeons on Demand includes the first four dungeons: Bandit's Nest - Level 1 Adventure Dungeon Insidious Experiments - Level 4 Adventure Dungeon Fierce Tempers - Level 8 Adventure Dungeon Lord of Gloomthrone - Level 12 Adventure Dungeon It also includes the following supplements: New Twists on Old Monsters - Gaming Supplement Imbued with Magic - Gaming Supplement The bundle includes hundreds of pages worth of materials and supplements sure to keep your gaming sessions busy!

A great evil force descended on the town of Phlan years ago. The townspeople were all either killed or driven away, and Phlan became (literally) a ghost town. Fifty years later, the survivors are ready to reclaim their town. But they need a band of strong and brave adventurers to lead the fight-they need you. Ruins of Adventure is a set of connected short adventures written by James Ward, David "Zeb" Cook, Steve Winter and Mike Breault-four names familiar to all AD&D game fans. It uses the same setting, locations and characters as the classic computer game Pool of Radiance by Strategic Simulations, Inc. In fact, many of the scenarios here in Ruins of Adventure will provide important clues to the successful completion of Pool of Radiance. TSR 9238

An expedition of dwarf warriors from Citadel Adbar finds itself isolated and besieged by Ice Spire ogres and their allies. They require immediate relief or they risk being destroyed to a dwarf. Seer has directed you to their location in the hopes that you can rescue the dwarves and save their precious cargo, a tablet bearing secrets of ancient rune magic.

Important: The adventure is 1e but it has monster conversion notes for D&D 4th edition The town of Highport, once a human community overlooking Wooly Bay from its perch on the northern coast of the Pomarj, fell prey to hordes of humanoids swarming out of the jungle-covered hills surrounding the settlement. Though the orcs, goblins, kobolds, ogres, and gnolls razed much of the place in their ferocious rampages, the smoldering ruins they left behind soon became a new kind of community, a place of trade between the humanoid “locals” and the unsavory human traders who have no compunction about doing business with them. Slaves are a commodity in ready supply in Highport’s market, since many pirates raid up and down the coast of the bay, putting fishing villages to the torch and filling their holds with captured refugees. Slavery has become a thriving business in the town, and rumors abound of a cartel of Slave Lords who run things from behind the scenes, filling their coffers in secret from the buying and selling of human chattel. The trade has become so prolific that the good folk to the north have grown tired of these depredations and decided to fight back. Forces of righteousness and honor have recently descended upon Highport, some openly and others in secret, in various attempts to destroy the machinations of the Slave Lords and abolish the abominable enterprise that has taken far too many loved ones from home and hearth. One such doughty servant of goodness is Mikaro Valasteen, a cleric of Trithereon. Mikaro slipped unnoticed past the crumbling walls of Highport with a single mission: to rescue and transport as many slaves to their freedom as possible. Mikaro and a handful of faithful assistants located a number of escaped slaves—as well as rescued a few more not sufficiently restrained and guarded—and shepherded them through the gates and beyond the reach of their humanoid tormentors, returning them to their lands and homes. This covert freedom brigade enjoyed remarkable success early on, since the servants of the Slave Lords were often lax in their vigilance and sloppy in their efforts to prevent loss of the “merchandise.” After one too many shipments never made its destination, the humanoids stepped up their security and the normal channels of escape from Highport closed to Mikaro and his team. He cannot risk exposure by smuggling the freed slaves through the gates as merchandise any longer, since shipments of goods are now regularly stopped and checked. No longer able to free the slaves in that manner, Mikaro began hiding his charges in an abandoned villa in a particularly rundown part of the town. Although they are safe for the moment, their numbers have grown unmanageable, and the priest fears it is only a matter of time before someone slips up and brings slavers to their doorstep. Ever more desperate to find a new means of escape from Highport, Mikaro has started work on a plan that is both daring and dangerous. He intends to use a series of old sewers coupled with natural caverns running beneath the town as an escape route to the sea beyond the walls. But he needs someone to clear out the creatures and pitfalls he knows lie within. Pgs. 2-27

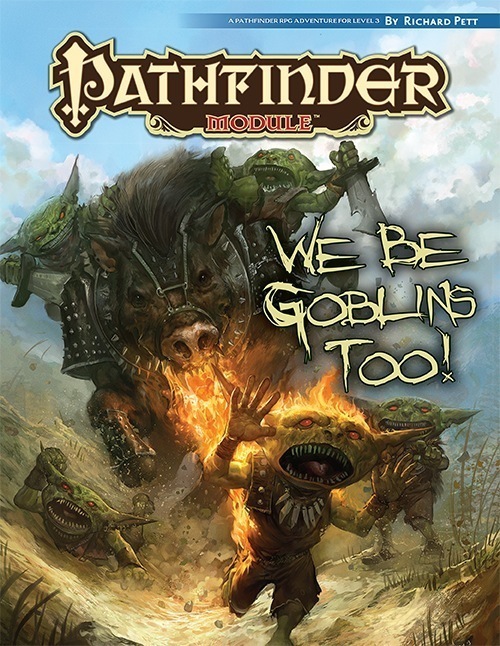
The Licktoads, once the great and fierce goblin tribe in Brinestump Marsh, were defeated by human adventurers! All that remains of the tribe are its four goblin "heroes". Homeless and bored, they left their swampy homeland to join the neighboring goblin tribe, the Birdcrunchers. The good news is that the Birdcrunchers are willing to let the goblin heroes join their tribe. The better news is that the Birdcrunchers have heard of these four, and want one of them to become their new chieftain. The bad news is that before the goblins can join, they'll need to endure a series of dangerous and humiliating tests. Very dangerous. Very humiliating. The worse news is that lately Birdcruncher chieftains have had really short lifespans—they're being killed by the pet fire-breathing boar of a local ogre who wants the Birdcruncher land as his own. Part 2 of the We Be Goblins series.

Beneath an ancient castle on the borderlands, reclaimed from the ruins of a lost civilization, there is a dark and deadly tournament being held. Seven stalwart adventuring companies, each representing a wealthy noble house, delve into the depths of the Dungeon of the Black Fey Mithelvarn. Each races to be the first to claim the power of the infernal machine that drives it, and find the Elixir of Immortality it contains. Can your party take up one of the relic banners and face the challenge of the dungeon, as well as the lethal competition from other companies seeking the prize? This adventure is formatted to both 1E & 5E gaming rules. Also available in PDF.