A dangerous beast - but one with a mission. Even the gods slip up now and then, but few dare remind them of it. Ri Conn's son was killed by the white boar of Kilfay, and he has passed sentence of death upon it! What starts as a hunting expedition for the PCs ends up being a grand adventure through the forest. Several interesting set pieces on the path of the boar's rampage are included in the adventure. The path of destruction leads through a goblin camp and ends in the tower of a now-dead mage (which still holds the target of the boar's ire, a mutated bulette that the mage bred). Will the party help the boar kill the bulette mutation, or let it free? Pgs. 32-47

The Sword of the Dales, an icon of the Dalelands symbolizing the unity and strength of the people, has reappeared! Created by Shraevyn the weapons-mage hundreds of years ago, the lost Sword had become nothing more than a fantastic children's tale - until now. A group of warriors led by Randal Morn, rightful ruler of Daggerdale, rushed to the Sword's resting place to recover it, but dark forces awaited them, and Randal and his men fell to an ambush. Only one man escaped, yet he brought with him the hope that Randal Morn yet lives. Resolved to rescue his leader, that lone survivor turned to the great Elminster of Shadowdale for aid. But Elminster is gone, off plane-hopping while the fate of Daggerbale hangs in the balance. Hence, it is up to Lhaeo, scribe to the old mage, to find a group of heroes who have mettle enough to face down the menace which claimed Randal Morn and his hearty followers... This is the first of three adventures that grant player characters the opportunity to determine the fate of Daggerdale. The saga continues with "The Secret of Spiderhaunt" and concludes with "The Return of Randal Morn." TSR 9484

The heroes arrive at the eponymous Keep on the Borderlands, a fortress on the edge of civilization built to stave off the chaos and evil of the wilderness. Using it as a home base, a party can make forays into the surrounding wilderness, encountering monster and marauder alike. The centerpiece of the adventure is certainly the CAVES OF CHAOS, a network of tunnels and caverns found in the walls of a nearby but isolated ravine. It is here that hordes of evil humanoids have made their home. Through combat and negotiation, the players can try to explore and map out these caves, perhaps with the aim of accumulating valuable treasure or even cleansing the land of evil creatures. However, even the Caves are not all they seem. Beyond the goblins and kobolds lurk dark horrors: cults dedicated to fiendish chaos and a Minotaur's enchanted labyrinth await the unprepared adventurer. But for the hero who is brave, clever, and fortunate in equal and sufficient measure, great treasures and glory await in the Caves of Chaos that lie beyond the Keep on the Borderlands! TSR 9034

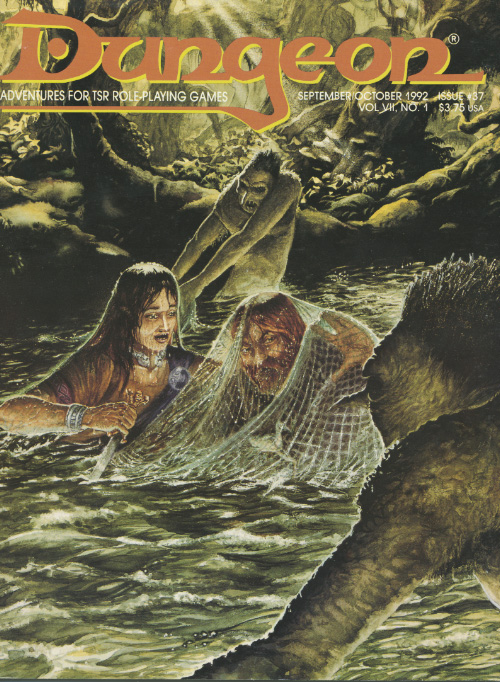
A Villain with a Vison A stolen jewel leads to the heart of the swamp, where one man’s thirst for vengeance threatens to destroy an entire town. Pgs. 68-92
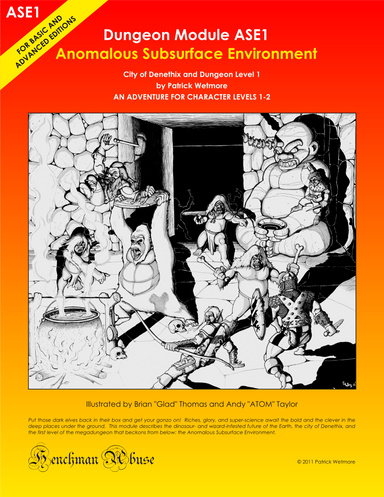
"Put those dark elves back in their box and get your gonzo on! Riches, glory, and super-science await the bold and the clever in the deep places under the ground. This module describes the dinosaur- and wizard-infested future of the Earth, the city of Denethix, and the first level of the megadungeon that beckons from below: the Anomalous Subsurface Environment." Set in a post-apocalyptic future where Earth's remains are explored through dungeons filled with ancient tech, magic, and bizarre ecosystems, inhabited by various factions with their own agendas. This setting blends sci-fi and fantasy with a touch of the absurd, offering a playground for imaginative gameplay and storytelling. The module includes a gatehouse and the first level of the Anomalous Subsurface Environment, each designed with multiple pathways. Unique twists on monsters and magic items. Written for Labyrinth Lord

The end of the road. A lonely fort stands on the banks of a mighty river. It is here the hardy bands of adventurers gather to plan their conquests of The Hill, the hulking mass that looms over this tiny settlement. The Hill is filled with monsters, they say, and an evil witch makes her home there. Still, no visitor to The Hill has ever returned to prove the rumors are true or false. The thrill of discovery is too great to pass up, and only the river stands in the way. The adventurer's boat is waiting! This module is designed for use with the D&D Basic Rules. A trip through the wilderness begins a unique challenge for the novice player and Dungeon Master. TSR 9078

This deluxe adventure takes heroes into the ruins of Gardmore Abbey, a monastery that was once the base of a militant order of paladins devoted to Bahamut. According to legend, the paladins brought a dark artifact back from a far crusade and stored it in their abbey for safekeeping, and evil forces gathered to assault the abbey and take it back. What the legends don’t tell is that this artifact was actually the Deck of Many Things, a force of pure Chaos. This adventure brings characters into the extensive dungeons beneath the ruins - dungeons that are warped and twisted with the raw forces of Chaos surrounding the cards of the deck.

When a wizard makes a mistake, he makes a MISTAKE. Hirward the Wizard has a little problem on his hands - and it's destroying his fortress, followers and future. A good mix of character types is strongly advised, but paladins, rangers, dwarves, and gnomes may not be comfortable sparing the lives of Hirward’s kobold assistants. A generally neutral party composed of humans and half-orcs will stand the best chance of completing Hirward’s Task. This not a standard "hack-and-slash” adventure. The PCs will have to do some fighting to he successful in completing the module, but most of the time they must use their brains to figure out the best way to complete their mission. Pgs. 45-64
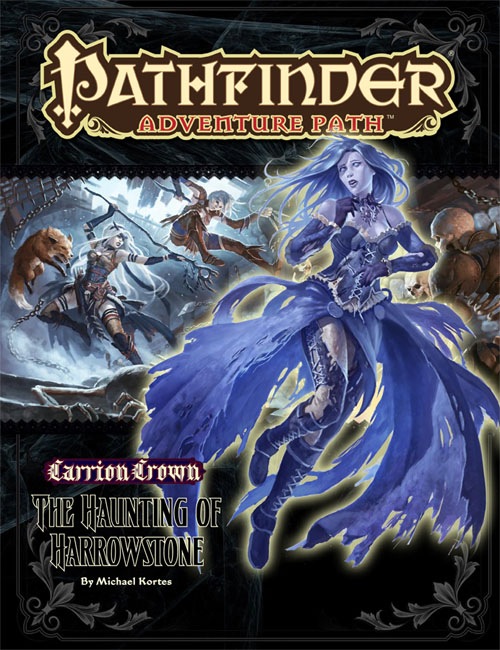
When Harrowstone Prison burned to the ground, prisoners, guards, and a host of vicious madmen met a terrifying end. In the years since, the nearby town of Ravengro has shunned the fire-scarred ruins, telling tales of unquiet spirits that wander abandoned cellblocks. But when a mysterious evil disturbs Harrowstone’s tenuous spiritual balance, a ghostly prison riot commences that threatens to consume the nearby village in madness and flames. Can the adventurers discover the secrets of Harrowstone and quell a rebellion of the dead? Or will they be the spirit-prison’s next inmates?

The Terror of Screeching Hill is an adventure designed for a party of four level 1-3 characters. Introduce your friends to Dungeons & Dragons or take a break from your current campaign and save the town of Stonehollow in this early level one-shot! To the villagers of Stonehollow, the flight of bats warns of an impending disaster. Earthquakes, which riddle the small mining town, often follow this omen causing cave-ins and trapping miners underground. Thankfully, the ground hasn't shaken in weeks. However, every night at sunset, a colony of bats fly over the town as a haunting cry echoes over Screeching Hill, a mound on the southern outskirts of the village. Villagers have begun to go missing, including the town's doctors Simon and Kirk Bartok, and some have suffered terrible wounds after being attacked by a relentless creature out of the darkness. With no doctors to treat the wounded and the expectation of more attacks, the villagers of Stonehollow turn to you for help. Will you investigate the terror of Screeching Hill and save the town from its reoccurring nightmare? Included: - A 16 page one-shot designed for level 1-3 characters - Unique maps - Two player handouts - A simplified document compatible with screenreaders

The party is caught between warring goblin and kobold gangs, occupying an abandoned dwarven mine. Will the heroes ally with one of the sides in this quarrel, try to make peace between old enemies, attempt to eliminate both sides, or achieve their goal stealthily and unnoticed? The choice is completely theirs! Small Party Adventure: Though the party size of 3–5 characters is considered optimal in D&D, there are times when you can only gather one or two players at most. This adventure is designed exactly for such occasions.

*THIS IS A D&D NEXT/5E PLAYTEST ADVENTURE* Imani, a Turmishan wizard and former adventurer, seeks the aid of heroes to infiltrate Dretchroyaster’s lair and recover the Diamond Staff of Chomylla—the key to powerful magic and wisdom locked away for thousands of years. In addition to his own sagely interest in the lore of lost Uvaeren, Imani recognizes the dangers of such powerful magic falling into evil hands. The dracolich has secured the staff in his lair’s cen- tral chamber, using ancient wards of protection that can be bypassed only by four artifact-idols once belong- ing to a cult of Bhaal. Each group of adventurers enters the dungeon through a different section of the dun- geon—a forgotten temple of Bhaal, a vast underground lake, a troglodyte village, or Dretchroyaster’s vaults. Dretchroyaster’s lair is no simple set of caverns and ancient ruins. It sits atop a source of great power and energy, which the dracolich and his Cult of the Dragon allies hope to use to unlock the secrets of the staff. Only by undertaking a unified assault against Dretchroyas- ter’s lair can the adventurers hope to recover the Diamond Staff and survive the dracolich’s fury. The adventurers must make their way through the lair and recover the Bhaalite idols that will help unlock the Diamond Staff, all the while dealing with the lair’s creatures and avoiding the dracolich as he pur- sues intruders. Entering the Chamber of the Diamond Staff, the heroes must overcome its magical wards and claim the staff before being slain by the dracolich and his servants.

"Gnolls have captured the heroes! After stripping the characters of all equipment except their armor and clothing, the gnolls drag them to an expansive briar maze known as the Twisted Thickets and set them loose. Then, armed to the teeth, the gnolls hunt down their prey. The characters must survive the hunt and outwit their pursuers. Stripped of your armor and weapons, you are cast into the Twisted Thicket and hunted like rabbits. If you want revenge, you must first survive Yeenoghu's evil Hunters. After dealing with the gnoll hunters, the heroes can try to reclaim their lost equipment and exact revenge on the tribe, which lairs in the caves beneath Dead Gnoll’s Eye Socket." Pgs. 2-14

"A great cat sits upon the northern grasslands, my friend, waiting to pounce on adventurers just like you." As you part the tall grass with your sword, the words of the tavernkeeper echo in your head. "He was the mightiest wizard we'd ever known, and that Lion Castle was his home." Your friends' voices mingle with the tavernkeeper's. "He's but a ghost now, haunting those halls, and waiting for an heir." The ground rises slightly. A strong wind rushes through the field. Suddenly, the grasses part, and Lion Castle rises majestically before you! "Magical riches await those who enter!" "Beware of man-beasts!" Voices flood your head again. Will you brave the haunted castle? Can you afford not to? It's all up to you in this D&D Solo Adventure. Ghost of Lion Castle is for one player only, but that one player makes all of the choices and enjoys all of the rewards. An entire castle and courtyard await your exploration. The adventure also includes a complete solo combat system. TSR 9097

"Lost Halls of Everforge" is a flame dragon wyrmling lair suitable for four or five 3rd level characters. This adventure can be completed in one session.

Special Basic/Expert Transition Module Barely one day's march from Kelven, the uncharted tracts of the Dymrak forest conceal horrors enough to freeze the blood of civilized folk. Those who have ventured there tell how death comes quick to the unwary - for the woods at night are far worse than any dungeon. But you are adventurers, veterans of many battles, and the call of the wild is strong. Will you answer the call, or are you afraid of the dark terrors of the night? The campaign adventure is for characters just beginning Expert play (levels 2-4) and hurls them into the exciting outdoor world which awaits in the Expert rulebook. With a 64 page booklet, 2 double-panel covers, a double-sided, fold-out mapsheet and 120 die-cut counters, this super module provides all you need for epic wilderness and dungeon adventuring. Journey across the Grand Duchy of Karameikos in a desperate race against time and the forces of evil. This adventure is for use with the Dungeons & Dragons Expert Set, which continues and expands the D&D Basic Rules. This adventure cannot be played without the D&D Basic and Expert rules produced by TSR inc. TSR 9149

An interesting and atypical adventure in its writing style. For one the module contains insightful "When things go Wrong" sections and DM guidance for sticking close enough to the rails for the story and fun's sake. Lots of DM hints about how to handle PCs' choices. Overall the story is fine too - a traditional hook, a mystery, some twists. There's a tower, a surprise pocket-dimension context, and a dungeon. It's mirror of life trapping, isn't it? Well, yes and no. People go in, and they don't come out. Nor can you talk with anyone inside. Somehow, that's not quite the way you remember those mirrors work. This Skarda fellow showed up a few years ago with a band of raiders, and no one in the land has been safe since then. Whole villages have disappeared into this Skarda's mirror. Your band is approached by relatives of one of the victims?and adventurer like yourselves. You have to get into that mirror of whatever-it-is, find this man, and get him out in one piece. The reward is more that adequate. Only problem is, no one out here can tell you what to expect once you get in? or even how to get there. TSR 9188

Wise rogues join the government, where their larceny has the cover of “legality” and the cash comes in heaps and piles from deceitful receipts and pocketed procurements rather than in small, bloodstained purses from breaking windows, scaling walls, and risking traps and long-fanged guard dogs. Wise rogues do not, by choice, go up against towering giants armed with clubs larger than the tallest rogue in the guild. Nor do they try to nick treasure from dragons without a group of powerful fellow adventurers behind them, who can hurl mighty spells, hack and hew toe to toe with an angry wyrm, heal the injured, and (when things go as they usually do), resurrect the dead. There are wise rogues, and then there are player characters. Emeralds of Highfang awaits them with open arms, offering special challenges and rewards to rogue characters—but as always, the prospects are much better for a party of adventurers from a variety of classes, with wide skills and experience, and of high level. Some might find that a broad base of experience is not only helpful, but essential for survival.

This adventure focuses on a Zhentarim attempt to spread terror in Mistledale, although it is suitable for almost any lightly settled area northwest of the Sea of Fallen Stars. "The Raiders of Galath's Roost" is suitable for four 1st-level characters, but PCs should be at least 2nd level before tackling the adventure's second half, the Zhentarim Citadel. Even in the first half of the adventure, many of the encounters are quite formidable for 1st-level characters, and the PCs might find it necessary to withdraw and recover one or more times before completely exploring the ruins.
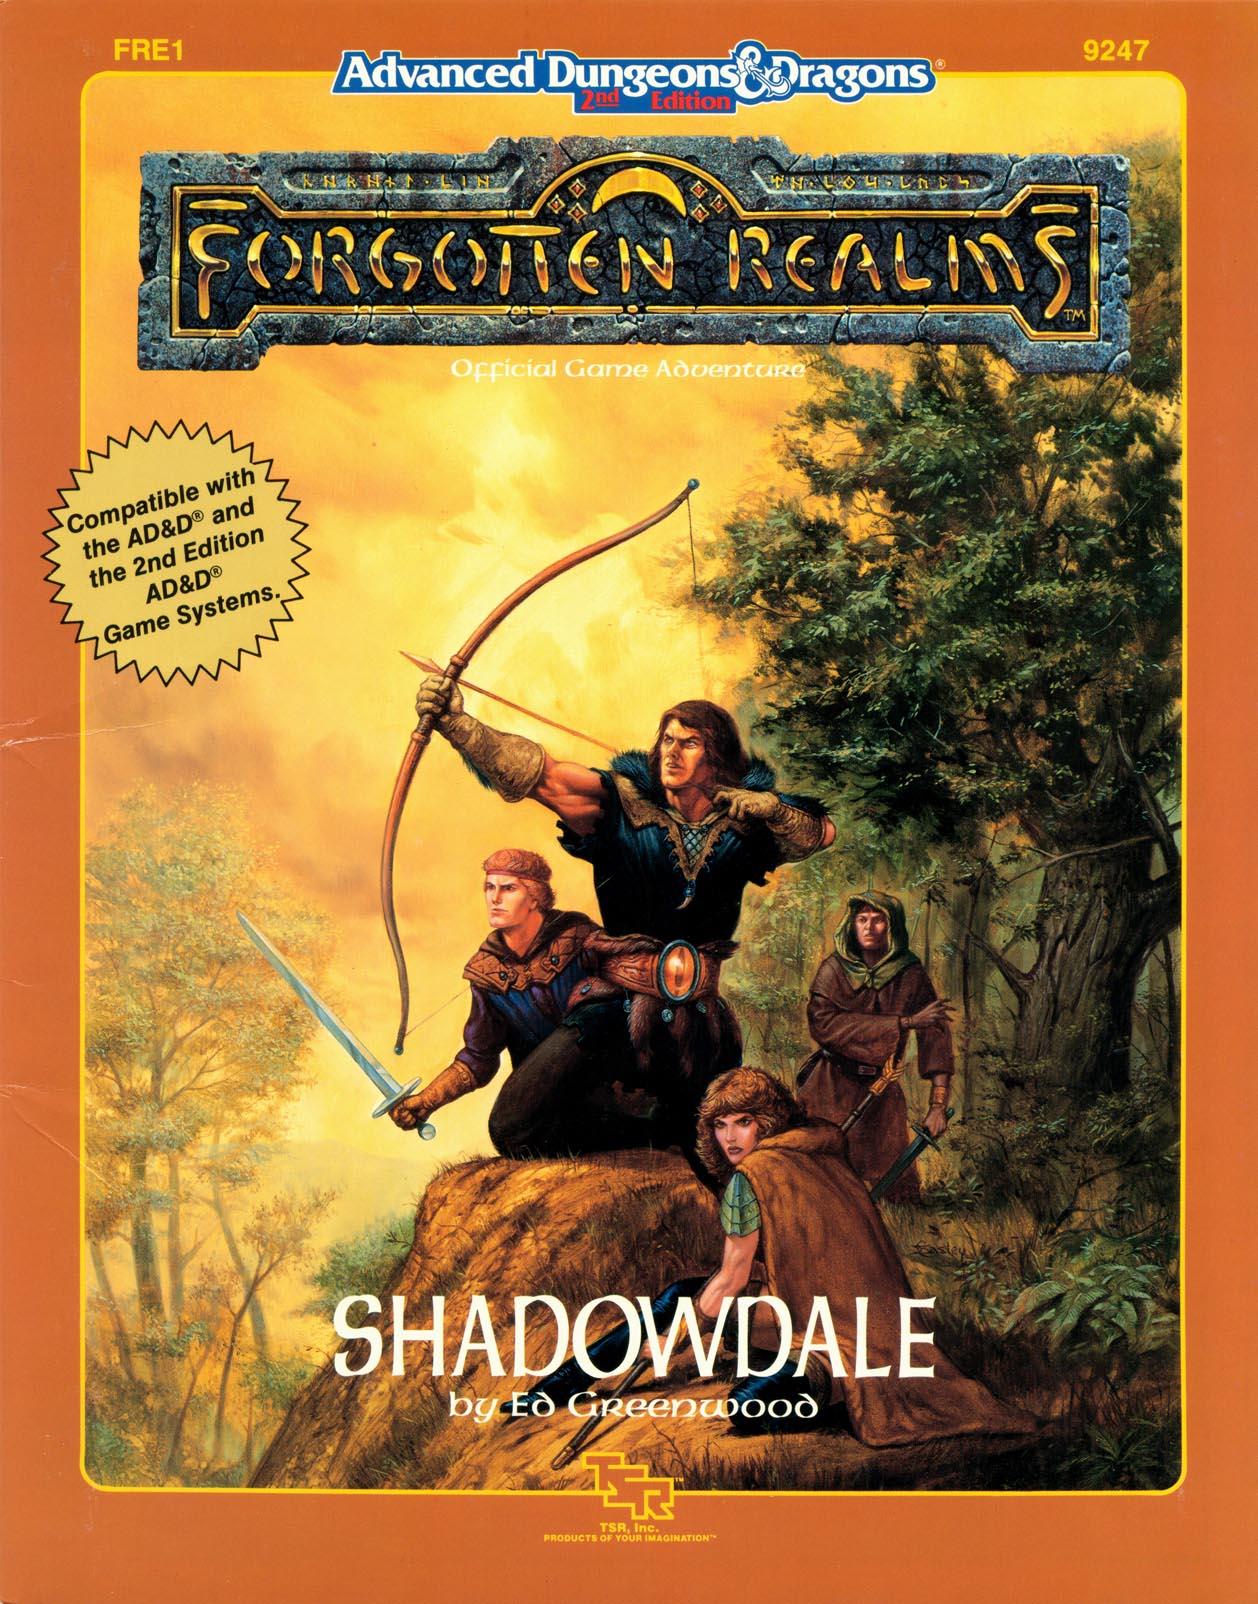
"One morn, no sunrise comes. There is only darkness, and an icy chill." Cast out from their heavenly domain, the gods of the Forgotten Realms wander the land as mortals. They seek the lost Tablets of Fate, key to their return. A band of adventurers are hired by a young apprentice to rescue her sorceress-mentor, little do they realize the size of the stakes they will soon be playing for. Caught up in a power struggle that will determine the fate of the Realms themselves, the first step is to find the only mortal who may know what's going on - the legendary sage Elminster. Shadowdale is the first of a trilogy of modules that describe the strife called by some "the Godswar," in The Forgotten Realms. TSR 9247