Mystery of the Nightmare Venom is the second adventure in the Nightmare Venom campaign for the prehistoric D&D Planegea campaign setting. It is designed for four to five 2nd-level characters using the D&D 2014 ruleset. In the first campaign adventure, Venom Attack!, the PCs encountered an envenomed spider-raptor sent by the Spiderfolk Queen to attack Edgegather, while a minion of a green hag sought to collect a sample of the venom. In Mystery of the Nightmare Venom, the PCs begin to investigate this strange magical poison at the behest of the Venom Guard: A vengeful green hag seeks to corrupt the inhabitants of Edgegather. Can the PCs stop her before her poison brings the settlement to its knees? The goblins of the Unfalls may have useful information but the PCs must first retrieve a lost relic from the spiderfolk of the Venom Abyss before they can ask their questions. The PCs investigate a vast and ancient temple beneath Edgegather where the mysterious Veiled Goddess can point them towards the Oracle of Seerfall. Mystery of the Nightmare Venom contains five new monsters (the envenomed chattercrest, the envenomed Venom Guard, the cauldronborn, the Glassback spiderfolk, and the faithful remnant) and two new magic items, the bloodtallow candle and the obsidian centipede.

You have been sent to watch over the destruction of an ancient artifact by your liege, but arrive to find the temple sacked and the item missing. You and the other abassadors must take the famed Pick of Zander across the Kamula Wastelands. There you must track down the agents of evil and, if possible, destroy the artifact...time to earn your hero status!

Azaketh, a sly and industrious devil, prepares his revenge against his bitter enemy Zirkex. Naturally, the mortals affected by his schemes are mere pawns to further his goals. It is up to the heroes to stop Azaketh in his tracks before he takes control of a powerful weapon – Logrimm’s Tower Golem. The Tower Golem is an adventure designed for 3-7 2nd to 4th level characters and is optimized for five characters with an average party level (APL) of 3. It's the second and final chapter of the saga about Logrimm’s Tower Golem. The first chapter The Soulmonger isn't necessary to play The Tower Golem but it sets up the villian Azaketh and introduces NPCs that can help the characters conquer the Tower. The focus of The Tower Golem is set on roleplaying and interesting fights. In theory, the Tower is an infinite web of rooms and portals that the characters may never escape. However, eventually, the characters reach the end for one final encounter. You can change, interweave, or exchange the different parts as you see fit. There are several proposals and fully fleshed out levels in this document, but you may add your own adventures to the list!

The corrupt town guard of the Styes refuse to help when a mysterious monster begins to slaughter the residents of Hopen'er Asylum, an old decrepit mental aslyum. A call is put out for any adventurers willing to defeat this mosnter and save Hopen'er before it falls any further into madness... From the author of Murder on the Primewater Pleasure comes The Horrors Beneath Hopen'er Asylum. If you enjoyed that adventure then you will love this! This horror adventure takes place in and below Hopen'er Asylum. Originally designed to serve as an introduction to the location known as The Styes frorm the Ghosts of Saltmarsh campaign book, this adventure can be easily transferred to any setting (advice is given on how to do this). The characters will explore an abandoned underground wing of the mental asylum, before delving into a forgotten cave system to face an unknown enemy, a Dubh. The adventure is designed for 6th - 7th level characters and takes anywhere between 4 - 6 hours to finish. The adventure contains full colour maps, as well as VTT versions of the maps.
Two hundred years ago, the great dwarf smith Durgeddin the Black built Khundrukar, a hidden stronghold for his war of vengeance against all orckind. For years Durgeddin labored, until the orcs discovered Khundrukar and stormed the citadel, slaying all within. Legends say that Durgeddin's masterful blades and glittering treasures were never found.

Social conflict and negotiations, combat, random encounters, treasure, and dungeon delving — all the elements of a classic D&D adventure in 4 hours. Don’t be put off by the 80+ pages! Half of it is maps and character sheets! Goblin Trouble is a short adventure for four 1st level characters. Written for the Dungeon Masters who are running their very first game, it is full of useful advice and tips on how to prepare for the sessions and how to run the game, easing everyone into the game mechanics along the way More advanced Dungeon Masters and players have the option to use extra options for most encounters that make the game a bit more challenging and fun. In the adventure, the party visits a small village in the Green Forest. There they learn about nasty goblins that terrorize anyone who enters too far into the forest... Is the party up to the challenge? This adventure is also a perfect choice for Dungeon Masters who are looking to expand Lost Mines of Phandelver. With this purchase you’ll get: A beautifully-illustrated 4-hour adventure in PDF format Four unique color maps in both Player and DM versions. All the maps are available as separate files, so they’re easily imported into Roll20 or another VTT. A special Adventure Tracking Sheet that helps you prepare for the game and track your progress 12 ready-to-play, slightly simplified 1st-level characters with backstories so you and your players can immediately jump into the adventure! The players also get a short guide that helps them choose the perfect hero for them. Goblin trouble must be solved. Time to set off on a grand adventure! Would you like to know what the supplement looks like inside? Click the preview under the cover picture above!
The infamous Scorpion Prince ruled his domain centuries ago, but the lands are still desolate, a testament to his poisonous influence. His terrified subjects rejoiced in his death but also feared he would return if not interred properly. To ensure the prince's happiness in the afterlife and his tomb's security, his people erected a great monument and created trap-filled chambers to house and protect his body and his wealth.
Ruins of the Grendleroot is a book of ten easy-to-prep and easy-to-run adventures for the fifth edition of the world's most popular fantasy roleplaying game. Designed for characters of 1st to 5th level, these adventures take place in the caverns, chambers, tunnels, and ruins of Blackclaw Mountain, within which lurks a strange otherworldly sentience known as the Grendleroot. Ruins of the Grendleroot focuses on the sense of mystery and wonder that comes from exploring ancient ruins and lost chambers. The central hub of these adventures, Deepdelver's Enclave, is a frontier outpost overlooking the ruined city of Shadowreach, set deep within the mountain. In Deepdelver's Enclave, adventurers and explorers recount tales of their explorations, trade treasure and artifacts, and enjoy their shared love of uncovering the mysteries of the mountain.

Are there actually vampires in Undermountain? The Baron of Blood demands that you find out! Part Two of the Vampire Hunt trilogy.
An OSR adventure module for character levels 5-8 -[or a funnel for character level 0]- designed for Old-School Essentials, compatible with most old-school pen-and-paper RPGs. When the One God's faith washed over the world, the Old Gods of the forest fought back. They fought back with fire, with blood and with ice, and with every season. And they lost. Last night, the cathedral built on the site of their defeat burned, unearthing forgotten stairs... A journey begins, from that unholy crypt through a hellish fairy realm, to the deadly, blasphemous truth. - A busy abbey and its denizens: drop it into your campaign, as a regular stop or base of operations. - A mythic peregrination, inside & beyond the faithtrap dungeon that awaits underneath: 29-ish rooms puzzling rooms and areas to explore, and survive. - Five paladins who will help (or hinder) the PCs during the adventure, and an oracular procedure to bring them to life. - Oh, and too many gods... Includes a fully-linked interactive PDF, a Referee's Toolkit (printable and fillable tracking sheet, player handouts, and maps) as well as player-friendly VTT maps.

Dromar is a figure of power all over the realm. He is known as a legendary fighter from centuries ago. He was buried in a tomb along with an artifact of great power. Those who built his tomb were afraid of grave robbers, and so his tomb was created in the frigid, ice-coated lands at the base of a a mountain. The secret of this tomb's location has been passed among a select few people as the years have gone on. Most of the general public do not even believe it exists, but now the ancient relic buried alongside Dromar is needed once again.
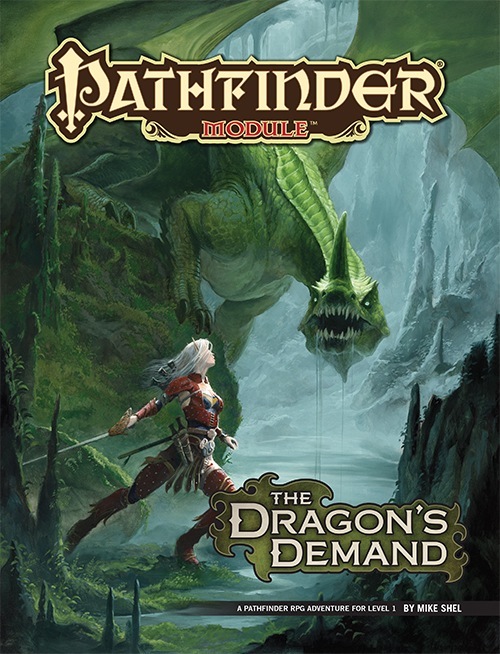
Founded by a famous dragonslayer, the small town of Belhaim has become a sleepy rural community just off the beaten path, a settlement where everyone knows everyone and strangers are the talk of the town. But when Belhaim’s peace and quiet is shattered by the sudden collapse of the last standing tower of its founder’s castle, things quickly bloom out of control. Why were there bodies of kobolds amid the rubble? What’s the sinister secret behind the strange sounds of flapping wings in the night? And what’s happened to local wizard Balthus Hunclay, who’s not answering knocks on his door? The collapsed tower had long been an eyesore to the cantankerous old man—could he have had something to do with its destruction? And what of the rumors of strange stirrings in nearby Dragonfen? Has Belhaim’s ancient draconic nemesis returned?

Fleeing the rage that consumed their feuding families, Juliana and Orlando fled to the Cave of Echoes, where it is said every wish is granted. Two years have passed, and all attempts to return the lovers to their parents have failed, though some believe them lost in the enchanted garden beyond the cave. Many are the rescuers venturing into that enchanted park; a few have returned after long absences, their minds and memories curiously disturbed. Now, the handsome reward offered for the return of the lovers has tempted you, but who knows that lies beyond the Crystal Cave? TSR 9066

A dungeon of tricky puzzles, ancient magical secrets, and more than a few lingering mysteries, designed to be played as a standalone adventure and not incorporated into another campaign. Six adventurers descend into the Temple of Mysteries to find a mystical artifact called the Strand of Tears. Seems straightforward enough, except that some of the party may not be who they say they are. In fact, none of the party may be who they say they are. Not only that, but they might not be who they don't say they are, either! Worst of all, they're trapped in the ruins of an underground temple specifically designed to keep people from proceeding unless they're proficient in puzzle-solving...and there may be doppelgangers on the loose.

Stonefang Pass wends its way through the mountains of the Stonemarch, home to brutal tribes of orcs. The time has come to clear the pass and gain a foothold, so that it can be used for trade between the town of Winterhaven and the lands beyond the mountains. Brave adventurers are needed to rid the pass of monsters and liberate Stonefang Keep from the orcs. Who’s up for the challenge?
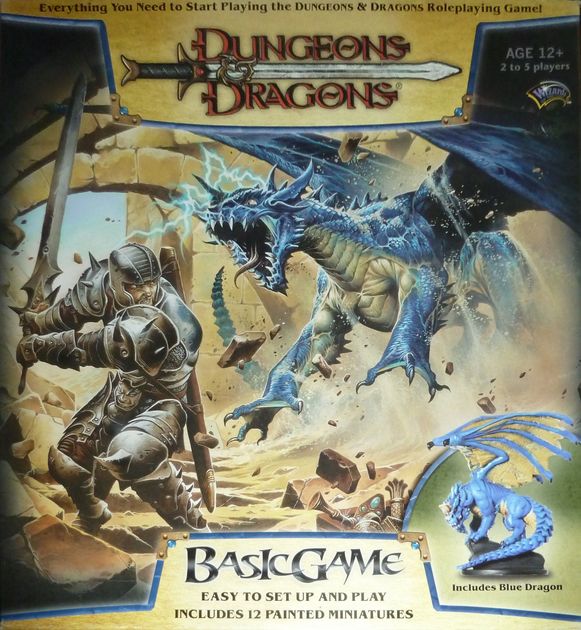
Introductory adventure to the 3.5 system for up to four 1st level characters. The adventure takes the party through a typical dungeon setting, leading to the lair of a Young Blue Dragon.
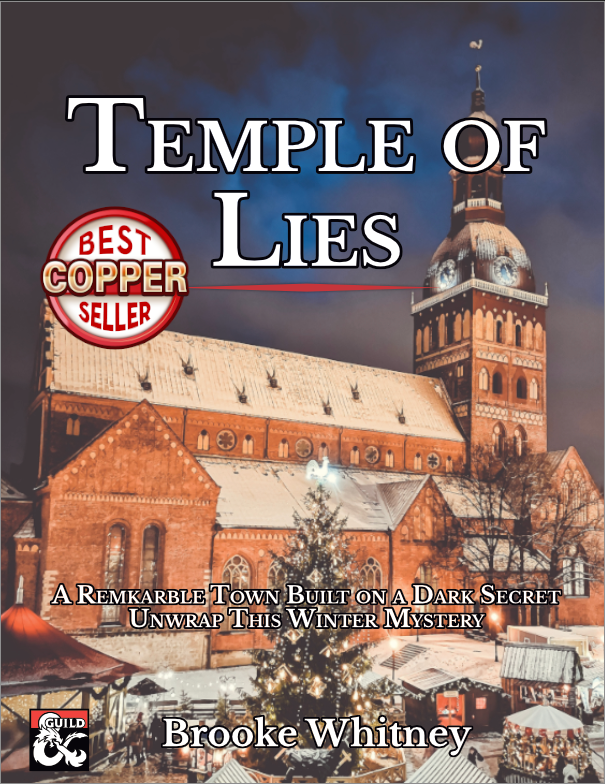
Unwrap this player-driven winter mystery for four to five characters of 5th level. No more railroads. Every decision matters and changes how the story unfolds. Branching paths, multiple dungeon entrances, and a myriad of potential conclusions—this adventure provides endless fun with rewarding choices and a range of challenges for any character. This product includes: - 4 to 6 hours of play packed into 15 pages - High-resolution VTT maps of the temple - 6 new monsters, including Brain in a Jar and Workshop Devils - 7 stand-out NPCs with clear motivations players will love or love to hate - The perfect adventure for the holiday season, including a Midwinter festival with two classic games reimagined using D&D rules—snowball fight and charades - All magic items and stat blocks detailed in the appendices for easy reference Content Warning: Animal mutation, blood, enslaved devils, undead, torture,
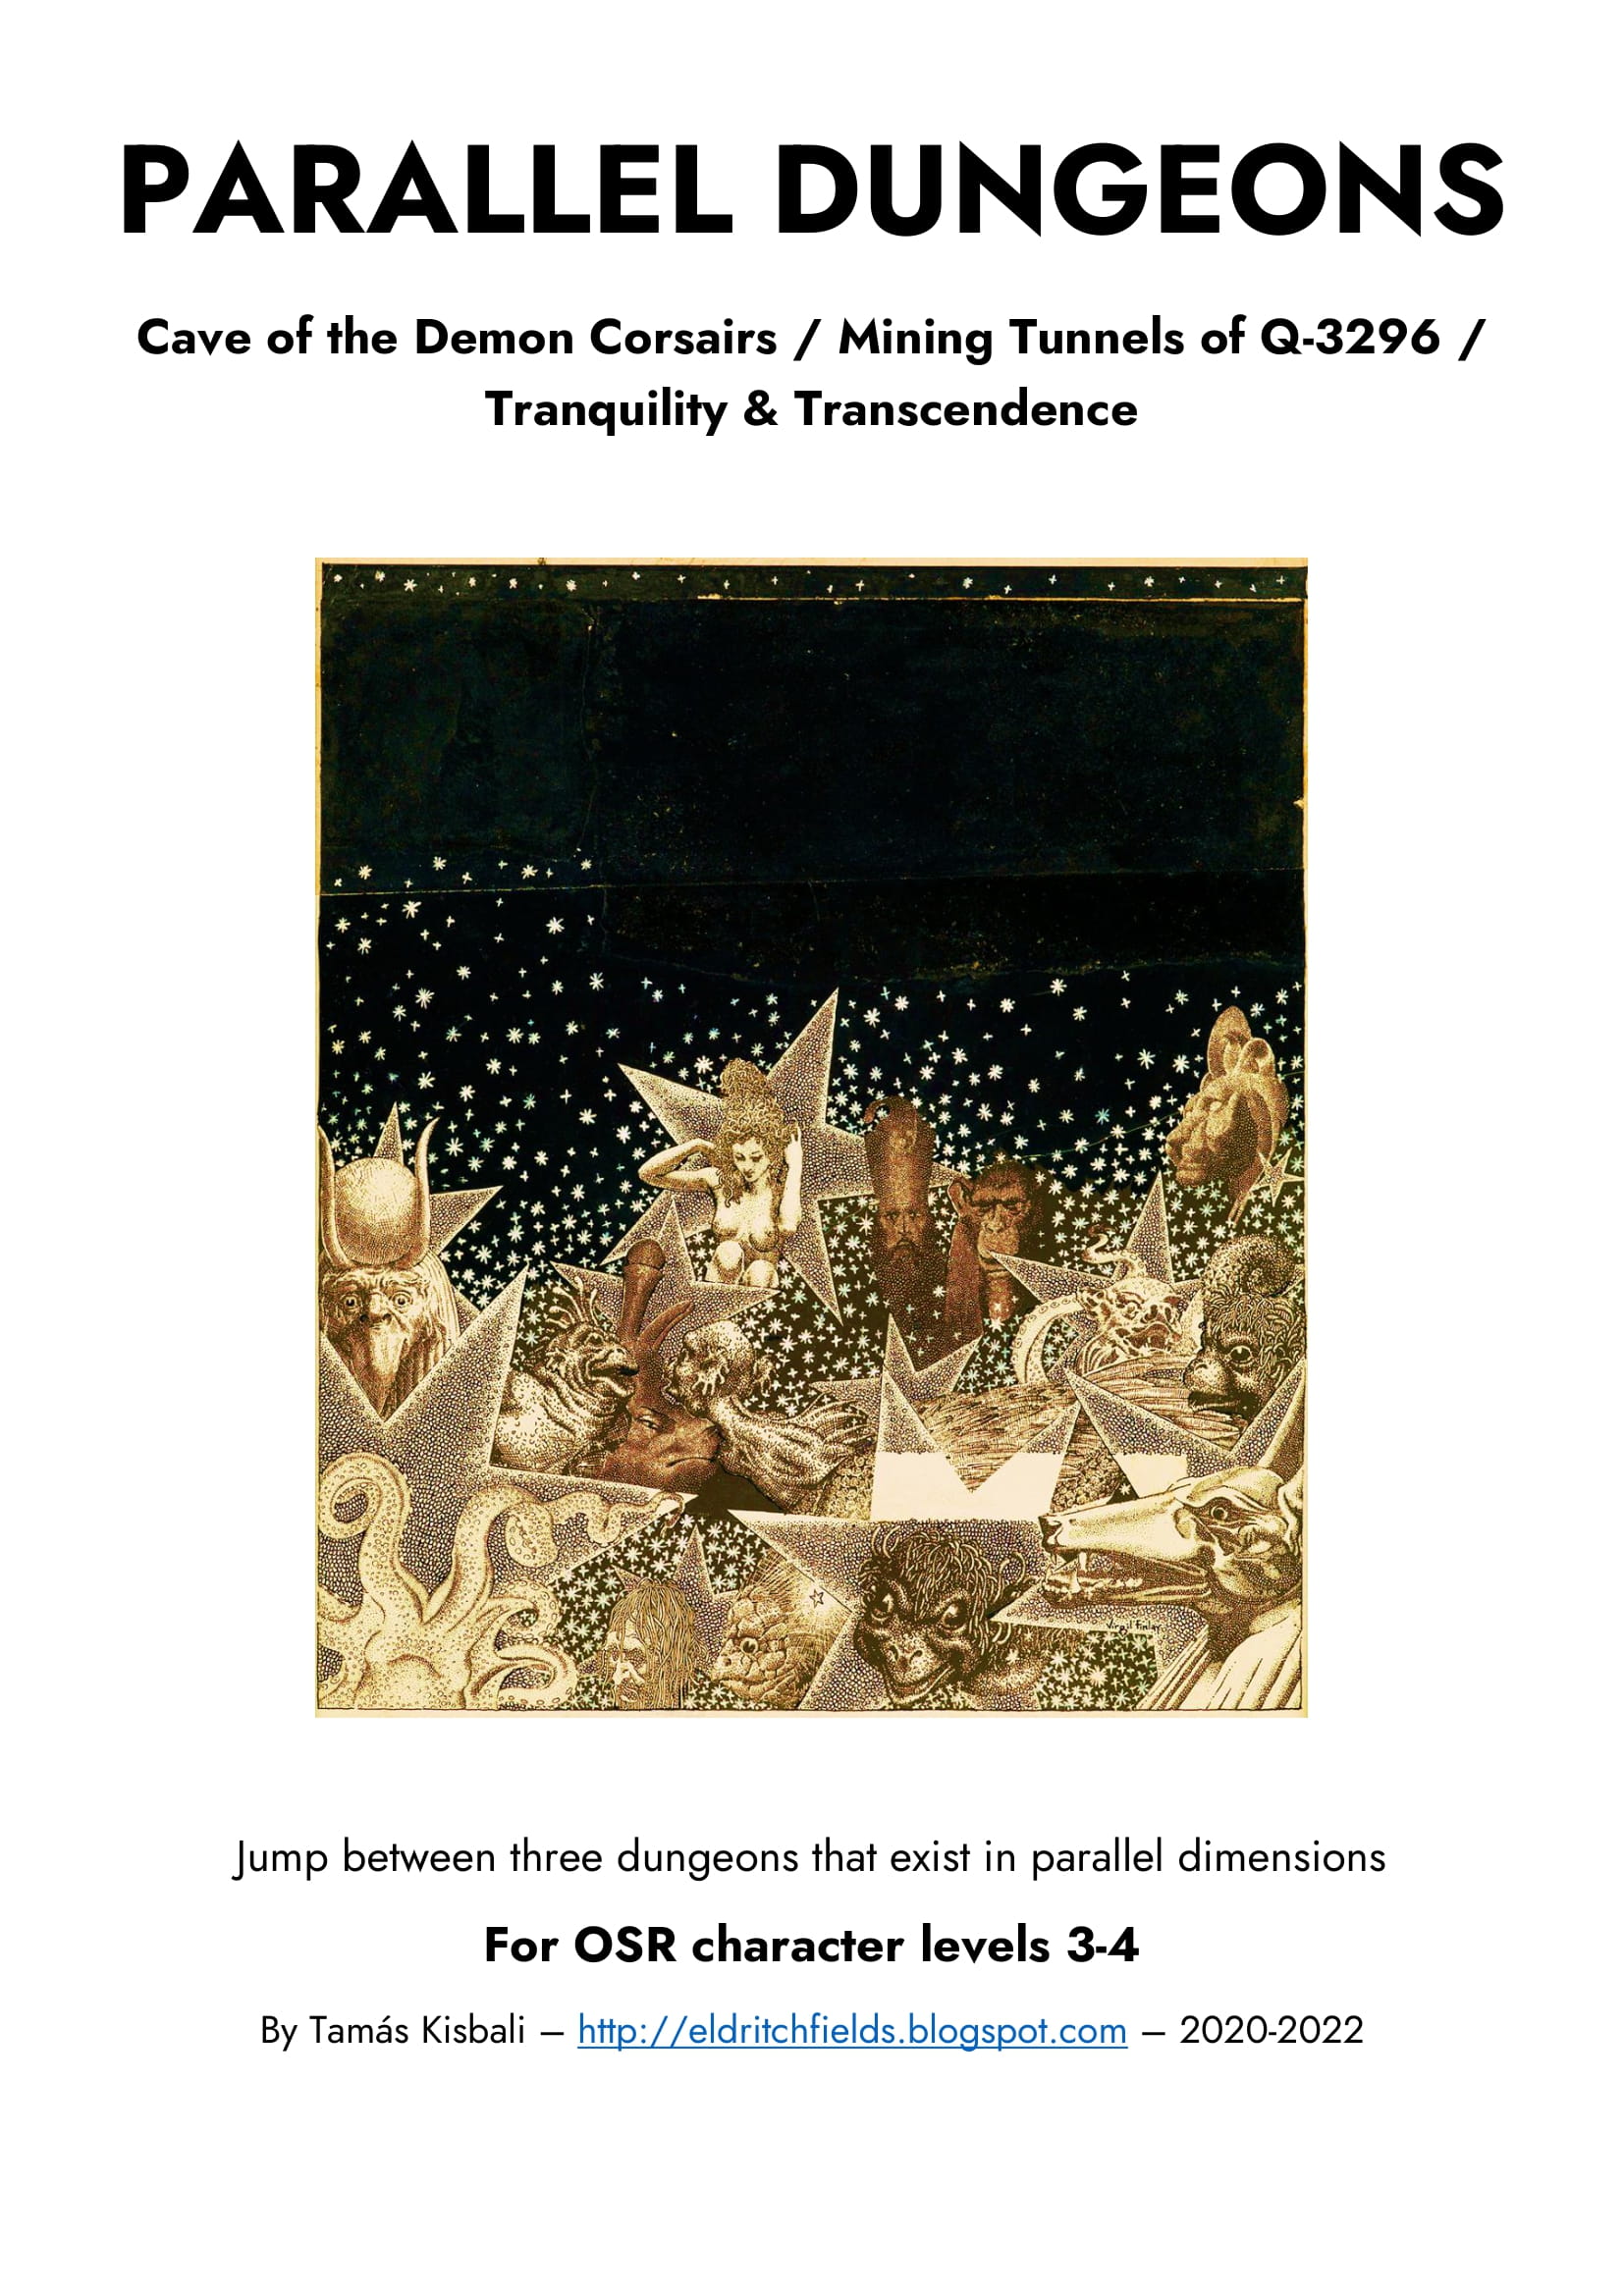
Three dungeons in one! The party is given a "dimension shifting device" and sets out to explore a 15-area cave, simultaneously occupied by the DEMON CORSAIRS, the remnants of an ASTEROID MINING OPERATION, and the MONASTERY OF TRANQUILITY & TRANSCENDENCE! The three dungeons are presented in three columns, so when the characters shift from one dimension into another, it's easy to find the corresponding area description. For use with old-school or OSR RPG systems. Recommended for character levels 3-4. Published by Eldritch Fields.

Something is amiss in the remote mountain town of Zuria. The head priest has not filed a report in months, and traders following the winding road into the high-altitude valley do not find their way back home. The Church of Palnor, benefactor and watchers of the Tomb of Kings, are greatly concerned. Can the PC discover what has happened in this isolated mountain town before events turn disastrous?

A fiend lurks among the Black Blade goblins. A shapeshifting barghest fashioned by the General of Gehenna to exact revenge on all goblin-kind. It’s aim: to kill as many goblin leaders as possible… A masked goblin approaches the party asking for help. Two tribe leaders are dead. But a rival for chief has control of the crime scene. Will the party discover the barghest among the goblin ranks? Can they stop this imposter before it strikes again? Adventure Overview The adventure’s story is spread over 4 parts and takes approximately 4 hours to play. The adventure begins with a Call to Action scene. Part 1: Goblin Politics. Krill sends his emissaries to implore help from any strong intermediary. The party is asked to investigate the murder of Thrawn in Dringly’s lair. This is Story Objective A. Part 2: The Opposition. Gain entry into Dringly’s lair and investigate the murder of Thrawn. Gather enough evidence to find the killer. This is Story Objective B. Part 3: To The Lair! Now that the players have determined the barghest (Yeep) is to blame, they need to get to Krill’s lair quickly as he is in imminent danger. This is Story Objective C. Part 4: The Barghest.When the players arrive at the lair, they need to get to Krill and expose and defeat the barghest. This is Story Objective D. Adventure Background A barghest named Yeep has begun its onslaught of attacks against the Black Blade goblins. Starting with Chief Gnar, then his second in command Thrawn, the barghest is moving methodically down the line of command. Krill is now chief. But he has some problems: Two leaders of the Black Blades are dead. Who killed them and why? Is he next? Dringly, the next in command, has decided to take his lair for himself, declaring himself Chief of the Black Blades. Who are the Black Blades? The Black Blades are a tribe of goblins in the local area. They are known for dipping their blades in a dark black substance. It is rumored these blades are poisonous. The Black Blades regularly attack passersby on the road to rob them. The Black Blades have two lairs, one run by a chief who leads the whole tribe, and another overseen by a boss lieutenant. The Black Blades have a well-established pecking order which is how Krill stands to become chief. The next in line is Dringly, who has also declared himself chief and wants Krill dead. Krill suspects that there is something suspicious about two leaders being killed within a day of each other, but he has already burned Gnar’s body without any investigation. He needs to investigate the body of Thrawn, but it is in Dringly’s lair. Krill wishes to avoid direct confrontation with Dringly at the present for three reasons: 1) Any violence would only kill his own tribe members and further divide the lairs. 2) He believes there is still hope for negotiation to reunite the Black Blades. 3) He believes that if he were to attempt negotiations himself, Dringly would kill him. This adventure features: Two maps. Ready for your favorite Virtual Tabletop. A full color pdf. A black and white pdf. One custom monster, a reprint of barghest, all others available in the Monster Manual. Four hours of entertainment involving: roll playing a goblin bard, investigating a murder scene, tracking down a barghest before it strikes again. Applicable to any setting.