
An army has appeared from the desert wastes led by a sorcerer said to be immortal. Fearing imminent attack, the Border Kingdoms have sent assassins to slay this so called Ravager and find this terrible rumor is true. You are tasked with discovering the secret to the sorcerer's immortality, hidden amidst an ancient crypt.

Your sleek cloudskate skims across the Skysea. It is midnight. All day long, the glass sea soaked up the scorching desert sunlight. Now, that heat lifts your ship a few inches off the glass and fills its sails. The only sound you hear is the soft swish of the diamond-edged rudder as it cuts a path across the Skysea. One thousand years ago, the wizard Martek knew that you would come to find his Sphere of Power. Now, one of his glowing Star Gems shows you the way. The starlight, reflected in the glass beneath you, flickers peacefully. Suddenly, the Skysea before you bursts up into a thousand shards of splintered glass, showering into the moonlight! A horrible creature is silhouetted against the moon. You strain against the rudder to keep your ship upright. Too late! Your cloudskate tips onto one runner, and then tumbles over, skidding to a stop on the glass. As your companions struggle to right the ship, you turn and face the monster. You must hold the creature back to give them time. Without the ship, none of you can get off the glass before the sun rises in the morning. Martek's prophecy spoke of heroes, tests, and dangers. Are you the heroes? What are the tests? What dangers and riches lie ahead? This adventure can be played by itself, or as the third and final part of the Desert of Desolation series. For character levels 7-9. TSR 9054

When a Thayan research expedition returns from the Glacier of the White Wyrm with only two survivors that are reduced to whispering about an ancient pyramid under the ice, perhaps it is time to discover just what scares the life out of a nation of necromancers. The events of DDEP2 Mulmaster Undone resulted in terrible geographic upheaval all around the southeastern region of the Moonsea. Massive landslides, earthquakes, tidal waves, and gnashing tornados devastated the land and the city of Mulmaster was nearly scrubbed from the face of Faerun. Fortunately, these events also revealed previously hidden artifacts—trinkets, mostly—from the ancient Netherese all around the city. The Thayans have long held an interest in the port city and wasted no time in assisting in the rebuilding efforts. They simply asked that a blind eye be turned to their archaeological interests, and in return they would continue to spend their own resources (at no expense to the Mulmasterites or even the High Blade) to rebuild the city, bigger and better than before. It wasn’t long before their interests paid off with the discovery of a research laboratory beneath the Glacier of the White Worm, far to the east of Mulmaster and nestled in the mountains. The Thayans sent a sizable expeditionary force but only two acolytes returned. The visiting Zulkir has found this particularly troublesome, and with the assistance of Rastol Shan, the head of the Cloaks, has arranged for a mercenary force to perform a more pointed investigation of the area. In return the Thayan noble has promised significant compensation. Upon arrival at the dig site, the characters are quick to discover that the laboratory hides ancient and palpable evil. The purpose of the facility can be discerned with careful investigation, and the effect of the still-active fragment of the Dark Obelisk has empowered (some may say attracted) servants of the Worm that Walks. Danger and death await, certainly, though the characters always have the option of running away and living to fight another day…

Decades ago a group of adventurers saved the town of Logan’s Bluff from a humanoid incursion. While the battle ended in a victory, the cost was high when the party lost a valued member of their group. In his honor his comrades and grateful citizens built a tomb over his final resting spot. In the decades since the battle peace has reigned but has recently waned with the advent of more humanoid sightings. Some have wondered if Forstal’s tomb is drawing the humanoids back for revenge.

It's all over (and literally so) after midnight. A mission with an unforgiving deadline. The characters must remove the magically-infused remains of a dead wizard and his medallion from a crypt. Pgs. 10-23

When a group of archaeologists put out a call for adventurers to help them escort a valuable artefact back to civilization, nobody expects anything out of the ordinary. However, our heroes have more than mere bandits to deal with at Havel’s Cross... Undead monsters roam the night and an ancient artefact stirs within a long forgotten temple. Getting to the bottom of the mystery will require a strong sword-arm and an even stronger stomach.

"The Hive" is a spawn of Arbeyach lair, also featuring giant termites and termite swarms, for five 6th-level characters. This adventure can be finished in one session. Several mounds in the Forsaken Hills are the dens of voracious termites that have added flesh to their diet to supplement dwindling wood supplies. At night, swarms of termites hunt and devour prey. They swarm over victims in wooden carts and wagons, and bring the dismantled wood back to their mounds. Three spawn of Arbeyach, searching for a location to summon Ia'Affrat, Arbeyach's herald, discovered a mound filled with particularity nasty termites and used their vermin empathy to gain acceptance. They dug out a cavern beneath the mound, and now use the termites to protect themselves and gather food while they complete a difficult ritual involving dozens of sacrifices. The final sacrifice is prepared and the spawn are finishing their ritual when the party arrives.

It's the little things that count. Obnoxious little problems can easily become obnoxious big ones. Although designed as a companion to "Grakhirt's Lari" (which appeared in issue#1), a copy of that module is not required to enjoy this one. Pgs. 3-8
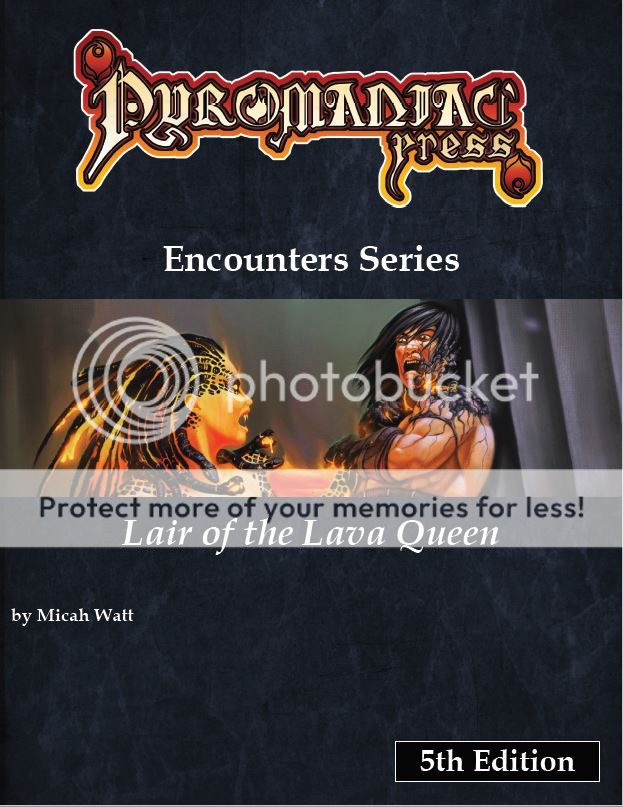
Rumours tell of a secluded cave where a powerful cleansing artifact resides, guarded by a mythical creature that no one has seen and lived to tell the tale. Heat boils forth from this cave, and tortured shrieks echo on the wind. Do you have what it takes to brave the Lair of the Lava Queen?

Expand your game with this collection of 56 NPCs of various Challenge Ratings, thirteen of which include maps and details of their lairs. Add these NPCs as a side-quest, a main villain, a one-shot, a bounty for easy money, or however else you wish. Written by some of the best-selling authors on the Dungeon Masters Guild and outstanding podcasters, each NPC includes an image, a backstory, motives, flaws, and a stat block. Some even include new magic items!

Silent crawlers with a venomous bite. Web spinners, creating sticky, beautiful homes that double as deadly traps. Nature’s most artistic killers. What fools would grow these tiny killing machines into the size of ponies or even larger? Gnomes! Opportunistic dark gnomes, looking for profit, who stumbled upon an inter-dimensional substance—experimental, yet undoubtedly powerful. Then something came creeping down the strand that connected the spiders to the inter-dimensional world, a shadow—the Shadow of the Spider Goddess! This adventure is designed for 5e for 4-6 characters of 6th level. The adventure is designed to link to the Lands of Lunacy setting from Fail Squad Games, but has been adapted to be run in any setting with no additional GM or player effort. The hold of Nevnooblin contains steam technology and creatures.

Beyond the western mountains, the orcs generally kept to themselves. Over the years they built their civilization. They enriched themselves through magic and music, and followed a doctrine of peace and acceptance that was empowered by the dangerous mountain range on one side and the swirling seas on the other. Their quiet society was shattered when a djinni named Hasteth was summoned by their elder mages. Hasteth was a creature of pure evil and perverted the wishes that it granted. In time, the orcs were able to trap the djinni within an enchanted ceramic jar called the Annihilation Hold, but not before their entire way of life was torn asunder. Many centuries have gone by and the orcs are scattered to the wind, with few recalling their proud nation. The hidden complex containing the Annihilation Hold has been discovered. Tales of wealth and magic fill the rumors the adventurers overhear. Will your adventurers brave the hazards inside to claim the riches?
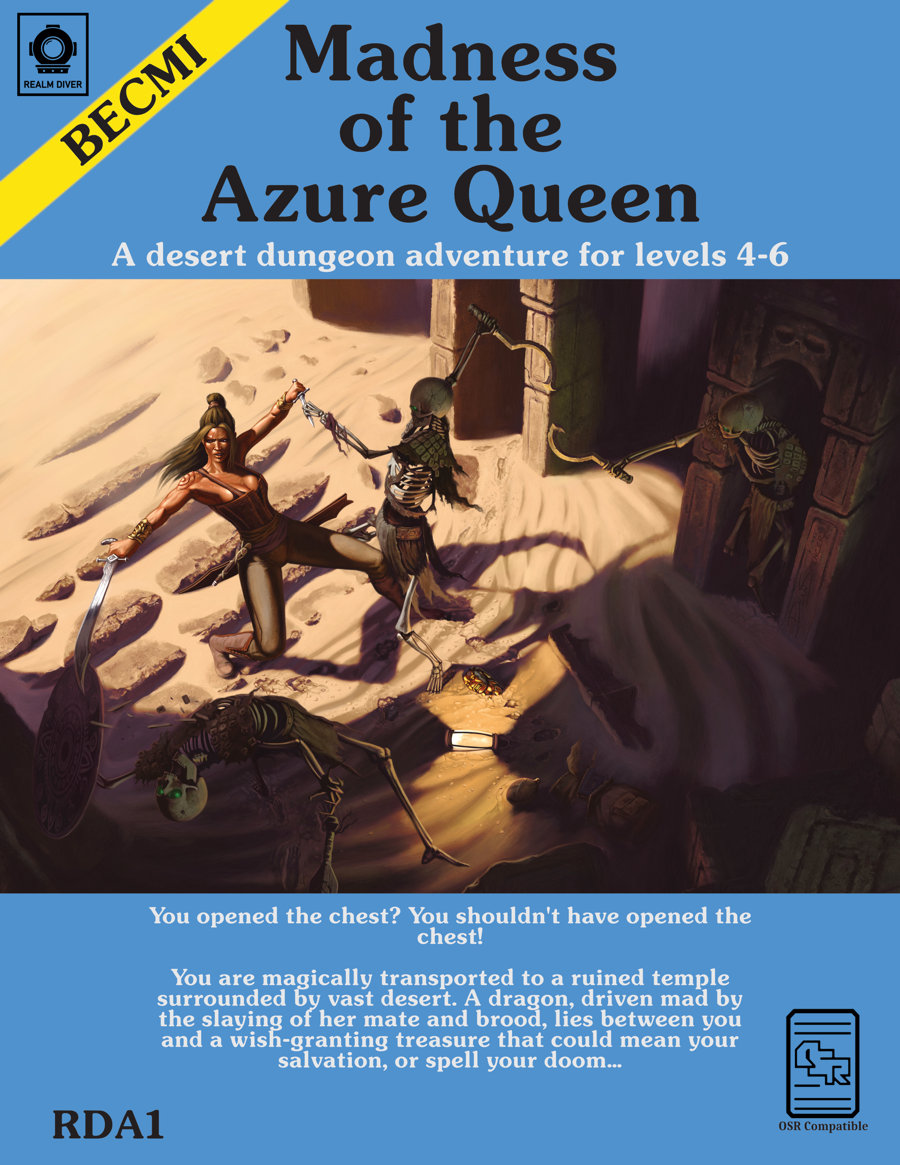
"You opened the chest? You shouldn't have opened the chest! You are magically transported to a ruined temple surrounded by vast desert. A dragon, driven mad by the slaying of her mate and brood, lies between you and a wish-granting treasure that could mean your salvation, or spell your doom…"

Special Basic/Expert Transition Module Barely one day's march from Kelven, the uncharted tracts of the Dymrak forest conceal horrors enough to freeze the blood of civilized folk. Those who have ventured there tell how death comes quick to the unwary - for the woods at night are far worse than any dungeon. But you are adventurers, veterans of many battles, and the call of the wild is strong. Will you answer the call, or are you afraid of the dark terrors of the night? The campaign adventure is for characters just beginning Expert play (levels 2-4) and hurls them into the exciting outdoor world which awaits in the Expert rulebook. With a 64 page booklet, 2 double-panel covers, a double-sided, fold-out mapsheet and 120 die-cut counters, this super module provides all you need for epic wilderness and dungeon adventuring. Journey across the Grand Duchy of Karameikos in a desperate race against time and the forces of evil. This adventure is for use with the Dungeons & Dragons Expert Set, which continues and expands the D&D Basic Rules. This adventure cannot be played without the D&D Basic and Expert rules produced by TSR inc. TSR 9149
Centuries ago, the four deities worshipped by mortals – Kishar, Kotaresh, Lyth, and Asar-Segt – threatened to drown the world in a flood of saltwater to punish the living for their impiety. The oracles and witches of the realm struck a desperate bargain with the gods, however, and convinced them to spare the world. In exchange, the mortal kingdoms were bound to demonstrate their faith once every generation by sending their most courageous and adroit warriors to the Crucible, a ziggurat in the lowest valley of the land. Every quarter-century, on the first full moon of summer, an eclipse darkens the night and the sealed ziggurat opens. Many traps, tricks, and guardians lie within the Crucible to test those who enter. Few who heed the challenge of the gods survive – most find only quick death. If the races of the world are deserving of the gods’ affection, their champions will overcome the trials of the Crucible and light the Divine Brazier hidden in its uppermost chamber. If they are not, the flickering candle of civilization will be snuffed. Little of value will have been lost. Published by Defy Danger and Save Versus Death
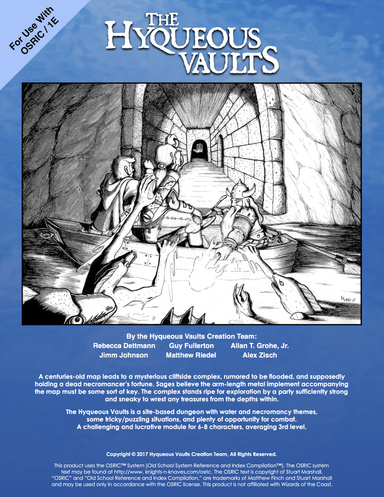
The Hyqueous Vaults is a site-based dungeon with water and necromancy themes, some tricky/puzzling situations, and plenty of opportunity for combat. A challenging and lucrative module for 6-8 characters, averaging 3rd level. A centuries-old map leads to a mysterious cliffside complex, rumored to be flooded, and supposedly holding a dead necromancer’s fortune. Sages believe the arm-length metal implement accompanying the map must be some sort of key. The complex stands ripe for exploration by a party sufficiently strong and sneaky to wrest any treasures from the depths within. Written in celebration of OSRIC’s 10th Birthday.
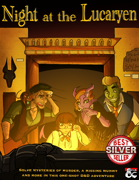
An exclusive party at an illustrious antiquities museum. A missing benefactor and host who turns up dead. A missing mummy, the crown jewel of a new exhibit, and a hardboiled detective trying to make sense of it all. And a party of adventurers caught right in the middle! Welcome to the Lucaryen Museum of Antiquities, enjoy your visit. We recommend for your safety not to wander the halls at night; some of our exhibits have a habit of coming alive and attacking the unwary. Not to mention other guests who may have something damming to hide, and a loose set of morals. Don’t worry - I’m sure you’ll be fine! In this pulp thriller mystery one-shot, your players will be thrust into the role of Occult Detectives, investigating the murder of the museum’s namesake and searching the premises by night to uncover clues and the whereabouts of a missing mummy. Inspired by films such as Night at the Museum, The Mummy, and classic ‘Whodunnit’ murder mystery tales, your players are sure to have a killer time! Featuring: 15 pages of content, comprising 4-8 hours of play A full-scale, two story museum for your players to explore Shady NPC suspects and unlikely allies, complete with unique stat blocks Myriad potential encounters and one epic final Boss Fight, with 46 unique creatures from the Monster Manual, Volo’s Guide to Monsters, and Mordenkainen’s Tome of Foes Helpful tips for newer DMs

In the aftermath of AD&D Second Edition's "Return to the Tomb of Horrors," the demilich Acererak was thought destroyed. In truth, his spirit lingered and now after eons he schemes once more to achieve divinity. The characters must travel to three extraplanar dungeons, in addition to the remains of the original Tomb, in order to stop this from coming to pass.

You possess a map to the tomb of the cursed archmage Bigby. Legend has it that the dungeon itself changes, altered by a powerful artifact and changed each time the tomb is entered. Some tales say that Bigby is trapped in magical stasis seeking something to prolong his life. All agree that great treasure and magic lie within if you are brave enough to face the hazards.

Deep beneath the Isle of Dread, in a place forgotten by the world of light, an ancient, unfathomable evil festers. Within the desiccated ruin known as Golsimorga, the debased kopru servants of Demogorgon work foul rites, steeping immature shadow pearls in pits of liquid insanity. None from the world above have yet fathomed what terrors lurk beneath the Isle of Dread, nor what mad scheme roils to profane life deep within the city's gangrenous corpse. "The Lightless Depths" is the sixth chapter of the Savage Tides Adventure Path, a complete campaign consisting of 12 adventures appearing in Dungeon magazine. For additional aid in running this campaign, check out Dragon magazine's monthly "Savage Tidings" articles, a series that helps players and DMs prepare for and expand upon the campaign. Issue #353 of Dragon features ways to improve the PCs' vessel, the Sea Wyvern, as they take their adventures back to the seas. When the PCs journey deep under the Isle of Dread to find the source of the shadow pearls, they discover horrors beyond imagining in a haunted underground city perched on sanity's razored edge. Pgs. 28-66