
A city of burgeoning technology beset upon by intrigue and insurrection, Samon has been a thorn in Emperor Hitoshi's side since suffering in the rebellion against the Kengen Occupation, its wounds still fresh on the minds of its citizens. It is not beneath the notice of Hakaisuru Bengoshi however, and the adventurers are ordered by one such official to make certain that the Tazuki Rail company's doings are not curtailed by its increasingly aggressive laborers and their shadowy union, the Fangs. Little do they know that the bite of the fangs carries a far deadlier poison than any worker's ire! What you’ll find in Mists of Akuma: Fangs of Revenge: A complex cast of 20 NPCs beautifully illustrated by Nathanael Batchelor interwoven in an impressive tale of deceit, false trails, intrigue, and lethal adversaries The city of Samon, a settlement in the northern prefecture of Hakaisuru and home to Soburin’s most prosperous railroad company Four maps by cartographer Mike Myler: an isometric view of Samon, an isometric map of the Tazuki Rail Offices, a combat map of the Chujiang Gardens, and a combat map of the Tazuki Rail Basement The dangerous Mists of Akuma and the new misted condition The hengeyokai race and kitsune, nezumi, usagi, and (new!) hebi (snake) subraces The adeddo-oni and true hebi templates as well as a coterie of statblocks: adeddo-oni hunchling, adeddo-oni mage, adeddo-oni ninja, adeddo-oni samurai, factory worker, nuwa the brute (a true hebi), wajdet the charlatan (a true hebi), the many-faceted hengeyokai ninja, and the hebikontorora snake woman
Now bound to Queen Abrogail by infernal contracts, the villainous adventurers are tasked with destroying the Glorious Reclamation's headquarters in the former citadel of the Hellknight Order of the Godclaw, where they face a gold dragon ally of Iomedae herself! Only if they can survive the terrible onslaught of this fearsome foe and secure the citadel from the revolutionaries can the vile characters succeed at their quest—to perform an evil ritual, using the dragon's head to craft a legendary weapon capable of defeating the Glorious Reclamation's army of valorous knights once and for all.

Hurry! Hurry! Hurry! Step right up, ladies and gentlemen, and behold the greatest circus in the land! Behold the skilled mummers performing at The Stage; you’ll literally feel like you’re part of the play! Thrill to the death-defying acts (and audience) in the two rings under the Big Top! Laugh at the antics of the baleful buffoons, harmful harlequins, and malevolent merrymakers of Clown Alley! Gaze in wonder at the wild beasts of the Menagerie, (just make sure you know which side of the bars you’re on)! All this and more, for the small price of a single admission, to Bitterbark’s Magnificent Circus! The circus is in town! But there’s something not quite right about it. There are rumors of missing children, evil plots, and more. Can you discover the secrets hidden inside Bitterbark’s Magnificent Circus? Intended as a stand-alone adventure, but there are notes on how to include it as part of the Castle of the Mad Archmage mega-dungeon adventure. Published by BRW Games

Bale, the kind gnome and owner of Bale's Outfitting Outpost, requests that the adventurers track down a group of youngsters that rented horses from him. The horses are overdue and Bale believes that he may have been swindled. Unbeknownst to the gnome, the party of young adventurers has met a dark fate. Will your adventurers accept Bale's request to track down the youngsters and, in doing so, find out what really happened? Or will they leave more blood on the trail? The module includes an introduction to Bale's Outfitting Outpost, encounter stat blocks, maps, and a battle stat tracker. Note: You do not need the Bale's Outfitting Outpost module to run this adventure.

When Treason Walks the Land... Trouble stirs in Dunador! The King lies dead of a wound received during a hunting expedition. His brother, Lord Edrin, challenges the rightful Crown Prince, a half-trained young man named Edmund, for possession of the throne while Edmund travels on a pilgrimage to the holy shrine of Nevron. Forces throughout the kingdom vie for control of the realm. Can the player characters find the Crown Prince and protect him from the treacherous forces at large in Dunador? N3: "Destiny of Kings" (1986), by Stephen Bourne, is the third adventure in the novice series for AD&D. It's up at the upper end of what could be considered "novice" play, though, with the pre-rolled characters being 3rd and 4th level. It was released in February 1986. Like N2: "The Forest Oracle" (1984), this adventure is offered as a generic adventure, not specifically based in any existing AD&D setting. Suggestions are given in the conversion guide to place the adventure in the Forgotten Realms. Out of the Dungeons. One of the most impressive elements of N3 is its complete lack of dungeons. Instead - as was increasingly the case by the mid 80s - the players are heavily embroiled in a plot. They must find the prince of Dunador and return him home safely. Elements of investigation and intrigue thus find their way into the game. There is also some opportunity for wilderness adventure - a quality that was also becoming more common in AD&D by the mid-80s. Future History. A decade after its original publication, Wizards of the Coast updated "Destiny of Kings" to 2nd edition AD&D and reprinted it (1998). It was one of the few classic adventures to receive this treatment. This conversion guide allows DMs to run the original module with 5th Edition rules and provides a reference sheet for encounters. To use this conversion guide you will need a copy of Destiny of Kings, originally available in hard-copy and now for sale in digital format at the DMs Guild.
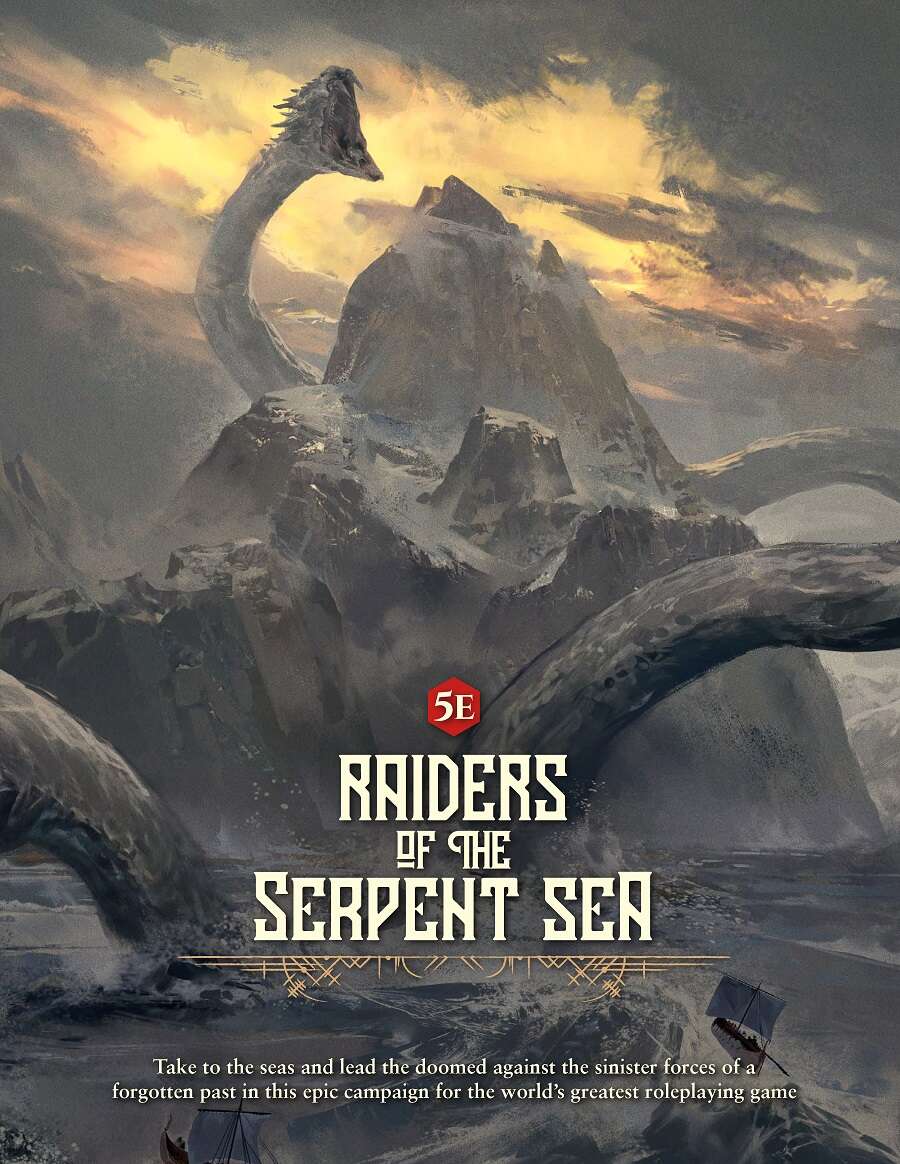
From the lead designer of Dragon Age Origins, in partnership with the creators of Odyssey of the Dragonlords, comes Raiders of the Serpent Sea! Take to the seas of Grimnir and battle against the sinister forces of a forgotten past in an epic campaign for the 5th Edition of the world’s greatest roleplaying game! Guide 4-6 players through tumultuous waters as they become heroes across a campaign that will take them from 1st to 16th level. Raiders of the Serpent Sea is a blend of high fantasy and a darker world of grim seafaring raiders. Grimnir’s clans constantly fight to survive in this doomed world filled with ancient and fantastic creatures - giants, sea serpents, saber-toothed tigers, and the world-devouring Yoten. Nowhere is safe, danger and glory abound! The Raiders of the Serpent Sea Campaign Guide PDF includes almost 500 pages of epic adventure and supplemental material with full-color maps and illustrations that breathe life into the campaign world.

The strange city of Carrion Hill has long loomed over the surrounding swamps in eastern Ustalav, yet its rulers have shifted many times through the centuries. Often enough that only a few sinister scholars and curious minds know the true nature of the hill’s original inhabitants—vile and depraved cultists of the Old Gods. Yet this morning, a dreadful recrudescence rises from the depths of buried nightmare in the vaults below Carrion Hill. A monster stalks the twisted alleys of the city, spreading panic before it and leaving destruction in its wake. Can the Carrion Hill Horror be stopped?

5e Solo Gamebooks presents Drums at Daggerford, the fifth in our continual series of solo adventures set in the Forgotten Realms. This quest enables you to experience D&D without a dungeon master! Simply roll up a level 5 PC and get playing. Drums at Daggerford is the way you must experience solo adventuring. Players and DMs beware, a new standard has been set. This solo adventure continues the story arc first begun in Death Knight’s Squire, developed further in Tyrant of Zhentil Keep & Citadel of the Raven, and left in The Tortured Land. Drums at Daggerford’s ability to echo a Tolkien spirit reverberates throughout the narrative no matter which path you may choose. But choose wisely because a razor’s edge separates peril from glory. Over a year in the writing, this latest instalment in our solo adventure series is a mini sandbox campaign that will give you anywhere up to 8 hours of solo adventuring enjoyment. Completionists and those who like to replay these adventures will get even more gametime. There are mysteries to be uncovered, items and sidekicks to be gained, codewords to unlock and villains to conquer! With lots of exploration, meaningful decisions, hard fights, and a variety of rewards and stories, Drums at Daggerford will continue to resonate with you long after solving the big mystery behind Krond Vikkurk’s malevolent plans.
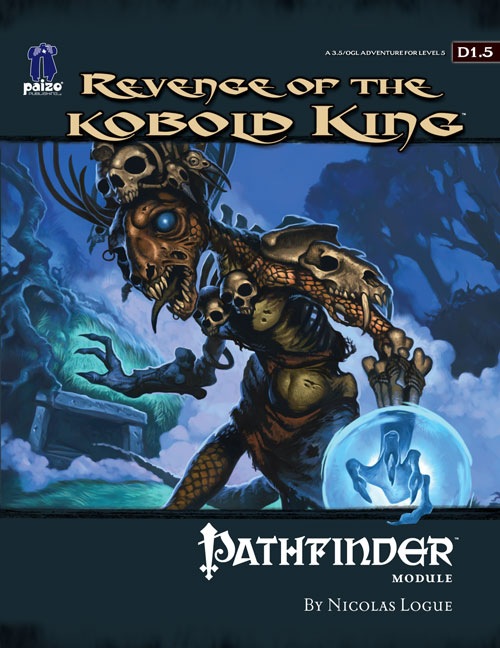
It should have been the end. When the bloodthirsty adventurers burst into his throne room and mercilessly cut him down, the tale of Merlokrep, last king of the ill-fated Truescale Tribe, should have ended. But the fates weren’t yet finished with the Kobold King, and now a dark power has brought him back from the dark beyond to wreak his vengeance upon those foolish adventurers who destroyed his tribe.

The village of Darbin has fallen under the control of Kurishan, a mad wizard who recently died and was reincarnated as a shambling mound. He has created a new kind of plant, the brainvine, and is using it to possess the villagers. When contact with the town is lost, the PCs are sent to investigate.

The Pit of The Oracle is a game module designed for use with the rules of Advanced Dungeons & Dragons. It can be used by itself as a self-contained campaign (or as a springboard to a larger campaign), or it can be easily incorporated into an existing campaign. Comment: Level range is my best guess. Adventure includes a lot of unique short-hand

Stop the goatfolk, or watch the world be tread UNDER THEIR IRON HOOVES The goatfolk of Capra are a cruel, mericless race from the olden days. They sacrificed their souls to devils and swept the world like a plague, conquering and enslaving. The united races managed to enact a ritual and banish them out of time...but the Caprans have returned. Raiding parties strike from the wastes, stealing men, women and children in the night and dragging them off to Capran's black temples. Only the heroes can find out the Capran's true purpose and end the threat before the armies of goatmen sweep the world once more in iron and blood. Features 5 NEW MONSTERS designed to work together. Every combination is a new, interesting tactical challenge. UNIQUE MECHANICS: Each battle is presented on a unique battlefield. Will your players adapt or perish? ROLEPLAYING: How will players deal with the men who sell their brethren for a quick buck? Will they negotiate with the dark elves who have a tenous alliance with the goatfolk?
A Giant Ransom is a short adventure for four 11th-level characters. There are opportunities for diplomacy, stealth, and combat, based on the choices the PCs make, so any mix of classes is appropriate. The adventure can be set in any campaign world, in a frontier region near glacier-covered mountains. In the story thus far, the PCs have been tasked by Duke Ambrinigan, a local lord, to recover a stolen statue of a golden lion. The lion was stolen in transit by frost giant raiders, and was to be ransomed back to the Duke for 10,000 gp. The PCs were sent to perform the exchange. The giants, however, were attacked by the white dragon Whildenstrank, who stole the statue and retreated to his lair in the middle of a nearby glacier. The PCs encountered the remaining giants, and then set off westward toward the dragon's lair. They traveled across the flat part of the glacier, encountering the frost giant ranger Velg the Dragon Tamer, as well as some burrowing bulettes. Then they braved the hazards of frost worms and remorhaz in the Ice Canyons: a maze of twisting passageways surrounding the black spire of rock that the dragon calls home. The PCs now stand at the edge of an open space, looking at the towering edifice in front of them.

The Chinese legend of Lady White Snake, like a serpent shedding its skin, is a tale that’s been renewed many times. At its core, it is a tale of a water snake granted magic and human form when a mortal man drops a god’s gift of immortality into the river. It is a story of friendship in which the white snake saves a green snake’s life and shares her powers. It is a story of jealousy in which a turtle spirit covets their immortality and plots against them. It is a story of selflessness in which the white snake sacrifices all—trapped in a pagoda for eternity—to save, from the turtle spirit, the same mortal man she’s grown to love. But in some retellings, it is a story of evil and good, Lady White Snake, an evil demon, and the turtle, a well-intentioned monk. Or it is a story of treachery, the green snake betraying her closest friend. This adventure embodies the multi-faceted nature of the original legend transformed over centuries. The town’s healer, Lady White, has been captured, and everyone in the village has a different story to tell. It’s up to the characters to decide who they trust, what they believe, and what they’re going to do about it.

A Place and Time for Death is a companion adventure made to go along with the events unfolding in Folio Digital Quarterly #1, (GK1 The Adventure Begins). Far out in the uncharted territories, the Enlightened still cling to life, but the ever encroaching presence of the xenophobic Samaya threatens the last of their hidden enclaves. Now, a bounty hunter has been dispatched to deal with the supposed Enlightened sympathizers in the border town of Hogan's Hooch, but there is more to the story than meets the eye. Unbeknownst to the citizens of the town and old relic of the Final War is the price the bounty hunter seeks. Can the party find a way to thwart the bounty hunter and deal with the relic before it falls into the hands of Samaya willing to use it to sway the balance of power in the world? This adventure is formatted to both 1E & 5E gaming rules.

‘Wyrd’ things are afoot. This town might seem like your ordinary, post-apocalyptic-now-turned-fantasy locale, but it is not! Fell Cults have begun to take over and it is up to the brave adventurers to stop one in particular: the Cult of the Shield Ghul. But the ‘Wyrdness’ doesn’t end there. Though this adventure can be used to facilitate your typical wander-around-and-kill-everyone-to-take-their-stuff-type scenario, it also includes a sinister (and frankly genius) plot, feuding factions, plenty of hyphens, not to mention bizarre NPC’s and situations to either interact with or stab to death.

The Haunted Hamlet and other hexes details four unique modular locations for your game. Made for old school essentials, but can easily be used with other old-school systems or even 5E. The four locations detailed in the zine focus on gameable content and being easy to use at the table. The locations are not connected to one another and can be sprinkled onto your campaign map however you like, or run as one shots. The PDF is graphic and art heavy and utilizes random tables and other tools to make it easier for GMs to run in a pinch. Details: 40 pages Single column text 8.5 x 5.5 aspect Black & White Bookmarks Four hex locations Random tables A rival NPC party A sky merchant A one page town Two hirelings
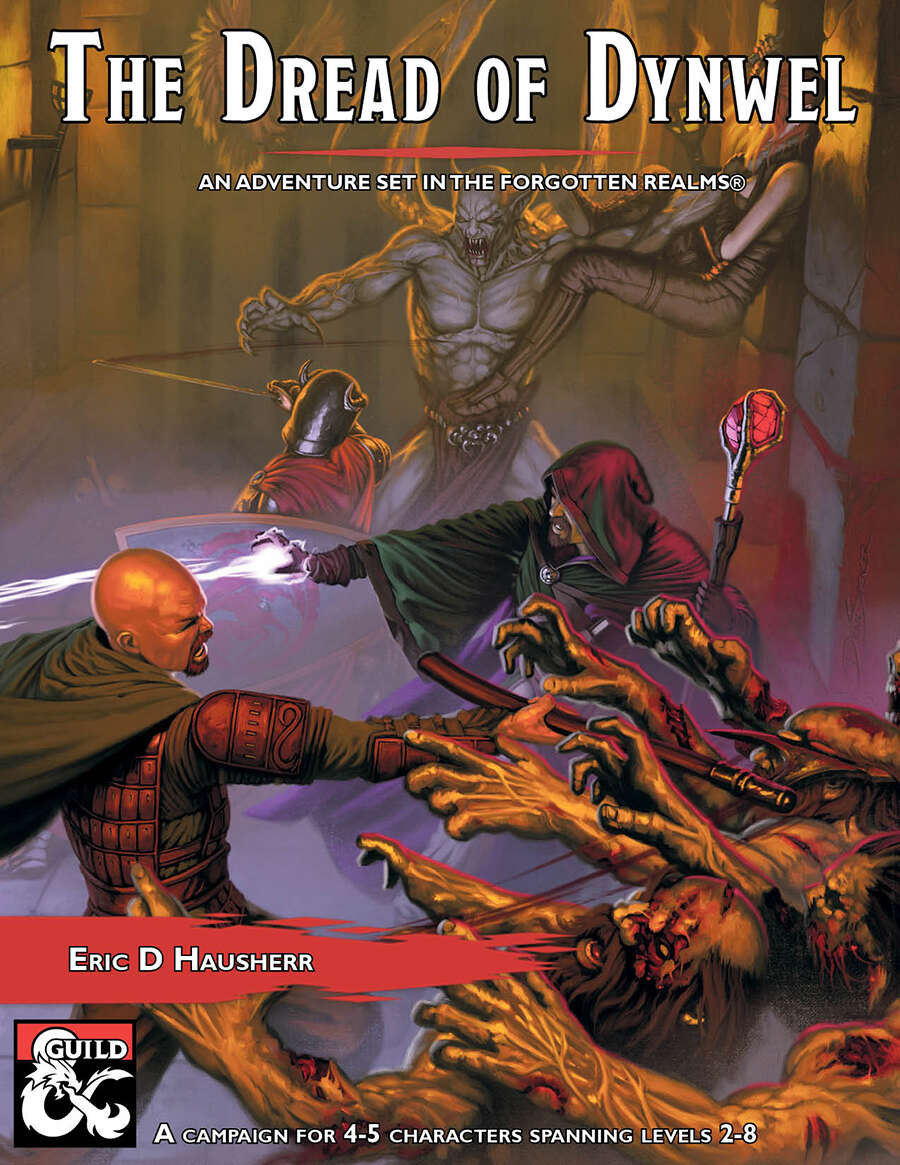
The Dread of Dynwel is an adventure set in the Forgotten Realms and optimized for 4-5 players. The characters start as a down on their luck but somewhat experienced crew of adventurers with a wanted poster which pays a much-needed gold reward. Soon, events in the Sunset Vale are revealed as more dangerous than they seem, sweeping the characters along with them. From the heights of the Sunset Mountains, the alleyways of Scornubel, and depths of the Reaching Wood: The Dread of Dynwel covers levels 2 through 8 and features material which can be played as a full campaign or dropped into an ongoing one.
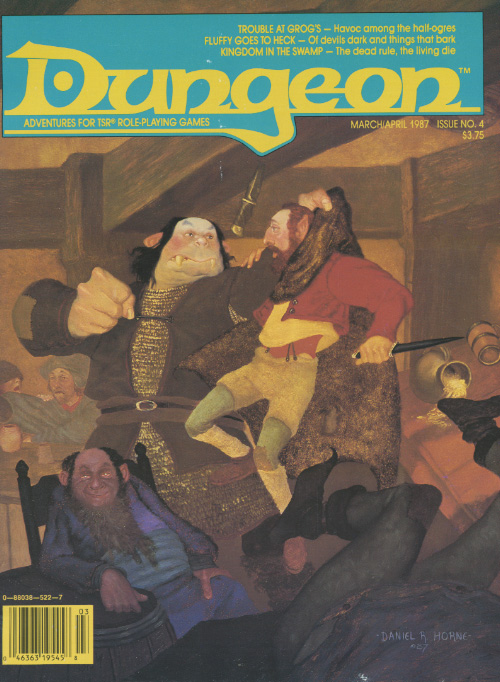
A little beer, a little trouble, a little party on the rubble. Can't a half-ogre find a little peace in the riverside town full of adventurers, bigots, and thieves? "'Trouble at Grog’s' presented something no one ever expected to see: a sympathetic half-ogre. All Grog wanted to do was settle down as proprietor of the Happy Half-Ogre Inn and Tavern. Little did he know his success would rub the competition the wrong way, leading to some 'inn-fighting' with the owner of the rival Dagger Rock Tavern, Yuri Kineron." - Christopher Perkins Pgs. 41-64

Chapter 2: The Sinister Secret of Saltmarsh In this version of the adventure, the characters find navigational charts and logs aboard the Sea Ghost that implicate its crew as slavers. Ned Shakeshaft is a Scarlet Brotherhood agent. He makes an attempt to foil the characters, but his true intent is to surrender and implicate Gellan Primewater as a key villain. The distraction afforded by the lizardfolk and the looming sahuagin threat gives the Scarlet Brotherhood the opportunity to bring more agents into town. posing as mercenaries brought in by Anders to protect the town. If Gellan can be removed from the council, Solmor might ask one of the characters to take his place.