
Sinister, twisting images...Horrific nightmares lurking at the corners of the mind...These are descriptions used to tell the tales of the Labyrinth of Madness. But these tales of the labyrinth are only legends, really, nothing more than stories used to frighten children at night - until a mysterious scepter is found, bearing within its crystal head a visage of insanity and terror, and also delivering a message: "Disturb not the Labyrinth of Madness again, and live a while longer." Now a powerful temple suffers from a tragic curse that is somehow linked to the labyrinth. Does there exist a group of heroes who can penetrate this dark and terrible place to life the curse...and survive? Labyrinth of Madness is a multiple-level, three- dimensional dungeon adventure, a puzzle within a puzzle, that commemorates 20 years of gaming with TSR. TSR 9503

In ages past, the wizard Karavakos made a deal with devils, which resulted in him being trapped in an extradimensional pyramid, unable to escape. His only hope for escape is to lure adventurers into the Pyramid, in hopes that they will destroy his splinters and return his power to him. But his wife Vyrellis, whom he slew in a rage when the Pyramid formed, still lingers in spirit and wants nothing more than to see him laid low... Although set to allow PCs to just fight through each encounter, tips are included for PCs negotiating with the factions trapped in the pyramid.
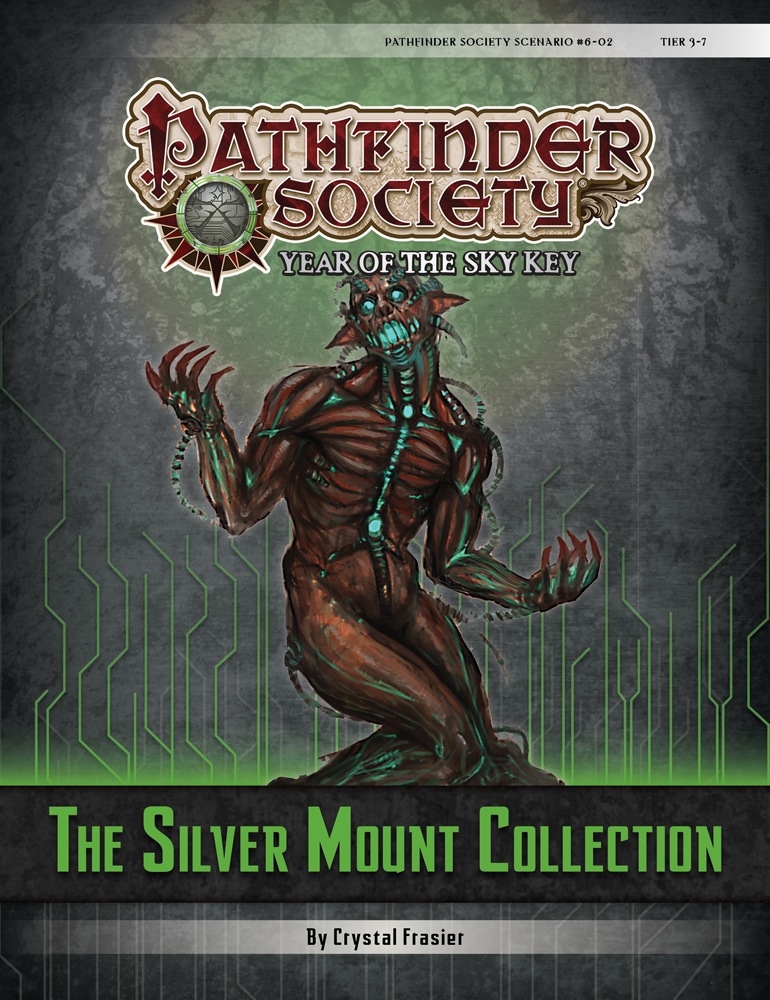
The esteemed Blakros family—famous for their museum in Absalom—receives a large shipment of artifacts from Numeria but fears that the ever-vigilant Technic League will attack to reclaim its "stolen" property. When they request the help of Pathfinders to help guard the collection, the PCs discover that the Technic League is the least of their worries. Content in “The Silver Mount Collection” contains faction missions for the Dark Archive.

As first level PCs, your quartet begins to run low on funds and needs a job. A consultation with the local Alderman uncovers the city of Marshall is current in the grip of a crime syndicate. The ‘voice of the people’ points out that treasure and accolades would go to the group able to rid the city of this scourge. Eager to prove your mettle, you and your associates offer to help!
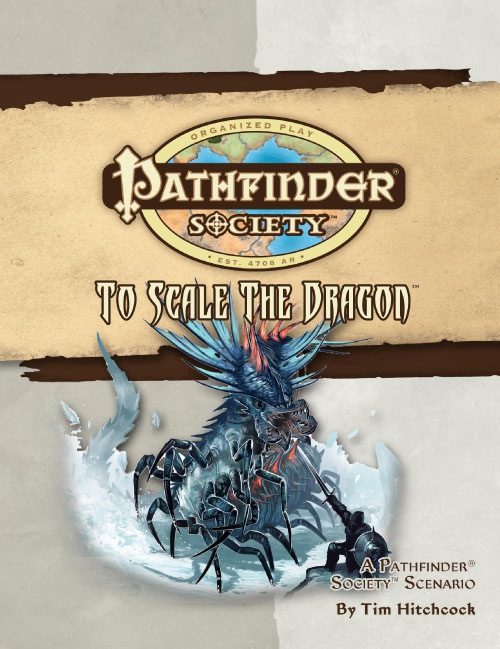
The last remains of a sage from an age long past rests high atop the snow-covered tips of the Fog Peaks in Southern Galt and the Society wants his bones in order to study them and learn from them. They've sent you into a wintry wilderness of primordial beastmen and snow creatures not seen below the snow line to do just that. With the Aspis Consortium also seeking the bones, the race is on to beat them to the top and, once the bones are recovered, to make it back down alive.

Alton Lightheart, a lhalfling thief, went looking for a magic sword at the Storm-Sun Cliff. He & his two comrades were ambushed by a dusk (collective term) of malign shadows. He was knocked out and nearly killed. Before the shadows could consume Alton, a giant owl pair chased them away. Later, he awoke badly injured, not knowing his allies’ fate (they became shadows). Shaken, Alton saw he no longer cast a shadow! Disturbed, he fled to the village of Croy. Alton’s freed shadow, Kra, and its dusk now stalk him, longing to devour him in the dim light. This chapter starts in Croy. As the PCs arrive, an exhausted Alton sits in the Dragon’s Claw Tavern, back to the wall, skittishly watching. He ask PCs for help to face these terrifying monsters before his essence fades away. Published by Wicked Cool Games

Questing through the forest, you will be tested. Which side will you take between a wizard and the Keepers of the Veil? Will you be able to find the materials necessary to help cure your friend of the ancient evil that assails him? And when it comes down to it, what are you willing to sacrifice for your beliefs? Third Time’s the Charm picks up where Second Glance left off and invites the PC to find a wizard who can help heal the Crystalline Curse slowly paralyzing the PC’s friend and protector. As the party grows closer on this adventure, learning to depend on one another, they must also navigate the Veiled Wood’s changing landscape, deciding who they can trust and who they will help as much lies in the balance. Though this was written as the third installment in the Crystalline Curse Trilogy, this adventure can be inserted into any campaign setting and scaled accordingly. Third Time’s the Charm is part of our mission to bring you high-quality, ready-to-play material that supports adventuring parties of 1 Player and 1 DM. This adventure is written for a third-level character in a one-on-one 5th edition D&D campaign. Everything you need for your own two-person game is inside! This product includes: -A 3rd or 4th-level adventure adaptable to any setting -Stat blocks for one new creature and two NPCs -A region map, two sitemaps, and a hand-drawn dungeon map to aid the PC’s investigations -A fully realized forest region with fleshed-out NPCs and places to explore -Detailed backstory for the ancient warrior sheltered inside the PC’s treasured amulet -Four custom magical items And helpful tips for DMing a one-on-one game This adventure is perfect for those looking to begin or continue their duet campaign. Published by D&D Duet.

This material was originally published as two separate adventures, D1: "Descent into the Depths of the Earth" and D2: "Shrine of the Kuo-Toa." Contained herein are referee notes, background information, maps, and exploration keys intended for use with the Advanced Dungeons & Dragons rules. The adventure can be used alone or as part of an extended adventure that begins with G1-3: "Against the Giants" and continues with D3: "The Vault of the Drow" and Q1: "Queen of the Demonweb Pits." TSR 9059

The player characters have been invited to compete in the infamous Laureate Trials. The Laureates are a well-known adventuring guild. Once a year, they allow a select group of known adventurers to take part in the Laureate Trials. The prize is becoming an official member of the Laureates, with all the perks and responsibilities that awards. Rumour has it that new initiates will be awarded a coveted Laureate Pin, with special powers of communication. This adventure is a starting module, designed for new players and Game Masters. It should take 1 - 2 hours with a standard group of 4 players. Everything you need to know is contained inside or in the Dungeons & Dragons Basic Rules. It is ideal for helping a beginning group of heroes get started and giving them a motivation for further adventures. Inside, there are Trials to test Agility, Wits and Combat, plus a special encounter at the end which will determine the fate of a forgotten individual.

Social conflict and negotiations, combat, random encounters, treasure, and dungeon delving — all the elements of a classic D&D adventure in 4 hours. Don’t be put off by the 80+ pages! Half of it is maps and character sheets! Goblin Trouble is a short adventure for four 1st level characters. Written for the Dungeon Masters who are running their very first game, it is full of useful advice and tips on how to prepare for the sessions and how to run the game, easing everyone into the game mechanics along the way More advanced Dungeon Masters and players have the option to use extra options for most encounters that make the game a bit more challenging and fun. In the adventure, the party visits a small village in the Green Forest. There they learn about nasty goblins that terrorize anyone who enters too far into the forest... Is the party up to the challenge? This adventure is also a perfect choice for Dungeon Masters who are looking to expand Lost Mines of Phandelver. With this purchase you’ll get: A beautifully-illustrated 4-hour adventure in PDF format Four unique color maps in both Player and DM versions. All the maps are available as separate files, so they’re easily imported into Roll20 or another VTT. A special Adventure Tracking Sheet that helps you prepare for the game and track your progress 12 ready-to-play, slightly simplified 1st-level characters with backstories so you and your players can immediately jump into the adventure! The players also get a short guide that helps them choose the perfect hero for them. Goblin trouble must be solved. Time to set off on a grand adventure! Would you like to know what the supplement looks like inside? Click the preview under the cover picture above!

An injured young fisherman stumbles into Elventree with a brightly colored egg in his arms. He claims it fell from the sky and broke his rowboat. When he swam to the shore an elf with skin of ash attacked him and tried to take the egg. Will you help him keep it safe, Adventurers? The Module This module is 35 pages of adventurer's league fun centered around a mysterious egg that has fallen from the sky, a journey into the Feywild, and a meeting with an Archfey. It rewards exploration, social bravery, and the combats are well tuned for the tier with interesting enemies. Also Included! There are 15 map files included with this document that cover Dungeon Master, Player, gridded, gridless (for use with your Virtual Tabletop of choice!), and greyscale! In addition, there's a high resolution artwork of the Archfey present in the module.

The story takes place in a village in Ravenloft. The party has been invited to accompany the young couple Burgomaster Alexandru and Mihaela Nichitovich [ni-KEE-toh-vich] of the hamlet of Nichitovia [ni-kee-TOH-vee-uh] to Rosenwald, a deeply religious community. Alexandru has asked the priests of Rosenwald to conduct a traditional ritual to gain him the favor of the Morninglord for his tenure as burgomaster. This is a ritual all burgomasters traditionally receive, including his late grandfather, who is entombed at Rosenwald. Father Petre and Sister Elena of the church of the Morninglord loosely run Rosenwald. They offered to throw Alexandru a banquet at the House of the Morninglord before the ritual, set to take place during the next full moon. However, all of the clergy have secretly become afflicted with the aswang curse. Father Petre is a halimaw and Sister Elena a kubot, both of whom gained their powers through dark pacts with demon lords of the Abyss. The other priests and acolytes are busos, survivors of encounters with roaming tigbanuas, who found sanctuary with Petre and Elena. The pair refer to these busos as their flock, and plan to feast on the guests after the banquet.

Someone in the misty, wooded Moonshae isles needs hundreds of brand new swords taken under guard from Sword Coast smiths to a certain place on the Isles. The swords are needed so badly, and their safe arrival is considered so unlikely, that someone is willing to pay adventurers a lot of gold - someone fairly important. Adventures foolish enough to take assignments too good to be true (or merely desperate for coins) will soon find themselves embroiled in a dark and mysterious struggle against evil that will take them into sacred groves, crumbling castles, and through ancient magical gates to the halls of the High King - and beyond -- An adventure that takes place on the Moonshae Isles, in which a mid-to-high level party fights against the encroaching darkness of The Cult of Bane. Although helped by the Harpers, players will have to uncover the plans of the cult, and thwart them where possible. Preventing the summoning of the "Godson", a manifestation of Bane's evil. Part of the "Forgotten Realms Adventure" series, this is FA1 - Halls of the High King. FA2 is "Nightmare Keep" TSR 9301
The Siege of Castle Rend is an adventure for the fifth edition of the world’s first roleplaying game, suitable for five 5th-level characters. It takes place over four parts, and each part can be completed in one or two sessions of play, depending on your group’s playstyle and how long you like to play in a single sitting. If all goes according to plan over the course of this adventure, the player characters will expose an usurping lord, fight orcs, acquire a stronghold, defend it from an invading army, win the admiration of a town filled with potential vassals, and make political connections within the Barony of Bedegar. Of course, no adventure goes according to plan. The PCs will invariably throw these well-laid schemes into chaos, and they’ll have to improvise. But if we know how things would have gone if the PCs never showed up (or are cowards), it makes it easier for us GMs to improvise when things go off the rails. Published by MCDM
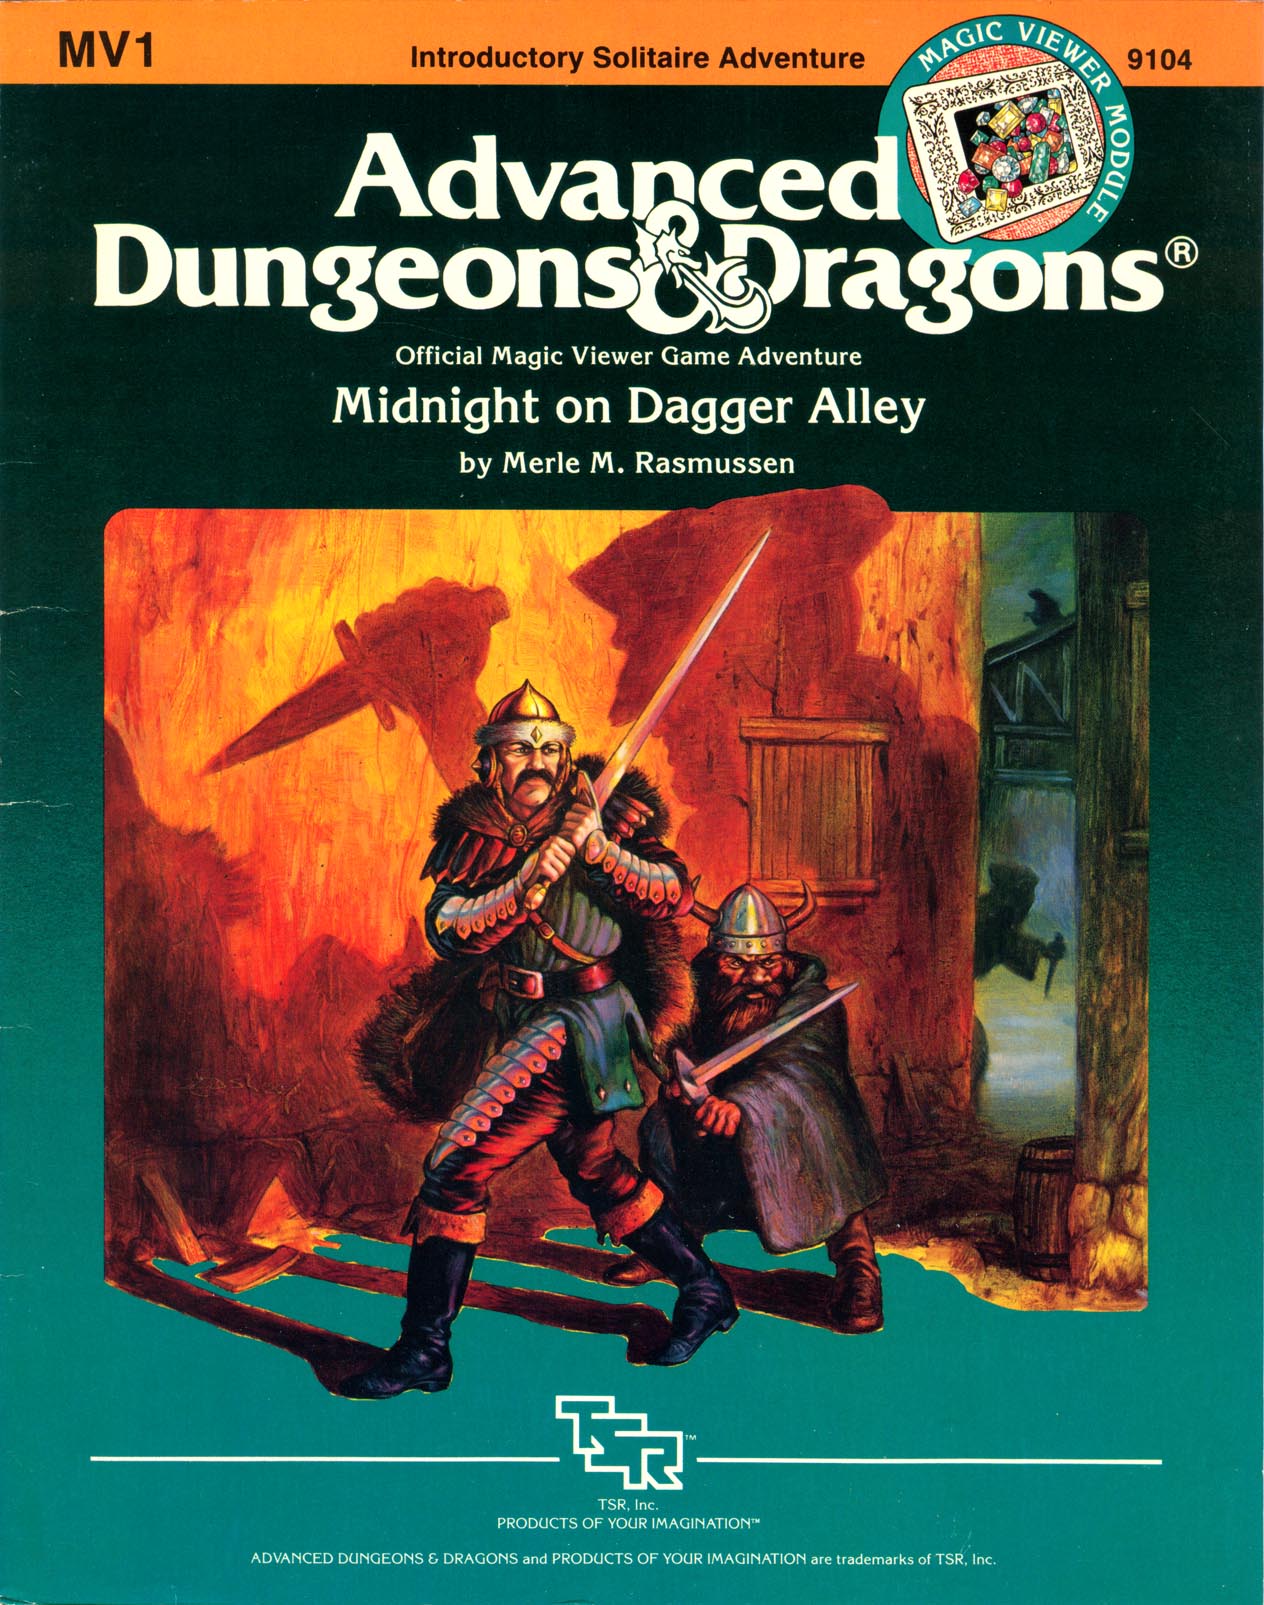
As darkness presses into the narrow, muddy alleys of Goldstar, silent shadows slip out of hiding. Now is the hour for cutpurses and cutthroats to creep into the night to do their work. Would-be victims bar their doors and lie sleepless in their dingy hovels waiting for dawn. Your task sends you into this dismal, dangerous place after sundown. No moon lights your steps as you scurry past yowling cats in smoke, fog-filled alleys. Above you and beneath you lurk unseen encounters. Somewhere ahead in the despairing gloom lies your goal, if you can survive Midnight on Dagger Alley. TSR 9104
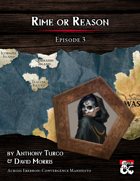
Provost Nigel Faurious’s research has revealed the location of an icy spire near the eastern side of Icewhite Island. The Provost needs the Hoarfrost Flower, an artifact found inside this spire, to make his Convergence Manifesto a reality. Eager to complete his work as quickly as possible, the Provost previously paid for an expedition from the Deathsgate Guild to explore the icy spire at the same time the Clifftop Guild surveyed the Shining Valley in the last adventure. The Deathsgate expedition’s ship, the Nightwood Cask, was destroyed by the cold of the Risia manifest zone. They made it to the island on lifeboats and headed to the spire, hoping to use it as shelter until someone from the Deathsgate Guild comes to rescue them. The spire’s builders are long gone and forgotten, but their traps and magic remain. Mror archeologists once found this place while in search of their ancestors that many believe hailed from the Frostfell. Only their camp remains in the foyer of the spire, where the party from Deathsgate waits. While the Deathsgaters’ supplies dwindle, they argue among themselves on their next steps. Should they try and make it to shore and hope their ship somehow survived, continue to wait, or delve deeper into the spire to complete the task they were hired for?

Hushed Hills is an adventure location set in a haunted town nestled in hilly woodlands. It doubles as a toolbox with encounters and NPCs to support DMs in running a gothic horror adventure. You can use it in three ways: 1. Run the Hushed Hills as a Tier 1 adventure that takes one, two, or three 5-hour sessions (based on the starting quest you select). 2. Select the best encounters and NPCs to add to your game. 3. Use the presented content as fuel to inspire your ideas. This toolbox is packed with assets and consists of: • 50 encounterswith 4 quests to tie them into an adventure. • 21 NPC outlines (including eldritch chimeras), • 3 multi-phased boss battle against the Godless Chimeras. Assets are grouped into 3 regions, including Crestfall Abbey, Town of Kletva, and Mirage Forest. Each region has a high-resolution map and each NPC a portrait. Published by: Immersive Adventuring

The mysteries and legends surrounding Whispering Widow Woods have always been enough to scare off the timid. The dense canopy shrouds the forest floor in darkness even at mid-day, and the tangled underbrush inhibits travel and can disorient even seasoned woodsmen. Lately, though, terrorized residents have described attacks by normally docile creatures, such as black bears. Respected citizens told wild tales of unprovoked attacks by treants, sprites, and brownies. The last two curious souls to venture into Whispering Widow Woods have not returned. Tales of Enchantment has no mechanism built- in to keep the players on track. That is part of the problem for them to solve. They can go as far afield as their bad judgment takes them, but the farther afield they go, the more trouble they find. TSR 9428

At the request of a stranded djinni, you have three days to steal a diamond from the marbled, enchanted vaults of the Modern Artworks Museum. Investigate its defenses, disable magical wards, bamboozle the staff, battle a golem, and escape with the prize! A group that succeeds is rewarded with a single wish - the power to bring about almost anything you desire. Highlights of the adventure include (and are not limited to): - An alternate skill check system that keeps clumsy characters involved in the heist - A fight to the death with fantasy Botticelli's Birth of Venus - The Modern Artworks Museum, a trove of sculpture, frescoes and tapestries - Museum events: sketch and sip, a gala, seminars! - Museum brochure, including handy map and exhibit descriptions - A wish Clever and light-hearted, Diamond Heist adds brains and Renaissance style to any urban campaign. This adventure centers exploration, planning and roleplay. Players match wits against various spell effects, discovering and disabling magical wards to access their prize. A cumulative alarm level system replaces pass/fail steath skill checks, so one bad role doesn't ruin the heist. The artworks described are based on those of Renaissance Italy, with frescoes, marble sculpture, and haughty nobles aplenty. Content warnings: Death of a loved one, mentioned.

It all begins with a simple request (doesn’t it always?) from an old farmer. The request – protect his cattle herd from vicious wolves. Simple enough for the brave adventurers, right? But it doesn’t stay that way. Not at all. Soon, the adventuring party will find themselves in the thick of it as they solve puzzles, avoid traps, fight for their lives, and endure witty taunting. And in the end, they discover an artifact that may, or may not, be useful to them. This adventure includes a cursed shield, a new undead creature, and a new artifact. Total party experience earned is approximately 14,500.