
What good is a king without a city to rule over? What happens when everyone in a city disappears, gone without a trace? This is the state in which an adventuring party, your characters, finds Sheol in; a city devoid of all life forms, claimed by Hegemon, a Wraith that used to be its king. Explore the empty city! Be mindful of the thieves' guilds! Find your way to the portal that leads to the castle! Fight your way through the hoards of undead to foil Hegemon's insidious plan! An adventure perfect for the middle part of any campaign, full of plot hooks, possible plot points and areas of exploration! Tons of places, like the Tower of Eiden, with backstories to tie in with any existing campaign! Discover the "Hell's Gifts", red gems that defy space! This adventure offers: 30 pages of exploration of an empty city and a castle swarming with undead. Maps for major locations Two new Monsters, Hegemon and Corvus, also usable as NPCs. 3 new magic items. A plethora of plot hooks, possible plot points, and setting-neutral lore. Many hours of fun gameplay A Dungeons & Dragons adventure written for 8th level player characters, with level adjustments for levels 5-10 for the encounters.

*THIS IS A D&D NEXT/5E PLAYTEST ADVENTURE* Imani, a Turmishan wizard and former adventurer, seeks the aid of heroes to infiltrate Dretchroyaster’s lair and recover the Diamond Staff of Chomylla—the key to powerful magic and wisdom locked away for thousands of years. In addition to his own sagely interest in the lore of lost Uvaeren, Imani recognizes the dangers of such powerful magic falling into evil hands. The dracolich has secured the staff in his lair’s cen- tral chamber, using ancient wards of protection that can be bypassed only by four artifact-idols once belong- ing to a cult of Bhaal. Each group of adventurers enters the dungeon through a different section of the dun- geon—a forgotten temple of Bhaal, a vast underground lake, a troglodyte village, or Dretchroyaster’s vaults. Dretchroyaster’s lair is no simple set of caverns and ancient ruins. It sits atop a source of great power and energy, which the dracolich and his Cult of the Dragon allies hope to use to unlock the secrets of the staff. Only by undertaking a unified assault against Dretchroyas- ter’s lair can the adventurers hope to recover the Diamond Staff and survive the dracolich’s fury. The adventurers must make their way through the lair and recover the Bhaalite idols that will help unlock the Diamond Staff, all the while dealing with the lair’s creatures and avoiding the dracolich as he pur- sues intruders. Entering the Chamber of the Diamond Staff, the heroes must overcome its magical wards and claim the staff before being slain by the dracolich and his servants.
CORE 1-2 With the identity of a murderer confirmed, heroes are needed to track it down to its home. As it turns out, it might be a longer journey than first imagined. Part Two of The Chaos in Melvaunt. The characters enter Mechanus via a portal in Melvaunt with the aim to infiltrate a modron army encampment. They must then flee the camp in a chase scene.

The fabled mines of Dhol Kuldhir once showered the Dalelands, Cormyr, and points beyond with precious gems and expertly crafted jewels. Operating from a hidden complex in the Thunder Peaks, their exquisite craftsmanship was said to rival that of even Thunderholme. Almost as quickly as it rose to prominence it vanished, along with all of the dwarven miners, crafters, and untold riches. Some speculate that the mine ran dry, and the inhabitants abandoned it for a more plentiful location. Others believe that they probably fell victim to one of the many goblin tribes plaguing the area. The truth, however, is much more grave. Centuries later, the nearby town of Keen is beset upon by unlikely thieves, the local innkeeper charges a small band of unlikely allies to investigate the string of burglaries. What they uncover leads them to the long-lost dwarven mine. In the darkness, they will have to brave insidious traps, cunning monsters, and the dreaded new lord of Dhol Kuldhir.

Every year, the small town of Whitetree has to sacrifice a child as tribute to a fiery salamander slaver, Zassan. The players must pursue the slaver, attempting to stop him and retrieve his precious cargo before it’s too late!
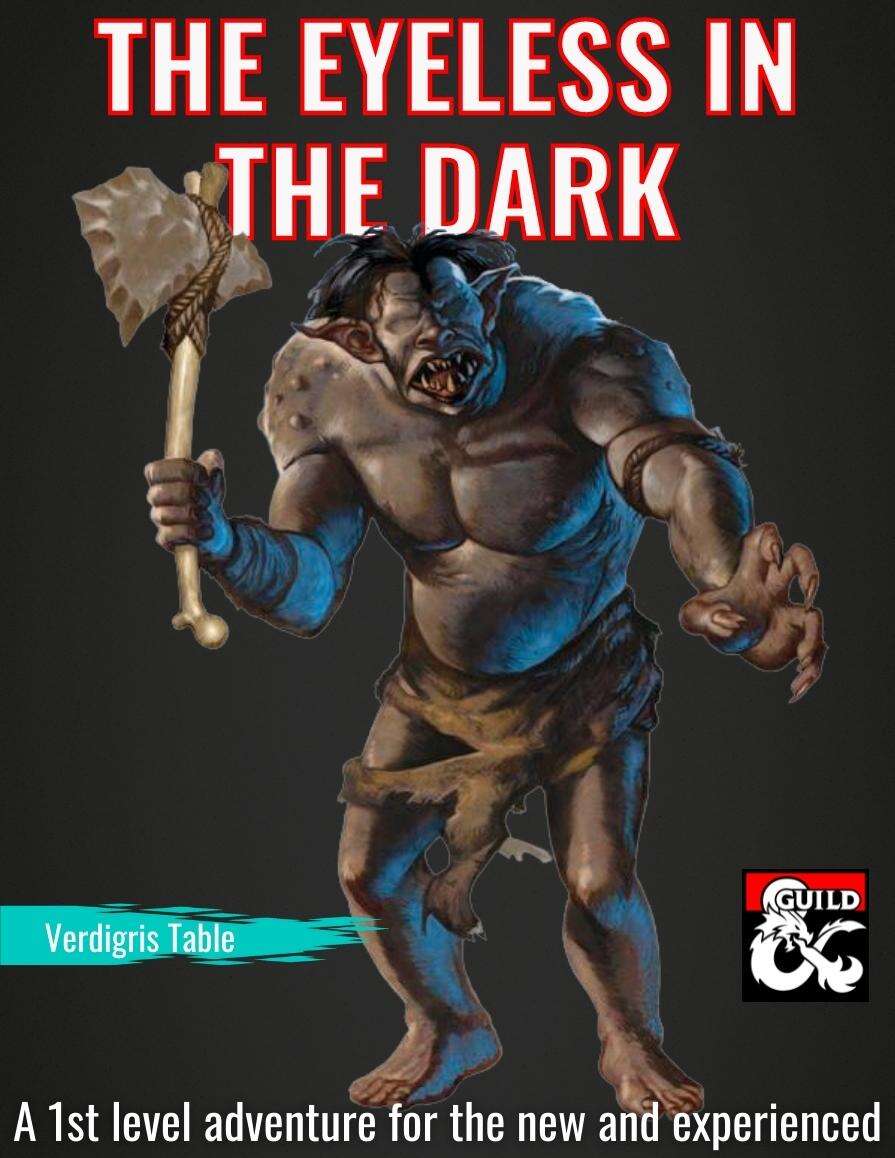
A cave-in at the dwarven mine exposed a passage into the eerie, alien world that lies deep below the surface. Monsters poured out of the darkness and killed many before the surviving miners made it back into the light. Now they seek brave adventurers to face the dangers down in the dark depths. As a one shot or the first adventure of a new campaign, The Eyeless in the Dark carries new and experienced players away from the light of the ordinary surface world and down into the fantastical dark depths where here there be monsters. Chock full of adventure, as well as design notes for Dungeon Masters that will help novice and veteran DMs provide their players with an exciting and memorable game night, and leave them eager for the next session. Use this adventure in combination with the Integrated Hill Encounters and/or the Forest and Grasslands to create an open world sandbox of adventures that can fill many sessions of a campaign.

Beasts in the Blizzard After offending that wizard last night, you awake feeling a strange chill in your bones. Perhaps it’s just a figment of your imagination, a physical manifestation of paranoia. As you rise from your bed and look out the window, you think perhaps not.

The Nexus spore is an intriguing Underdark adventure that can be sewn into any subterranean setting. This one-shot production was designed with long campaigns in mind, for when you want to break up the narrative to keep things fresh and interesting. This short adventure is ideal for players of level 5-7, although, much like the length of the adventure, it is easy to adjust. The adventure fits well into a single long session, or 2-3 short sessions. It comes complete with maps, stat blocks, boxed descriptions and a rare magic item.

The humble hamlet of Brackinstone is home to a small community of halflings dedicated to the goddess Yondalla. When a raiding force of bullywugs threatens the isolated settlement, the player characters are asked to intervene on Brackinstone's behalf. However, it soon becomes apparent that something sinister is at work in the otherwise innocuous hamlet. What's included: 1 uncanny adventure divided into single-page sections for easy running 3 extra encounters that can be added in to add tension or increase the difficulty 2 fully-colored maps with unlabled versions for players (made with assets from 2-minute Tabletop) 9 custom NPCs with clickable links for quick access to statblocks 4 story hooks to continue the adventure afterwards (depending on the characters' actions) Content Warnings: Violence, death, abduction, psychological manipulation, body horror

When the players get teleported to the plane of the Beastlands, they meet with an intelligent petitioner in the form of a Dog named Reith. Eventually Reith will lead the players to a human; an eagle winged boy by the name of Addler. Addler already knows a way out of the Beastlands, but doesn’t want the players to know because the key is his body and if the petitioners knew he could leave, they wouldn’t like him anymore. Not being the best at planning, he’ll be coerced into giving the players a map to the petitioner that helped him find the portal (A snake named Siy). After passing through some small adventures in the beastlands, the players will meet with Siy and learn about Addlers portal. From here, the players will travel back to Addler and confront him.

Beyond the western mountains, the orcs generally kept to themselves. Over the years they built their civilization. They enriched themselves through magic and music, and followed a doctrine of peace and acceptance that was empowered by the dangerous mountain range on one side and the swirling seas on the other. Their quiet society was shattered when a djinni named Hasteth was summoned by their elder mages. Hasteth was a creature of pure evil and perverted the wishes that it granted. In time, the orcs were able to trap the djinni within an enchanted ceramic jar called the Annihilation Hold, but not before their entire way of life was torn asunder. Many centuries have gone by and the orcs are scattered to the wind, with few recalling their proud nation. The hidden complex containing the Annihilation Hold has been discovered. Tales of wealth and magic fill the rumors the adventurers overhear. Will your adventurers brave the hazards inside to claim the riches?

With the rise of Tiamat threatening to destroy the world, the undead masters of Thay have approached the Council of Waterdeep to discuss the possibility of an alliance. But the Dragon Queen has agents everywhere, even in a remote keep on the Thayan frontier. A vampire noblewoman has been killed, and the characters are the prime suspects. To clear their names, they must find the real killer, and learn how even the undead may die… Murder in Thay is a 4-6 hour Dungeons & Dragons adventure for characters of levels 13-14, for use as an expansion of the "Mission to Thay" chapter in Tyranny of Dragons or as a standalone module. This publication comes with a map pack, a new magic item (the pyx of soul capture), and monster and NPC stat blocks, including two new creatures, the fearsome dread centurion and the not so fearsome undead cat!

Blue Alley lies hidden in the heart of Waterdeep. Built by a secretive wizard, it is a magic maze full of tricks, traps, strange monsters, and rich treasure. Countless adventurers have ventured inside to test their bravery and skill, yet few have returned. And now it is your turn… Blue Alley is a 3-4 hour Dungeons & Dragons adventure for characters of 1st to 4th level. It expands upon the material presented in Waterdeep: Dragon Heist, but can be played on its own or as part of any D&D campaign.

Somewhere in the region of Thesk, at the small village of Amaranth, a despicable night hag has taken residence in the farmstead of a native family. There, she devised a malicious magical disease called Lungsprout and intends to infect the unsuspecting villagers with it, using her deceptively aromatic candles. As if that wasn’t enough, she has created a powerful servant, a cross between a golem and a homunculus. She aims to slowly but steadily wipe out the entire village, and use the villagers as fuel for her hideous experiments. The players will have to rush against time and investigate the village, finding clues that will eventually lead them to the night hag herself. Will they be able to save the villagers and destroy the hag and her abominable creations?

The Cage: A valuable trinket was stolen from the well-protected manor of the lady Morrigan Strange, and she enlists the help of some able-bodied adventurers to retrieve it. As it is the way of things, it turns out the problem is not as simple as it first seemed. A vile demon was trapped in the stolen orb and threatens to kill everyone in sight after its release! The package includes background information about the involved characters, a few details about the town of Beregost, several maps, and lots of adventure!

The Puzzling Tiemple of Flummox Heist is a linear dungeon crawl utilizing word puzzles and riddles written in the English language. Challenge your players and their characters with a brainteasing mix of puzzles, combat, and roleplay in this one-shot adventure for characters of 3rd, 4th, 5th, or 6th level which will delight fans of escape rooms and solve-at-home mystery adventures. Characters travel through a mysterious underground temple packed with nine carefully-crafted original puzzles, each one presented as a beautifully illustrated graphic and all woven carefully into the narrative. By doing so they unknowingly prepare themselves for ritual sacrifice by Flummox Heist, a trickster cleric who lurks at the heart of the temple. This unique adventure also features two exciting combat encounters - each with a story-relevant twist to standard monster mechanics - and a set of interesting and original NPCs to create an immersive story for you and your players. The unique puzzles are all designed to be short, self-contained, and satisfying to solve. There's no need for trial-and-error, no grinding through fiddly codebreaking, and no need to pause your game to look up information. Instead, each puzzle is crafted as a complete short challenge with that rewarding ah-ha! moment when the solution clicks. If the characters need a nudge in the right direction, the adventure includes a full Hints Appendix with a series of escalating clues so you can help them without giving away the solution. Of course, full answers are also provided in a Solutions Appendix. Perhaps you're looking for satisfying puzzles to add to your own adventures and campaign? Although this product is a complete one-shot adventure, each of the rooms can also be used independently, allowing you to use this product as a source of puzzles, enigmas, and conundrums which you can easily drop into your own game. Treat your puzzle-loving players and their characters to an amazing crossover of D&D 5E and escape-room-quality conundrums with The Puzzling Temple of Flummox Heist.

An adventure site for 3-5 characters of levels 3-4. Featuring two new monsters from the forthcoming guide, The Hag's Hexes! Seven fully developed encounter areas! It's National Gumdrop Day on February 15th, and the forthcoming release entitled THE HAG'S HEXES has a candy hag and its candy-coated minions, so we're releasing this exclusive, seven-encounter adventure site featuring two new monsters -- the enticing Gumdrop Ooze and the cursed Crul -- to celebrate!

“...when the floor trembled and the whole town shook, the people knew Mario had been found a couple of minutes later the dust settled again on the buildings and streets. Silence. The people’s wait to see who came out of the sewers, who would emerge victoriously was agonizing. The fate of the town swung on the outcome of the battle…” Extracts from The Witch Doomsday in Master Bard Blue Barry’s Tales of Silver. This adventure is designed for four to six 2nd- to 3rd level characters and is optimized for five characters. Designed to be a one-shot to play between four and six hours. A band of deep goblins settled in the sewers of Red Witch Cove and took the towns as hostages. They take what they want when they want it without regard for the people around them and their acts are bringing the doom of the town that the merchants were holding back. The package contains: -Color version. -Black and White version. -Maps and battle maps.

From time out of mind, the standing stones known as the Circle of Cahervaniel have stood lonely vigil on a grassy hilltop. Sheepherders once moved their flocks over the hill and through the circle, sometimes resting in the cool shadows cast by the ancient stones. Everything changed when a stone finger fell, revealing a fissure in the earth. Now, dark shadows caress the circle after the sun sets. Creatures out of nightmare dance upon the hillside at night. Many swear that a unicorn of deepest ebony now hunts all upon two legs who draw near, while stunted creatures scurry in the shadows, abducting sheep from their sheds and drawing them down below ground for food. After the disappearance of a sheperd, fear grows stronger in neighboring villages. Who will brave the black hollow of the ancient Circle of Cahervaniel? Heroes of stern mettle must descend into the cavity and explore the ancient spaces existing there. Product History "The Shattered Circle" (1999), by Bruce R. Cordell, is a generic adventure for AD&D 2e. It was published in January 1999. Origins: Another Generic. After Wizards of the Coast began publishing D&D, their first year and a half of generic adventures were all classic revivals: returns to RPGA tournaments, to classic adventures, and to Dungeon scenarios. Even "A Paladin in Hell" (1998) was a return in its own way, to the demons and devils that TSR had become afraid of. Wizards was staking out new ground by reclaiming the past. "The Shattered Circle" (1999) was the first generic Wizards adventure that was simply a generic adventure, with no deeper origins and no hidden motives. Artifacts of Note. the foundingstone and the harp Euphonious are both one-off named magic items. However, it's sword Icerazor that's the most interesting. It's said to have grown from a shard of Frostrazor — a sword that would only appear ten months later in Return to White Plume Mountain (1999). There, it's listed as one of Keraptis' four implements of power, alongside Wave, Blackrazor, and Whelm — meaning that Icerazor (and this adventure) are just one step removed from White Plume Mountain itself. Monsters of Note: Chitine. It's somewhat curious, given the Greyhawk and Neverness connections, to note that the chitine debuted in MC11: "Monstrous Compendium Forgotten Realms Appendix" (1991). The spider-humanoids have generally been a Realms creature, featuring in bestiaries and histories for that setting. However, they also received a more generic "Ecology of the Chitine" in Dragon #223 (November 1995), which introduced the choldrith, or chitine priestess. This is their major adventure appearance. When asked about pronouncing their name Cordell says that he "can't be 100% sure of the original designer's pronunciation", but he prefers "KI-TEEN". About the Creators. By 1999, Cordell was one of D&D's most prolific writers. He'd previously authored many slightly related adventures, such as The Gates of Firestorm Peak(1996) and the sahuagin (1997) and illithid (1998) Monstrous Arcana adventure trilogies. This conversion guide allows DMs to run the original module with 5th Edition rules. To use this conversion guide you will need a copy of The Shattered Circle, originally available in hard-copy and now for sale in Digital format at the DMs Guild. This adventure is a generic adventure, not specifically based in any existing setting. Suggestions are given in the conversion guide to place the adventure in the Forgotten Realms.

A fiend lurks among the Black Blade goblins. A shapeshifting barghest fashioned by the General of Gehenna to exact revenge on all goblin-kind. It’s aim: to kill as many goblin leaders as possible… A masked goblin approaches the party asking for help. Two tribe leaders are dead. But a rival for chief has control of the crime scene. Will the party discover the barghest among the goblin ranks? Can they stop this imposter before it strikes again? Adventure Overview The adventure’s story is spread over 4 parts and takes approximately 4 hours to play. The adventure begins with a Call to Action scene. Part 1: Goblin Politics. Krill sends his emissaries to implore help from any strong intermediary. The party is asked to investigate the murder of Thrawn in Dringly’s lair. This is Story Objective A. Part 2: The Opposition. Gain entry into Dringly’s lair and investigate the murder of Thrawn. Gather enough evidence to find the killer. This is Story Objective B. Part 3: To The Lair! Now that the players have determined the barghest (Yeep) is to blame, they need to get to Krill’s lair quickly as he is in imminent danger. This is Story Objective C. Part 4: The Barghest.When the players arrive at the lair, they need to get to Krill and expose and defeat the barghest. This is Story Objective D. Adventure Background A barghest named Yeep has begun its onslaught of attacks against the Black Blade goblins. Starting with Chief Gnar, then his second in command Thrawn, the barghest is moving methodically down the line of command. Krill is now chief. But he has some problems: Two leaders of the Black Blades are dead. Who killed them and why? Is he next? Dringly, the next in command, has decided to take his lair for himself, declaring himself Chief of the Black Blades. Who are the Black Blades? The Black Blades are a tribe of goblins in the local area. They are known for dipping their blades in a dark black substance. It is rumored these blades are poisonous. The Black Blades regularly attack passersby on the road to rob them. The Black Blades have two lairs, one run by a chief who leads the whole tribe, and another overseen by a boss lieutenant. The Black Blades have a well-established pecking order which is how Krill stands to become chief. The next in line is Dringly, who has also declared himself chief and wants Krill dead. Krill suspects that there is something suspicious about two leaders being killed within a day of each other, but he has already burned Gnar’s body without any investigation. He needs to investigate the body of Thrawn, but it is in Dringly’s lair. Krill wishes to avoid direct confrontation with Dringly at the present for three reasons: 1) Any violence would only kill his own tribe members and further divide the lairs. 2) He believes there is still hope for negotiation to reunite the Black Blades. 3) He believes that if he were to attempt negotiations himself, Dringly would kill him. This adventure features: Two maps. Ready for your favorite Virtual Tabletop. A full color pdf. A black and white pdf. One custom monster, a reprint of barghest, all others available in the Monster Manual. Four hours of entertainment involving: roll playing a goblin bard, investigating a murder scene, tracking down a barghest before it strikes again. Applicable to any setting.