
The Tomb of Firkin is a challenging and varied Dungeon Tomb-Raid from Dunromin University Press Designed for 6 to 10 adventurers of 3rd to 5thlevel, this is a Tomb dungeon scenario with a more to it than just Undead. Suitable for any OSR flavour and 1st and 2nd Edition D&D. Thelkor Boghammer and his band of Dwarven murder-hobos opened up the tomb of the Gnomish Firkin family a few months ago. They had a bad time of it and the sole survivor, Tutlin, is drowning his sorrows and desperate to sell the map he made of the tomb to any eager adventurers he comes across. His map contains a clue to a secret way he never realised was there – can any more noble adventurers decipher the clue and find the riches without being slaughtered by the Undead guardians? Or, failing that, could your characters do it? ;-) The Tomb of Firkin is more than just another tomb; hidden in the depths are a humanoid tribe and a secret cult based on geometry. The adventure is 44 pages with quality maps and illustrations to help you visualise the encounters. The style is based on minimal set-up, total carnage, maximum fun - the Tomb of Firkin would also work as SOLO PLAY! SM13 The Tomb of Firkin is available in pdf, softback or hardback Print On Demand at amazing value for such a quality product! But the best quality playing aids at the best possible prices is what we do at Dunromin University Press...
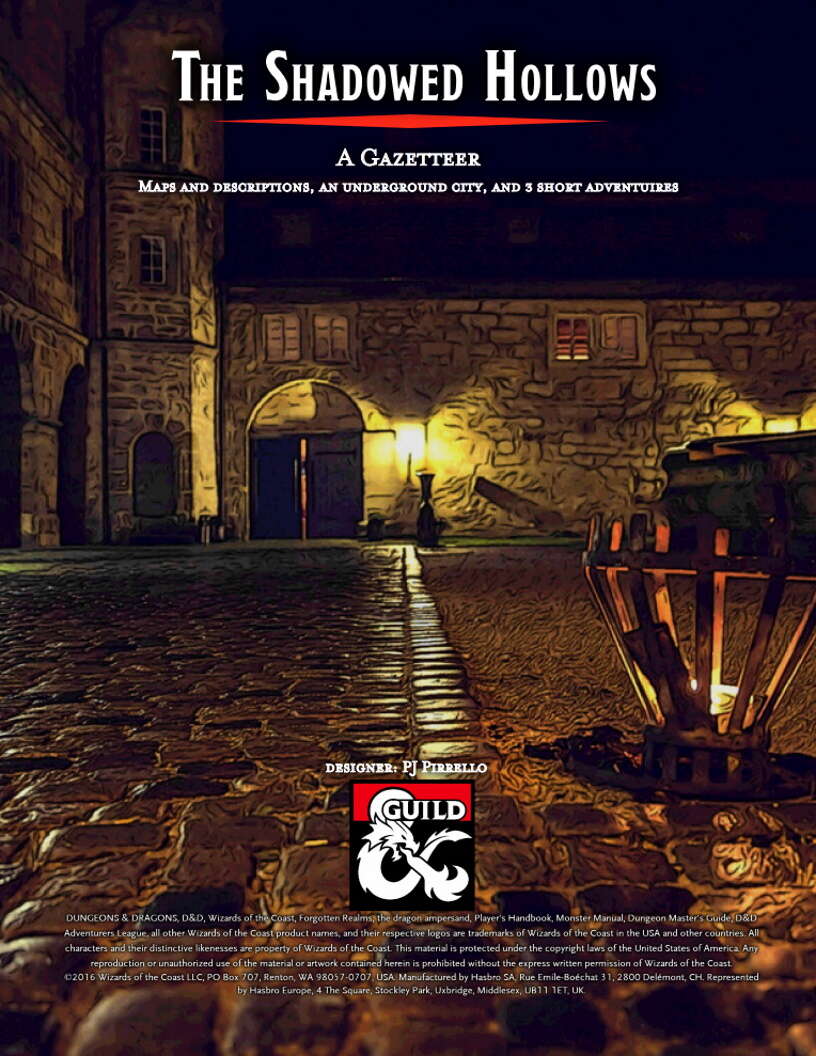
How’d you get here? Let me explain... No, there is too much. Let me sum up. Rescued a retired hero's hapless nephew from goblins at some ruins on a hill Found out that there aren’t any goblins, but spider creatures called chitine instead Uncovered a chitine plot to start a war between the surface world and the drow Got convinced to try to stop that war Got trapped in the caves under the ruins Chased the chitine’s leader, a choldrith, further down into the cave system Nearly got crushed in a cave-in Fought your way through an undead infested mine Nearly got eaten by a colony of chitinous reptiles Picked up the choldrith’s trail and followed it deeper into the earth And now you stand at the entrance to a massive cavern filled with all manner of aggresive creatures. Yep, that about sums it up! And now, here you are, in this giant cavern thousands of feet beneath the surface. All you have to do is pick up that choldrith’s trail again, and manage to navigate the many factions vying for control of this little section of the Underdark. Good luck! And have fun storming the Hollows! This Gazetteer contains: Descriptions of the factions that live in The Shadowed Hollows, a massive cave complex far below the surface The underground city of Naakrasad and the important NPCs that live there Three quests leading to brief adventures within the Hollows for characters of level 4 to 6 7 custom maps of the Shadowed Hollows, Naakrasad, and the quest destinations All necessary monster stat blocks Everything needed to set the scene for the upcoming second chapter of the Into the Underdark Adventure Series

It was supposed to be a simple job... A strange merchant offers you a simple job – pick up and deliver cargo. You have three days to get it a mere fourteen miles through the city. How hard could it be? A Simple Job is a journey through the city of Anduria, a cascading series of events that takes the heroes to explore strange locales and bargain with even stranger creatures. What secrets does the city hold, buried away for countless centuries?

Important: The adventure is 1e but it has monster conversion notes for D&D 4th edition The town of Highport, once a human community overlooking Wooly Bay from its perch on the northern coast of the Pomarj, fell prey to hordes of humanoids swarming out of the jungle-covered hills surrounding the settlement. Though the orcs, goblins, kobolds, ogres, and gnolls razed much of the place in their ferocious rampages, the smoldering ruins they left behind soon became a new kind of community, a place of trade between the humanoid “locals” and the unsavory human traders who have no compunction about doing business with them. Slaves are a commodity in ready supply in Highport’s market, since many pirates raid up and down the coast of the bay, putting fishing villages to the torch and filling their holds with captured refugees. Slavery has become a thriving business in the town, and rumors abound of a cartel of Slave Lords who run things from behind the scenes, filling their coffers in secret from the buying and selling of human chattel. The trade has become so prolific that the good folk to the north have grown tired of these depredations and decided to fight back. Forces of righteousness and honor have recently descended upon Highport, some openly and others in secret, in various attempts to destroy the machinations of the Slave Lords and abolish the abominable enterprise that has taken far too many loved ones from home and hearth. One such doughty servant of goodness is Mikaro Valasteen, a cleric of Trithereon. Mikaro slipped unnoticed past the crumbling walls of Highport with a single mission: to rescue and transport as many slaves to their freedom as possible. Mikaro and a handful of faithful assistants located a number of escaped slaves—as well as rescued a few more not sufficiently restrained and guarded—and shepherded them through the gates and beyond the reach of their humanoid tormentors, returning them to their lands and homes. This covert freedom brigade enjoyed remarkable success early on, since the servants of the Slave Lords were often lax in their vigilance and sloppy in their efforts to prevent loss of the “merchandise.” After one too many shipments never made its destination, the humanoids stepped up their security and the normal channels of escape from Highport closed to Mikaro and his team. He cannot risk exposure by smuggling the freed slaves through the gates as merchandise any longer, since shipments of goods are now regularly stopped and checked. No longer able to free the slaves in that manner, Mikaro began hiding his charges in an abandoned villa in a particularly rundown part of the town. Although they are safe for the moment, their numbers have grown unmanageable, and the priest fears it is only a matter of time before someone slips up and brings slavers to their doorstep. Ever more desperate to find a new means of escape from Highport, Mikaro has started work on a plan that is both daring and dangerous. He intends to use a series of old sewers coupled with natural caverns running beneath the town as an escape route to the sea beyond the walls. But he needs someone to clear out the creatures and pitfalls he knows lie within. Pgs. 2-27

A handful of would-be adventurers gathers to explore an ancient tomb, eager to trade their discoveries for a ticket to a better life. What they find within presages the advent of the Age of Worms, an era of darkness, decay, and writhing doom. "The Whispering Cairn" is the first installment of the Age of Worms Adventure Path, a complete campaign consisting of 12 adventures, several "Backdrop" articles to help Dungeon masters run the series, and a handful of poster maps of key locations. For additional aid in running this campaign, check out Dragon's monthly "Worm Food" articles, a series that provides additional materials to help players survive this campaign. Pgs. 14-47

Citadel by the Sea is an AD&D gaming module for 4-8 characters, each of 1st to 3rd level. The fewer the characters available, the higher their levels should be. Characters should be well equipped, with at least one magical weapon apiece, but do not need any particular game experience. It is recommended that at least one ranger character and one elf character be members of the adventuring party, and that no player character be a half-orc. The Dungeon Master should read the entire module carefully before running this adventure; the events are laid out in the approximate order in which characters would normally encounter them, and the text builds the adventure as one reads through it.
:strip_icc()/pic690387.jpg)
Adventure in Lord of the Rings universe

The sequel to the DMs Guild best-selling Tales from Frozen North returns better than ever with almost 4 times more content! What you will find inside: * 36 random encounters (plus 4 mini random encounters within random encounters! Encounter-ception?!) * Chapter 1: Carnival Encounters. 6 Short encounters for any carnivals and fairs in the Feywild. * Chapter 2: The Summer Court. 10 Encounters that are short and whimsical, or featuring creatures common to the Summer Court. * Chapter 3: The Gloaming Court. 10 Encounters that are short and wicked, or featuring creatures common to the Gloaming Court. * Chapter 4: The Feydark. 10 Short encounters in the subterranean world of the Feydark. * Scaling guide provided for most encounters (Tiers 1-2) * Puzzle Encounters (The Fey do love their puzzles, especially if it infuriates others) * New Fey-themed Magic Items * New Creatures! Including but not limited to: * Tooth Fairy (you might want to hold on to your teeth with this one!) * The Dawn Growlers — a team of superhero hounds?! * and a totally innocent and harmless small white rabbit…yes… harmless
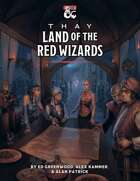
Known to the wider Forgotten Realms® as a sinister land of Red Wizards, slavers, and marching undead armies, Thay is the distant—or uncomfortably close—menace that “may become our doom if Szass Tam turns his attention in our direction.” And Thay is that, but it is also so much more. A truly magical land (thanks to a secret that even the goddess Mystra helps to keep) of rich culture, a rising middle class, ambitious nobles and Red Wizards who fear Szass Tam more than they hate him, but may soon be forced to defy him, and wealth beyond the imaginings of even wealthy and proud realms elsewhere. This tome is your guide to the Thay of right now, a valuable resource for Dungeon Masters and players alike. It sets forth the people and places of the Land of Red Wizards, what life is like, and seeds, hints, and secrets sufficient to spur adventures for years of enjoyment at your gaming tab.

Phandalin is a great location from which PCs can adventure. The information in this supplement can be used in conjunction with Lost Mine of Phandelver, After Lost Mine, other adventures set in and around Phandalin, or used to add more flavor to any town. Nine of the NPCs featured in this supplement can be found in Lost Mine of Phandalin and ten others were introduced in After Lost Mine, but each has added information. The rest of the material here is new. 2 New Backgrounds; 2 New Feats; 3 New Adventure Hooks

The Denali Monarchy has been toppled and the citizens have formed a new government. The new head of the government, called The Hona, has requested additional help from the party. For a long time an island to the east called Rodo has been a source of goods for the land. The Hona wants to make sure that local regent, Lord Karlock, is going to continue to be a part of Denali or if he has other “thoughts” on the matter. Is your party ready for a diplomatic relations mission?
Set in the Age of Mortals, 80 years after the War of the Lance, adventurers seek the legendary sword Chaos Reaver, a magical weapon that can help defeat the incursion of chaos creatures left over after the Chaos War. The adventure brings the heroes from the misty isle of Cristyne into the otherworldy realm of the Gray and is designed with flexibility for 4-5 characters of levels 5 up to 9. The adventure also introduces chaos creatures such as the shadow wight and daemon warrior, as well as several other classic Dragonlance creatures new to 5th Edition - the wichtlin, artifact spirit, and white dragonspawn. Also includes full details on the magical sword Chaos Reaver and a variety of handouts that give clues to the characters as they seek the sword.
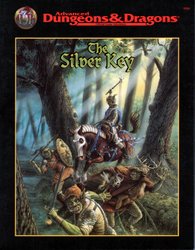
Between the settled human lands and the orc-filled mountains rests the barony of Honshar. The residents have grown used to occasional orc raids, but now they find themselves facing a full-scale war. As if that wasn't bad enough, the orcs have kidnapped an important political figure from Honshar, along with a crucial magical item - the Silver Key. Unless the key is recovered, it could be Honshar's undoing. Both the key and the hostage are being held in the orc city of Krimba-hai, so getting them back will be tricky. However, there is a plan.... TSR 9508
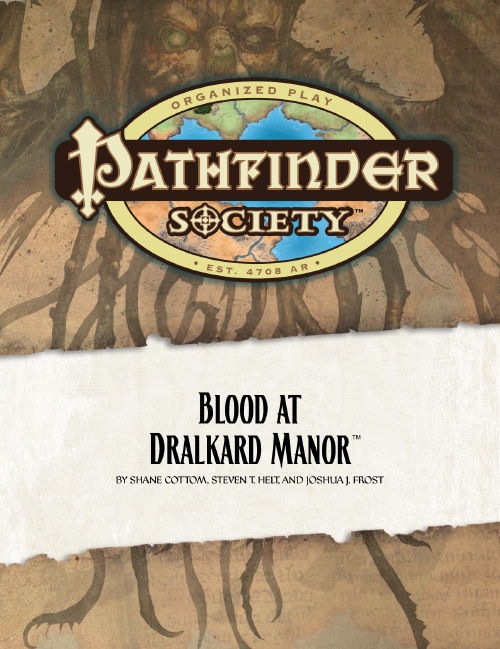
Venture-Captain Juberto Savarre plans to retire soon, and he’s set his sights on spooky Dralkard Manor in southern Andoran. With the locals swapping tales of hauntings and missing persons, Savarre sends Pathfinders in to uncover the truth. Are the stories just tall tales or will the Pathfinders find themselves drenched in blood at Dralkard Manor?

At the request of a stranded djinni, you have three days to steal a diamond from the marbled, enchanted vaults of the Modern Artworks Museum. Investigate its defenses, disable magical wards, bamboozle the staff, battle a golem, and escape with the prize! A group that succeeds is rewarded with a single wish - the power to bring about almost anything you desire. Highlights of the adventure include (and are not limited to): - An alternate skill check system that keeps clumsy characters involved in the heist - A fight to the death with fantasy Botticelli's Birth of Venus - The Modern Artworks Museum, a trove of sculpture, frescoes and tapestries - Museum events: sketch and sip, a gala, seminars! - Museum brochure, including handy map and exhibit descriptions - A wish Clever and light-hearted, Diamond Heist adds brains and Renaissance style to any urban campaign. This adventure centers exploration, planning and roleplay. Players match wits against various spell effects, discovering and disabling magical wards to access their prize. A cumulative alarm level system replaces pass/fail steath skill checks, so one bad role doesn't ruin the heist. The artworks described are based on those of Renaissance Italy, with frescoes, marble sculpture, and haughty nobles aplenty. Content warnings: Death of a loved one, mentioned.

The fourth installment of the Filbar Dual (FD) series is The Hunt for Charon and picks up where the FD3 - Crisis at Marstan left off. Your pair of intrepid adventurers is off to find out who orchestrated the attack at Marstan. When the previous adventure concluded they discovered a note mentioning a “Charon” as behind the attack and the humanoid raiders. This adventure will see if the pair can find and defeat this person/humanoid and protect the area once and for all.

Every year, the small town of Whitetree has to sacrifice a child as tribute to a fiery salamander slaver, Zassan. The players must pursue the slaver, attempting to stop him and retrieve his precious cargo before it’s too late!
Terror Under the Sea The peaceful undersea village of Sequavia has been mysteriously abandoned. It looks like all of its Cheltarian residents have just stopped what they were doing and left. It’s up to a party of stalwart undersea adventurers to find where they all went, and bring them home. This Tales of the Valiant Compatible One Shot Adventure Provides: • A small dungeon for PC’s to explore • Statblocks for important NPCs. • 8 magic items that aren’t what they seem

Lost Laboratory of Kwalish explores an alternate expedition into the Barrier Peaks. The legendary inventor disappeared in the peaks eons ago… as it turns out, finding a crashed planar ship and studying its technology to fuel his own experiments—only now, Kwalish’s lost research is desperately needed! This adventure explores two locations within the Barrier Peaks, and includes new monsters, magic items, and spells, plus sci-fi trinkets, random encounters, and even rumors of the area submitted by the player community! Further featuring new art, maps (from Claudio Pozas), and even a cartoon (from Jason Thompson)—as well as the famed suit of powered armor, as edited by Jeremy Crawford on the Dragon+ livestream! Best of all, all monies that Wizards of the Coast receives from sales of this PDF are donated to Extra Life. Your purchase of this adventure goes to a truly great cause!

The Lady in Blue, a mysterious figure of cosmic power, enlists a band of simple peasants for a strange task. They are to follow an invisible bridge until they arrive at a hole in the sky – and then jump through. Death awaits all but the bravest, strongest, and luckiest, but the Lady offers a reward beyond all the riches of the world: the chance to change the very stars these peasants were born under, and thus change their destiny.