
Slain in disgrace, reborn in fury, armed to the teeth: Flame returns! Flame is back - and is he mad! The sequel to "Into the Fire" from Dungeon 1. Pgs. 42-63
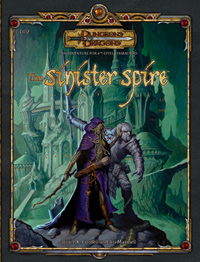
The waters of a sunless sea meet a pebble-strewn shore, beyond which opens a wide Underdark vista shimmering with pale cave-light. Titanic columns as big as castles march miles into the misted distance. The wide, steeply sloping base of the nearest colossal column is carved with streets, walls, and elaborate structures, many with gaping, empty windows. A few glimmer with faint illumination. Are you brave enough to explore the spire-city and face the terrors that lurk within? Part 2 of the Barrow of the Forgotten King series. Followed by Fortress of the Yuan-ti.
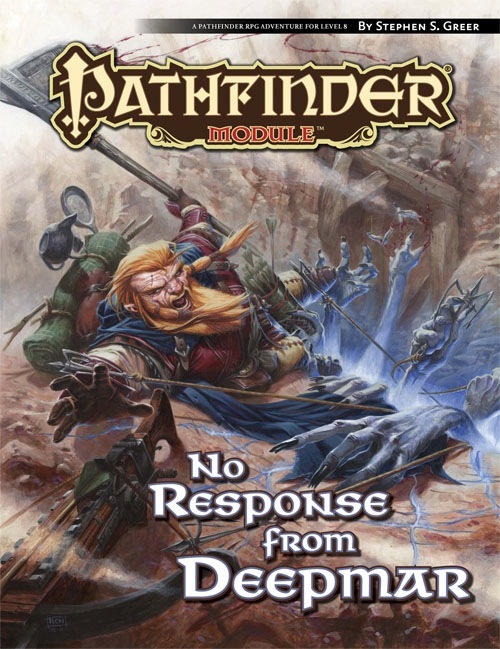
A hundred miles off the Chelish coast lies the remote island of Deepmar, where the House of Thrune sends prisoners to work in crystal mines, wresting valuable spell components from the depths of the earth. A month ago, all contact with the penal colony ceased, and now someone must discover what mysterious fate has befallen the prisoners and guards of this isolated mining operation.

*THIS IS A D&D NEXT/5E PLAYTEST ADVENTURE* Imani, a Turmishan wizard and former adventurer, seeks the aid of heroes to infiltrate Dretchroyaster’s lair and recover the Diamond Staff of Chomylla—the key to powerful magic and wisdom locked away for thousands of years. In addition to his own sagely interest in the lore of lost Uvaeren, Imani recognizes the dangers of such powerful magic falling into evil hands. The dracolich has secured the staff in his lair’s cen- tral chamber, using ancient wards of protection that can be bypassed only by four artifact-idols once belong- ing to a cult of Bhaal. Each group of adventurers enters the dungeon through a different section of the dun- geon—a forgotten temple of Bhaal, a vast underground lake, a troglodyte village, or Dretchroyaster’s vaults. Dretchroyaster’s lair is no simple set of caverns and ancient ruins. It sits atop a source of great power and energy, which the dracolich and his Cult of the Dragon allies hope to use to unlock the secrets of the staff. Only by undertaking a unified assault against Dretchroyas- ter’s lair can the adventurers hope to recover the Diamond Staff and survive the dracolich’s fury. The adventurers must make their way through the lair and recover the Bhaalite idols that will help unlock the Diamond Staff, all the while dealing with the lair’s creatures and avoiding the dracolich as he pur- sues intruders. Entering the Chamber of the Diamond Staff, the heroes must overcome its magical wards and claim the staff before being slain by the dracolich and his servants.
The Temple of Tesh-Yatra is a setting-neutral dungeon delve for a party of 6th level adventurers, inspired by the classic funhouse dungeons of yesteryear. The dungeon takes 6-10 hours to fully explore. It features a high proportion of non-combat encounters: puzzles, exploration, and the occasional deadly centrifuge. The ungodly fusion of a mad scientist’s lab and a planar temple, the dungeon includes an encounter that can launch your players into the Nine Hells – for a price... The Temple of Tesh-Yatra includes two new constructs to use in your game: the sinister Maimers, and the enigmatic Skorverra; as well as a new magic item: the Amulet of Tesh-Yatra, an artisan’s dream! The Temple of Tesh-Yatra also comes with a VTT battlemap (transparent PNG format). The Temple of Tesh-Yatra was originally set in the Outlands, as an extraplanar dungeon. But given its self-contained nature and the Temple's age, it is well-suited to any wildnerness, and would work equally well seeding a hex crawl.

In the Tower of Yladhra the Grim, a party of adventurers braves the dangers and puzzles of an enchanted wizard's tower, and finally confronts the wizard herself. The adventure is designed for a party of five adventurers between levels five and eight. It features: Encounters by Level - Varying types and quantities of creatures are suggested based on the party's actual level, allowing each encounter to present the appropriate challenge to the party. Encounter Notes - Suggestions for how to run combats are provided for game masters who place an emphasis on engaging, tactical battles. Inciting Action - Suggestions for ways to present the adventure to players are provided. Aftermath - Ideas for future adventures based on this one. Unique Magic Items - New magic items to introduce into a campaign. Ease of Use - The format and style of the document allows the game master to find information quickly while running the game at the table. Detailed Maps - What's an adventure without maps? Not much else to say here.
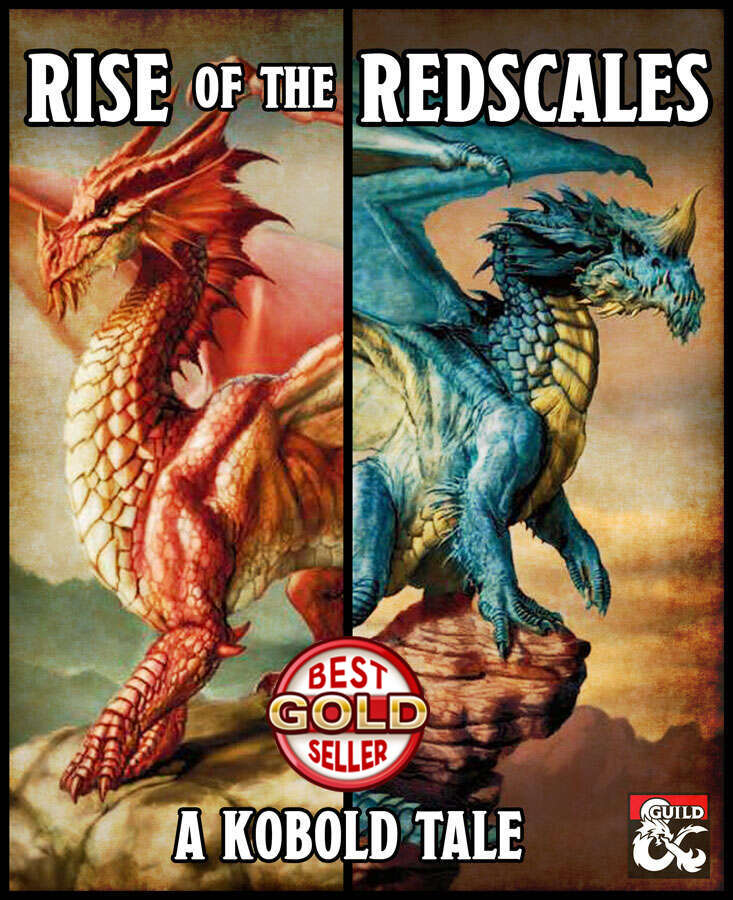
Two feuding kobold tribes have been left alone in their dragon queen's lair. Without supervision, surrounded by the wealth of nations and piles of magical artifacts. How long before things devolve into utter chaos? Set inside an enormous dragon's lair, the adventure allows players to take control of the best and brightest among the kobold tribe known as the Redscales. Their entire lives they have been the Dragon Queen's minions and her lair's caretakers. But the Dragon Queen has been gone for some time now and an ancient feud with another kobold tribe (the Bluescales) is about to be a rekindled. And the trap- and treasure-filled lair is to become their battleground. The gameplay is a mix of roleplaying, involving some tough moral choices (well, tough for kobolds), solving puzzles and wacky combat with kobolds wielding powerful ancient artifacts. There is an abundance of magic items, specially chosen for their potential to lead to hilarious situations.

This deluxe adventure takes heroes into the ruins of Gardmore Abbey, a monastery that was once the base of a militant order of paladins devoted to Bahamut. According to legend, the paladins brought a dark artifact back from a far crusade and stored it in their abbey for safekeeping, and evil forces gathered to assault the abbey and take it back. What the legends don’t tell is that this artifact was actually the Deck of Many Things, a force of pure Chaos. This adventure brings characters into the extensive dungeons beneath the ruins - dungeons that are warped and twisted with the raw forces of Chaos surrounding the cards of the deck.

A series of small earthquakes have brought a sense of disquiet to the town of Daern Kelton and Roslof Keep. Against these strange earthly portents, the members of the Ivory Scimitar have claimed their place as a true Mithel Company, but even greater danger now awaits them in the second level of the Dungeon of the Black Fey Mithelvarn. What lost secrets will be revealed as they journey below? What new threats and adventures can be had in Daern Kelton? The town opens its doors to the brave new heroes of the Company of the Ivory Scimitar. Here continues the Roslof Keep Campaign in the pages of ROS2, The Tremors in the Machine. This adventure is formatted to both 1E & 5E gaming rules. Also available in PDF.

The PCs are looking to gain entry to the Glantri School of Magic, after the initial admission tests they are drawn into a commotion where one of the other students is being attacked by an evil sorceress. He tries to flee but but is killed, and the PCs are framed for the murder. The authorities are called and bribed to just kill the PCs, they flee and are chased and taunted by the evil sorceress. Eventually, during one of her attacks, she opens a weak spot in the ground and the heroes are dropped into the warrens under the school. They must navigate the warrens, which are shrouded in magical darkness, defend against further attacks, and find escape where they can prove their innocence.

Riddled with veins of precious ore and gem, the Earthspur Mountains to the west have long been a valuable resource for anyone able to mine them. One such mine has gone silent and the only thing more concerning than its long overdue shipment is the fate of the members of the Soldiery sent to discover what has happened to the mine’s workers. Though the mine lay in a region of the Mountains once claimed by a clan of reclusive dwarves, the Ludwakazar clan wouldn’t be so bold as to violate their long-standing peace with Mulmaster. Or would they?

Manthrak's Malicious Steamroller After an experiment with a teapot goes wrong, a wizard's tower rolls through the forest, crushing all beneath it. Its owner, Manthrak the Meticulous wants it back. It's up to you and your companions to stop the tower's rampage before something even worse happens. Manthrak’s Malicious Steamroller is a short, high-octane one-shot adventure module for a party of four or five 4th level characters. With no setting specific details, it can be easily dropped into any campaign, or run on by itself for an action-packed escapade. Included: Full-color 13-page PDF Virtual tabletop maps - Gridded & Non-gridded Accessible & print-friendly PDF A fun, unforgettable experience
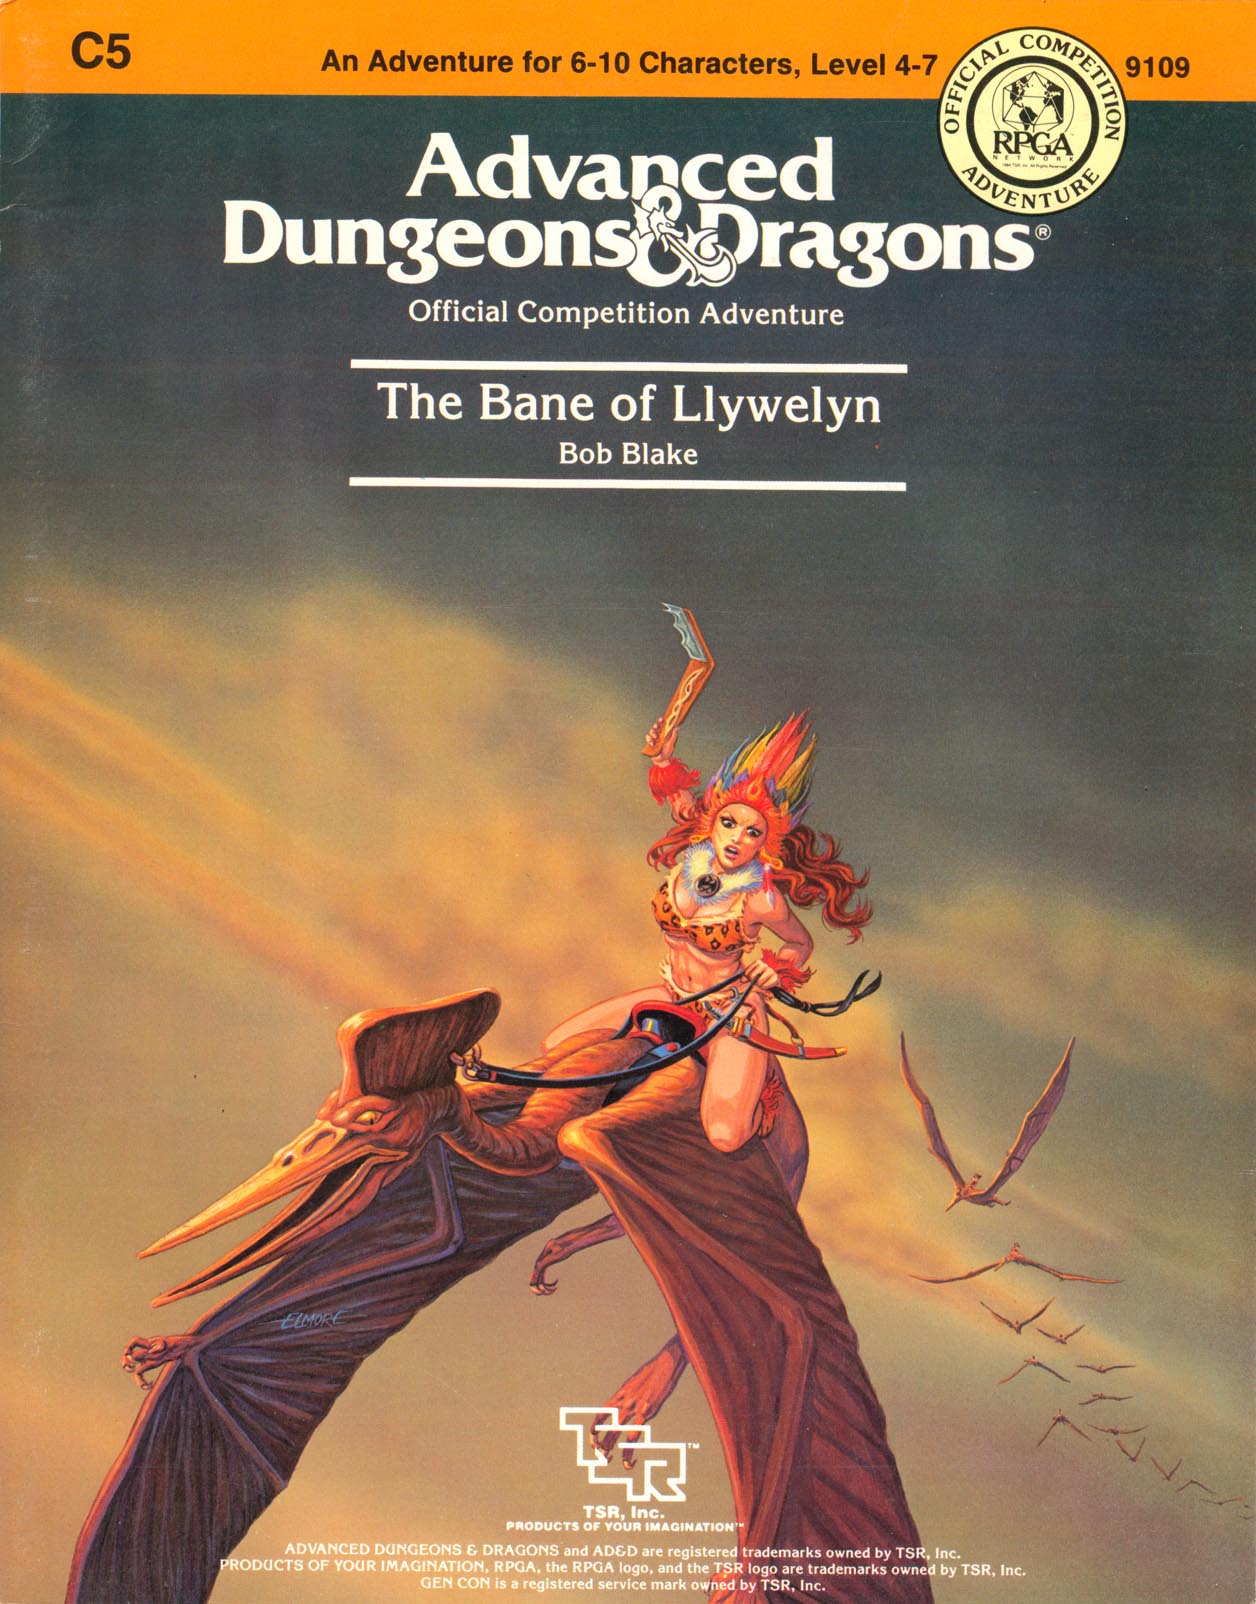
Excitement and unrest grip the land of Pellham. Two hundred years ago, the royal line of kings was deposed and replaced by a High Council. The current council is well-meaning but hopelessly incompetent. Everyone agrees that a drastic change is needed for the kingdom to survive. The ancient Prophecy of Brie foretells that in Pellham's darkest hour, a king from the past will return to restore the kingdom. The time of the prophecy is now. All is in readiness: the symbols of the ancient kings have been recovered, the keys to the royal tomb are in hand, powerful magics to revive the long-dead king have been secured at great cost. Only one problem remains... no one knows where the king is buried! The Bane of Llywelyn concludes the epic adventure of the Prophecy of Brie -- can YOU insure that the quest will be a success? The adventure can be played as a separate adventure or as the second part of the Prophecy of Brie series. TSR 9109
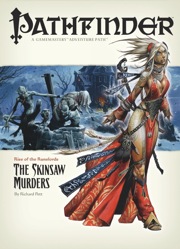
The Rise of the Runelords Adventure Path continues! A sudden string of brutal killings terrorizes the town of Sandpoint, and the killer's mark bears a familiar shape. Investigation leads to the Lost Coast's most notorious haunted mansion, a dilapidated ruin that has become the lair of a monstrous murderer. Yet this killer is but one of many, a member of a group of fanatic cutthroats calling themselves the Skinsaw Men. To defeat the cult, the PCs must travel to the bustling city of Magnimar to unravel the sinister source of these murders before they become the Skinsaw Men's next victims!

A haunted house, a missing person, and a hint of wild fey magic. In the kingdom of Norland in the Moonshae Isles, King Keethan rules by the will of Torm the True, though in Glen Dourn folk still hold true to the old ways—a dense and layered folklore of monsters and tales to frighten children. It is to this remote valley that Keethan bids you make haste to seek out signs of his beloved cousin, Lady Sorcha Hannigard. Sorcha vanished on her wedding day three years ago, sending her groom and neighbours alike into mourning. But where can she have gone? The only remaining clues to this mystery lie in her abandoned mansion home, where powers less wholesome have now taken up residence. The Dread Coven will not give up what they know so easily, although they will strike a bargain if you’re willing to pay the price in pain.

Three artifact weapons have gone missing and you adventurers have been sent after them. Going only by the riddle left on the thief's note, part ransom part guide, You stand before White Plume Mountain, stronghold of the supposedly long dead Wizard Keraptis.
/pic3143465.png)
Once a powerful proponent of Law, the Archmage Tazimack the Red was eventually driven mad by a fear of mortality. As he slipped into insanity his retirement home began to reflect the chaotic bent of his mind. Long after Tazimack’s unnaturally animated body has disintegrated, his manor house remains as a shadow cast by a twisted intellect. Can the characters bring order to this chaos?

A trap that perhaps works too well. No matter how much loot you take, you never took anything at all. Confused? Wait until you try this dungeon. The players are hired to investigate and clear a tomb of a time wizard. This tomb is heavily guarded both by creatures and traps, and some sages are concerned that the defenses are lasting longer than they were supposed to. Unknown to the sages, the wizard, Sur-in Am, bound a time elemental to guard the treasures of the tomb. This guardian's duty is to frustrate robbers by returning stolen items to their original place and also reset traps in the tomb. Pgs. 26-36

The land lies under a curse. Fruit drops to the ground, its pulp black and rotten. Leaves curl and wither on the branches. Animals flee the parched vale, or starve. Long ago, the Downs prospered under the care of Druids, but the priests of nature have retreated deep into the woods and rarely show themselves. One old man claims that the Druids have the power to save the valley, if only someone could find their Oracle to seek help. Will you reach the Forest Oracle of the Druids in time? And if you do, can they really lift the curse? Or does the answer lie elsewhere? Only the most daring and cunning adventurers will save the Downs. N2: "The Forest Oracle" (1984), by Carl Smith, is the second AD&D adventure in the novice (N-) series. Unlike its predecessor, it is not intended for 1st-level adventurers, but instead for 2nd level and up. This conversion guide allows DMs to run the original module with 5th Edition rules and provides a reference sheet for encounters. Also contains suggestions for placement in the Forgotten Realms. To use this conversion guide you will need a copy of The Forest Oracle, originally available in hard-copy and now for sale in Digital format on the DMs Guild. Visit Classicmodulestoday.com to find out how you can create your own classic module conversions and sell them on the DMs Guild.

Many Cannith creation forges were lost on the Day of Mourning, but a rogue artificer has uncovered one of those that pursued some of the most experimental and dangerous research during the Last War. But while seeking the forbidden knowledge in the forge, this explorer awakened a dark power that was more than she could handle, and that now threatens the region. Pgs. 4-34