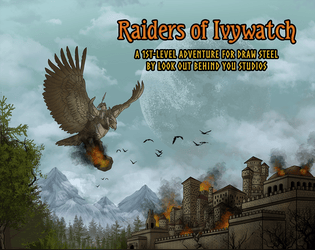
This adventure is about fighting monsters and being heroic. It’s also about discovering hidden and forgotten secrets, and then using those secrets later to the heroes’ advantage. The heroes will fight lizardfolk and hawklords, undead and basilisks, and some strange and malevolent creatures from a plane beyond Orden. The heroes will have the opportunity for a handful of negotiations which can be hugely influenced by piecing together secret information uncovered earlier in the adventure. Combat encounters in the adventure are built to generally take at least 3 rounds, sometimes more - they can be complex! The heroes will be expected to spin multiple plates at the same time! The adventure reward an average of 12, but as many as 20 Victories. Depending on your experience running and your table’s experience playing Draw Steel, how many side objectives the heroes follow, as well as a bunch of other factors, it could run around 20 to 32 hours of playtime. In the Tullow Vale of Vasloria, a centuries old town is built around a weathered statue said to seal away an ancient evil. Ajax's Hawklords bombard and lay waste to the town, stealing the statue, and in the chaos, the pitiless Deatheye Yslansh and her lizardfolk minions abduct the citizens! Can you save the people of Ivywatch before they are put to the Deatheye's fell purpose? And what or who exactly have the Hawklords unsealed? This adventure is about fighting monsters and being heroic. It’s also about discovering hidden and forgotten secrets, and then using those secrets later to the heroes’ advantage. The heroes will fight lizardfolk and hawklords, ogres and basilisks, and some strange and malevolent creatures from a plane beyond Orden. The heroes will have the opportunity for a handful of negotiations which can be hugely influenced by piecing together secret information uncovered earlier in the adventure. Combat encounters in the adventure are built to generally take at least 3 rounds, sometimes more - they can be complex! The heroes will be expected to spin multiple plates at the same time! The adventure will reward an average of 8 to 18 Victories. Depending on your experience running and your table’s experience playing Draw Steel, how many side objectives the heroes follow, as well as a bunch of other factors, it could run around 20 to 32 hours of playtime. The adventure contains: - 12+ combat scenes, including a boss battle. Most combats have objectives beyond just “kill everything” - 2-3 montage tests - 1 small, safe location to take respites in, full of NPCs with opinions - 1 big, complex, puzzle-y negotiation - 10 new custom treasures and titles, and other player rewards - A brief setting primer to Tullow Vale

Chapter 2: The Sinister Secret of Saltmarsh In this version of the adventure, the characters find navigational charts and logs aboard the Sea Ghost that implicate its crew as slavers. Ned Shakeshaft is a Scarlet Brotherhood agent. He makes an attempt to foil the characters, but his true intent is to surrender and implicate Gellan Primewater as a key villain. The distraction afforded by the lizardfolk and the looming sahuagin threat gives the Scarlet Brotherhood the opportunity to bring more agents into town. posing as mercenaries brought in by Anders to protect the town. If Gellan can be removed from the council, Solmor might ask one of the characters to take his place.

In an age obscured by mist and memory, Sir Galen the Brave and his knights struck down the Drake of Crestmoor with steel and flame. But as the years turned, and the heroes returned to dust, their deeds faded into myth. Doubt lurked where awe once dwelled, and in time, the bards sang of lesser deeds. In the hollows of the wilderness, the stones of their forgotten tomb crumbled beneath ivy and shadow. The Cursed Knights of Crestmoor is a short dungeon crawl for four characters of levels 1-2 using Shadowdark RPG ©. The adventure is designed to be easy to run for new game masters. Players should not be cavalier in their approach to this dungeon. There are threats in the tomb which could easily kill foolhardy player characters. Long ago a band of knights led by Sir Galen slew the black dragon known as the Drake of Crestmoor - a malevolent creature whose true name was Morghast the Black. With his dying breath, the dragon cursed Galen and his friends that they would never find rest in death. Today, the once well-kept tomb has fallen into ruin. Some time ago a band of kobolds moved into the subterranean mausoleum and began using it as a base of operations. More recently, a lizardfolk shaman named Kall’eth and his warband arrived and took over, pressing the kobolds into their service. Kall’eth came to Galen’s tomb to recover the knight’s Fireblade - a sword of dwarvish make used to slay Morghast long ago. The tomb is crawling with kobolds, lizardfolk, and the restless husks of Galen and his compatriots. A magic sword, a missing wedding ring, and plenty of adventure await you in…The Cursed Knights of Crestmoor!
![Cover of D&D Encounters Season 03 - Keep on the Borderlands: A Season of Serpents [Chapter 1-5]](https://www.drivethrurpg.com/images/44/121468.jpg)
At Restwell Keep, you've heard that fortune and glory await those bold enough to brave the dangers of the Chaos Scar, a valley carved ages ago by a fallen star. The same tales warn that this Chaos Scar draws wickedness to it. Perhaps you can help stem this tide... and gain treasure along the way. While the location is a different keep, this adventure is an homage to B2 Keep on the Borderlands(https://adventurelookup.com/adventures/b2-keep-on-the-borderlands)

A top the crown of the Isle of Dread, a hateful monster broods. Spawned by the Price of Demons, the architect of the shadow pearls dwells deep under the ruins of ancient Thanaclan. As long as this vile monster lives, the threat of the savage tide remains, looming dark on the horizon. "City of Broken Idols" is the seventh chapter of the Savage Tides Adventure Path, a complete campaign consisting of 12 adventures appearing in Dungeon magazine. For additional aid in running this campaign, check out Dragon magazine's monthly "Savage Tidings" articles, a series that helps players and DMs prepare for and expand upon the campaign. Issue #354 of Dragon magazine features the totemic demonslayer, a new prestige class that focuses on fighting and defeating demons, be they at the heart of the Isle of Dread or encountered in the depths of the Abyss itself. The central mesa of the Isle of Dread is taboo to the locals, a place shrouded in mystery and cloaked in rumor. The time has come to confront the evil that dwells atop the island’s savage crown. Pgs. 54-84

For the past several nights, drums have been heard on the wind, coming from the Twilight Marsh. Each morning, more turn up missing from the nearby farms, leaving only muddy, clawed foot prints heading towards the marsh. Can you help find the lost and bring justice to the abductors?

The heroes arrive at the eponymous Keep on the Borderlands, a fortress on the edge of civilization built to stave off the chaos and evil of the wilderness. Using it as a home base, a party can make forays into the surrounding wilderness, encountering monster and marauder alike. The centerpiece of the adventure is certainly the CAVES OF CHAOS, a network of tunnels and caverns found in the walls of a nearby but isolated ravine. It is here that hordes of evil humanoids have made their home. Through combat and negotiation, the players can try to explore and map out these caves, perhaps with the aim of accumulating valuable treasure or even cleansing the land of evil creatures. However, even the Caves are not all they seem. Beyond the goblins and kobolds lurk dark horrors: cults dedicated to fiendish chaos and a Minotaur's enchanted labyrinth await the unprepared adventurer. But for the hero who is brave, clever, and fortunate in equal and sufficient measure, great treasures and glory await in the Caves of Chaos that lie beyond the Keep on the Borderlands! TSR 9034

Driven off course by a devastating storm, you crash land on an island where sailors are lured beyond the foreboding treeline. While searching for your comrades, you find yourselves trapped between two warring cultures. Can you unlock the mysteries of Locria before it kills you? Pgs. 51-59

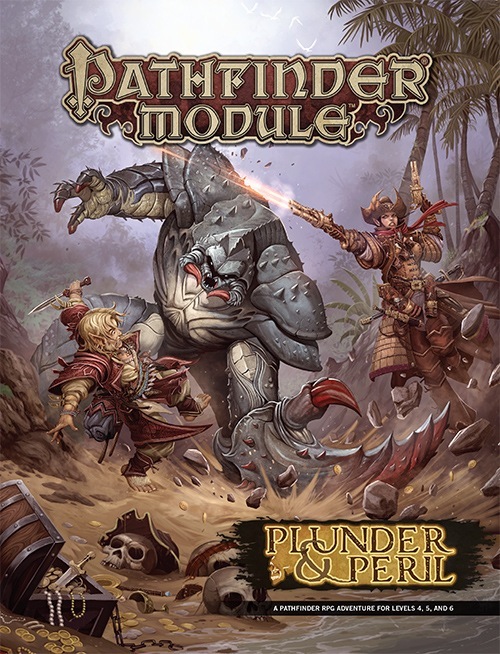
Tall tales of hidden riches are common in the pirate-infested taverns of the Shackles, but when Captain Varossa Lanteri claims to know the location of the secret treasure hoard of legendary Captain Jemma Redclaw, it seems she may be telling the truth. Captain Lanteri hires the PCs on as crew to help her assemble the magic key that will open the door to Redclaw’s treasure... and the ancient cyclops stronghold in which it’s hidden! Can the PCs survive long enough to claim their share of the lost loot, or will their enemies—or their allies—send them to a watery grave?

An artifact belonging to an ancient couatl god has been stolen from his shrine. Can the characters recover the Fangs of Oatali before the god's wrath unleashes a devastating cataclysm upon the jungle? Fangs of Oatali is a pulp-action adventure set in the jungle and includes: -Stealthy raids, hidden enemies, and the clash of two primal gods -Angry pterodactyls, massive sinkholes, and earth-quaking magic -Combat cards for each monster, PC, and special treasure -Beautiful, hand-drawn maps by Beware the Wizard, as well as high-quality digital maps for use with virtual table tops

The Fortress of the Yuan-Ti describes a fortress build into a cliff side and the slave village outside. The Adventure is the third of three but can easily be played by its self. The adventure revolves around the players discovering the dark plot to revive the demon Sertrous and then stopping it. The adventure describes the outside, inside, and hanging towers of the fortress. The adventure concludes in a forth extra-planer tower were you fight the boss. It also includes 4 sidetracks from portals that explain how they get the materials for the ritual. Final part of the Barrow of the Forgotten King series.

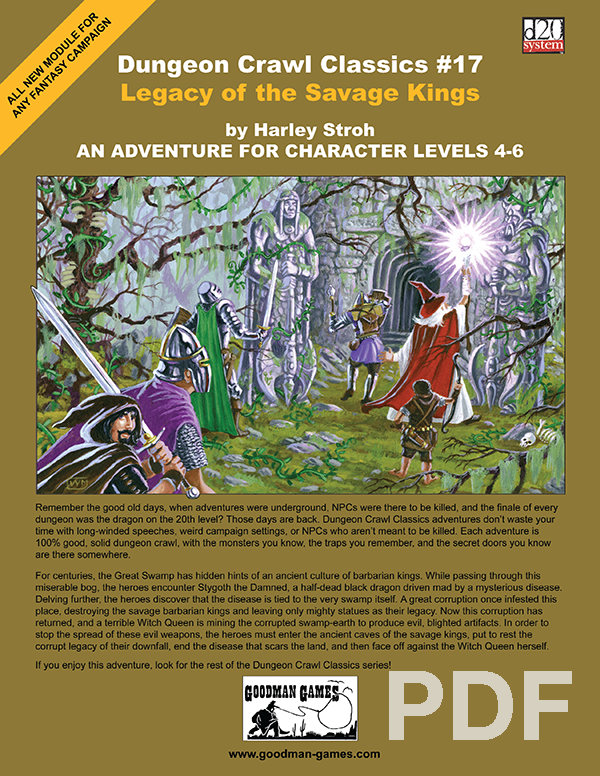
For centuries, the Great Swamp has hidden hints of an ancient culture of barbarian kings. While passing through this miserable bog, the PCs encounter Stygoth the Damned, a half-dead black dragon driven mad by a mysterious disease. Delving further, the heroes discover that the disease is tied to the very swamp itself. A great corruption once infested this place, destroying the savage barbarian kings and leaving only mighty statues as their legacy. Now this corruption has returned, and a terrible Witch Queen is mining the corrupted swamp-earth to produce evil, blighted artifacts. In order to stop the spread of these evil weapons, the heroes must enter the ancient caves of the savage kings, put to rest the corrupt legacy of their downfall, end the disease that scars the land, and then face off against the Witch Queen herself.

An elder warlock from the goblinoid swamp village of Urzin has been kidnapped by soldiers of the Dwendallion Empire. Now the machinations of an evil imperial inquisitor might unleash an evil that could threaten the garrison at Fort Venture and the goblinoids of Urzin alike.

Lord Blackmoor's son has been kidnapped, and is being held in the crypts beneath an ancient fortress. Can our heroes rescue the boy before he is sacrificed in a diabolical ceremony? The party responds to a plea for assistance from Lord Blackmoor, whose son Willet has been kidnapped. Blackmoor desperately needs someone to mount a rescue mission. The party journeys along the old East Trail, facing bandits and dangerous obstacles before delving beneath the ruins of Firestone Keep, encountering fearsome enemies and ancient magic. Finally, the party must fight for their lives as the truth about Willet’s abduction is revealed.

A treasure map leads to deadly peril amid the remains of a lost civilization. NOTE: The Tales of Freeport that contains this adventure is NOT one of the versions currently available in the Green Ronin store. Those contain short stories. This is an older item that appears to no longer be available from Green Ronin. It is possible that the adventures within it have been included in other products since then. But I have linked to the original product on DriveThru RPG.

"The southlands of Eor are being despoiled. Merchants will no longer run their caravans on the main highway past the quiet village of Waycombe. The peasants are fleeing their lands, and all are demanding protection from the powerful Count of Eor. The goodly count has sent a troop of his trusted fighters to exterminate the brigands believed responsible for these outrages, but weeks have passed, and still there is no word from this force. Now John Brunis, Count of Eor, has turned to you for aid. After taking counsel with the High Priest of Eor, he believes that a small party of cunning, bold adventurers may succeed where armed might has failed. You find yourselves faced with many mysteries! Why has robbery suddenly erupted in the peaceful southlands? How could mere brigands be as powerful as the foes described to you by their numerous victims? Is this really mere robbery? Or is there some truth to the rumors, told only in hushed whispers, about the beginnings of a hideous plot being hatched by an ancient, vile, and evil foe of all mankind?" Eor is beset by marauders and lizardmen of a boldness not seen in years. Hired by the Count of Eor, the party is tasked with tracing the source of these foes and eliminating them for the safety of the realm. After a set piece combat in Count Brunis's castle, the party must trek across Eor's wilderness, eventually coming to the Great Southern Swamp beyond the village of Waycombe. With further exploration they can locate the Ancient Temple which serves as the tomb and stronghold of Sakathas, the vampiric LIZARD KING! TSR 9055

A fallen clock tower holds components from an ancient artifact. Upon discovery of the components, competing agents look to launch expeditions to uncover additional components scattered across distant places—and times. The now-lost Temple of Moloch and the construction site of the legendary Tomb of Horrors are two of those locations. However great the risks, finding the components demands the effort, for whoever does so can reassemble the fabled Infernal Machine of Lum the Mad!

The village of Orașnou is panicked when a group of Bloodhand orcs appear at the edge of the woods. They bring news and an unusual request that reveals a new foe. Part Eleven of Misty Fortunes and Absent Hearts.

Within the pages of this book, you will find three mini-dungeons, all with a common theme. They are all set in dangerous and exciting cave systems. Not only will you be able to drag and drop these mini-dungeons as you need, but this book will also provide a suggested campaign structure and tie-ins to each of them for those witty Dungeon Masters who wish to run them all together. 1. Lizard Folk Tunnels - APL2 to APL5 A daring rescue mission to save two young children from the grasps of a tribe of lizardfolk who's evil intentions are to sacrifice their captives to their evil god. 2. The Cavern of One-Eye - APL4 to APL7 A cave system riddled with orcs as described in Volo's Guide to Monsters. Players will need to think on their feet in this one. 3. The Lair of Frostingbite - APL5 to APL8 Snow-oxen are being stolen from the farmers of Sleet-Town, tracks lead into the ancient and abandoned mine shaft within a nearby mountain. Killer Kobolds, Quaggoth slaves and a ferocious White Dragon await. Published by P.B. Publishing

*THIS IS A D&D NEXT/5E PLAYTEST ADVENTURE* Imani, a Turmishan wizard and former adventurer, seeks the aid of heroes to infiltrate Dretchroyaster’s lair and recover the Diamond Staff of Chomylla—the key to powerful magic and wisdom locked away for thousands of years. In addition to his own sagely interest in the lore of lost Uvaeren, Imani recognizes the dangers of such powerful magic falling into evil hands. The dracolich has secured the staff in his lair’s cen- tral chamber, using ancient wards of protection that can be bypassed only by four artifact-idols once belong- ing to a cult of Bhaal. Each group of adventurers enters the dungeon through a different section of the dun- geon—a forgotten temple of Bhaal, a vast underground lake, a troglodyte village, or Dretchroyaster’s vaults. Dretchroyaster’s lair is no simple set of caverns and ancient ruins. It sits atop a source of great power and energy, which the dracolich and his Cult of the Dragon allies hope to use to unlock the secrets of the staff. Only by undertaking a unified assault against Dretchroyas- ter’s lair can the adventurers hope to recover the Diamond Staff and survive the dracolich’s fury. The adventurers must make their way through the lair and recover the Bhaalite idols that will help unlock the Diamond Staff, all the while dealing with the lair’s creatures and avoiding the dracolich as he pur- sues intruders. Entering the Chamber of the Diamond Staff, the heroes must overcome its magical wards and claim the staff before being slain by the dracolich and his servants.