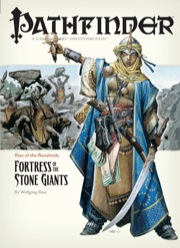
The Giants are on the March! The Rise of the Runelords Adventure Path continues! Driven to battle by a maniacal warlord, the once-peaceful stone giants of the Storval Plateau threaten to destroy the sleepy town of Sandpoint. Will fast action and quick wits be enough to save the defenseless community? Yet, even if the giants' initial raid can be repelled, only by striking at the heart of their titanic war machine—the black-towered fortress of Jorgenfist—can the menace be quelled. But who knows what mysterious bloodlust spurs the usually peaceful giants to war, or what mysteries lie beneath their ancient fortress?

Baron Rajiram’s forces have secured the Nelanther Isles and have scoured the Sword Coast for treasures. Now they have begun to explore a mysterious island that recently just popped into existence nearby. SEER seems to believe that an aboleth artifact is their goal. It is up to the adventurers, in competition with the baron, as well as aboleths, the Kraken Society, and the mysterious caretaker of the island, to locate the Eye of Xxiphu and avert catastrophic disaster.

Desperately needed supplies have failed to arrive at the suffering frontier settlement of Ravendale. Rumors are flying that the supply wagon must have fallen afoul of the legendary troll of Stonebottom bridge. The townsfolk are in desperate need of heroes to reclaim their supplies or the town won't survive the encroaching winter! A 2-4 hour adventure for four to six players of 1st or 2nd level characters

Part 1 of an Expert-level quest into a hostile wilderness. This adventure takes place in the Known World of the D&D game, as outlined throughout the D&D game rule books and modules. The DM may find it useful to consult the Companion and Masters Sets, as well as most of the X-series of Expert Set modules. D&D Expert Set module X9, The Savage Coast, would be especially helpful, as Tortles of the Purple Sage could easily serve and continue that module's direction and plot like, adding a previously undescribed area (the Great Northway) to the Known World. The DM may also place the areas and events of this adventure within an existing campaign setting, as long as the geographical areas of the campaign match those set forth here. Pgs. 40-62

30 Ravenloft adventures inspired by various domains of dread, including Gothic Earth, that can be played as a single campaign! Dreams of Solitude is a collection of thirty exciting adventures that can either be played as a campaign, run as a one-shot, or have pieces taken out to supplement your current home game! You'll meet your match against Atarte, the evil master of dreams, who will task you to defend ancient fortresses from the undead, explore a terrifying maze, fight in the trenches of world war 1 or even a karaoke contest with werewolves! It's SO much fun, and you'll be able to go back for more adventures, again and again! Adventures summary: Demon's Isle: Explore a watery cave and find your way to the Pirate Demon Zekel! Airic's Forest: Survive a forest ruled by werewolves while you try to find the cure for lycanthropy! Fractured City: Enter a glitchy uncompleted illusory town and try to find the "Butcher" that roams the dark alleys. The Heinfroth Heist: Enter Dr. Heinfroth's asylum and steal his journal without becoming his test subject! Tomb of the Hentempet the Red Queen: Face Hentempet the red queen inside her Pharaoh tomb! Graveyard Of invitation: Enter a cursed graveyard and follow the clues to find the reason why the undead have risen! Fey Blood Merchant: Help the Vistani child escape his Rakshasha master before he returns! Horrors in Chateaufaux: Play the role of the Gendarmerie guards and find out who creates chaos in the roads of Dementlieu! On the Run: Explore an ancient tomb and escape the curse that you have unleashed! Vampire Escort Child: Can you help this poor child leave this jail meant for monsters? Defend the Keep!: Command your own military force to defend a keep against waves of undead! Lena's Pets: Explore the heidius laboratory of Frantisek Markov's student and escape before you become body parts for her next experiment! Lava trip: Who would want to be inside an ACTIVE VOLCANO? RUN! Escape Rooms: Find the way to escape before time runs out! How investigative are you? Singing Showdown: Karaoke competition with werewolves??? Labyrinthine Horror: Can you escape the labyrinth before the Vampiric Minotaur catches you? Teety's Hunt for Lulo: Find Teety's elusive love in an enchanted forest of pain! Monster Lab: Create your own Flesh Golem and make sure you are a good parent! Through fire and steel: Run through the No-man's-land while enemy planes and tanks bombard you and assassinate the enemy general! Don't forget to dodge the bullets! Drowning in Filth: Will you manage to escape before you drown in filth? Wilted Roses: Explore the forests of Sithicus and find the Black Rose Effigy! Shyclin’s Circus: An encounter inspired by the Carnival. The joke's on you! Among Us: Can you find shelter in a small cabin found in the woods? The Free Trader, Mist Runner: Avoid the enemy pirate ship at all cost while trying to reach the port with your own ship! The Curious Case of the Man Who Drowned in Air: Solve a detective's case in Victorian era London! Night at the Museum: Protect the museum's artifacts from invisible adversaries! Raid the Shadow: Lay siege on a castle controlled by the undead! Who could be its ruler? Journey to the Center: Control a mechanical worm of Kwalish and drill to the center of the earth to mine mithril! Journey Through Barovia: Visit Barovia's most famous places while trying to solve riddles or die trying! Choose Nothing: Solve a Death Slaad's riddle or get mad! The Final Dream: Tackle Atarte and their illusions in an environment that continiously alters between all of the dream-adventures! Only few can take on a Darklord and live to tell the tale! Published by Mistfactor Press

The Sea Witch is a short adventure for four 10th-level characters. The difficulty of the adventure can be adjusted by changing the level of main antagonist (Black Molly, the sea hag pirate) or by altering the number of her ogre servants. To tailor the encounter to groups of different levels, refer to table 4-1 in Chapter 4 of the DUNGEON MASTER’S GUIDE. The adventure is set off a lightly populated coastline known as Misty Bay, but adapts easily to any coastal region in existing campaigns. The sea hag known as Black Molly is a notorious pirate who has plagued the coastal cities for the better part of a decade. A successful Knowledge (local) check (DC 15) will reveal that Molly and her ogre crew have a filthy reputation as merciless killers who delight not only in plundering vessels for their riches, but also in destroying the ships themselves and sending all hands to the bottom of the sea. Now the villain and her followers have seized control of the Old Lighthouse of Misty Bay located off a lightly populated coastline. For generations the lighthouse beacon has protected the fishermen of this region, warning them of the dangerous rocks that lurk just below the level of the high tides. Recently, the hag has put out the beacon, darkening the lighthouse; misery and destruction are sure to follow as ships start to blunder into the rocks. Blackmail is apparently Black Molly’s aim in this venture: She conveyed a message to the nearest shore community, the fishing village of Poisson, demanding the princely sum of 50,000 gp. Until she receives this ransom, she intends to hold the lighthouse and its beacon hostage. The fate of the human keepers who tend the lighthouse is unknown to the seaside communities at this time, but they fear the worst. The Sea Witch is ostensibly a rescue mission: The PCs are pitted against the evil of Black Molly and the brawn of her savage ogre crew. It is the heroes’ task to retake the lighthouse and, if possible, free its captives from the clutches of their jailer. What neither the PCs nor the shore communities yet realize is that while she 1would be pleased to have the gold, Black Molly is in fact after bigger treasure. Molly has no intention of giving up the lighthouse — at least, not until she finds what her master sent her here for. Lying on the sea floor practically at the base of the rock on which the lighthouse sits is the wreck of the war galley Flying Cloud, which according to popular legend was captained by a cleric who wore around his neck an amulet of the planes. Black Molly wants this prize, but so far she hasn’t been able to find it. She’s scoured the wreck without finding any sign of the magic item. Now she’s trying to determine where to search next, for the item might well be somewhere near the wreck. If she can’t find it, she’ll start torturing her captives to find out if they have any useful knowledge about the amulet.
Goblin attacks have always plagued the farmers and merchants who live and travel along the roads leading to Whitesparrow. But a recent rash of new attacks are something different. The goblins of one particular tribe have gotten particularly smart, attacking with careful tactics and cunning ambushes. The village guards haven’t been able to outwit the goblins, even when laying traps of their own and hiring mercenaries to stop them. Even as goblins go, Rosethorn isn’t much to look at. He’s small and runty, and yet a lucky break placed him in charge of the Brownleaf goblin tribe. When he claimed a powerful magic relic from a dead wizard three months ago, Rosethorn found his intellect multiplied many times over. The world began to make a more intricate kind of sense to him, and he saw patterns in the ways other folk traveled the roads. After hiring a spy in Whitesparrow to tell him which wagons to pursue, Rosethorn cunningly bribed the wagons’ guards to throw battles in the goblins’ favor. He then moved the lair of the Brownleaf tribe away from their dank caves and into the ruins of the Bearded Man—an enormous dead tree at the center of the Howling Wood. There, Rosethorn continues his campaign of ambush against the foolish villagers, increasing his wealth and power with each robbery.

A great evil force descended on the town of Phlan years ago. The townspeople were all either killed or driven away, and Phlan became (literally) a ghost town. Fifty years later, the survivors are ready to reclaim their town. But they need a band of strong and brave adventurers to lead the fight-they need you. Ruins of Adventure is a set of connected short adventures written by James Ward, David "Zeb" Cook, Steve Winter and Mike Breault-four names familiar to all AD&D game fans. It uses the same setting, locations and characters as the classic computer game Pool of Radiance by Strategic Simulations, Inc. In fact, many of the scenarios here in Ruins of Adventure will provide important clues to the successful completion of Pool of Radiance. TSR 9238
:strip_icc()/pic530611.jpg)
Travelling long distances is the constant lot of the adventurer. This time, their quest will take them across the sea, and deep into the interior of a country they know little about, to retrieve an artefact stolen by one bunch of clerics from another. Now, we all know that meddling in the affairs of the Gods can be a hazardous affair, but this time the Gods haven't been worshipped for hundreds of years, and their clerics slaughtered each other in a great battle back in the distant past. Maybe this is that adventure we've all been waiting for, where the treasure is just sort of sitting there, and all we have to do is go and get it... A complete 40-page adventure, with stats for the D&D/AD&D games, and background information to use with the Pelinore campaign.

The frost giants of the Ice Mountains have long held to the belief that a great Jarl will one day step forward to unite the families as Konung (king). With the Ordning shattered, Jarl Ryndölg believes that if he can locate Hartkiller’s Horn, a legendary artifact among giant-kind, he could be the one. He may very well have found what he is looking for. A great clarion call has echoed across the Hartsvale for two days, and the giants are all marching north, has Ryndölg done just that? A Four-Hour Adventure for 5th-10th Level Characters This adventure consists of three Parts, as follows: Part 1. The adventure begins with the characters having already arrived in Stagwick (whether sent by their faction or by their own, individual search for adventure and wealth) and have been briefed before preparing for an important journey to the north Part 2. From Stagwick, the players discover their guide has been killed and must make their way through the deadly cold fingers of the Ice Spires alone—either by skill or luck. Part 3. Once at Ise Festing, the group discovers it’s been inhabited by a troupe of Shatterblood Ogres whom they must defeat to gain access to the redoubt’s observation deck.

The PCs must infiltrate a city ruled by monsters to search for the spymaster that holds the key to saving a besiged nation. Pgs. 26-50
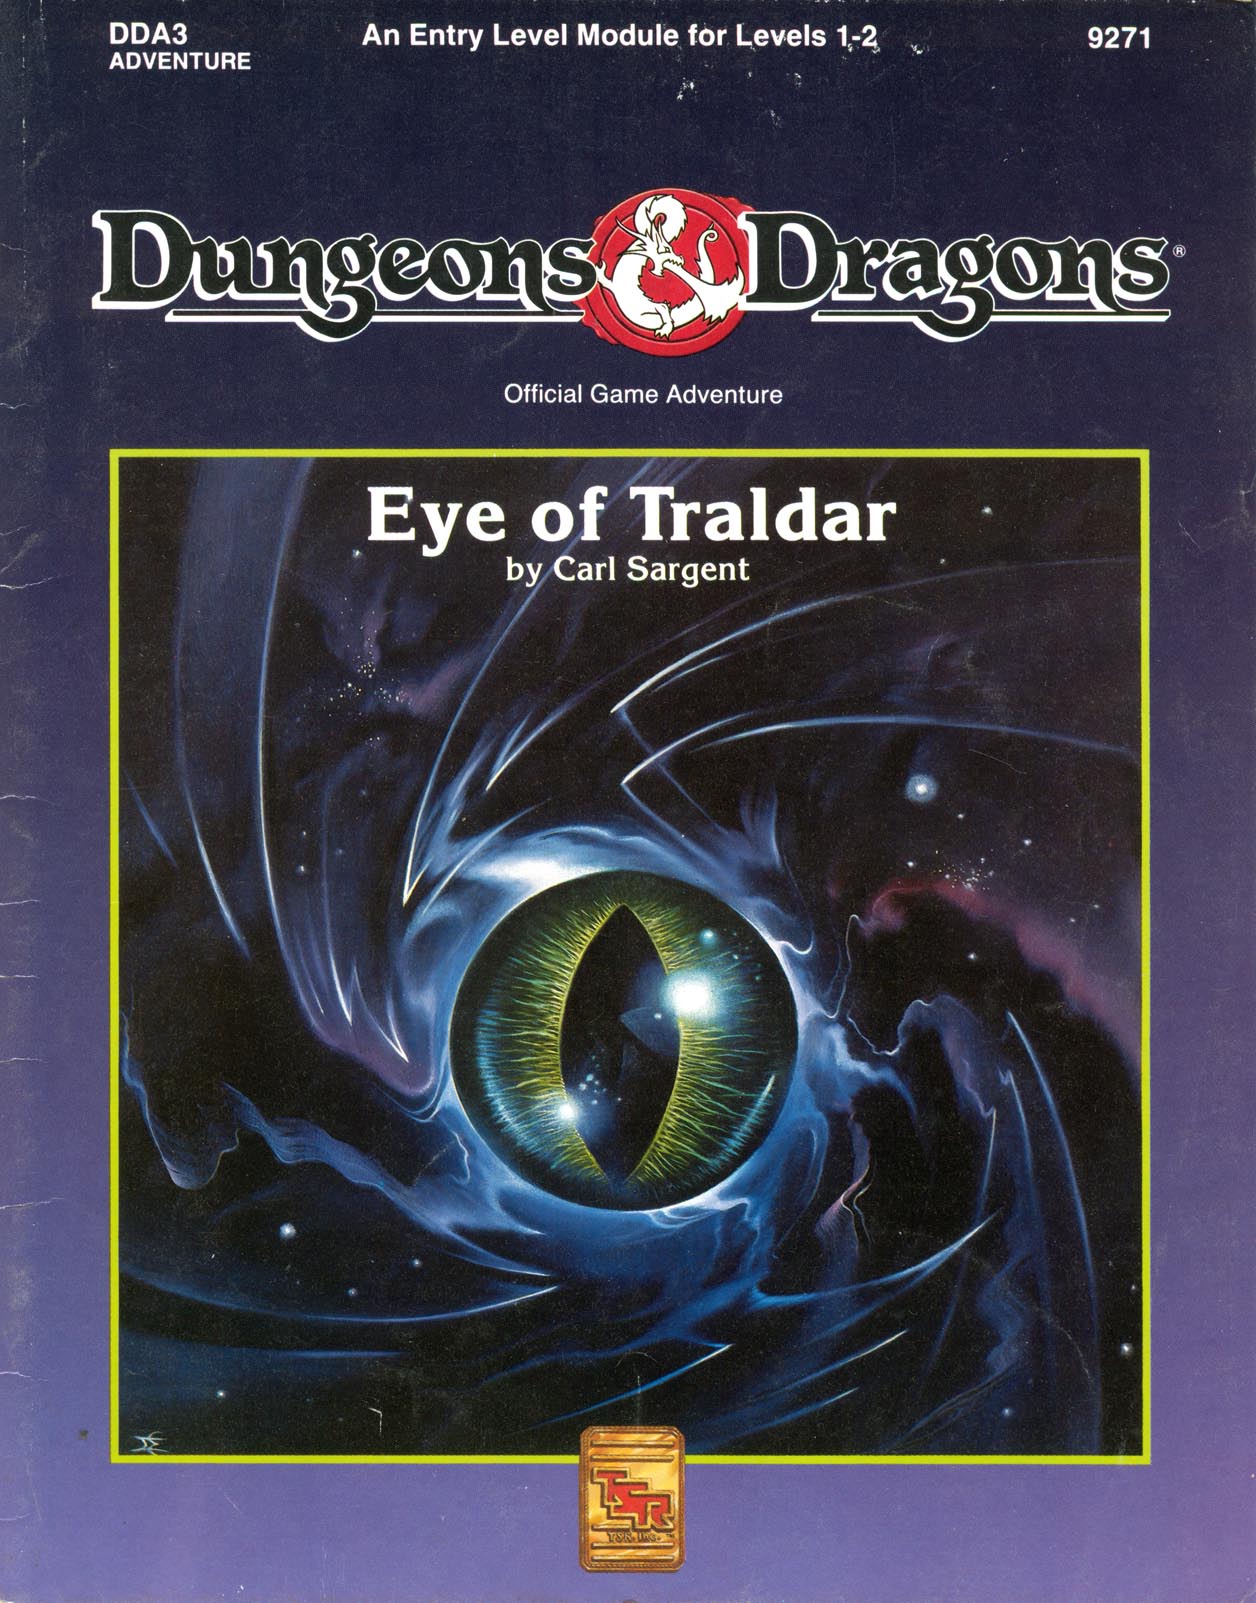
Powerful Magics are Loose in Karameikos! You and your companions are starting on your first adventure and you've been swept into the intrigues surrounding the infamous Black Eagle Barony. To prevent the evil Baron von Hendricks from gaining more power, you and your cmpanions must retrieve the magical Eye of Traldar from the wizard's tower at Fort Doom. Can you escapes the clutches of the armed garrison? Will the Baron gain the powerful artifact and use it for evil? You and your friends make the choices and affect the entire Grand Duchy of Karameikos. This module is particularly recommended for novice Dungon Masters and players who want to try their hand at overland adventuring. Recommended for four to six characters, levels 1-2 Handouts and pregenerated characters provided Suitable for use with the Dungeons & Dragons Game box and conventional D&D Game rules Features simple rules on outdoors travelling for exclusive players of the D&D Game box Adventure in the monster-filled caverns and dungeons beneath Fort Doom. TSR 9271

This deluxe adventure takes heroes into the ruins of Gardmore Abbey, a monastery that was once the base of a militant order of paladins devoted to Bahamut. According to legend, the paladins brought a dark artifact back from a far crusade and stored it in their abbey for safekeeping, and evil forces gathered to assault the abbey and take it back. What the legends don’t tell is that this artifact was actually the Deck of Many Things, a force of pure Chaos. This adventure brings characters into the extensive dungeons beneath the ruins - dungeons that are warped and twisted with the raw forces of Chaos surrounding the cards of the deck.

Haedirn Lastlight is a respected elven wizard and sage. After the death of his lover Lyonthel, the elf has been overcome with grief and has locked himself away in his study- a small manor on the cliffs of Wailing Crag. Haedirn has not been seen for over a year now, and those that knew him are beginning to worry. Worse still, a band of ogres has been terrorizing the nearby town, slaughtering the town folk and haughtily boasting the elf wizard is dead. The PCs must put a stop to the ogres' attacks, make way to Wailing Crag to root out the rest of their gang, and lay Haedirn Lastlight's tortured remains to rest.

Content in English / Contenido en Español Mini Hex is Hex Crawl that can be played in one session, its ideal to show your players what a hex crawl is about. It may serve simple purposes as finding some rare flowers in the forest, the location of a ritual in the city or the cave with the treasure in the hills. This module contains: 3 scenarios. 18 combat encounters for levels 4, 7 and 11 characters. 30 obstacles encounter of varying difficulty. More than 100 traps variations. Aids for easy setup. Area and battle maps. A couple of interesting mechanics to make your game feel fresh. Mini Hex es Hex Crawl que se puede jugar en una sesión, es ideal para mostrar a tus jugadores de qué se trata un rastreo hexadecimal. Puede tener propósitos simples como encontrar algunas flores raras en el bosque, la ubicación de un ritual en la ciudad o la cueva con el tesoro en las colinas. Este módulo contiene: 3 escenarios. 18 encuentros de combate para personajes de nivel 4, 7 y 11. 30 obstáculos ambientales de diversa dificultad. Más de 100 variaciones de trampas. Ayudas para prepara rápido y fácil una partida. Área y mapas de batalla. Un par de mecánicas interesantes para que tu juego se sienta fresco.

Your magic user friend has had his spellbook taken by marauding bugbears. He, and by extension you, are tasked by his mentor to recover the tome. Now you must track the goblinoids across the maze like hill country to find his stolen book. Pgs. 9-24 of Polyhedron #28
The Lantanese have lost their magical ship, but they aren't willing to fight for it. That's where your heroes come in. She's expecting you. A party of adventures has gone missing, and the inhabitants of a local town have been acting strangely it is up to the party to figure out what is going on and stop whatever force are at work on the towns people Pgs. 8-23 & 47

Claiming to possess Hartkiller's Horn, Ryndölg makes his move to take control of the Hartsvale. The non-giant residents have been pressed to declare their allegiance or be destroyed. Do they swear fealty to Jarl Ryndölg, or is there another option? Is there another contender to the throne? Sometimes the best choices can be the most dangerous. A Four-Hour Adventure for 5th-10th Level Characters. Optimized for five 8th level characters.

Baron Ketterall’s lands are beset by a plague of marauding goblins! Goblins you say? Pah! Who's afraid of few poxy goblins? But two experienced parties have already gone looking for the goblin lair – never to be heard of again. Poxy goblins you say? Be afraid, be very afraid… The scenario is designed to be an extremely challenging adventure that might undermine a player’s bravado in dealing with low-level monsters such as goblins. Unusual traps, tricks and special weapons are used by the inhabitants of the dungeon to cause the party as much trouble as possible. Published by Dunromin University Press.

Alton Lightheart, a lhalfling thief, went looking for a magic sword at the Storm-Sun Cliff. He & his two comrades were ambushed by a dusk (collective term) of malign shadows. He was knocked out and nearly killed. Before the shadows could consume Alton, a giant owl pair chased them away. Later, he awoke badly injured, not knowing his allies’ fate (they became shadows). Shaken, Alton saw he no longer cast a shadow! Disturbed, he fled to the village of Croy. Alton’s freed shadow, Kra, and its dusk now stalk him, longing to devour him in the dim light. This chapter starts in Croy. As the PCs arrive, an exhausted Alton sits in the Dragon’s Claw Tavern, back to the wall, skittishly watching. He ask PCs for help to face these terrifying monsters before his essence fades away. Published by Wicked Cool Games