
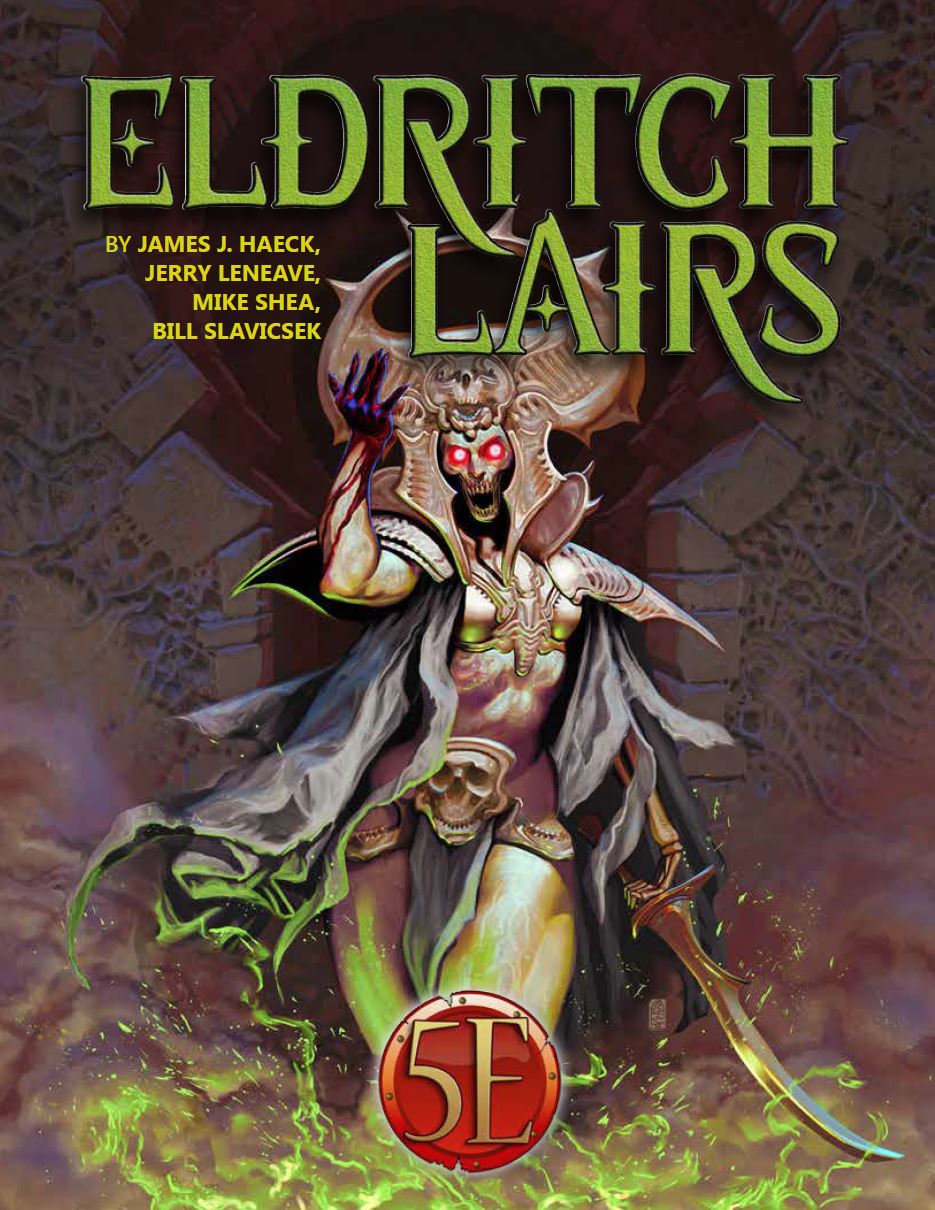
Legend tells of a long-dead empire of sphinxes, ruled over for millennia by a great queen named Ankharet. She fell into darkness and her empire was shattered, as her subjects rebelled and cast her down. Unable to kill her, it is said that they bound her with great magic and buried her in a tomb, to wait for the foretold heroes who would be able to slay her and end her evil forever. Their empire in ashes, the sphinxes scattered to roam the world in bitter freedom, save a single great androsphinx. On the edge of the mysterious Barren Hills, between the mountains and the Great Desert, there is a gigantic statue of a crowned gynosphinx, ancient beyond reckoning. At its feet, a great androsphinx known as Khubsheth the Prophet has dispensed counsel and prophecy to all who come to him for longer than mortal records can tell. The heroes have come to visit Khubsheth, whether for counsel, prophecy or out of curiosity, but as soon as he lays eyes on them, he attacks! Upon his defeat, he tells them that they are the heroes foretold by the legend of Ankharet. Ankharet ruled over a long-dead empire of sphinxes, but she fell into darkness. Her subjects rebelled and cast her down, but were unable to kill her. It is said that they bound her with great magic and buried her in a tomb, to wait for the foretold heroes who would be able to slay her and end her evil forever. Kubsheth the Prophet tells the heroes that they must enter the tomb of the long-dead sphinx queen, kill her, and destroy her cursed crown, an artifact of tremendously evil power. As his blood seeps into the sands, a doorway opens at the base of the statue, leading down into darkness…

For years, the Most Solemn Order of the Silent Shroud has tended the dead at Valinghen graveyard, providing them a peaceful eternal rest. Now, that rest has been disturbed by a necromancer seeking out a key to re-activate the Pool of Radiance.
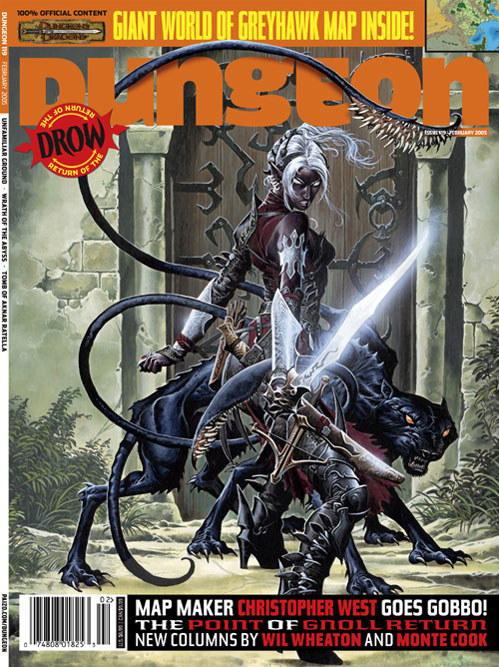
Hezzrack the imp escaped a prison of stone only by entering a prison of words. His only chance now is for a helpful group of adventurers to rescue him from certain servitude as a goblin adept's familiar. When his wizardly master's tower collapsed ages ago, the imp Hezzrack found himself trapped in the basement for a long, long time. After spending many years playing chess with himself and arranging macabre passion plays with the animated skeletons that survived the collapse, he finally found a way to escape. Unfortunately, that escape required signing a contract with a particularly unpleasant goblin adept; Hezzrack had managed to escape his prison of stone by leaping into a prison of servitude. If only a group of adventurers were to come along and take care of the goblin and release him completely! Pgs. 18-28

The heroes hurry to reclaim a treasured item that an evil hag has hidden away. The item they seek is well guarded by dangerous foes bent on destroying any that dare enter their domain. Estimated play time - 1 hour. This product contains two combat encounters designed for 4th level PCs, an extensive backstory, new monsters and new magic items. The encounters are easily adapted to almost any campaign setting. The text also includes optional changes that DMs may consider when running the adventure for their own campaigns. This side trek encounter is the second of a three-part "Fey's Bargain" encounter series.
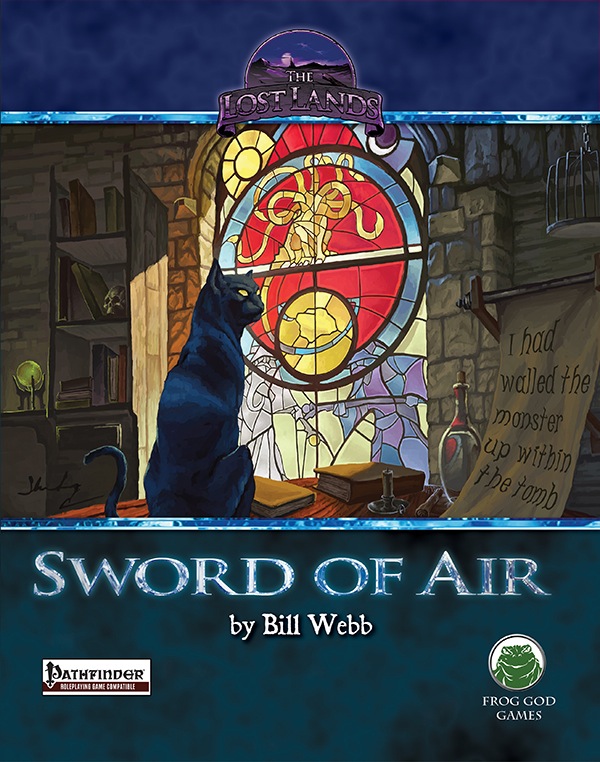
What is the Lost Lands? The Lost Lands is the home campaign world of Necromancer Game's and Frog God Game's own Bill Webb. This campaign has been continuously running since 1977. Many of the adventures published by Necromancer Games and Frog God Games are directly inspired by this campaign. They have evolved over the decades, and more material continues to flow from it as the dice keep rolling. Sages and wizards of legend speak of the Lost Lands—many of the players who have lived and died in Bill's campaign over the years now have a place in history (in the books). Frac Cher the dwarf, Flail the Great, Bannor the Paladin, Speigle the Mage, and Helman the Halfling are well known to the fans of Bill's work. This is the game world, and these are the adventures in which the players of these famous characters lived and died. Hundreds of players over the past 35 years have experienced the thrills and terrors of this world. The Sword of Air is the centerpiece of the Lost Lands. Currently, this epic tome consists of several parts: 1. The Hel’s Temple Dungeon—kind of like Tomb of Horrors on crack. This six-level, trap-and-puzzle infested dungeon formed the basis of Bill's game through his high school and college years. Clark Peterson’s very own Bannor the Paladin spent several real life months in the place, and, sadly, finished the objective. This is where the fragments of the fabled Sword of Air can be found…perhaps. 2. The Wilderness of the Lost Lands extending to the humanoid-infested Deepfells Mountains and providing detail about the nearby Wizard’s Wall. This so-called “wall” was raised by the archmages Margon and Alycthron harnessing the Spirit of the Stoneheart Mountains to raise the land itself, creating a massive escarpment to block invaders from the Haunted Steppes. These archmages are actual player characters from the early 1980s who live on in the legends of the Lost Lands. Over 70 unique encounter areas are detailed, and each one is a mini-adventure in itself. New wilderness areas may be added based on bonus goals described below! 3. The Ruined City of Tsen. Legend has it the city was destroyed by a falling meteor. This place forms an aboveground dungeon area the size of a city, with over 100 detailed encounter areas. It’s a very dark place…even at noon. 4. The Wizard’s Feud—This campaign-style adventure pits the players in a long-running series of intrigues and battles between two archmages. Which side will they take? Their actions all play into the overall quest, and could well determine which side wins. Law and Chaos are not always what they seem, and if the wrong decisions are made, the entire ordeal could fail. Remember, one of the wizards WANTS Tsathogga to win. 5. New monsters, new demons, new spells, and new rules for various aspects of play. 6. The Tower of Bells. This dungeon is the result of the workshop Bill ran at PaizoCon 2013, where the participants assisted him in building an old-school dungeon. Visit the tower and discover the secrets of the “artist” within. Beware: those entering may never come out!
Terror roams the dark and brambled paths of the Kryptwood. A pack of giant spectral hounds rule the night, savaging those foolish enough to brave the forest. The villagers of Hendenburgh cower in the shadows of the ancient boughs as each morning heralds a newly savaged corpse. Explore the ancient paths of the Kryptwood in a 25-hex hexcrawl. Discover the mysterious Tyrant's Tomb. Negotiate, serve or betray the factions of the Kryptwood (a ghostly despot, a gang of highwaymen with excellent PR, a horrifying witch coven, and the eccentric inhabitants of Hendenburgh). Fight new monsters such as owlboars, kryptwood hounds and ghostly tyrants. Hounds of Hendenburgh is designed for use with Cairn by Yochai Gal but compatible with other OSR systems. If using OSRIC, OSE or other OSR rulesets then the adventure is best suited to low-level parties (1-3). Reviews Hounds of Hendenburgh is an adventure brimming with potential energy, like a domino run—any prodding by the players is sure to set off a chain reaction, but where any individual piece will end up is anyone’s guess . . . For me, Hounds of Hendenburgh is a major highlight of A Town, A Forest, A Dungeon. I’m eager to bring it to the table, and I expect it’s the sort of adventure that will reward referees who run it multiple times. - Dododecahedron Blog This 22 page adventure presents a delightful little romp through a colourful town, a dreadful forest, and a small haunted dungeon/crypt. Would that everything I reviewed were at least this good. A credit to county Donegal! - Bryce Lynch (tenfootpole.org)

Infinite broken night. Milky alien moons. Wavering demons of gold. Held in this jail of immortal threats are three perfect sisters... Maze of the Blue Medusa is a dungeon. Maze of the Blue Medusa is art. Maze of the Blue Medusa works with your favorite fantasy tabletop RPGs. And Maze of the Blue Medusa is the madly innovative game book from the award-winning Zak Sabbath of A Red & Pleasant Land and Patrick Stuart of Deep Carbon Observatory. Lethal gardens, soul-rending art galleries, infernal machines—Maze of the Blue Medusa reads like the poetic nightmare of civilizations rotted to time, and plays like a puzzle-box built from risk and weird spectacle. Art by Zak Sabbath; text by Patrick Stuart and Zak Sabbath. Publisher is Satyr Press.

When a Thayan research expedition returns from the Glacier of the White Wyrm with only two survivors that are reduced to whispering about an ancient pyramid under the ice, perhaps it is time to discover just what scares the life out of a nation of necromancers. The events of DDEP2 Mulmaster Undone resulted in terrible geographic upheaval all around the southeastern region of the Moonsea. Massive landslides, earthquakes, tidal waves, and gnashing tornados devastated the land and the city of Mulmaster was nearly scrubbed from the face of Faerun. Fortunately, these events also revealed previously hidden artifacts—trinkets, mostly—from the ancient Netherese all around the city. The Thayans have long held an interest in the port city and wasted no time in assisting in the rebuilding efforts. They simply asked that a blind eye be turned to their archaeological interests, and in return they would continue to spend their own resources (at no expense to the Mulmasterites or even the High Blade) to rebuild the city, bigger and better than before. It wasn’t long before their interests paid off with the discovery of a research laboratory beneath the Glacier of the White Worm, far to the east of Mulmaster and nestled in the mountains. The Thayans sent a sizable expeditionary force but only two acolytes returned. The visiting Zulkir has found this particularly troublesome, and with the assistance of Rastol Shan, the head of the Cloaks, has arranged for a mercenary force to perform a more pointed investigation of the area. In return the Thayan noble has promised significant compensation. Upon arrival at the dig site, the characters are quick to discover that the laboratory hides ancient and palpable evil. The purpose of the facility can be discerned with careful investigation, and the effect of the still-active fragment of the Dark Obelisk has empowered (some may say attracted) servants of the Worm that Walks. Danger and death await, certainly, though the characters always have the option of running away and living to fight another day…

This dungeon is suitable as a one-shot or drop-in for characters between levels 12 and 17. Taken from the Against the Idol of the Sun high-level hexcrawl campaign, the Death Knight's Tomb is a location-based exploration adventure. It features increasing localized time distortions that ultimately pit the party in a fight against an ogre Death Knight and his minions who just destroyed an elven time lab over ten millenia ago, which is just a few seconds ago in relative terms at the bottom level. There are six distinct sections to the dungeon containing four combat encounters of increasing difficulty. As written, the party enters the structure to rescue an overly adventurous Scorpionfolk couple and their rescuers, but they can be omitted or rewritten to any other species.
The interrogation of the rogue wizard, Askalan, by the magocracy of Bemmea exposed his creation of unstable magical artifacts built in a ruined ley-line conduit. This Leystone, built by the mages of Vael Turog, had been dormant for centuries until Askalan discovered a way to power it. Now, after his untimely death, the Leystone's unstable power continues to grow at the edge of the Western Wastes. The magocracy hires the characters to find the awakened Leystone, uncover the mystery of this growing power, and return the source of the power to Bemmea for study.

Special Basic/Expert Transition Module Barely one day's march from Kelven, the uncharted tracts of the Dymrak forest conceal horrors enough to freeze the blood of civilized folk. Those who have ventured there tell how death comes quick to the unwary - for the woods at night are far worse than any dungeon. But you are adventurers, veterans of many battles, and the call of the wild is strong. Will you answer the call, or are you afraid of the dark terrors of the night? The campaign adventure is for characters just beginning Expert play (levels 2-4) and hurls them into the exciting outdoor world which awaits in the Expert rulebook. With a 64 page booklet, 2 double-panel covers, a double-sided, fold-out mapsheet and 120 die-cut counters, this super module provides all you need for epic wilderness and dungeon adventuring. Journey across the Grand Duchy of Karameikos in a desperate race against time and the forces of evil. This adventure is for use with the Dungeons & Dragons Expert Set, which continues and expands the D&D Basic Rules. This adventure cannot be played without the D&D Basic and Expert rules produced by TSR inc. TSR 9149

Why should anyone travel the cracked cobblestones of the Old Road? The fortress that once cast its shadow across the road does so no longer - some whisper that the earth swallowed the fortress whole in an age long past. Four brave adventurers resolved to discover the truth and set off down the Old Road, but they never returned. This adventure is a first level adventure for beginning players set in the dungeon of the fallen fortress.
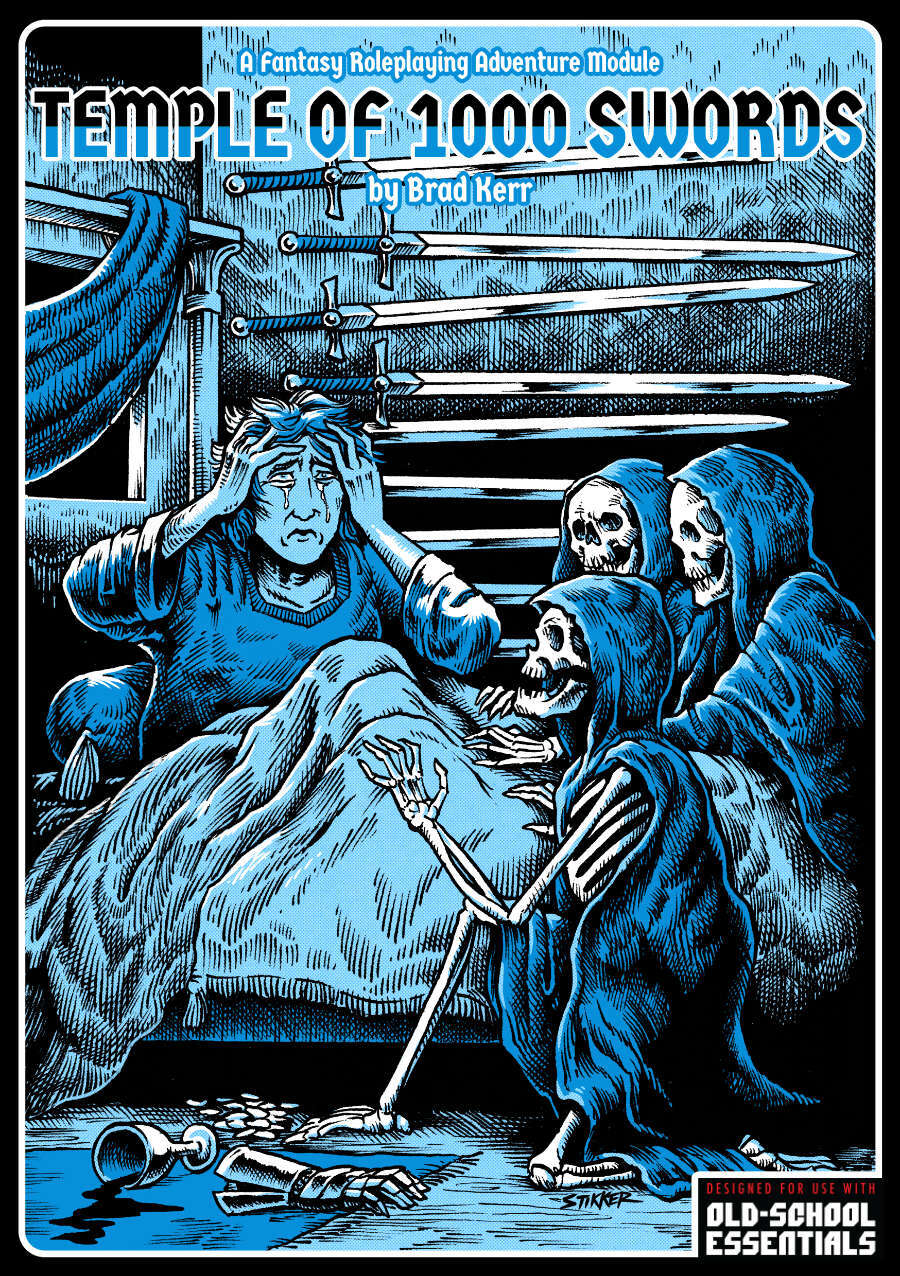
"An ancient temple to the forgotten god of swords lies hidden behind a waterfall. Great piles of swords choke its halls and spill out into nearby streams and waterways. What strangeness still treads and what swords will you draw in the Temple of 1000 Swords? -A tarot-inspired fantasy RPG dungeon delve for 3rd level characters -Created for Old-School Essentials (B/X), compatible with RPGs with old-school sensibilities -A 19 room, keyed dungeon, easily insertable into a fantasy RPG campaign, sandbox, or “west marches” style table -d100 weird, magic, and cursed swords to discover. Roll to search the piles! -Anything is a sword--create weird sword creations through the temple's cursed magic -New monsters, factions, spirits, and curses -Includes a high-resolution unlabeled map for VTT use" "Temple of 1000 Swords" is set in a mystical temple filled with countless swords and intriguing magic. It offers a dense, exploration-heavy dungeon experience with unique mechanics and a rich backdrop of ongoing conflicts. Players can choose to ally with the Drukks (humanoid carnivorous ducks) or Merfolk (jocks) and manipulate both for their ends, or try to avoid conflict altogether. Gladio, the god of swords, issues quests that can alter the course of the adventure, demanding moral and strategic decisions from the players.
This is an adventure for a party of level 4-6 designed to showcase a number of newly created Oozes in the Beyond the Black Pudding compendium. The party is brought in to help figure out what to do about a giant ooze that is threatening to engulf a small town. They discover that it is being called by a magical beacon somewhere nearby, and by following a small ooze they are able to find where the signal is coming from. It turns out to have been set off by The Visionary, an intelligent Vitreous Humor (a kind of ooze beholder) with dreams of power who discovered it in an ancient temple to Juiblex. Unfortunately, having turned it on, The Visionary had no idea how to turn it off again and is now barricaded in the depths of the temple, assaulted by oozes on all sides.

The nephew of a once famous adventurer decides to make a name for himself and bites off more than he can chew. Short on options, and worried for his nephew’s life, he needs your help. Travel to the ruins of Dhonin's Lookout atop Standiac Hill to find and rescue the young adventurer. Uncover a plot that could lead to the destruction of the village of Millvein, and even more dire future consequences. Includes: A 3-4 hour adventure for 1st level characters Map of the village of Millvein 2 DM maps Stat blocks for all monsters the players might encounter. The adventure continues in Into the Underdark - Part 2 The Spider's Den
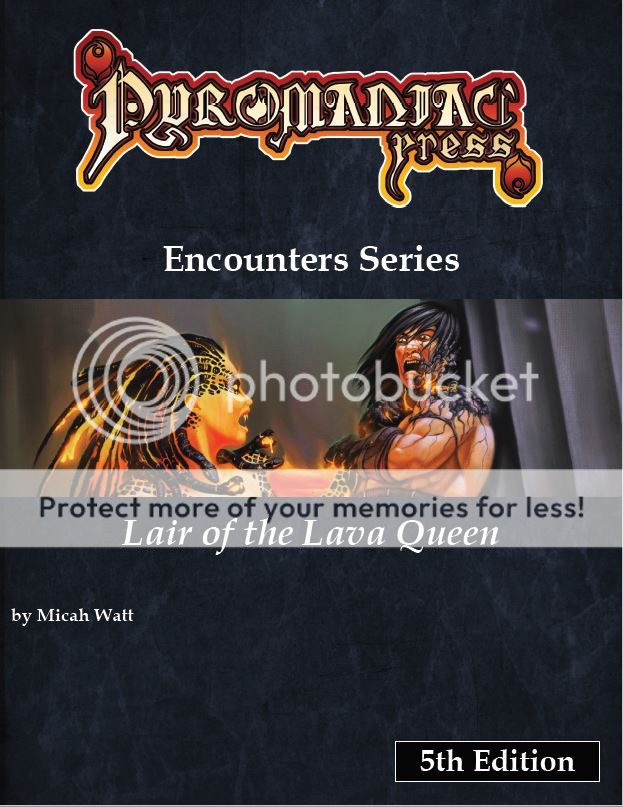
Rumours tell of a secluded cave where a powerful cleansing artifact resides, guarded by a mythical creature that no one has seen and lived to tell the tale. Heat boils forth from this cave, and tortured shrieks echo on the wind. Do you have what it takes to brave the Lair of the Lava Queen?
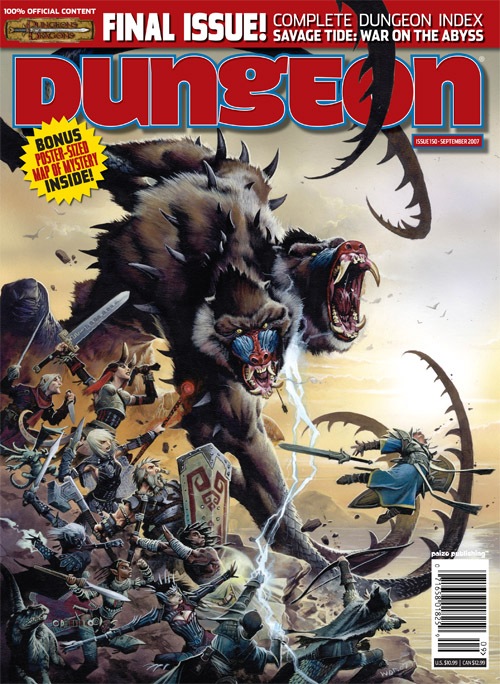
The renegade magic-user Bargle is wanted, dead or alive. Rumor holds that he dwells in the bowels of a nearby abandoned keep, performing all sorts of foul sorcery. Only the truly brave, or perilously foolish, would dare to challenge Bargle in his own domain. Expanded dungeon of the BECMI red box sample dungeon.

With a series of torrential rains, the soaked soil has weakened and an opening to a forgotten tomb has been discovered. You and your associate prepare to venture into the lost Kalar's Crypt! This scenario is useful for a beginning campaign or just a side adventure when most of the group can't participate.
The Red Bastion - the prison of a dwarf ghost princess... A 15-room dungeon for levels 2-3.
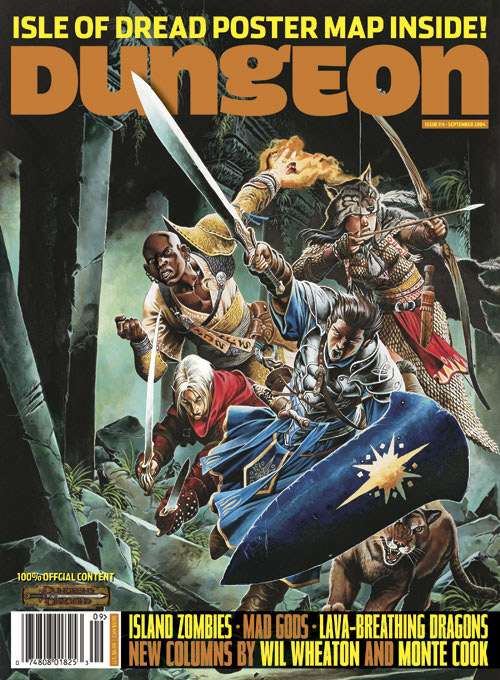
This adventure is the ninth part of the Shackled City Adventure Path that began with "Life's Bazaar" (Dungeon #97) Wherein a group of diverse and talented allies learns the folly of not working together against a common foe.