
Just when you thought it was safe to take a long rest. She's Back! The terrifying SEQUEL to the PLATINUM bestselling, and Dragon+ Magazine featured horror adventure: The Haunt. The Haunt 2 is both a one-shot, and a sequel that can be run as either. Long, long ago St. Greycastle’s Hospital served the city through the years, mainly treating the wounded and sick among the militia. Over time, the lower basement was converted into a sanatorium, housing those who became maddened from enduring the violent, brutal orcs raids which plagued the region during that time. This was the place where Gertrude, the night hag, tormented patients, and created her masterpiece, the Evil Doll. Now, after all of these years, Montarthas Manor has finally fallen, and the Evil Doll has been wounded. She has returned to the only familiar and safe place she remembers, to lick her wounds and plot her next move. Her presence in the hospital awakens the evil inside, creating a nightmarish charnel house of terror. In addition, the hospital itself feeds on fear. Do your players have what it takes to enter the haunted and evil hospital, to finally end the haunt and terror of the Evil Doll?! Published by P.B. Publishing.
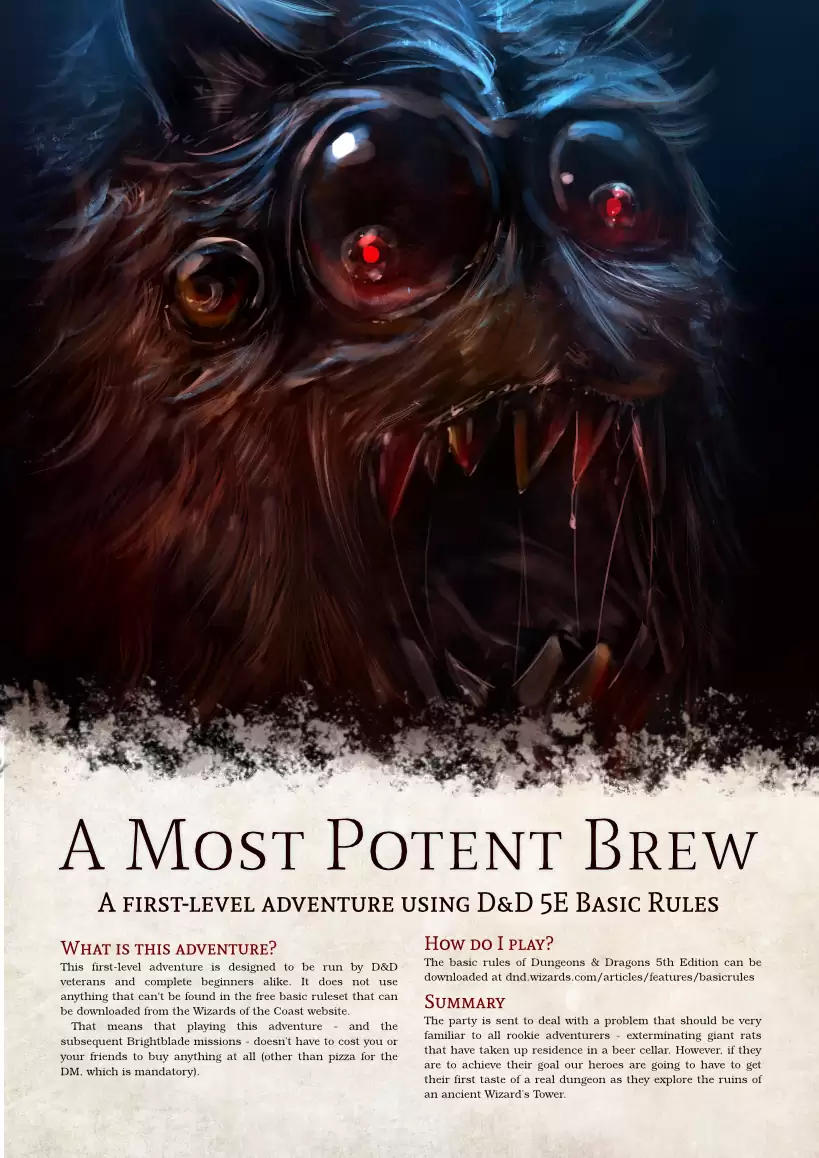
Summary The party is sent to deal with a problem that should be instantly familiar to all rookie adventurers - exterminating giant rats that have taken up residence in a beer cellar. However, if they are to achieve their goal our heroes are going to have to get their first taste of a real dungeon as they explore the ruins of an ancient Wizard’s Tower. What is this adventure? This first-level adventure is designed for D&D veterans and complete beginners alike. It only uses rules, items, monsters and concepts found in the free basic ruleset that can be downloaded from the Wizards of the Coast website. That means that you and your friends can play this without having to buy anything other than snacks, drinks and maybe some dice - though even these can be replaced by the many free Dice Roller apps available for phones and tablets.

The Iron King's daughter has been cursed by a demon who lurks inside a mirror locked deep in the palace dungeons. Can the characters win their freedom from those same dungeons by entering the mirror demon's horrifying, maze-like realm and finding a way to end the curse? The Demon in the Mirror is a creepy dungeon crawl adventure for 5th-level characters. It takes about 5-7 hours to complete and includes: -An otherworldly, reality-bending realm inside a magical mirror -Four new monsters: the mirror demon, ceiling creep, reflection demon, and librarian of Leng! -Combat cards for each monster, PC, and special treasure -Gorgeous digital maps (with and without grid) for virtual table tops

Punjar: wide-eyed madmen stalk the streets pronouncing the end of days, mail-clad priests crush the skulls of heathens underfoot, and timorous virgins are offered up in sacrifice within sooty temples. But even the greatest of shining temples and the strangest of mystery cults don’t dare to challenge the terrifying finality of Death. Until now. In Blades Against Death, the adventurers cross between the realms of the living and the dead, and wager their souls in a desperate bid to steal a soul from Death’s hoary grasp. To win over the God of Dooms, you must be the most daring, stalwart and cunning and – when all else fails – willing to test your blades against Death! A mid-level adventure for the Dungeon Crawl Classics Role Playing Game, Blades against Death offers characters a once in a lifetime escapade. Those that return from the Realms of the Dead will have earned the true title of adventurer, while those that fail will spend eternity in Death’s service.
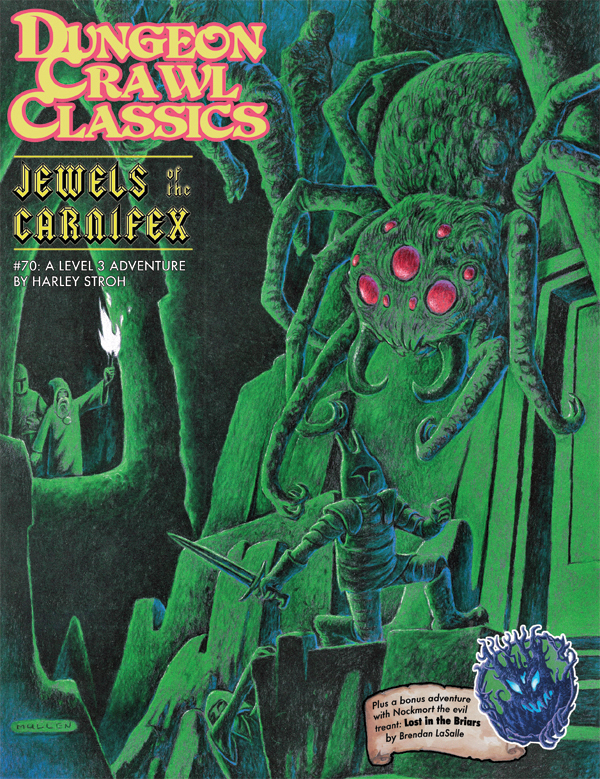
At the end of a forgotten back alley, in the weird and otherworldly marketplace of faiths known as the Bazaar of the Gods, stands the ruins of a forgotten chapel. Once the cult of the Carnifex was celebrated throughout the City of a Thousand Gates. But a band of holy warriors rose against the cult of executioners and torturers, casting down her signs and scattering her devotees to the winds. The fate of the cthonic goddess, and – more importantly – her fabled jewels remains a mystery…until this night. Set amid the sprawling decadence of Punjar, Jewels of the Carnifex offers low-level adventurers a chance to plumb the mysteries beneath the city’s soiled streets, explore forgotten crypts lavished with weird artifacts, and – for the quick and daring – claim the lost Jewels of the Carnifex!

Giants have emerged from their strongholds to threaten civilization as never before. Hill giants are stealing all the grain and livestock they can, while stone giants have been scouring settlements that have been around forever. Fire giants are press-ganging the small folk into the desert, while frost giant longships have been pillaging along the Sword Coast. Even the elusive cloud giants have been witnessed, their wondrous floating cities appearing above Waterdeep and Baldur’s Gate. Where is the storm giant King Hekaton, who is tasked with keeping order among the giants? The humans, dwarves, elves, and other small folk of the Sword Coast will be crushed underfoot from the onslaught of these giant foes. The only chance at survival is for the small folk to work together to investigate this invasion and harness the power of rune magic, the giants’ weapon against their ancient enemy the dragons. The only way the people of Faerun can restore order is to use the giants’ own power against them.
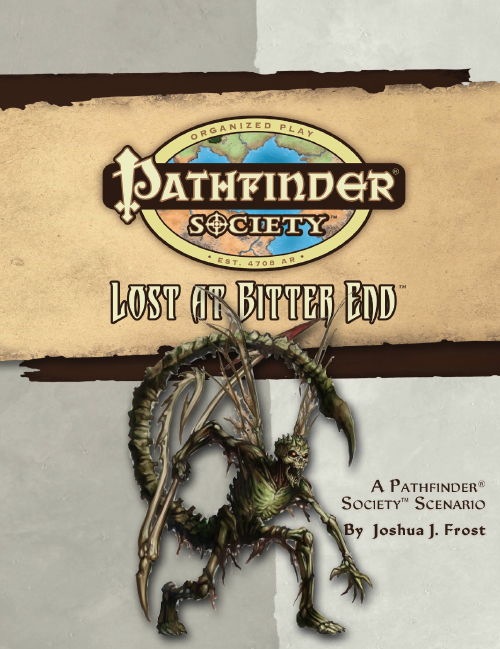
When a Pathfinder Society Priest of Nethys disappears in northern Geb while studying the Mana Wastes, the Society sends you to uncover her whereabouts and find her journals. Arriving in the town of Bitter End, you find it deserted but for a few mysterious creatures never before seen on Golarion. Those creatures quickly lead to more and soon you're embroiled in a mystery that could effect the very fabric of reality. Will you solve the mystery of Bitter End or find yourself lost forever in the Mana Wastes?

Vampires in service to Shar, the Mistress of Night, are somewhere in Vanrakdoom. You must locate them without drawing the attention of the other residents of this dangerous place. Part Two of the Undying Threat trilogy. A 4-6 Hour Adventure for Tier 3 Characters. Optimized For: APL 13

Bountiful harvest abound! Come to the wonderful town of Kukurbi and enjoy the festivities, as Highharvestide is upon us! But all seems too gourd to be true! We guarantee you there’s nothing odd or sinister in this mischievous mini adventure! You butternut wait and hubbard right in! This Dungeons & Dragons mini adventure for 1st level characters comes with: • nine pages of content written by Alex Clippinger & Florian Emmerich • stunning art by Raluca Marinescu • a wonderful map of the town Kukurbi drawn by Erin Harvey, with a DM and Player version • two new monsters to squash (your party)

When a Thayan research expedition returns from the Glacier of the White Wyrm with only two survivors that are reduced to whispering about an ancient pyramid under the ice, perhaps it is time to discover just what scares the life out of a nation of necromancers. The events of DDEP2 Mulmaster Undone resulted in terrible geographic upheaval all around the southeastern region of the Moonsea. Massive landslides, earthquakes, tidal waves, and gnashing tornados devastated the land and the city of Mulmaster was nearly scrubbed from the face of Faerun. Fortunately, these events also revealed previously hidden artifacts—trinkets, mostly—from the ancient Netherese all around the city. The Thayans have long held an interest in the port city and wasted no time in assisting in the rebuilding efforts. They simply asked that a blind eye be turned to their archaeological interests, and in return they would continue to spend their own resources (at no expense to the Mulmasterites or even the High Blade) to rebuild the city, bigger and better than before. It wasn’t long before their interests paid off with the discovery of a research laboratory beneath the Glacier of the White Worm, far to the east of Mulmaster and nestled in the mountains. The Thayans sent a sizable expeditionary force but only two acolytes returned. The visiting Zulkir has found this particularly troublesome, and with the assistance of Rastol Shan, the head of the Cloaks, has arranged for a mercenary force to perform a more pointed investigation of the area. In return the Thayan noble has promised significant compensation. Upon arrival at the dig site, the characters are quick to discover that the laboratory hides ancient and palpable evil. The purpose of the facility can be discerned with careful investigation, and the effect of the still-active fragment of the Dark Obelisk has empowered (some may say attracted) servants of the Worm that Walks. Danger and death await, certainly, though the characters always have the option of running away and living to fight another day…

The time has come to venture beyond the village of Orașnou and explore the realm of Barovia. However, in your travels, you happen across an unusual tribe of peopl —distrusted denizens of the Demiplane of Dread. Do the Vistani truly possess the ability to see the future, or is it simple parlor tricks and deceit? Part Five of Misty Fortunes and Absent Hearts.

The Zhentarim ask the party to investigate what happened in one their most important underdark outposts. If the party accepts, they'll have to deal with maddening darkness, grimlocks, an insane kenku assassin and unpredictable mixtures of potions. A short, fun dungeon romp that is easily adapted to other settings and other patrons. The combination of utter darkness and a villain based on sound makes for fun shenanigans on the side of the DM. Feasible as a one shot for an efficient party. Two tendays ago, Zhentarim agents were to transport a shipment of rare potions between their Underdark outpost and the surface world. The shipment has yet to arrive, and the outpost is not responding to any sending spells. Growing worried, the outpost’s overseer sends a group of hireswords to investigate and return it to Zhentarim hands. This particular adventure deals with the delusions of madness of Fraz Urb'luu. It also features Muurmic, the mad kenku first described in the December 2015 issue of Dragon+.

The mining town of Glister has a problem. The latest caravan only arrived with a part of its supplies. Orcs waylaid them, took much needed goods, and are now making demands that the town return an artifact that is theirs, but the town is unfamiliar with. Help track down information about this artifact and possibly defend the city from an orc invasion! A 4-hour Adventure for 1st-4th Level Characters Part 2 of Kossuth's Kiss

At last- an opportunity to avert the threat to the little town of Saltmarsh! The real enemies have been identified-- evil, cruel creatures, massed in force and viciously organized. Can the brave adventurers thwart this evil and ensure the safety of Saltmarsh? The Final Enemy is the final part in the series of three modules designed and developed in the United Kingdom for beginning adventures with AD&D rules. Its plot follows directly from those of the first two parts (U1 - The Sinister Secrets of Saltmarsh, and Module U2 - Danger at Dunwater.) TSR 9076

Wolpertinger, Wererat - Well! is a two-hour adventure for 1st-4th level characters, designed for Dungeons & Dragons 5th Edition, with an urban theme, exploration, humor, and a small mystery to solve! Waterdeep, the City of Splendors, is brimming with exciting opportunities for adventurers - seemingly at every corner, backstabbing between rival guilds, intrigues among the noble houses, and treasures in forgotten places beckon. But today, a little girl is in trouble and needs the help of our heros in rescuing her pet "bunny"! This adventure is an unapologetically linear dungeon crawl – short, straight-forward, and to the point. It follows the three-pillar principle: combat, exploration, social interaction. The idea is to spice up the classic formula with varied challenges that result in a short, entertaining session. This makes this an excellent adventure for beginner players and DMs! Detailed support is provided for the DM in the form of roleplay advice for six completely fleshed out original NPCs, advice on the three pillars in each scene, and scenic sensory descriptions for every scene to make the adventure come to life. Included with this adventure are: + an original custom monster, the wolpertinger + six original fleshed out NPCs, including personality traits and roleplaying tips + 20 original (but mostly useless) magic items + six original diseases + one original trap + a complete original hand-drawn dungeon map covering the entire adventure
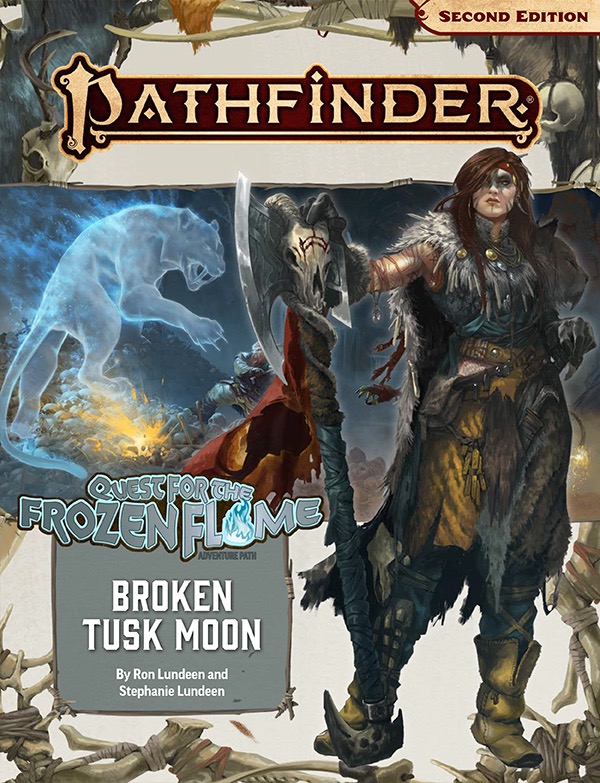
For generations, the Broken Tusk following has roamed their small patch of the Realm of the Mammoth Lords in relative peace. Now, to avoid annihilation from a maniacal war horde, they must flee into the unknown. If the Broken Tusks are to survive their flight, a team of their best scouts will need to chart a safe path through an unforgiving wilderness. Along the way, they'll uncover the mysteries of a powerful artifact that promises to change the course of history. "Broken Tusk Moon" is a Pathfinder adventure for four 1st-level characters. This adventure begins the Quest for the Frozen Flame Adventure Path, a three-part monthly campaign in which the heroes lead a band of nomadic hunter-gatherers across a brutal primordial landscape. This adventure also includes a catalog of the characters' band, the Broken Tusks; new spells, feats, and items perfect for trappers and foragers; and new prehistoric creatures to befriend or bedevil your players. Each monthly full-color softcover Pathfinder Adventure Path volume contains an in-depth adventure scenario, stats for several new monsters, and support articles meant to give Game Masters additional material to expand their campaign. Pathfinder Adventure Path volumes use the Open Game License and work with both the Pathfinder RPG and the world's oldest fantasy RPG.

Deep blue mists of the night swirl over the sands of Raurin, the incomparable Desert of Dust. As the cool night air drains the heat from the sand, you and your friends huddle around your campfire, glancing nervously at the giant pyramid in the distance. Gradually, the winds change direction, bearing a thin streak of white mist toward you from the pyramid. It swirls and takes shape as a faceless man dressed in ancient robes and an ornate head-piece; moonlight shining through his ghostly body and robes, he lifts his arms toward the pyramid and speaks. It was magic that conveyed you all to Bralizar, and an ancient map that guided you through the pass in The Dustwall. But it was, after all, the tales that finally brought you to this place - tales of endless wealth, of spirit-guarded pyramids, of crystalline obelisks, of gemstones with mysterious properties. Now, as the haunted voice of the spectre before you begins his tale, you wonder if the treasure and the quest are worth the price...perhaps your very lives. Are you really the heroes of the prophecies, those who will overcome the foretold tests, and those for whom the treasure awaits? It is time to search your hearts before you venture further into the Desert of Desolation. An epic adventure includes the revised Desert of Desolation series plus totally new adventures within Raurin, a desert wilderness set in the Fabulous Forgotten Realms TSR 9199

The Proving Glade is a one-shot adventure meant for parties or duets. Your characters arrive in a small settlement that has a big problem. The forest, its lifeblood, has seemingly withdrawn its bounty. Others have gone in, only to return hours later confused about how they got out. Will your party have the wherewithal to navigate the treacherous forest, pass its surprising tests, and uncover what’s truly going on? I wanted a forest adventure that felt alive and busy. I also didn’t want every encounter to be solved with the swing of a sword. The Proving Glade is about questioning value, morality, judgement, and redemption. This adventure was written as part of the Summer 2019 RPG Writer's Workshop. We also submitted In the Heart of the Forest. While these two adventures are not necessarily connected, they both involve navigating difficult and dangerous scenarios in a forest and could naturally be strung together. This Product Includes -A 3 to 4 hour one-shot designed for parties or 1-1 play. -A new Sidekick stat block: Daelin Hoofbane, ranger extraordinaire. -A new custom creature: the mysterious and powerful Alseiad, a glade nymph of incredible beauty. -2 new maps: One region map for the forest around Quaervarr near Silverymoon and one battle map for The Hydra's Mire.
CORE 1-2 With the identity of a murderer confirmed, heroes are needed to track it down to its home. As it turns out, it might be a longer journey than first imagined. Part Two of The Chaos in Melvaunt. The characters enter Mechanus via a portal in Melvaunt with the aim to infiltrate a modron army encampment. They must then flee the camp in a chase scene.

Smuggler’s Den takes your group of adventurers above and below the city of Phoenix! After seeing wanted posters aka employment opportunities, you begin to sift around the marketplace for information (and deals). After finding a hint or two you go into the sewers below town to find a group of smugglers that will increase your fame and the size of your coin purses!